Model Airways - Clerget 9B WW I Rotary Engine - 1:16

Joined
Aug 1, 2020
Messages
727
Points
298

20210228

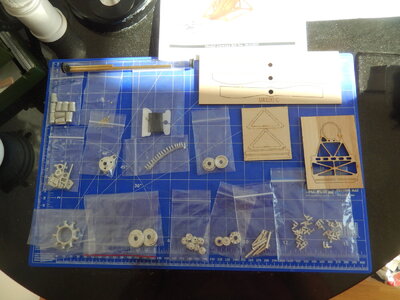
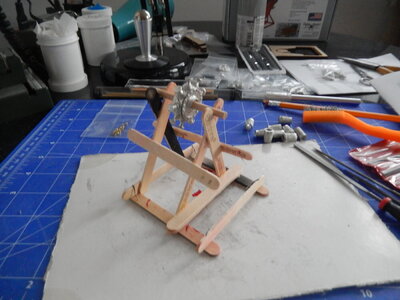
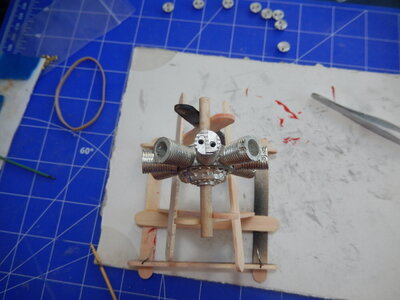
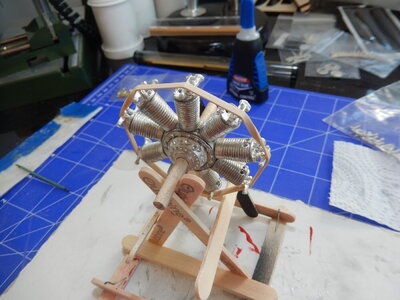
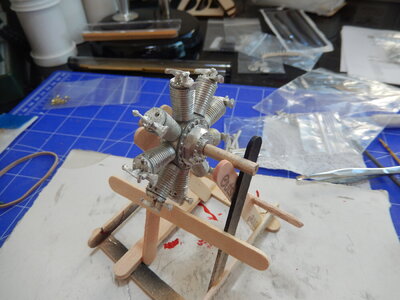
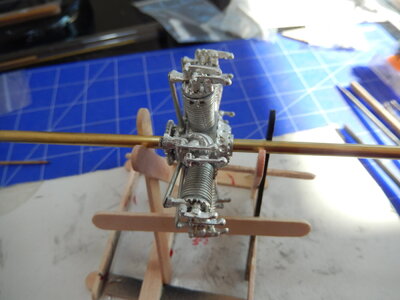
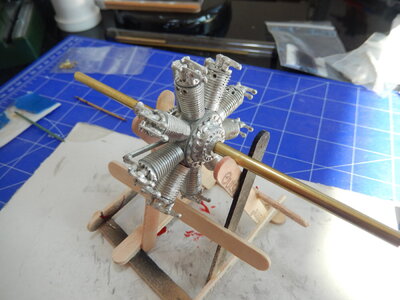
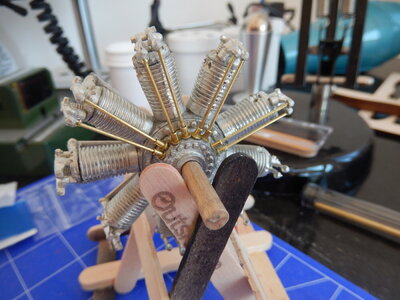
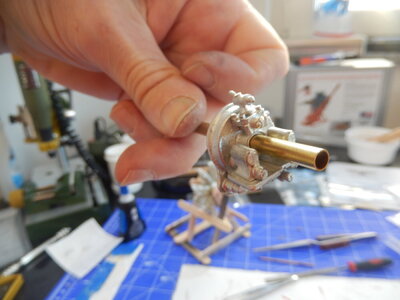
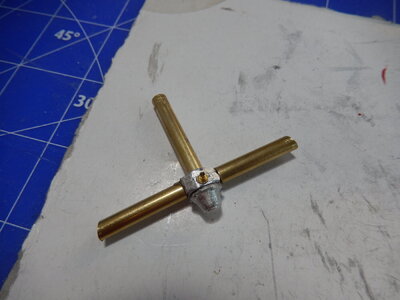
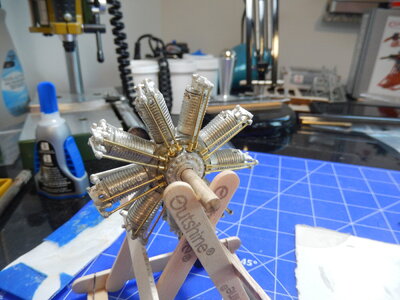
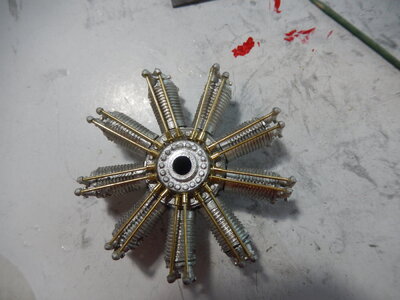
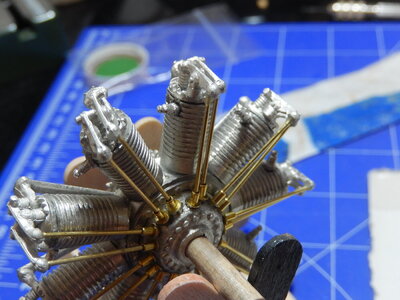
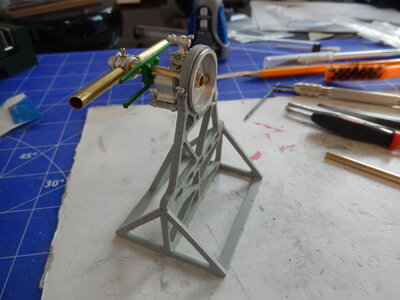
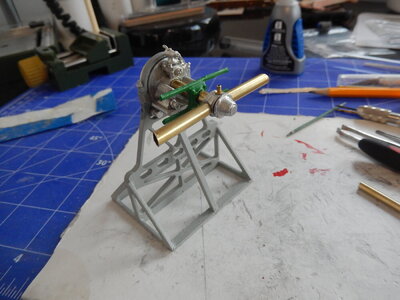
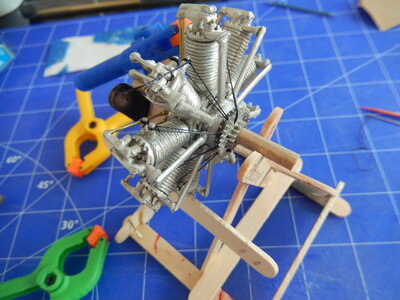
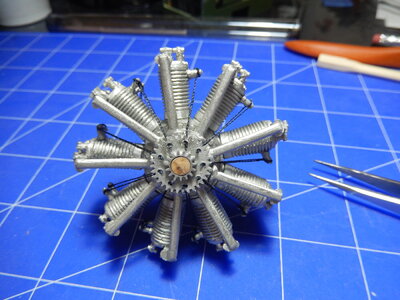
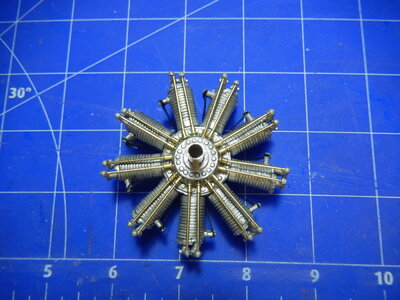
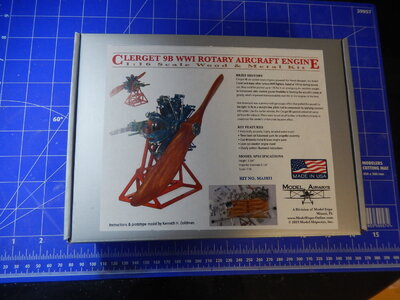
Started working on this WW I rotary engine a week ago and have been slowly making progress. A lot of fine filing to remove flashing followed by a lot of patience gluing metal parts together. Most challenging part so far has been truing up the insides of the cylinders so they fit over the pistons and the cylinder heads fit properly. To make it a bit easier to work on I built (cobbled together is a better description) a stand out of popsicle sticks. The engine parts were first mounted on a left-over piece of dowel from another kit; the dowel fit the parts just a bit more snugly than the brass tube that will eventually be cut and glued in.

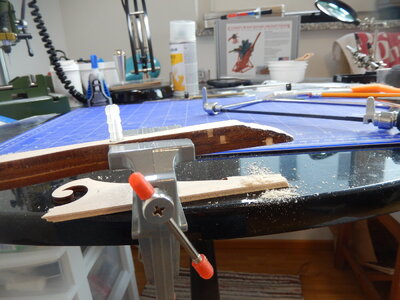
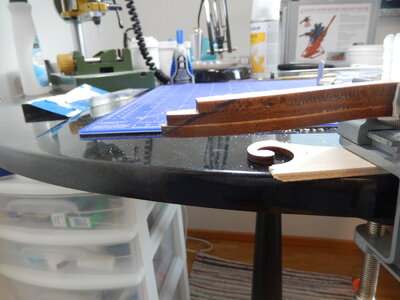
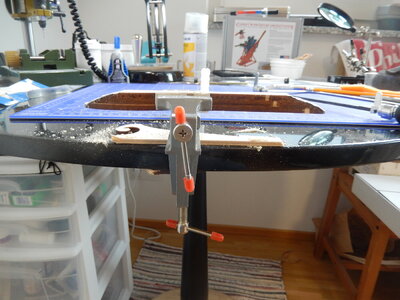
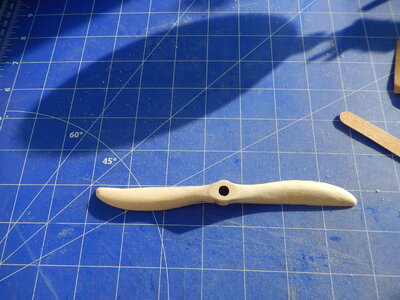
The forward engine, the portion that rotates and that the prop is attached to, is now assembled except for the lifters; still have to cut & fit those. Once they are completed work on the rear stationary portion of the engine (the gear box, carburetor, magnetos and other accessories) will start. Once I have both parts of the engine assembled I'll start what will be the most challenging part - creating a finished prop out of the laminated wood blank that currently is sitting on the work bench. I expect it will take most of the next 2 weeks to get things finished. Looking forward to what is yet to come.
DSCN7572.JPGDSCN7573.JPGDSCN7575.JPGDSCN7576.JPGDSCN7577.JPGDSCN7579.JPGDSCN7582.JPGDSCN7583.JPGDSCN7586.JPGDSCN7587.JPG
 
Very interesting project - I am looking forward to see this building
I like your assembling jig very much ...... :cool:
 
Very nice - I really wanted to buy this kit a while back and now I think I am going to have to get it. I look forward to your progress on this.
 
This is a very nice Video. If you wish to remove this video I can - just let me know - I do not want to hi-jack your thread !!!


This is a very nice Video. If you wish to remove this video I can - just let me know - I do not want to hi-jack your thread !!!


Donnie,

Thanks for sharing. Here's links to a couple of more videos of the engine.
static engine run video
3-D assembly video
 
20210307

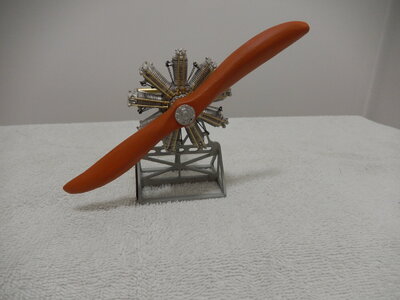
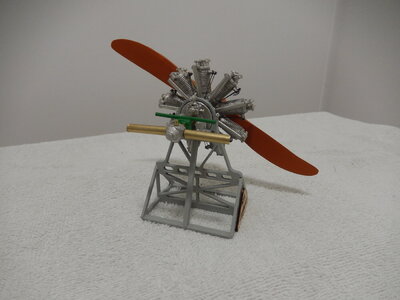
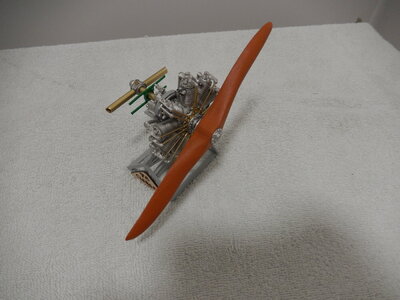
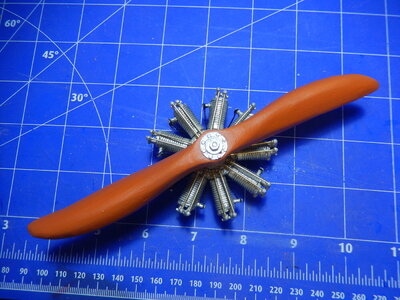
Finished the engine working yesterday & today.
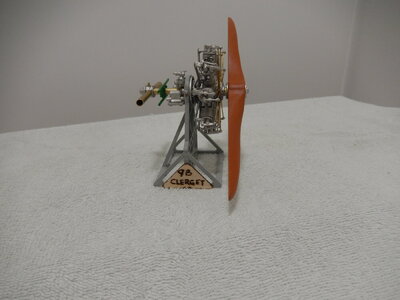
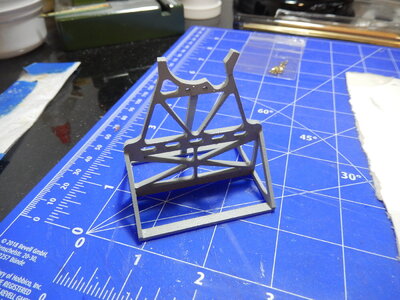
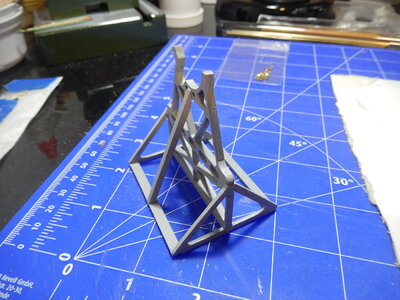
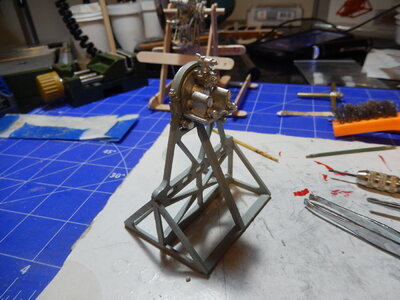
Yesterday was installing the lifters, tappets & spark plugs and completing the rear engine portion (carburetor, air scoops, magnetos, air & oil pumps, manual starter, rear engine mount) before securing the rear portion to the engine stand.

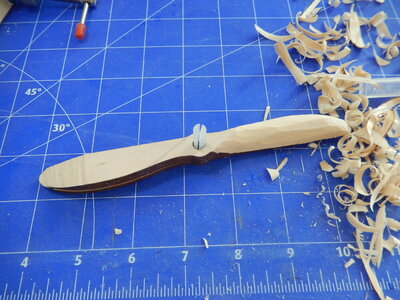
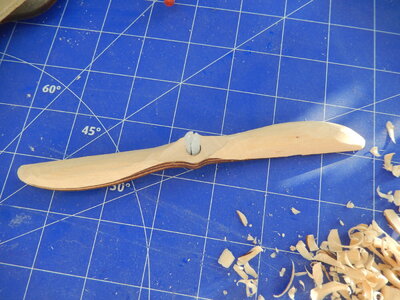
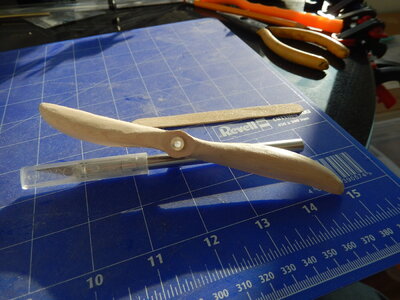
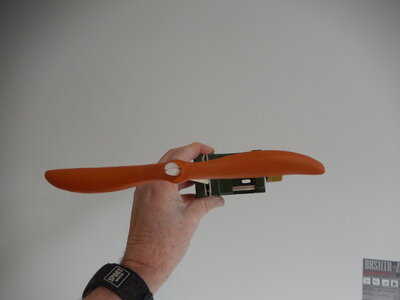
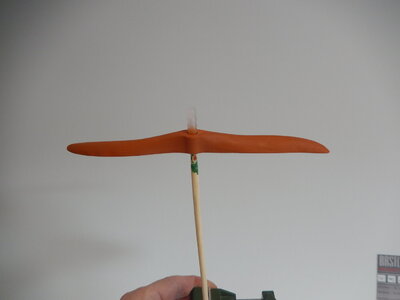
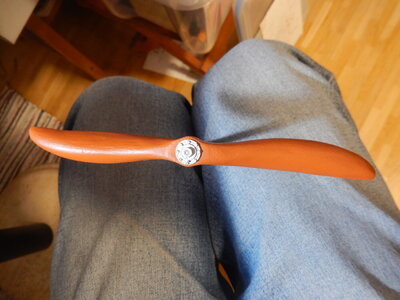
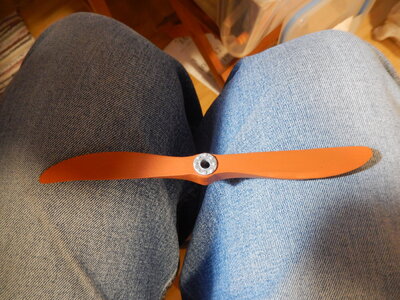
Today was installing the ignition wires and creating the finished prop. I expected creating the prop to be the hardest part but after cutting the tip profiles it was pretty straightforward. The wood supplied carved easily and the propeller sketches were easy to follow. #11 blade, a couple of nail sanding sticks, some fine/very fine sandpaper and some steel wool – overall I’m pleased with the result.

With the exception of the rear engine mount and the prop I decided to not paint anything; instead I sprayed on 2 coats of a clear lacquer once all the metal pieces were assembled (I installed the ignition wires after the engine was lacquered. The rear engine mount was painted a shade of green – it is supposed to be zinc chromate green but not having any available I mixed leaf green with some brown and called it good enough. The instructions called for the prop to be stained and varnished; not having either available I mixed some brown with a bit of red and then thinned with water to make a reddish-brown wash. 2 coats of the wash followed by 2 coats of spray lacquer and the prop was finished.

If I were to make this, or a similar engine, in future, I would install the spark plugs onto the cylinder bodies before installing the cylinders over the pistons. This would allow the spark plug holes to be enlarged enough to accept the pins that simulate the sparking part of the plug. I needed to trim this off of most of the plugs as it was too difficult to use the pin vise & drill bit to enlarge the holes due to the lack of working space between the cylinders.

Lots of small parts and just enough of everything needed to assemble the kit. Enjoyed the assembly and it will look nice on display once I get another display shelf.

For anyone not familiar with the engine’s history, it powered the Sopwith Camel (along with other WW I aircraft) and the Camel was one of the early UK Royal Navy carrier aircraft.DSCN7591.JPGDSCN7594.JPGDSCN7596.JPGDSCN7599.JPGDSCN7600.JPGDSCN7601.JPGDSCN7602.JPGDSCN7603.JPGDSCN7605.JPGDSCN7608.JPGDSCN7609.JPGDSCN7610.JPGDSCN7611.JPGDSCN7608.JPGDSCN7609.JPGDSCN7610.JPGDSCN7611.JPGDSCN7614.JPGDSCN7618.JPGDSCN7620.JPGDSCN7621.JPGDSCN7622.JPGDSCN7623.JPGDSCN7626.JPGDSCN7627.JPGDSCN7628.JPGDSCN7629.JPGDSCN7630.JPG
 
very nice - I will have to order one myself at some point and try it. Thanks for sharing.
 
Model expo now has these in stock again !!!
 
Looking through the Model Expo catalog it seems I will get another chance to build this engine when I decide which WWI fighter to build - the Sopwith Camel or the Nieuport. No hurry on the decision; have a couple of other projects standing by waiting for me to start them.
 
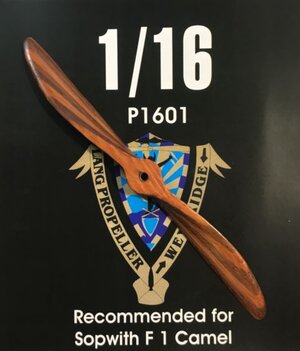
Wonderful build. Clean build with a eye for detail. I just started inventorying Model Airways Camel kit this engine comes in. Will admit I have already ordered supplemental parts that total more than I paid for kit. Pretty much everything Shapeways offers, 3D resin printed Parts. Cabbage Patch 303’s and the following. Even though you get the opportunity to make your own as you have. Well done might I add. I have carved more than a few and I get way to anal about symmetry. So I stumbled across this on the WEB. Takes the guy 60 days to get out. Hand cut, laminated and shaped.
Rick
 

Attachments

  • 9B262238-0ACA-42B0-9269-0826F7C8EB2F.jpeg
    9B262238-0ACA-42B0-9269-0826F7C8EB2F.jpeg
    50.7 KB · Views: 12
Last edited:
Looking through the Model Expo catalog it seems I will get another chance to build this engine when I decide which WWI fighter to build - the Sopwith Camel or the Nieuport. No hurry on the decision; have a couple of other projects standing by waiting for me to start them.
Go for it.
Rick
 
Wonderful build. Clean build with a eye for detail. I just started inventorying Model Airways Camel kit this engine comes in. Will admit I have already ordered supplemental parts that total more than I paid for kit. Pretty much everything Shapeways offers, 3D resin printed Parts. Cabbage Patch 303’s and the following. Even though you get the opportunity to make your own as you have. Well done might I add. I have carved more than a few and I get way to anal about symmetry. So I stumbled across this on the WEB. Takes the guy 60 days to get out. Hand cut, laminated and shaped.
Rick
Beautiful prop. Thanks for sharing. Look forward to following your log as you work on the Camel.
 
Back
Top