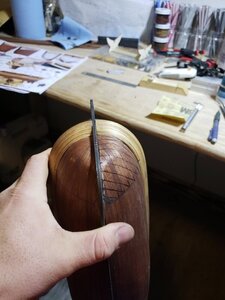
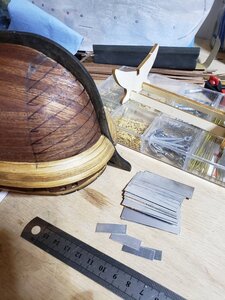
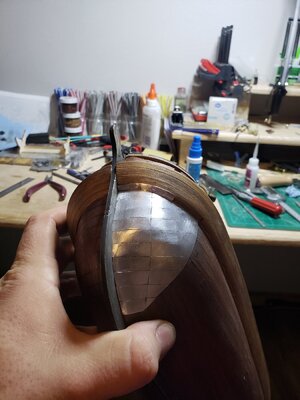
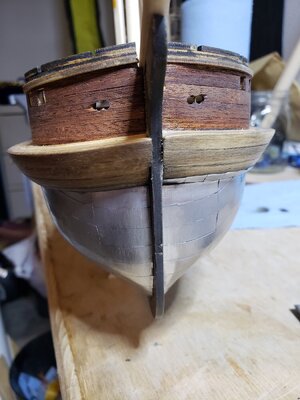
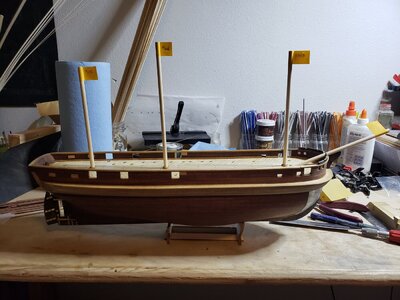
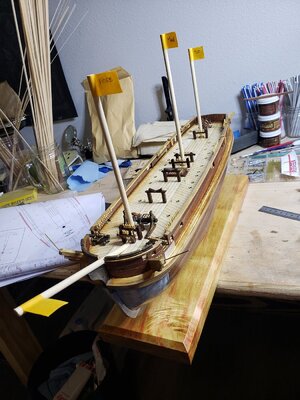
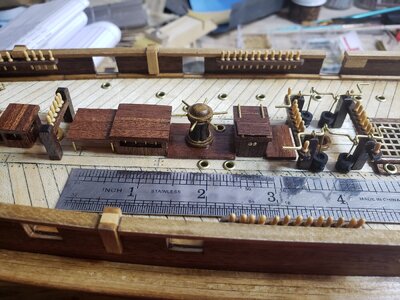
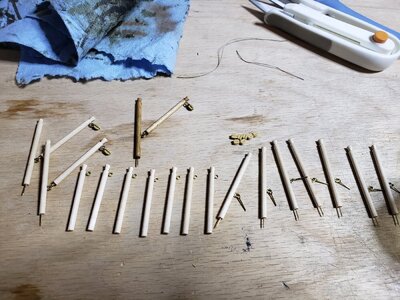
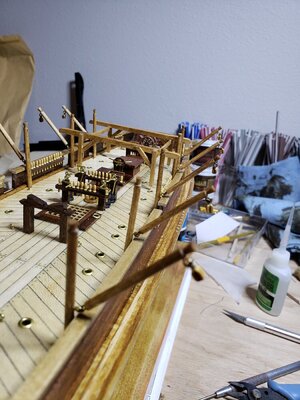
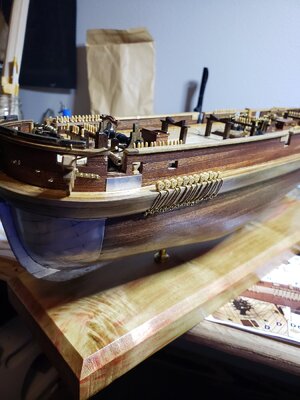
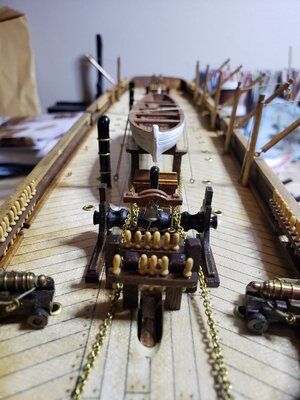
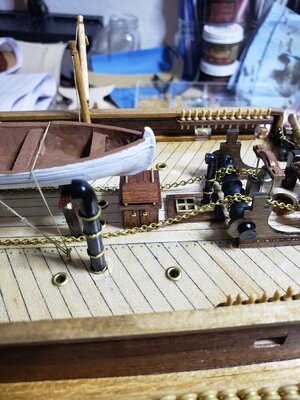
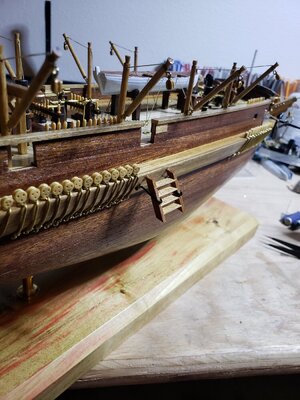
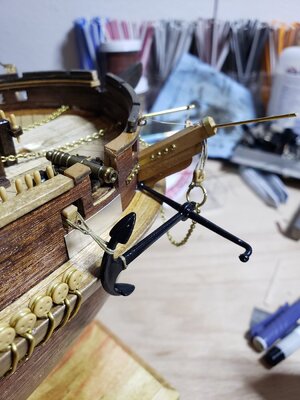
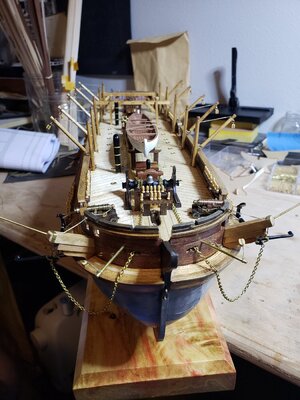
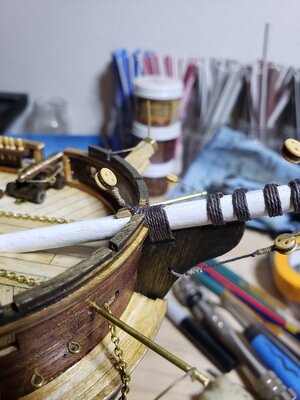
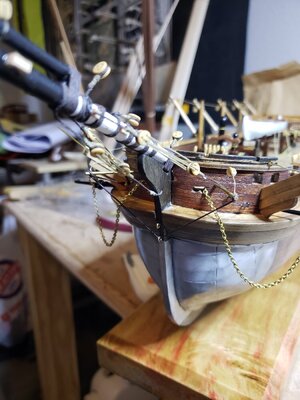
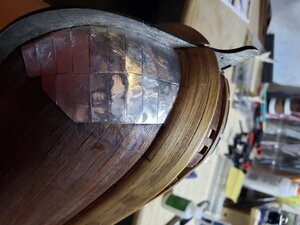
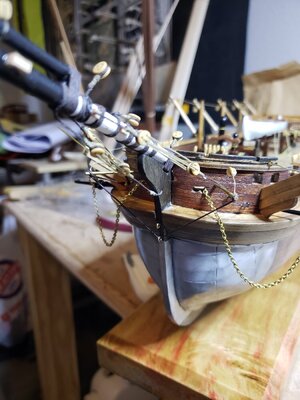
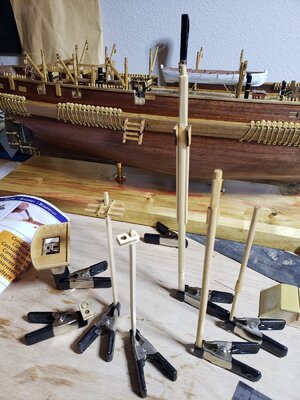
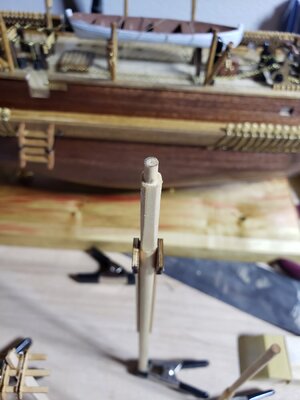
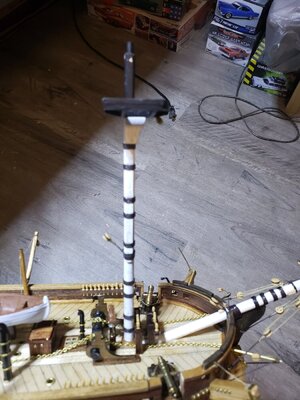
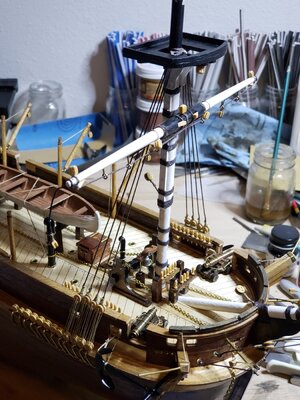
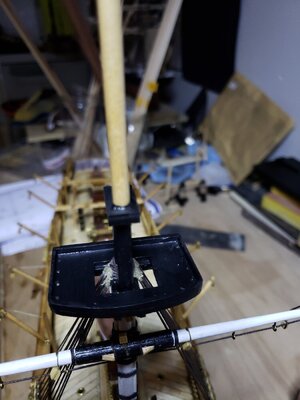
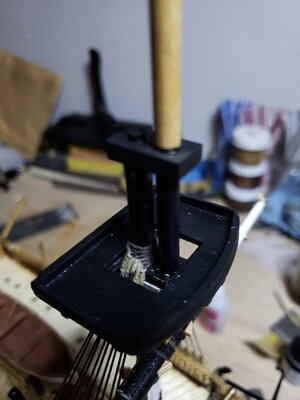
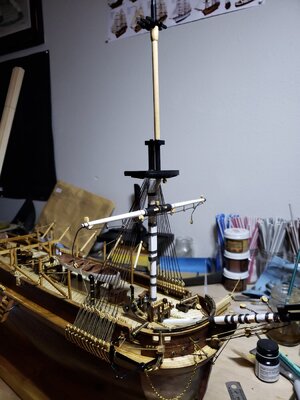
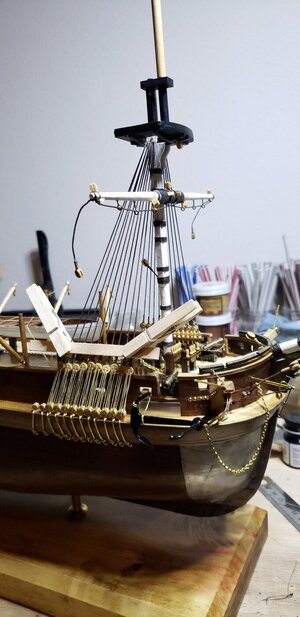
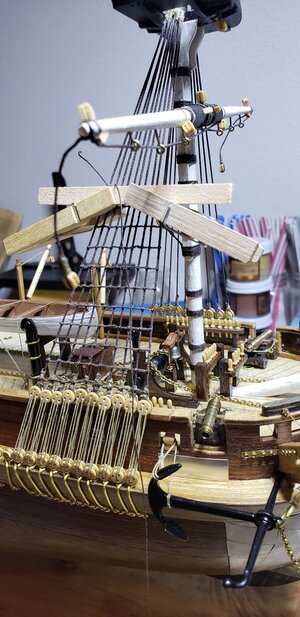
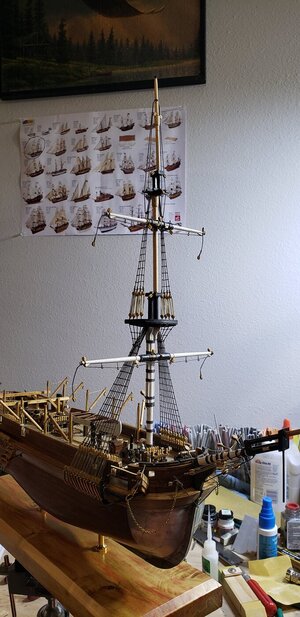
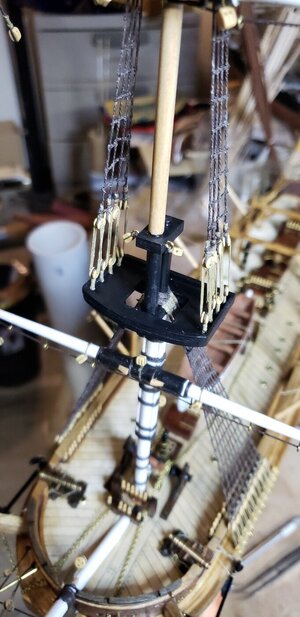
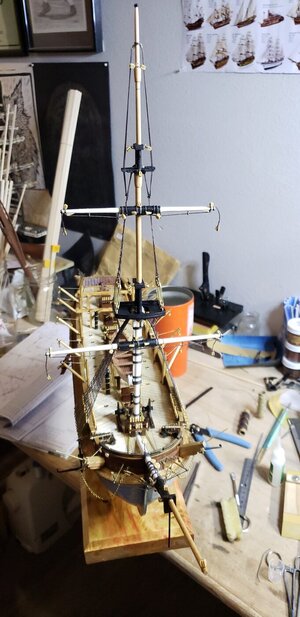
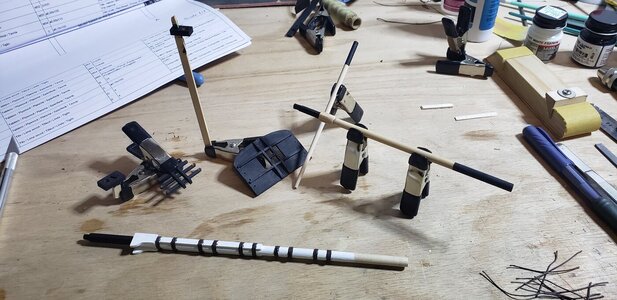
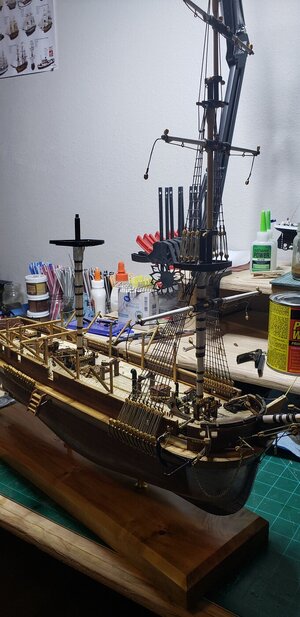
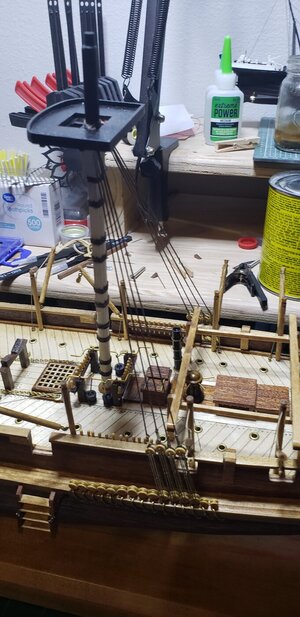
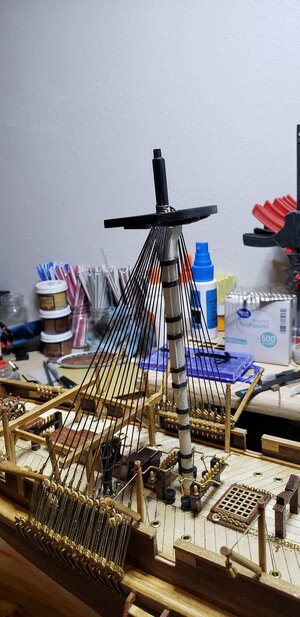
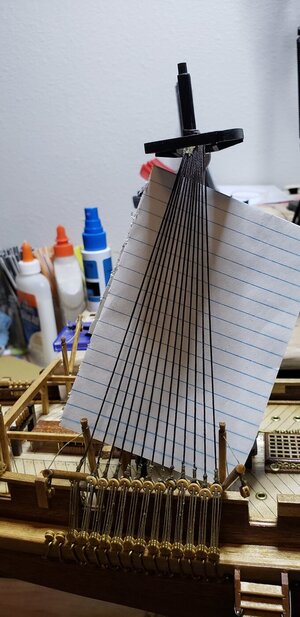
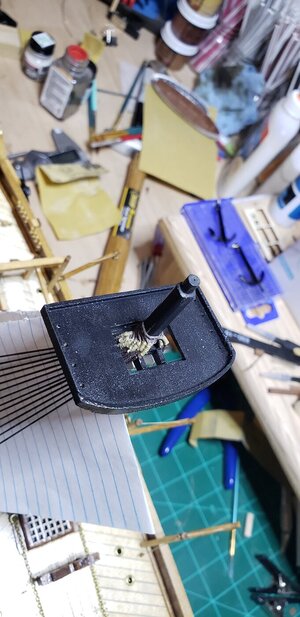
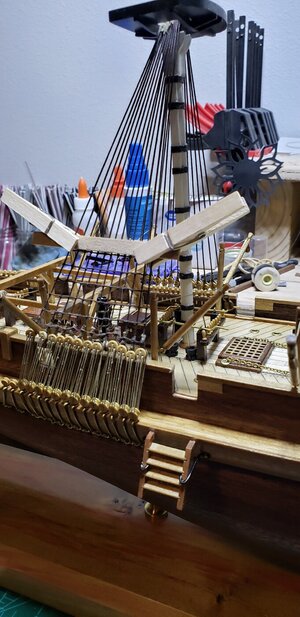
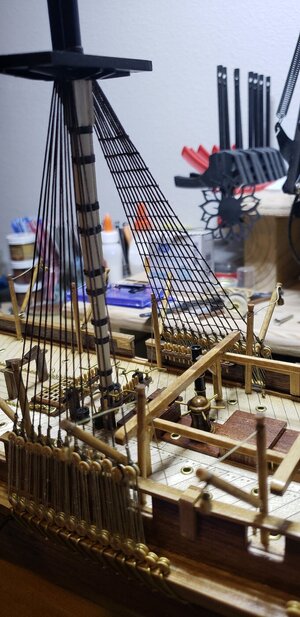
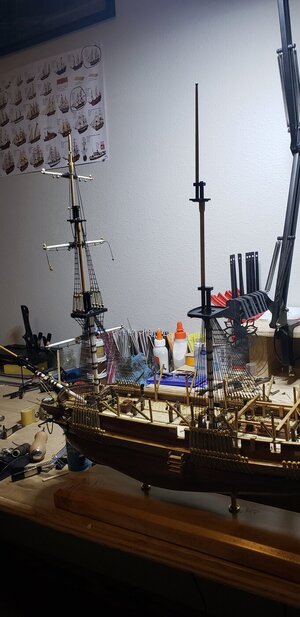
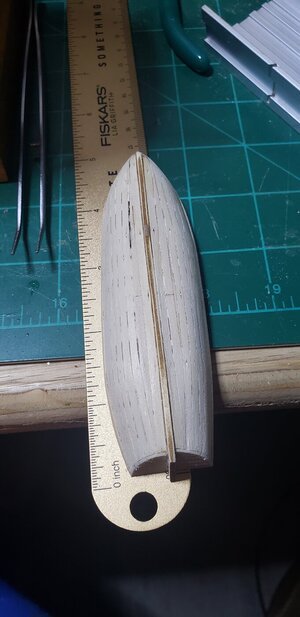
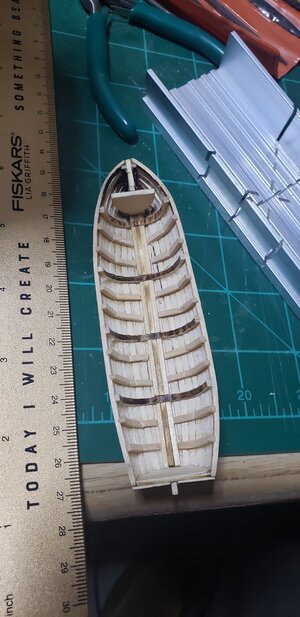
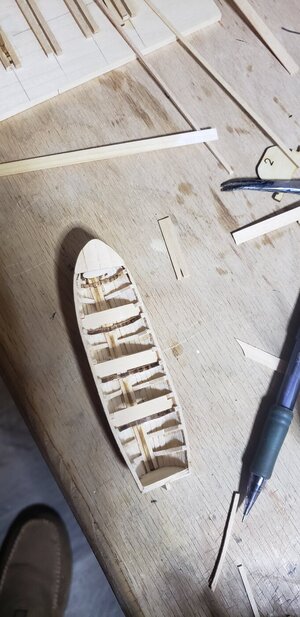
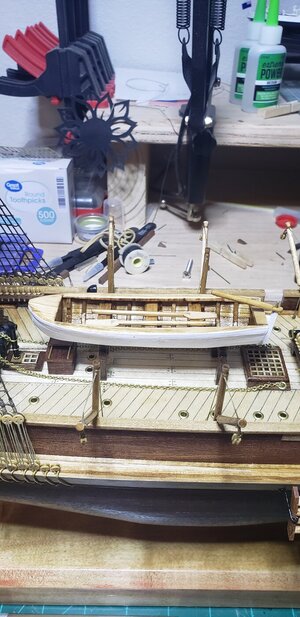
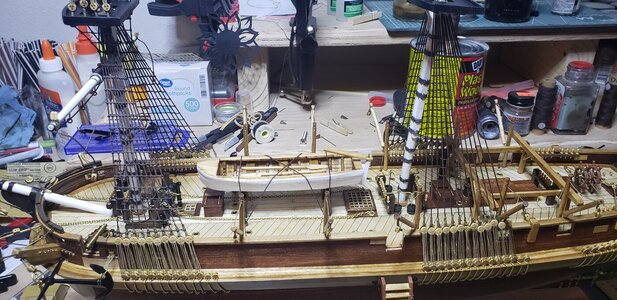
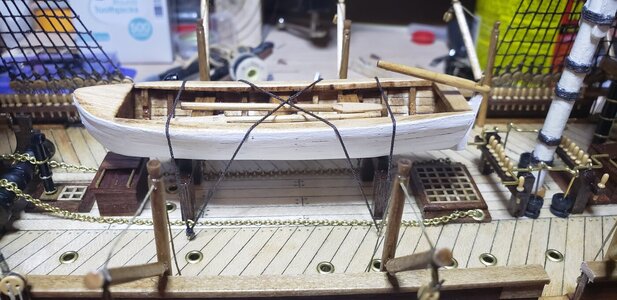
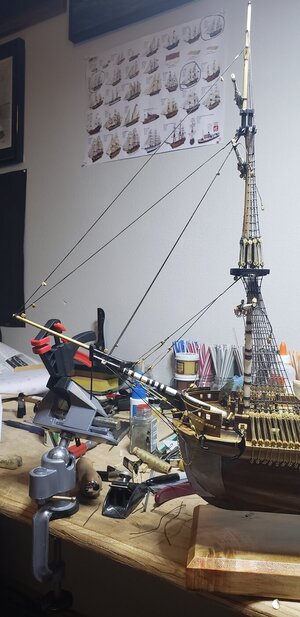
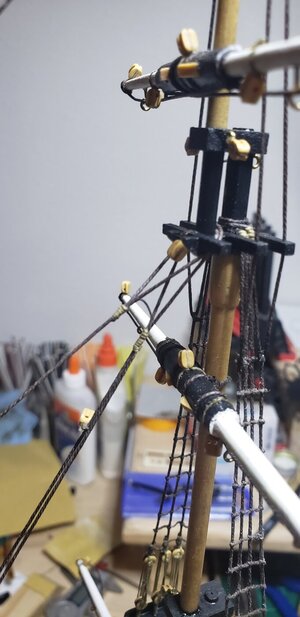
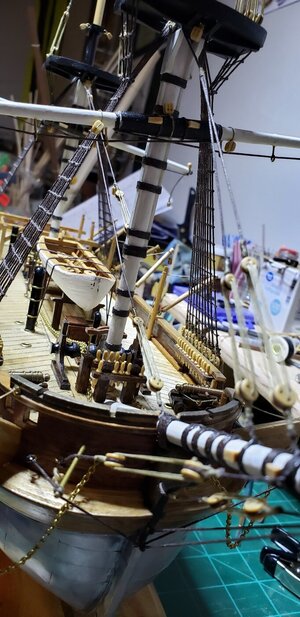
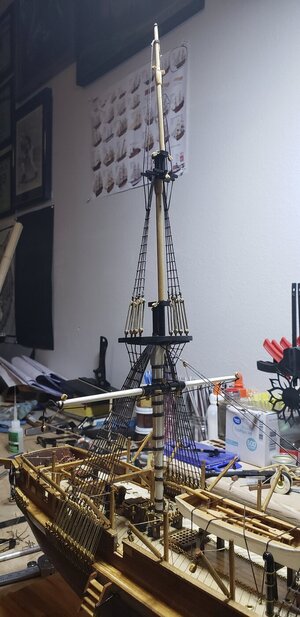
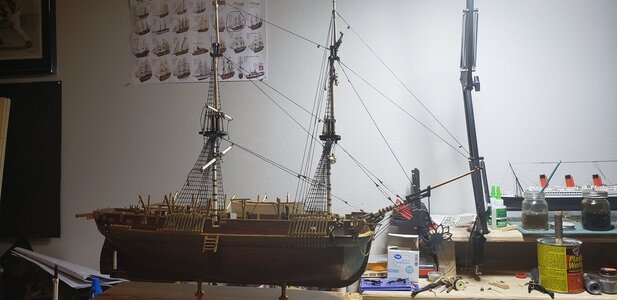
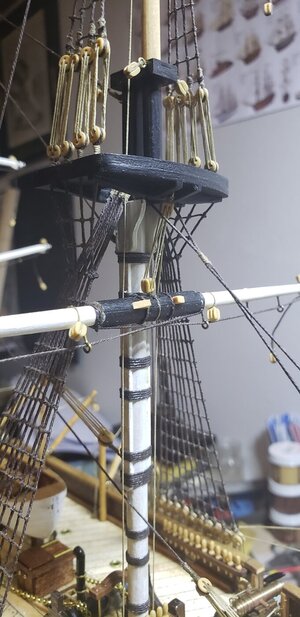
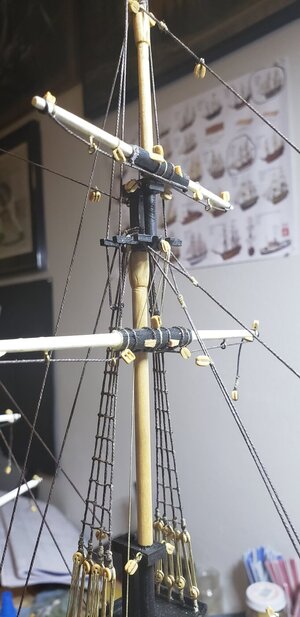
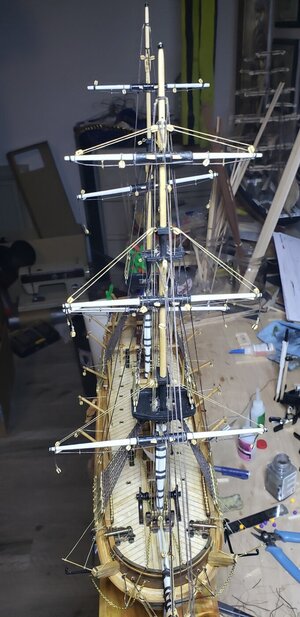
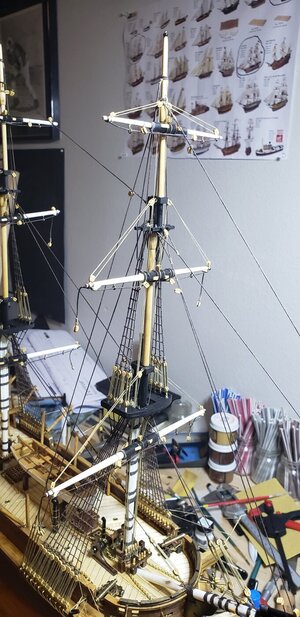
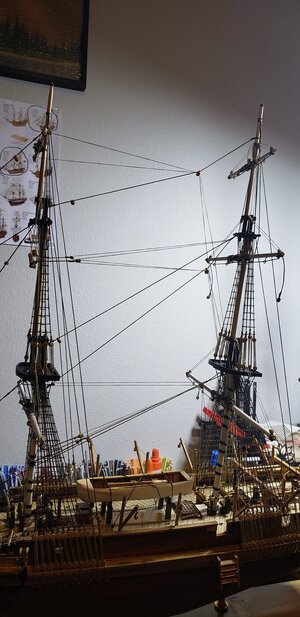
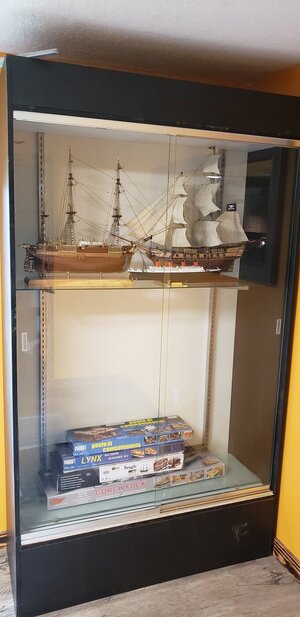
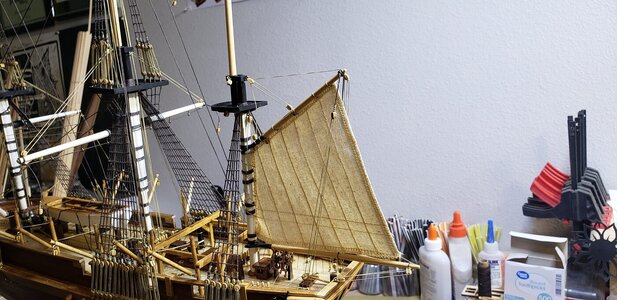
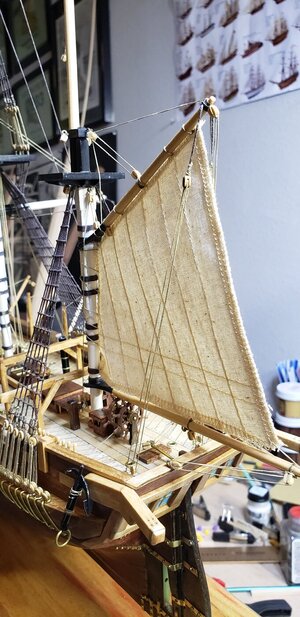
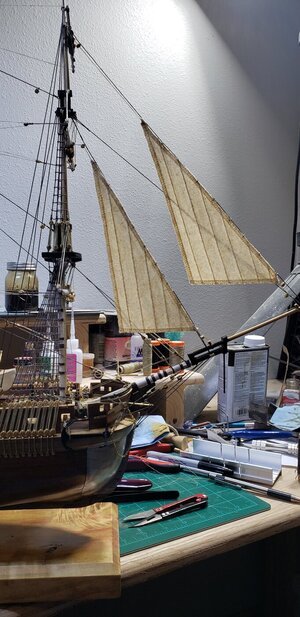
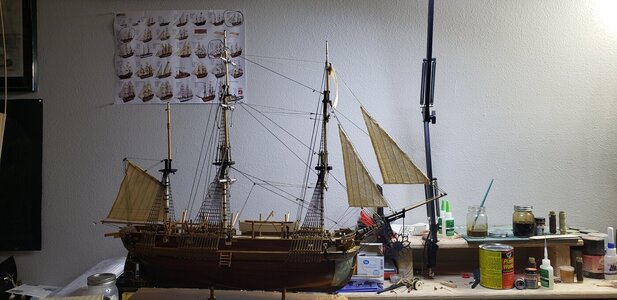
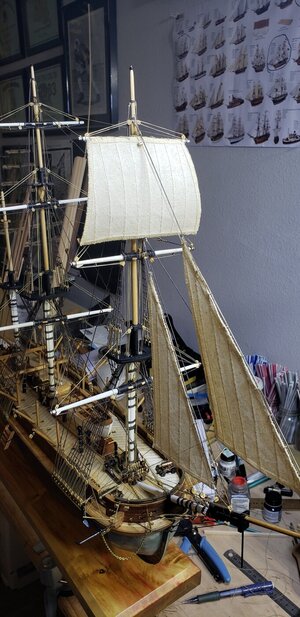
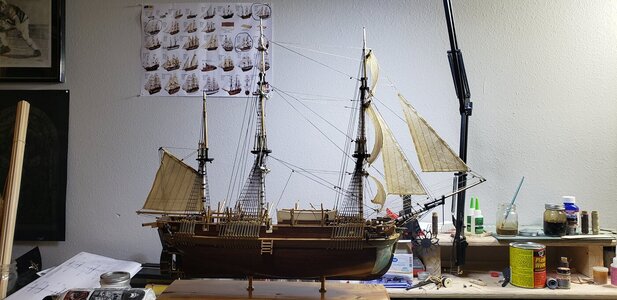
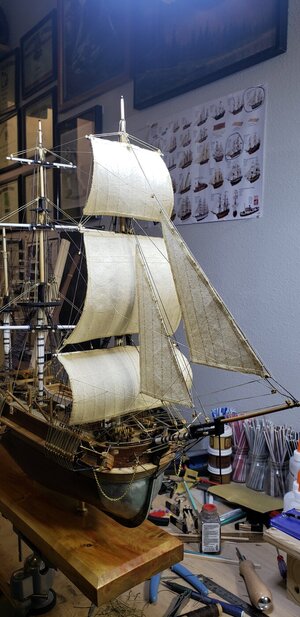
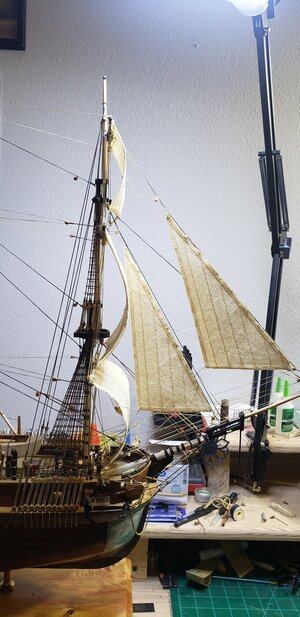
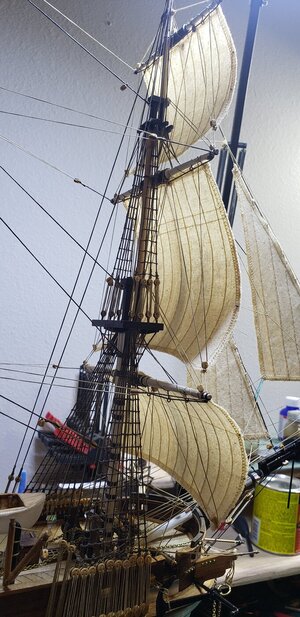
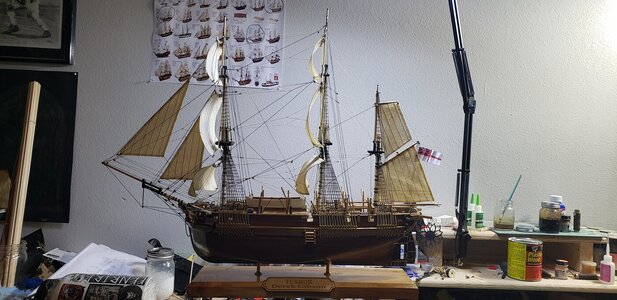
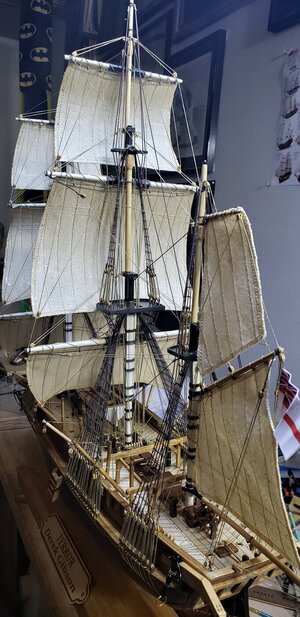
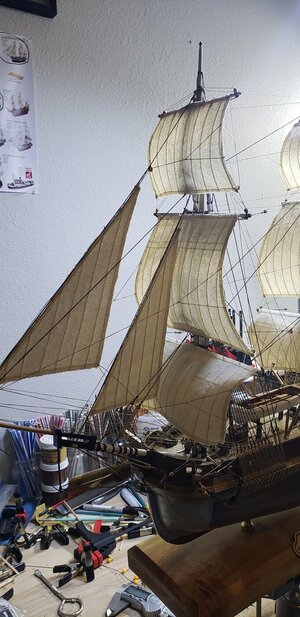
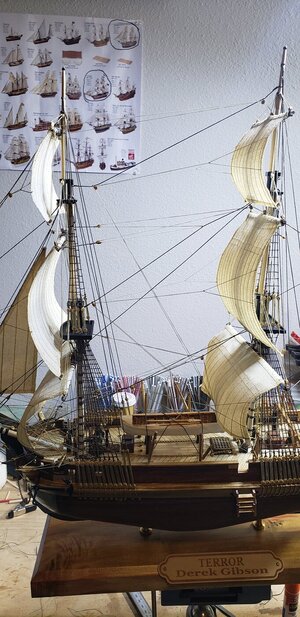
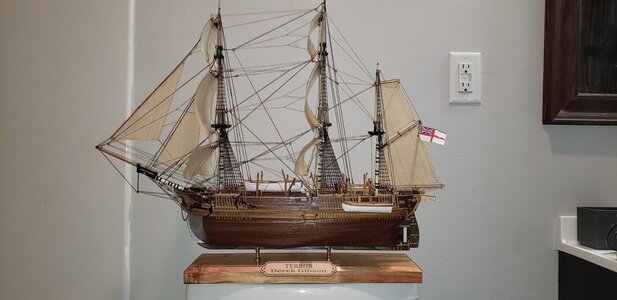
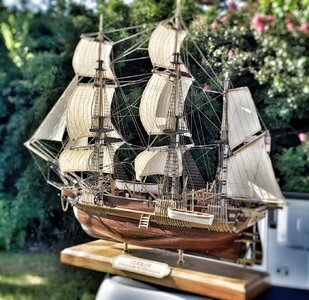
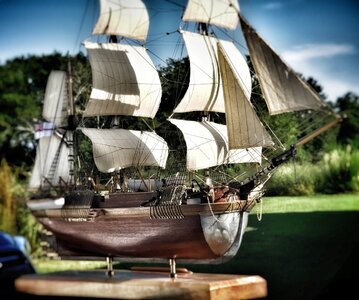
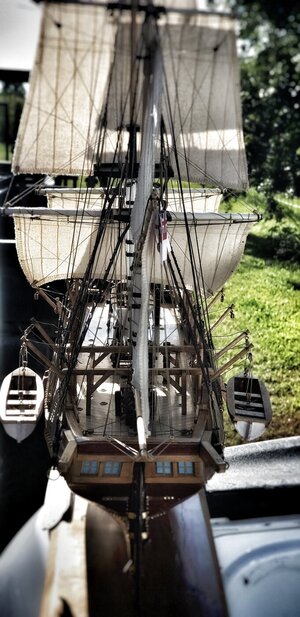
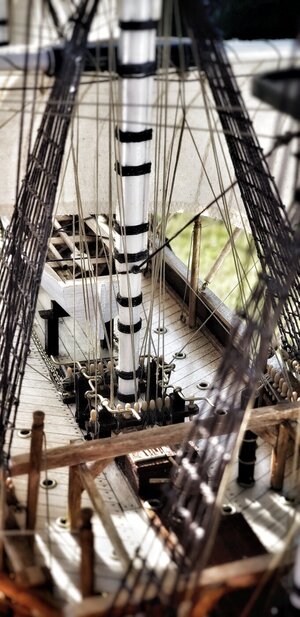
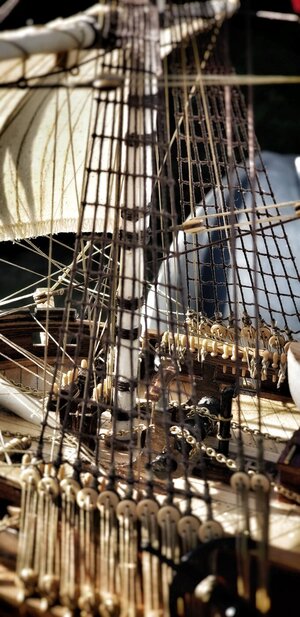
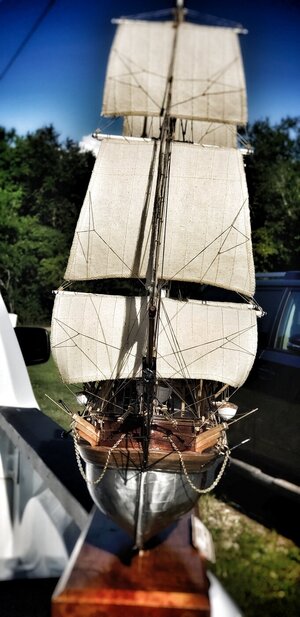
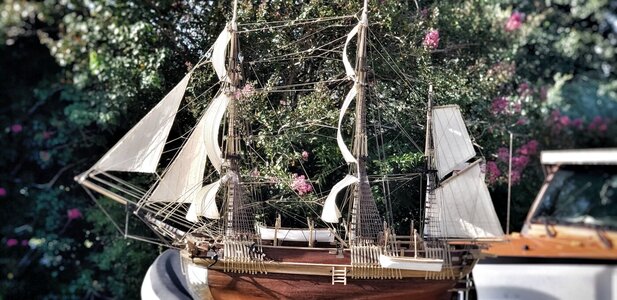
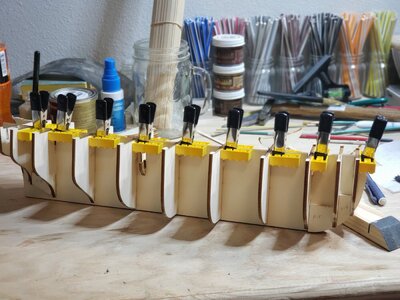
In the build log I am doing the HMS TERROR by occre. This is my second wooden ship ever. And as usual there was mistakes along the way but learning from those mistakes helped on future builds. On this one I decided to keep it the natural wood tone because I didnt want to paint over the iron on the bow of the ship. Here I'm using Lego block [2x3] to ensure all my frames are at 90 degrees.
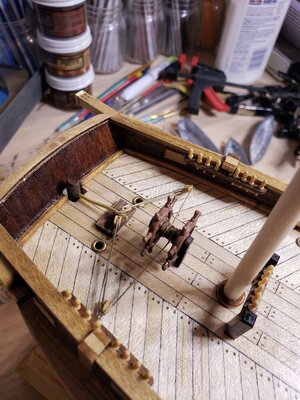
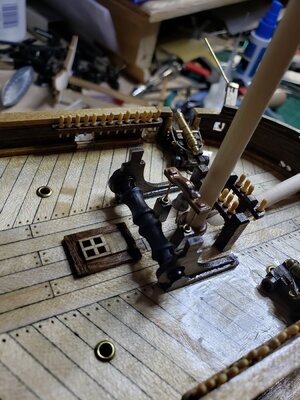
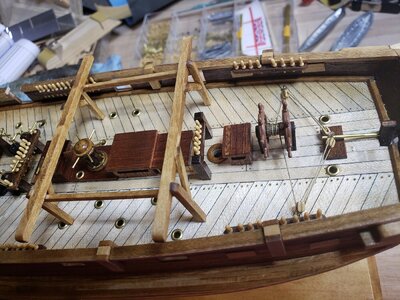
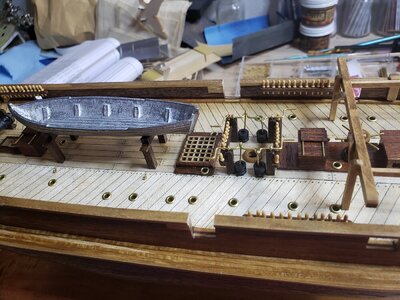
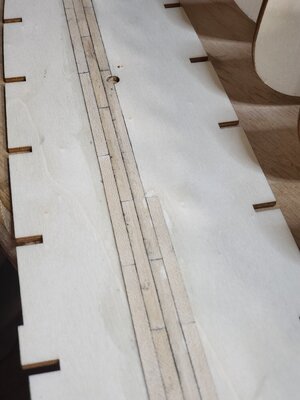
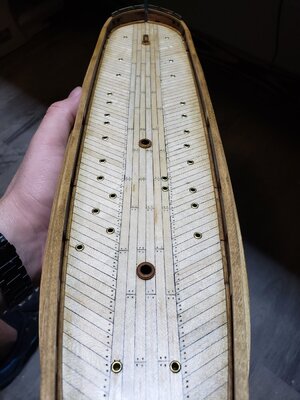
While the glue was drying on the false keel I'd start on the planking of the deck. For the caulking on this model I used a charcoal stick from my art box that I had from my college years. It was definitely messy but gave me that definition that i was after. Also what I did different on this one was I cut all my planks to 60mm in length instead of just drawing the plank separation with a pencil.
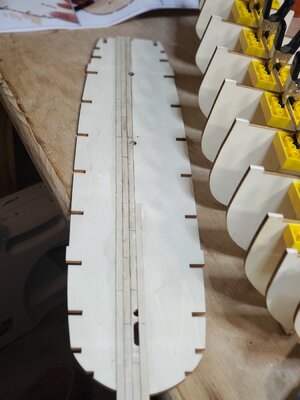
Better close up view of the deck as I'm laying planks down.
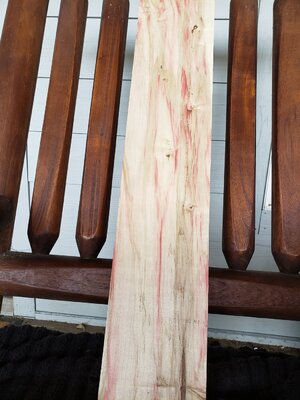
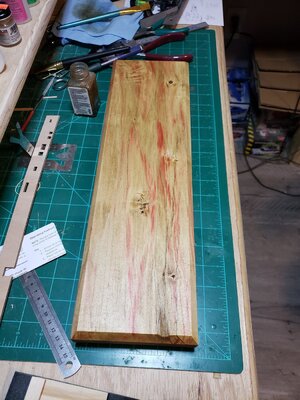
This is the base that I used for the TERROR. It is called flamming box elder wood. I saw it online and couldnt pass it up.
Here is the base cut to length and edges run to a champher with my router and 2 coats of tung oil.
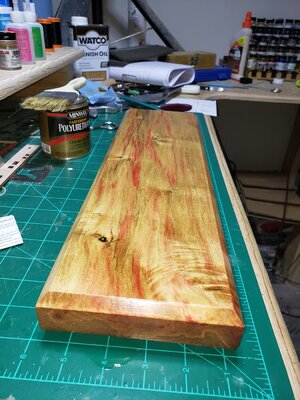
Now with a couple coats of clear satin polyurethane. I love how the tung oil made this base pop.
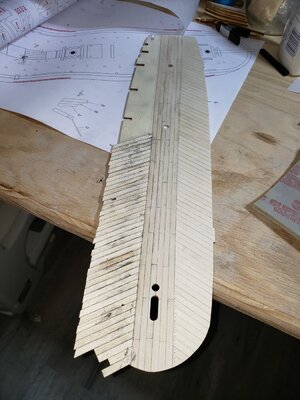
Back to the deck. I though the planking on this deck would never end. And you can see how messy the charcoal is. Dont think I'll be using it again.
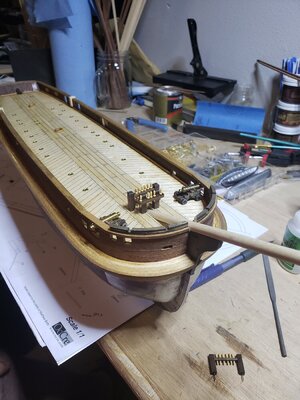
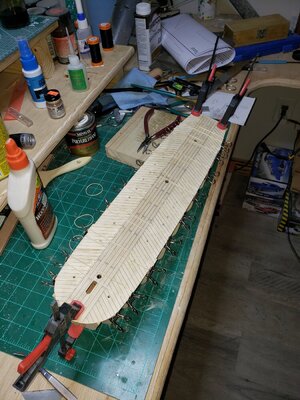
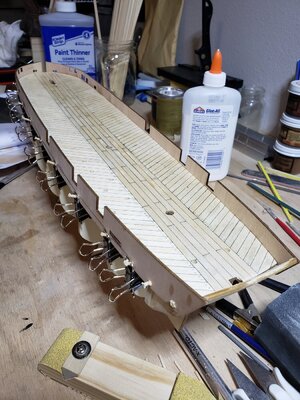
Finished with the decking. Now have it mounted to the framework, just waiting for glue to set.
Starting the planking on this one I didnt want to use the brass nails that came with the kit because I didnt feel like sanding them down. So instead I used toothpicks as my nails. Bad thing about doing this was had to drill holes for every one of them.
Getting the bulwarks in place.
Side view
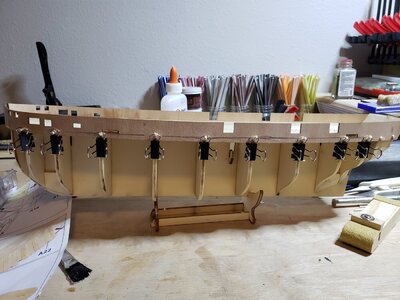
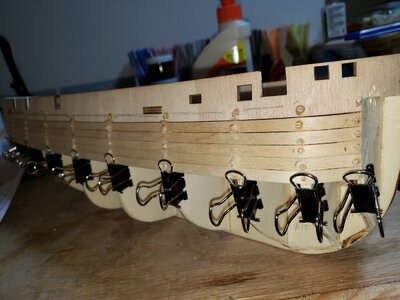
First layer of planking done now time to sand.
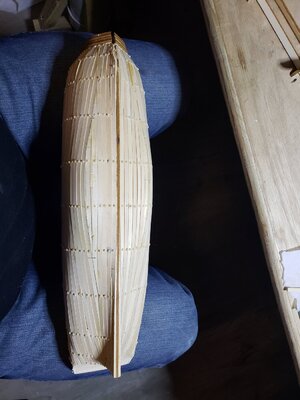
Sanded down and laying second layer of planking.
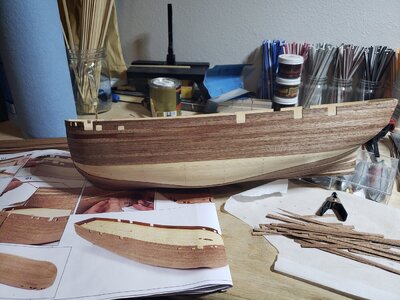
Doing some research it showed the sister ship to the TERROR being the Erebus had cannons at the bow of the ship. So I decided I'd add cannons to my TERROR since they were sister ships.
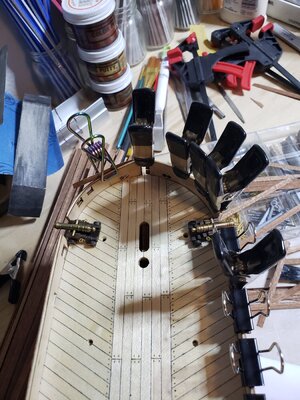
Planking done.
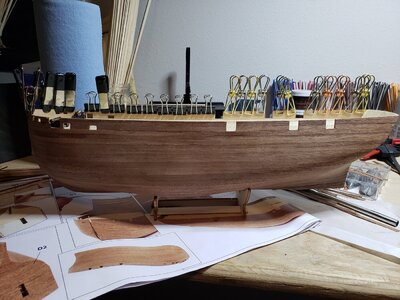
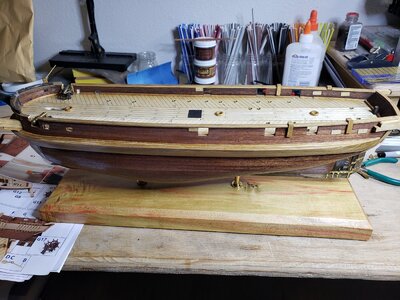
Time for the rubbing strakes. Had to build up 5 layers of 2x5 for the top row then 4 for the middle and then 3 for the bottom row.
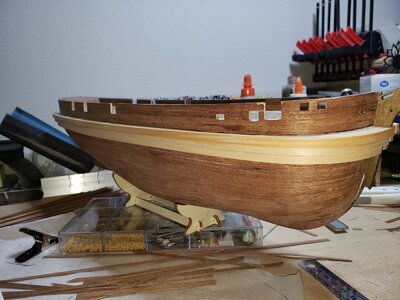
Lots and lots of sanding for these rubbing strakes.
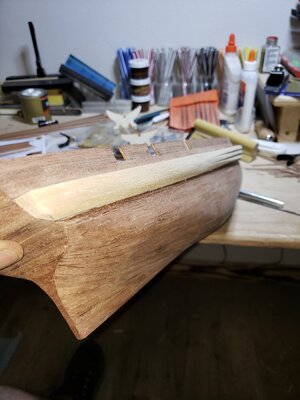
Sanding done now coat of tung oil.
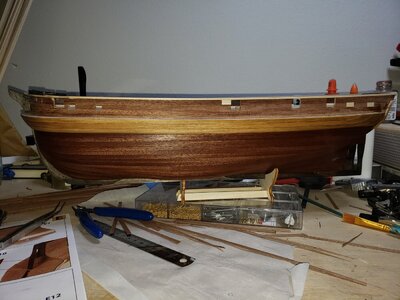
Got all the holes drilled for the port holes and the port holes in place.
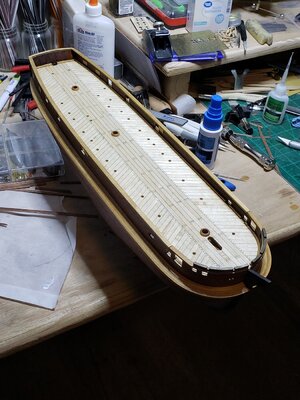
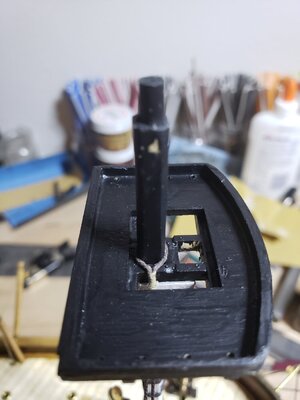
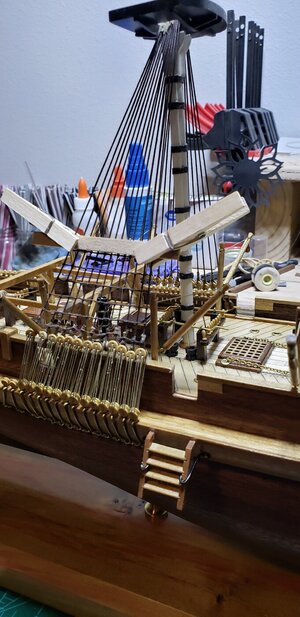
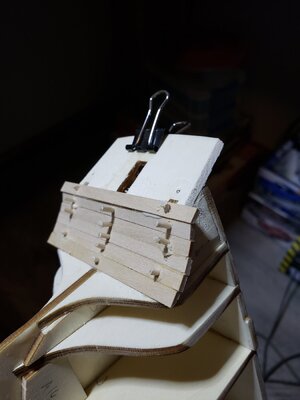
Working on the stern of the ship.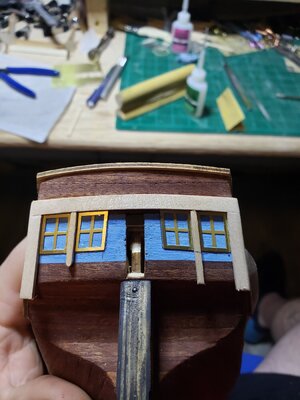
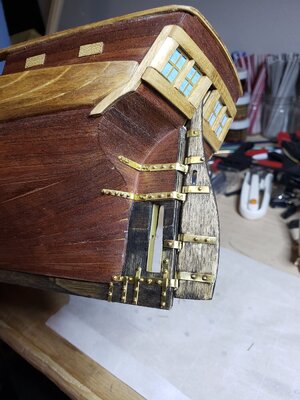
Getting the rudder on.

While the glue was drying on the false keel I'd start on the planking of the deck. For the caulking on this model I used a charcoal stick from my art box that I had from my college years. It was definitely messy but gave me that definition that i was after. Also what I did different on this one was I cut all my planks to 60mm in length instead of just drawing the plank separation with a pencil.

Better close up view of the deck as I'm laying planks down.

This is the base that I used for the TERROR. It is called flamming box elder wood. I saw it online and couldnt pass it up.

Here is the base cut to length and edges run to a champher with my router and 2 coats of tung oil.

Now with a couple coats of clear satin polyurethane. I love how the tung oil made this base pop.

Back to the deck. I though the planking on this deck would never end. And you can see how messy the charcoal is. Dont think I'll be using it again.

Finished with the decking. Now have it mounted to the framework, just waiting for glue to set.

Starting the planking on this one I didnt want to use the brass nails that came with the kit because I didnt feel like sanding them down. So instead I used toothpicks as my nails. Bad thing about doing this was had to drill holes for every one of them.

Getting the bulwarks in place.

Side view


First layer of planking done now time to sand.

Sanded down and laying second layer of planking.

Doing some research it showed the sister ship to the TERROR being the Erebus had cannons at the bow of the ship. So I decided I'd add cannons to my TERROR since they were sister ships.

Planking done.

Time for the rubbing strakes. Had to build up 5 layers of 2x5 for the top row then 4 for the middle and then 3 for the bottom row.

Lots and lots of sanding for these rubbing strakes.

Sanding done now coat of tung oil.

Got all the holes drilled for the port holes and the port holes in place.


Working on the stern of the ship.

Getting the rudder on.


