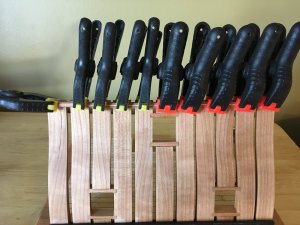
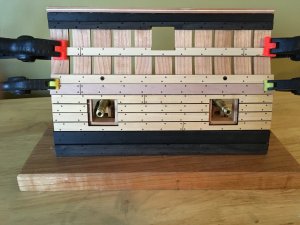
Hello All, I am finally getting around to starting this project and realise I have a long way to go to catch up to Mike and Dave. I thought to be a little different I would start with the carriages and give you a little different look at this model.
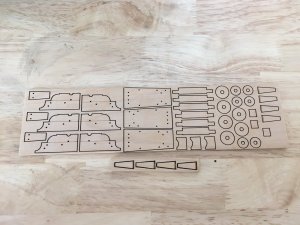
The billet containing the the parts for the carriages. The billet is a beautiful boxwood picked out by Dave and laser cut by Mike.
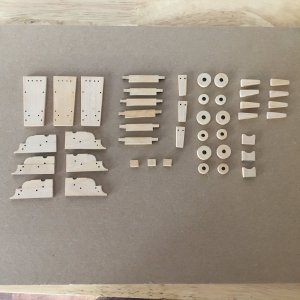
Here are the pieces separated and mostly cleaned of char. I do not spend too much time on cleaning char as I think a little left does add to the model at times. There two different sizes of quoins as the plans showed two quoins for each of the long guns so we decided to go with one thicker one for those. as you will see later one small quoin will be sufficient for both sizes of cannon.
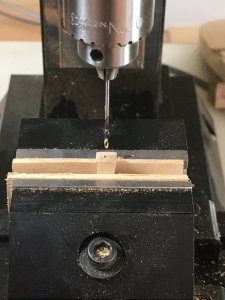
Drilling out the quoin for the handle

Drilling the axle
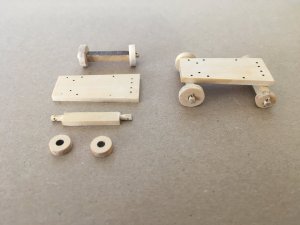
Assembly has started
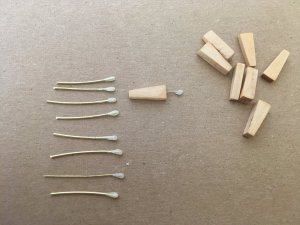
Making the handles for the quoins. I made extra ones in order to pick the best of the bunch. These are made by rolling the wire in thick ca then sprinkling them with baking soda to harden them. Then sanded and filed to shape, these are still in need of shaping but I will be able to get three out of these with no problem.
Caution should be taken here not to touch your nose when doing this. If someone was to walk in your shop seeing you enjoying yourself with white powder all over your bench and nose they may be very suspicious of what you are doing!!!

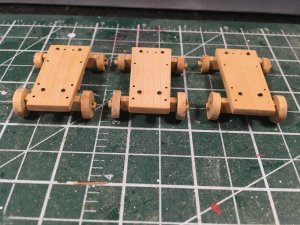
Ready for next step
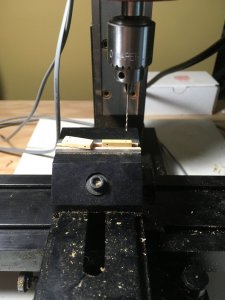
Drilling the bed, this hole needs to be drilled completely though the piece and approximately 3 mm from the front
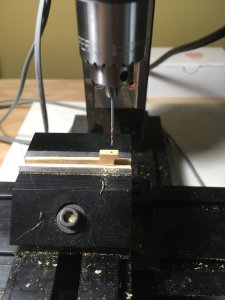
Drilling the front support piece, again this needs to be completely drilled through.
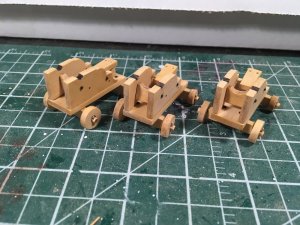
Both the bed and the front support piece are attached by using two nails, one from either side. The bed is relatively easy to install, however, the front support is a little harder to line up the holes with the nails. A coffee helps calm your nerves while doing this, then a few stiff drinks to celebrate when finished are definitely in order.
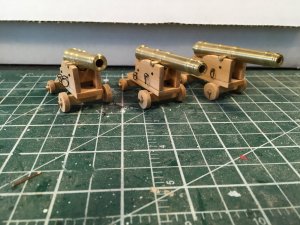
And here is how they look now. The 3 mm bar used for the trunnions are easily cut with a razor saw then filed smooth. It looks to me there may not be enough elevation to allow for a quoin on the long guns. Dave and Mike you may want to take off a couple of mm on the back support piece (9) to allow for this.
The boxwood looks so nice it hardly needs a finish, but my next step is a coat of wipe on poly.
One last thought and that is to thank Mike and Dave for including me in the wonderful project!!
Thanks for looking in, and I'l' be back with more updates. See You soon

The billet containing the the parts for the carriages. The billet is a beautiful boxwood picked out by Dave and laser cut by Mike.

Here are the pieces separated and mostly cleaned of char. I do not spend too much time on cleaning char as I think a little left does add to the model at times. There two different sizes of quoins as the plans showed two quoins for each of the long guns so we decided to go with one thicker one for those. as you will see later one small quoin will be sufficient for both sizes of cannon.

Drilling out the quoin for the handle

Drilling the axle

Assembly has started

Making the handles for the quoins. I made extra ones in order to pick the best of the bunch. These are made by rolling the wire in thick ca then sprinkling them with baking soda to harden them. Then sanded and filed to shape, these are still in need of shaping but I will be able to get three out of these with no problem.
Caution should be taken here not to touch your nose when doing this. If someone was to walk in your shop seeing you enjoying yourself with white powder all over your bench and nose they may be very suspicious of what you are doing!!!

Ready for next step

Drilling the bed, this hole needs to be drilled completely though the piece and approximately 3 mm from the front

Drilling the front support piece, again this needs to be completely drilled through.

Both the bed and the front support piece are attached by using two nails, one from either side. The bed is relatively easy to install, however, the front support is a little harder to line up the holes with the nails. A coffee helps calm your nerves while doing this, then a few stiff drinks to celebrate when finished are definitely in order.

And here is how they look now. The 3 mm bar used for the trunnions are easily cut with a razor saw then filed smooth. It looks to me there may not be enough elevation to allow for a quoin on the long guns. Dave and Mike you may want to take off a couple of mm on the back support piece (9) to allow for this.
The boxwood looks so nice it hardly needs a finish, but my next step is a coat of wipe on poly.
One last thought and that is to thank Mike and Dave for including me in the wonderful project!!
Thanks for looking in, and I'l' be back with more updates. See You soon


