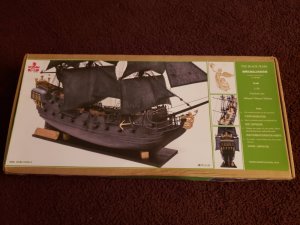
I have wanted to build this ship for some time and now with my Grandson wanting the Black Pearl Ship because its his favorite Movie I have Picked one up from ZHL to build. after doing a bit of research on the actual ship and finding a few articles posted from other builders my understanding is its not an easy ship to build and many are saying the Instructions are difficult to follow. I will be doing a very detailed build log on this ship for that reason lots of pictures and explanations as I progress through the build. I will be adding custom elements to the build and Ill do my best to create the most realistic rigging components I can. this will be a long build and even though I'm only days away from Maryland's opening of Deer Hunting season I will remain dedicated to the completion of the Vessel. I'm sure my Grandson will force that and I fully intend to have him help along the way.
I like the Black Ship however I wont be going that way with this build, there will be black and lots of it, but the whole ship will not be black as many have built it. I'm undecided as of yet to paint the black on or use wood Dye so I have some testing to do on the actual wood to see what will look best. I want to thank Max over at ZHL for a fantastic kit that came packaged very well and shipped super fast. So without further delay Here we go.

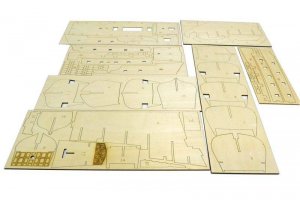

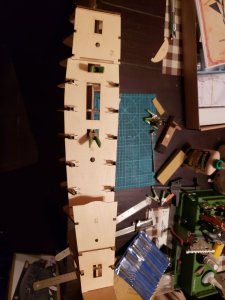
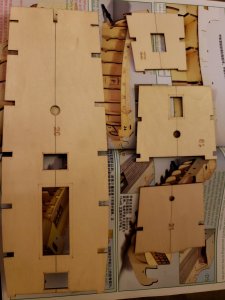
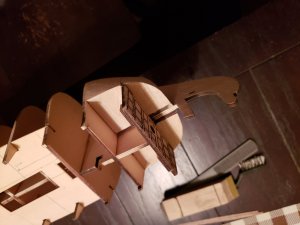
I got started on the false keel which was straight right out of the box. I used a 5min epoxy to attach the front half to the rear and then sanded off all squeeze out. In case anyone is wondering what's holding things flat those are 3 Authentic Native American Artifacts I recovered from my Hunting Property Two are Axe heads and the triangle shaped rock is a pecking stone which may or may not have been used to create the Hafting groove in those Axe Heads. I have found a ton of stuff including Pipes, Arrow and spear heads, pottery, beads and even personal dress adornments made from stones and seeds that were made into beads. I am Half Cherokee Indian so finding these artifacts was very special to me. Ok enough of that back to business.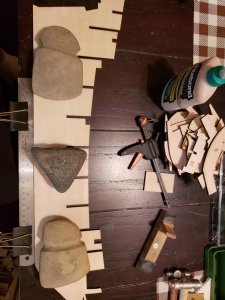
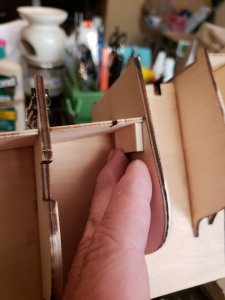
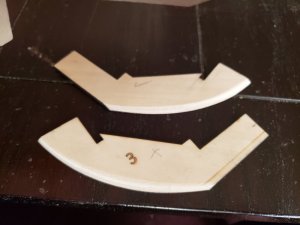
one of the gray areas in the manual is how to derive at the exact placement of both parts labeled #3. I used Bulkhead #4 to help determine this. I put bulkhead #4 in place and lined up part #3 to its exact location. Once it was clamped in place I traced its location onto the false Keel. I removed the Bulkhead and both parts #3 from both sides and used a block sander to give the edge a 45* bevel as instructed in the manual. It was a simple process then to glue then back inside the traced lines.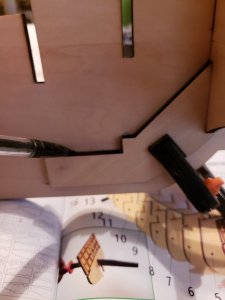
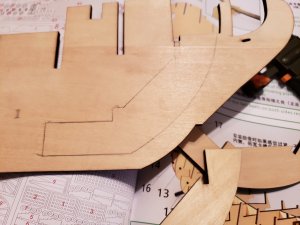
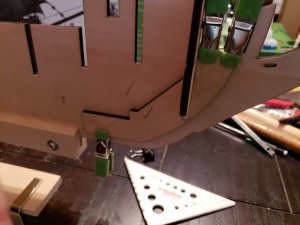
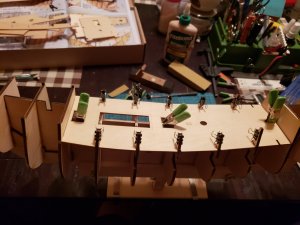
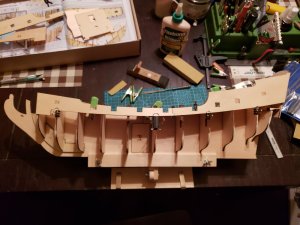
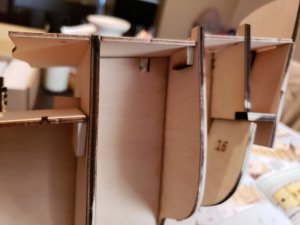
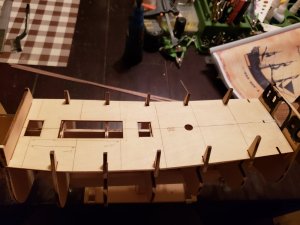
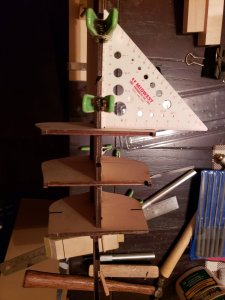
I then just started Installing Bulkheads one at a time using a square to insure they were square to the false Keel. When all were installed I glued in Part #P1 a support for both sides of the false keel where they were joined together. I wanted to make sure the frame was locked into place nice and straight before installing that part.
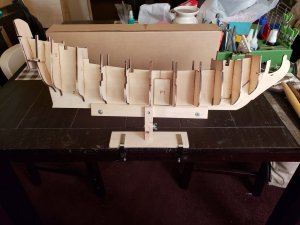
I want to fill in the gap between Bulkheads at the Bow to insure a nice flow of the planks and plenty of surface area to adhere them to, unfortunately I didn't have the size blocks to place in them on hand so I had to order some. I'll pick up at that point on Tuesday when I get them, but till then I'll clean up the parts to be installed after that's done. Good thing I am replacing my dining room table otherwise the wife would have split my head for messing it up lol Its at a perfect height so it will go into my work room and when the new one arrives. Its just the Wife and I at the house now and the kids only come by for holidays and to drop off my Grandson so no one eats at the table till holidays anymore. With the addition of the Grandson and another on the way we needed a larger table so I get the old one which is pretty small, but perfect for my hobbies.
I like the Black Ship however I wont be going that way with this build, there will be black and lots of it, but the whole ship will not be black as many have built it. I'm undecided as of yet to paint the black on or use wood Dye so I have some testing to do on the actual wood to see what will look best. I want to thank Max over at ZHL for a fantastic kit that came packaged very well and shipped super fast. So without further delay Here we go.


I got started on the false keel which was straight right out of the box. I used a 5min epoxy to attach the front half to the rear and then sanded off all squeeze out. In case anyone is wondering what's holding things flat those are 3 Authentic Native American Artifacts I recovered from my Hunting Property Two are Axe heads and the triangle shaped rock is a pecking stone which may or may not have been used to create the Hafting groove in those Axe Heads. I have found a ton of stuff including Pipes, Arrow and spear heads, pottery, beads and even personal dress adornments made from stones and seeds that were made into beads. I am Half Cherokee Indian so finding these artifacts was very special to me. Ok enough of that back to business.

one of the gray areas in the manual is how to derive at the exact placement of both parts labeled #3. I used Bulkhead #4 to help determine this. I put bulkhead #4 in place and lined up part #3 to its exact location. Once it was clamped in place I traced its location onto the false Keel. I removed the Bulkhead and both parts #3 from both sides and used a block sander to give the edge a 45* bevel as instructed in the manual. It was a simple process then to glue then back inside the traced lines.


I then just started Installing Bulkheads one at a time using a square to insure they were square to the false Keel. When all were installed I glued in Part #P1 a support for both sides of the false keel where they were joined together. I wanted to make sure the frame was locked into place nice and straight before installing that part.


I want to fill in the gap between Bulkheads at the Bow to insure a nice flow of the planks and plenty of surface area to adhere them to, unfortunately I didn't have the size blocks to place in them on hand so I had to order some. I'll pick up at that point on Tuesday when I get them, but till then I'll clean up the parts to be installed after that's done. Good thing I am replacing my dining room table otherwise the wife would have split my head for messing it up lol Its at a perfect height so it will go into my work room and when the new one arrives. Its just the Wife and I at the house now and the kids only come by for holidays and to drop off my Grandson so no one eats at the table till holidays anymore. With the addition of the Grandson and another on the way we needed a larger table so I get the old one which is pretty small, but perfect for my hobbies.


