Ragusian Carrack (MarisStella) - Scale 1:59

Joined
Jan 9, 2022
Messages
733
Points
353

Location
Winter Haven, Florida
I’ve decided to build the MarisStella Ragusian Carrack 1:59.

I purchased this kit about 3 years ago after watching Olha Batchvaro begin building this kit. It’s been sitting on my shelf since then. My daughter said she would like to have one of my ships. I was considering which ship to build next. I was deciding between the MarisStella Ragusian Carrack and Pavel Nikitin’s San Bartolome. I sent images to my daughter asking which she would like. She chose the Ragusian Carrack. So this it the kit I will build next.

There are 3 completed builds that I could find on the SOS forum. (HERE) These are all great builds which I intend to refer to for insights while building mine.

Olha Batchvarov's build in 2020 (HERE). Olha also has her own website with the build (HERE)

Jack Aubrey’s build in 2017 (HERE)

Signet’s build in 2023 (HERE)

Olha’s husband, Kroum Batchvarov is an Underwater Ship Archaeologist and Associate Professor of Maritime Archaeology. He also has his own website. (HERE) Kroum offers some of his wealth of knowledge about ship modeling on his website.

The reason I added Mr. Batchvarov is his video “Mistakes in the DESIGN of The Ragusian Carrack model”. (HERE)
 
Olha references the kit contents "What's in the box" much better than I could have.

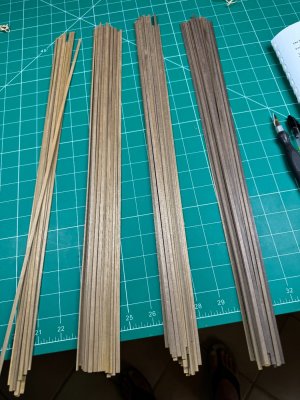
I would like to point out that all visible parts of the ship are walnut. The hull and decking are built from 1.5x4mm strips of walnut. Something I don’t really care for is the color variation of the planking/deck strips which come in the kit vary from very light walnut to dark walnut.
IMG_4462.JPG

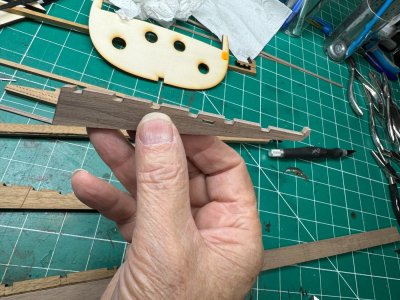
As I begin, my initial thought concerning the hull is to deviate from previous builds by cutting planks to a scale size of about 20’ or so. Previous builds are planked with one long strip. I’m not sure if the hull will actually be completed using small planks as I’m unsure how this will actually look compared to the one continuous plank. And the wide color variation of the walnut strips may prohibit this. I intend to begin by using small planks and see how it looks.

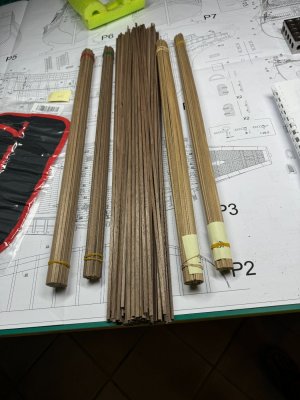
I have several pieces of walnut lumber. I ripped them into 1.5x4 strips and may use them for the hull. They are generally all the same color. But they are a little darker than I would like. I will figure this out when I get to the planking. The strips I cut are in the center. I spent most of 1 day cutting and sanding these. If I don't use them, it's okay, as I enjoyed cutting them.
IMG_4480.JPG

Like the Armed Virginia Sloop I just completed, I plan of using lighter/darker woods and stains to set off things like cap rails, decking, wales, rubbing strakes, etc. I prefer to build a model ship that’s pleasing to my eye versus necessarily what would have been done. And if I understood Mr Batchvarov’s video, this wasn’t modeled after a real ship.

I hope to begin in the next few days.
 
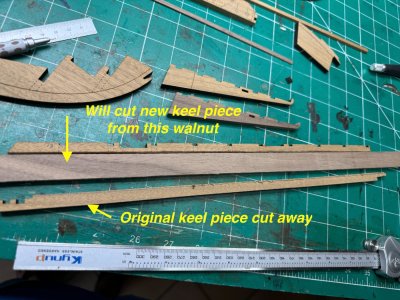
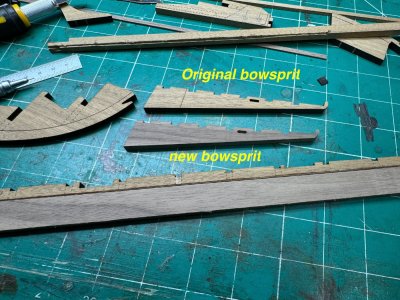
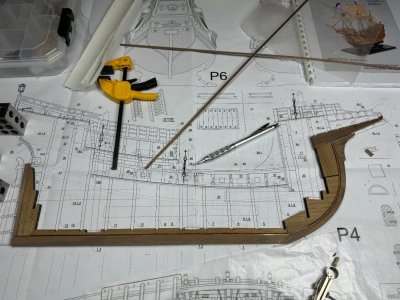
I'm sort of following Olha's keel replacement. The keel wood doesn't look too good. She cut the keel away at the rabbet line and replaced it with her own walnut. I don't think she replaced the bowsprit piece. It's a little harder to cut versus the other keel parts. I ripped some walnut the width of the keel and will model the new pieces from the original.
IMG_4498.JPGIMG_4496.JPGIMG_4497.JPG
 
I cut new keel (backbone??) from my walnut. Pieces are glued together. While I had this cut apart I ripped a 1.6x3mm strip and glued to the keel. I did this rather than cutting a rabbet before gluing the inner/outter keel pieces back together. The ship has a flat nose and bottom so the planks will mostly fit 90 degrees into the rabbet. There's a small bearding line. I'll sand this down before gluing the upright keel piece at the stern.
IMG_4501.JPGIMG_4503.JPGIMG_4502.JPG
 
Last edited:
Darn. I just deleted everything I wrote when I inserted a picture.

Thanks rtibbs and doc.

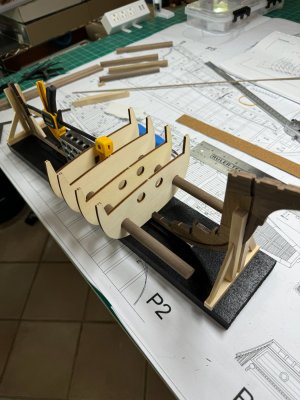
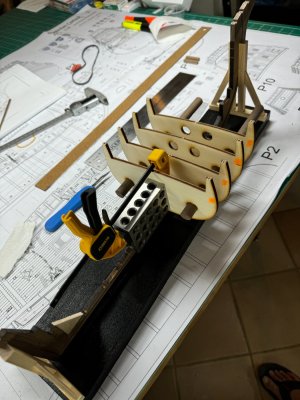
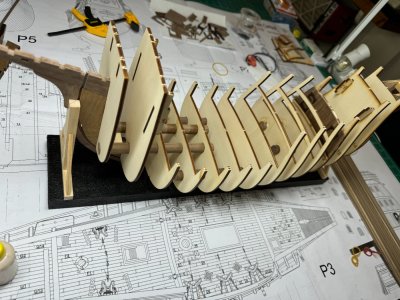
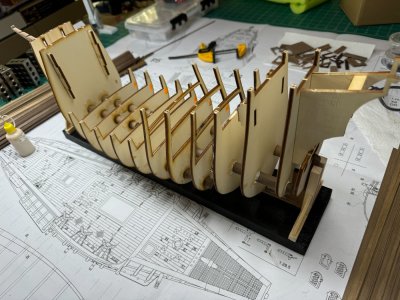
All the bulkheads are glued in. All the bulkheads are held in place by 3 sets of dowels. The dowels fit very tight and securely hold the bulkheads in place. The dowels are glued to the bulkheads.

I am so glad there are other builds to refer to. There aren't a lot a detain images, that I see anyway, to help me. I'm relying on other's builds to help me!
IMG_4524.JPG
IMG_4525.JPG
 
Last edited:
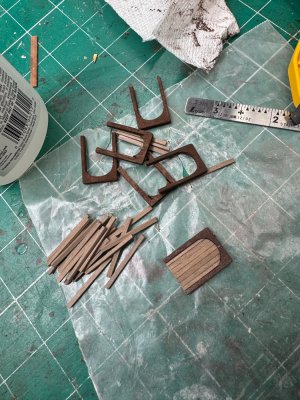
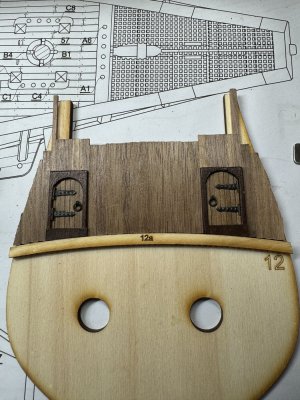
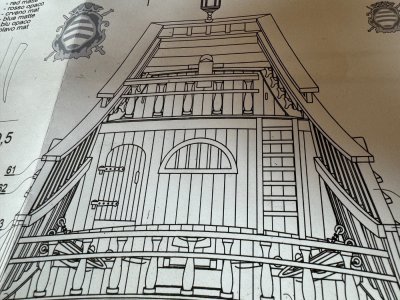
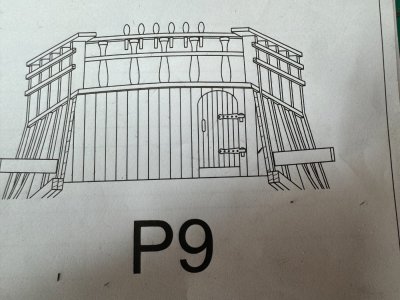
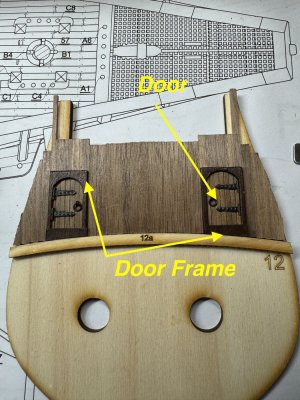
I had to plank bulkhead #12 before installing. This bulkhead can't really been seen, but I wanted to try making my own doors. i don't care for the doors supplied by the kit.
View attachment 468393View attachment 468394
Looking at this again. How about staining the vertical slats of the door just a little bit??? They don't really stand out from the background 'paneling'... Just a passing thought - you're the builder.
 
Ha! Doc. It's my poor building ability that tricked you. The dark parts are the frame around the door. The hinges are attached to the door set inside the frame. I made the frame too thick and it stands out from the lumber covering the walls by too much. You think sanding the frames down so they don't protrude from the wall so much will help? What if I cut the top of the frame smaller and rounded like the door? Or maybe use thicker lumber on the door itself to bring it out level with the frame?

It's a good thing this panel is hidden so I can improve on the others. The next 3 are all very visible.

Appreciate your help/thoughts.

IMG_4518.JPG
 
Yup. I understood what you were building. The door panels are the same color as the background (both walnut) so they don't really look like doors. It looks like door frames sitting on a background (faux doors).

And to answer your question: yes, I would thin down the door frames (thickness especially, but maybe also the top and bottom widths) - the scale looks off. And I also think rounding the top of the frame will look more natural given the curved top of the door.

I don't normally point out stuff to builders on this forum so if you want me to sit down and shut up, I won't mind. I'll still follow along with enthusiasm :D.
 
Thank you both. Any yes comment please. What I'm goint to do, since I can no longer get to the doors in the photo, is make a 'mock' door/wall setup before making the real piece. Then ask for comments again.

p.s. you thing i should make all 3 wall/frame/door the same thickness? Or have the frame stick out a little?
 
Back
Top