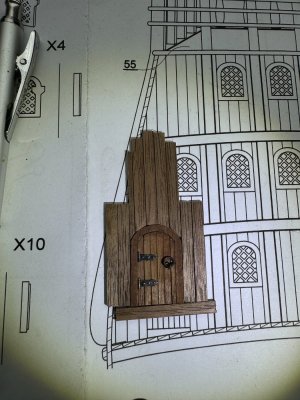
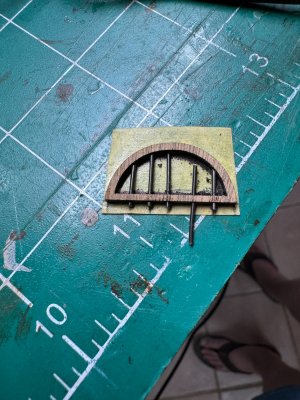
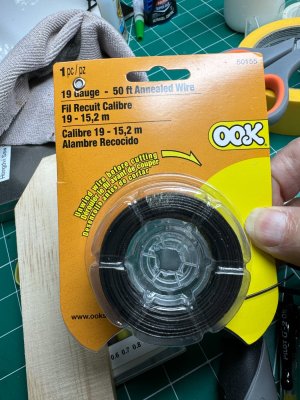
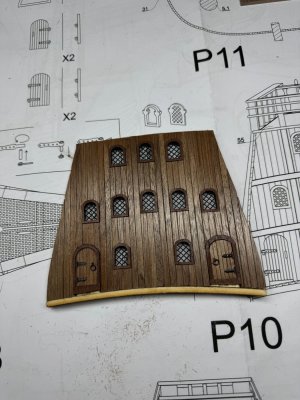
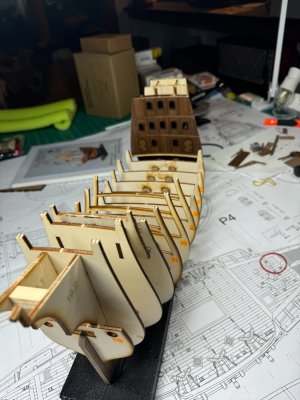
Your path of decision from the San Barolome to the Carrack is exactly the same as mine. I was influenced by the fact that the San Bartolome was almost a foot larger than the Carrack, and had hoped for a while Pavel would be producing the 3/4 size version he promised, but that didn't happen.I’ve decided to build the MarisStella Ragusian Carrack 1:59.
I purchased this kit about 3 years ago after watching Olha Batchvaro begin building this kit. It’s been sitting on my shelf since then. My daughter said she would like to have one of my ships. I was considering which ship to build next. I was deciding between the MarisStella Ragusian Carrack and Pavel Nikitin’s San Bartolome. I sent images to my daughter asking which she would like. She chose the Ragusian Carrack. So this it the kit I will build next.
As you know, Olha's build and videos are fantastic, but I too used all the ideas I could find.There are 3 completed builds that I could find on the SOS forum. (HERE) These are all great builds which I intend to refer to for insights while building mine.
Olha Batchvarov's build in 2020 (HERE). Olha also has her own website with the build (HERE)
Jack Aubrey’s build in 2017 (HERE)
Signet’s build in 2023 (HERE)
Zoran Pavlovich of MarisStella disagrees strongly with Mr. Batchvarov, and provided some proofs and other information. Nevertheless, the kit builds to an attractive and seemingly accurate model.Olha’s husband, Kroum Batchvarov is an Underwater Ship Archaeologist and Associate Professor of Maritime Archaeology. He also has his own website. (HERE) Kroum offers some of his wealth of knowledge about ship modeling on his website.
The reason I added Mr. Batchvarov is his video “Mistakes in the DESIGN of The Ragusian Carrack model”. (HERE)
I also had this variation, and like you, sorted them by color, so as to keep them together, avoiding striping as much as possible.I would like to point out that all visible parts of the ship are walnut. The hull and decking are built from 1.5x4mm strips of walnut. Something I don’t really care for is the color variation of the planking/deck strips which come in the kit vary from very light walnut to dark walnut.
Having the planks separately like ~20' lengths is good, but unless you're double-planking, which I doubt, more difficult with a plank-on-frame model. If you fill the voids between the bulheads completely, that would help, of course. But bending all the frames as required is easier in one piece. You might consider cutting each long plank to size as one piece, then scoring the surface of it to represent separate planks. A lot of planning would be required for proper plank spacing, though.As I begin, my initial thought concerning the hull is to deviate from previous builds by cutting planks to a scale size of about 20’ or so.
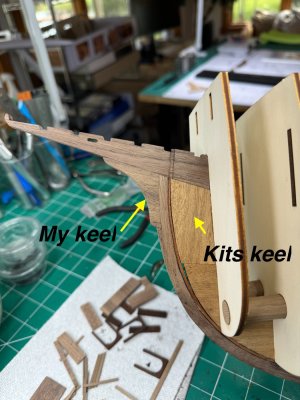
I found nothing wrong with the keel in my model. Olha's was an early kit, in which the keel parts did not fit well together and made large gaps. That is the main reason she made a new one. Please notice she made it in separate pieces, so that planking could overlap the keep area and be cut out to form room for the stem, rather than the plans inserting into the rabbit of the stem. You new keel looks good though.I'm sort of following Olha's keel replacement. The keel wood doesn't look too good. She cut the keel away at the rabbet line and replaced it with her own walnut. I don't think she replaced the bowsprit piece. It's a little harder to cut versus the other keel parts. I ripped some walnut the width of the keel and will model the new pieces from the original.
I came in too late to share Paul's wine, but it looked almost gone anyhow. I'll be watching from the second row, which I prefer anyhow, as I can put my feet up and have a beer.
Last edited:


