Thank you, Geoff! Sometimes I feel like I'm almost done, but when I look at the list I made it feels like I'll never be doneEverything progressing great!
 .
. |
As a way to introduce our brass coins to the community, we will raffle off a free coin during the month of August. Follow link ABOVE for instructions for entering. |
 |
 |
The beloved Ships in Scale Magazine is back and charting a new course for 2026! Discover new skills, new techniques, and new inspirations in every issue. NOTE THAT OUR FIRST ISSUE WILL BE JAN/FEB 2026 |
 |
Thank you, Geoff! Sometimes I feel like I'm almost done, but when I look at the list I made it feels like I'll never be doneEverything progressing great!
 .
. and deadeye chains are absolutely great. You have a very skillful hand for such delicate things.
Much appreciated, Adi. I like your detail work as well!and deadeye chains are absolutely great. You have a very skillful hand for such delicate things.

A true jack of all trades!Hello Friends,
Things more important than ship modeling (blasphemy!) have kept me away recently. In recent days, however, I've been able to steal away a few hours here and there to work on the chains.
A photo essay capturing a few of the steps:
View attachment 496689
View attachment 496690
View attachment 496691
View attachment 496692
View attachment 496693
View attachment 496694
View attachment 496695
View attachment 496696
View attachment 496697
View attachment 496698
This remains a work in progress. The chains associated with the larger deadeyes still need something on the lower end called a preventer plate. About two weeks ago I ordered some dimensional brass strips from a supplier in Germany, and as of today my order is still in Germany. To that end I needed to move on to something else as I await the delivery.
That something else was an anchor.
The kit does include an anchor to be made from boxwood - and I suspect I could have managed to create something presentable out of wood. But I am always aware that I need to develop new skills, so I took a shot at making something from brass.
Here is a drawing from TFFM (Antscherl) showing a 20-cwt anchor (that's 2240 lbs. - just over a ton).
View attachment 496699
I transferred that image to a 3 mm thick sheet of brass and cut that out using a coping saw (fret saw?):
View attachment 496700
View attachment 496701
Since my saw work was pretty lousy (I also burned through about a dozen blades on this lark of a project), I needed to spend the next several hours cleaning this thing up:
View attachment 496702
View attachment 496703
After a bit of soldering and some clean-up work:
View attachment 496704
View attachment 496705
View attachment 496706
And that's it for now. My next opportunity at the workbench will take a shot at the anchor stock.
Thanks, Johan. It's true that this hobby pushes us in many directions...A true jack of all trades!
Thank you for your kind words.Hello Paul
Fantastic work, I agree with Jim you should give a try to some scratch build model
Thank you, Roger. It took quite an effort so far...Terrific work Paul, I just love the build and look of that anchor.


Much appreciated, Peter!Your efforts are paying off exceptionally well. Like others above, I would be curious to see what you would lay your hand to for a scratch build, and to follow the progress. Your learning experiences are of benefit to us all.
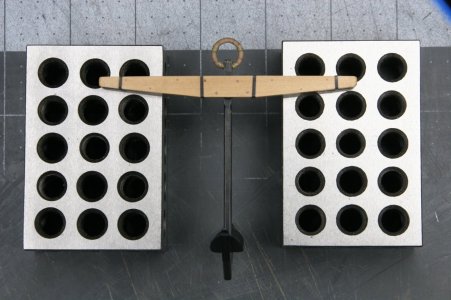
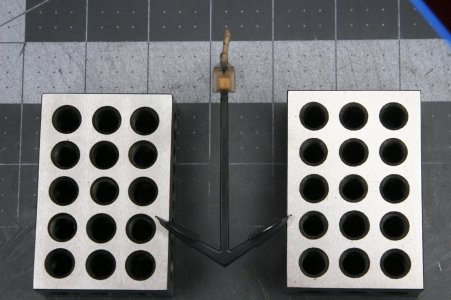
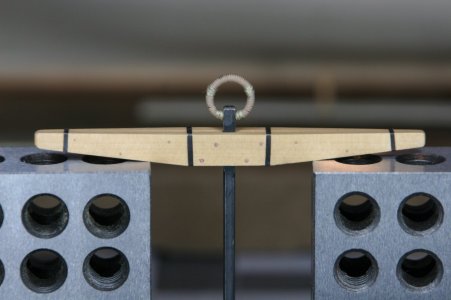
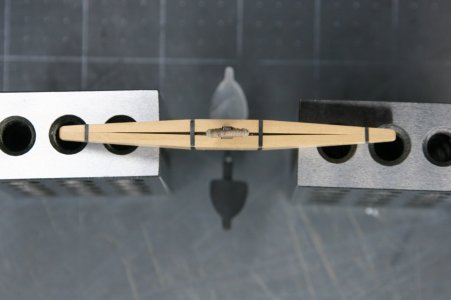
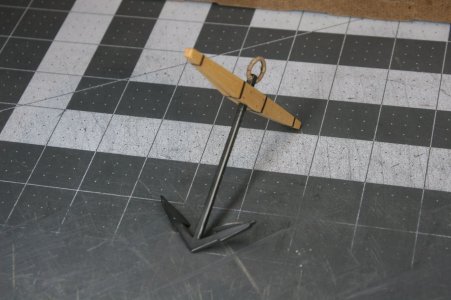
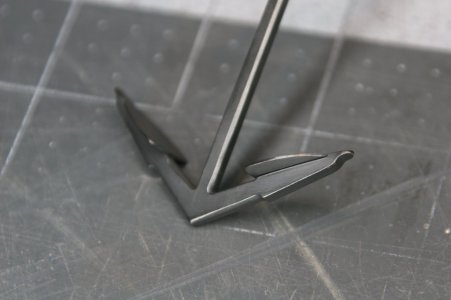

The smaller the update the greater the reactions…….The smallest of updates... an anchor:
View attachment 497491
View attachment 497492
It would seem that I am the only builder on the planet who cannot wrap the ring of an anchor with rope well. I'm now 0 for 2:
View attachment 497493
Mr. Antscherl (The Fully Framed Model book series) argues that there should be a tapered split between the two halves of the anchor stock for water drainage. Makes perfect sense to me so I did it...
View attachment 497494
Parting shots:
View attachment 497495
View attachment 497496
Thanks for the visit!
