• LUCZORAMA SHIPWRECK SCAVENGER HUNT GIVEAWAY. 4 Weeks of Fun • 1 Legendary Prize ((OcCre’s Fram Ship)) • Global Crew Welcome!
    **VIEW THREAD HERE**

Work Boat with Sail 1910 - GK Modellbau 1:30 - UrkerVisser

Joined
Feb 20, 2025
Messages
84
Points
78

Location
Schleswig - Holstein, Germany
Hi!
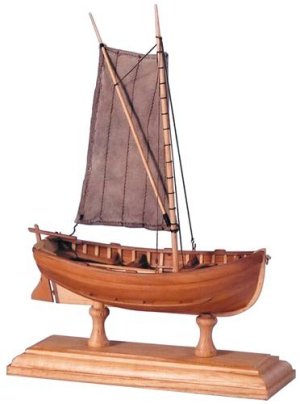
Today I ordered the 1:30 scale German 'Arbeitsboot' (Work Boat) from 'GK Modellbau in Kirchlengern, Germany.
Arbeitsboot  - 1910.jpg
GK Modellbau D-32277 Kirchlengern

These boats were about 4 meters or so long less than 2 meters wide and designed by the 'Hamburg Guild for Boat und Ship Building' back in 1910 for use in coastal areas and in shallow water.

She has one square sail and a narrow rudder on a tiller plus four oars. And two permanently installed side keels just under the water line also improved her stability.

This is my first attempt at building anything with keel, ribs and planks.
But since this version of the kit is one of GK's starter kits (Number 2900) it also includes a 20 or 30 Watt plank bender (230 Volt), glue, plank knife, bread board to pin it to plus a special form to hold the ribs in place during construction and also good instructions so should be a good start.

GK also offers the same kit with only the boat as Kit Number 2015 if you don't need the tools as well as a good selection of other North Sea area historic ships and boat kits as well as many other ships, supplies and parts.
GK is both a manufacturer plus a model ship hobby dealer.

So this will be an adventure and as training before I build my Dutch Hoogars in 1:25 scale.

My only other experience with a wooden ship thus far has been my schooner with it's hull carved out of a 2 foot 4" x 4" (which I'm now rigging).

But naturally I'll experiment with only bending pieces of scrap modeling wood or ice cream sticks first. I'll tell the 'Admiralty' to buy extra ice cream on sticks! Good idea there!

But can anybody give me historic information on this type of boat?
Or do they have other names in the Netherlands for instance?

More on this project later.
Best Regards, UrkerVisser
 
Friday, 28. March, 2025:
Hi!
My 'Work Boat - 1910' kit arrived today! That's really great service!
I ordered it at 11:00 AM on a Tuesday and gave my bank the transfer slip at 12:30 PM. Alas, they're as slow as snails but GK recieved my payment on Thursday morning. Then they sent my package out straight away and I got today before Noon.

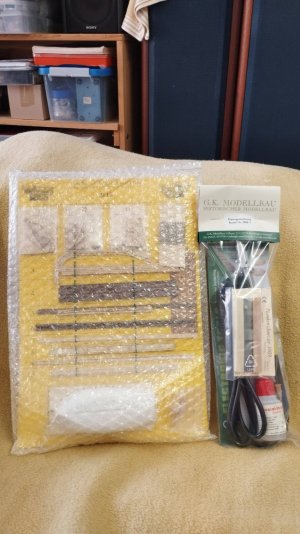
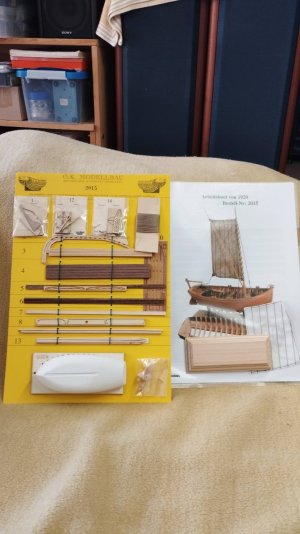
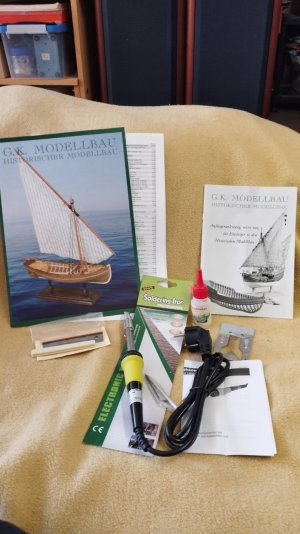
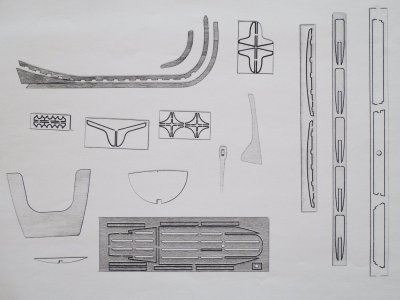
Here are the contents of the 'Starter Kit 2900: The kit number 2015 plus a seperate package of tools with a nice, 35 page beginners booklet even explaining knots and rigging for other kits.

0 - Packaging.jpg

1 - Contents A.jpg

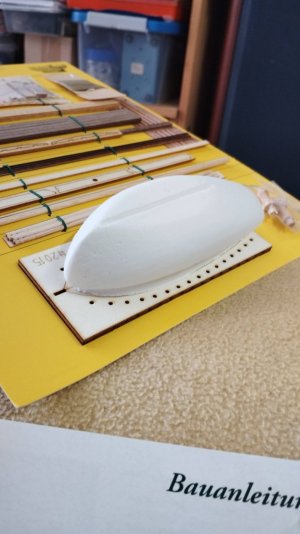
The kit also includes this breadboard with holes for holding the ribs plus a light weight plaster form to hold everything straight during construction!

2 - Plaster form.jpg

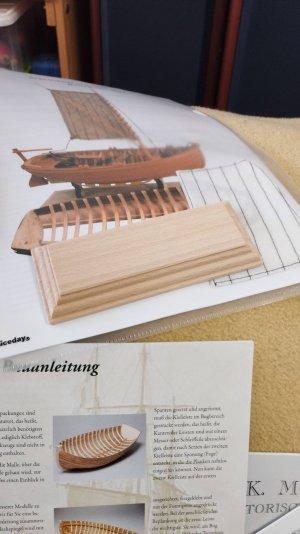
Plus it comes with a nice wooden stand plus a pre sewn sail and even more instructions.

9 - Stand.jpg

And here is the tool package with a catalog, price list and booklet.

3 - Contents B.jpg

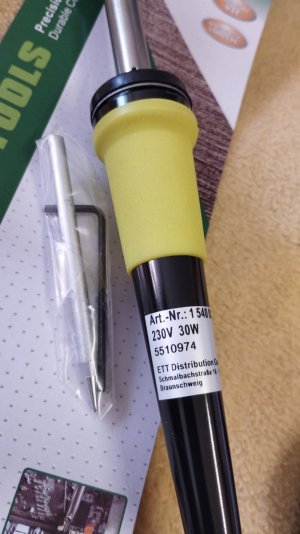
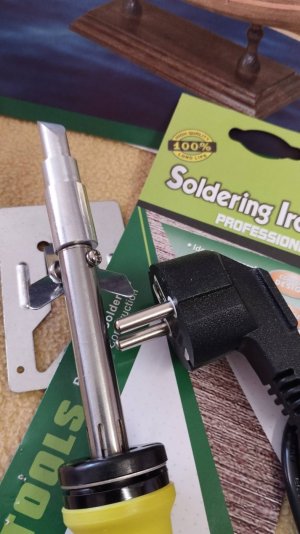
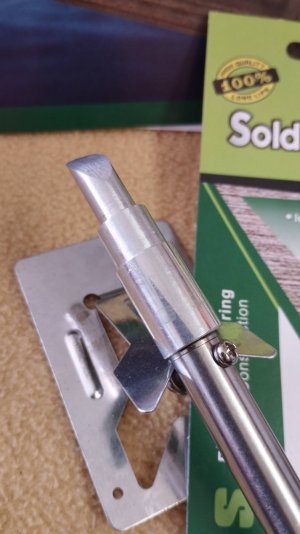
The plank benders is a heavy duty 30 Watt / 230 Volt soldering iron with a standard European 'Schuko' plug. But it has a special head made by GK Modellbau.

4 - Soldering Iron A.jpg

5 - Soldering Iron B.jpg

5A - Soldering Iron C.jpg

The soldering iron actually comes from Braunschweig, Germany and also has a large, regular tip for soldering. I've worked in electronics all my life and like this iron a lot. My "Weller" is smaller but this has a good balanced feel and is good for larger gauge stuff.

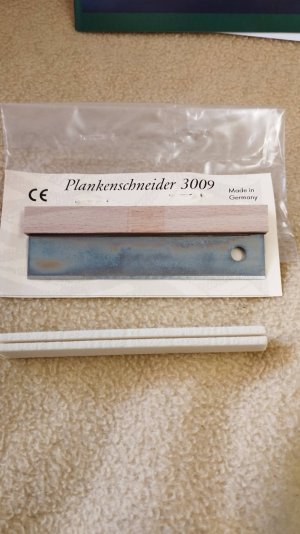
There is also this plank cutter which is meant to be tapped with a small hammer. It's razor sharp too!

7 - Plank Cutter.jpg

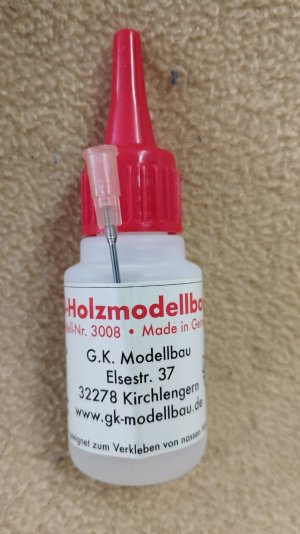
There is also a bottle of GK Modellbau's own special glue for wooden models. The fine print down below says its specially designed for gluing wet wood.

8 - Glue.jpg

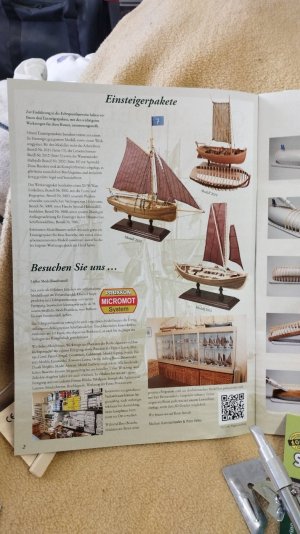
Their catalog also shows other starter kits and other historic ships and boats.

11 - Catalog.jpg

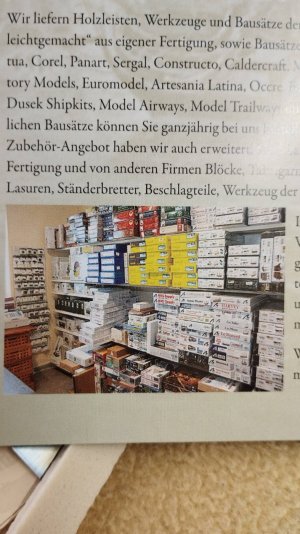
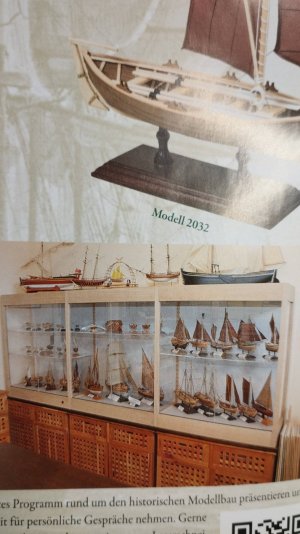
It's also nice that they actually have a store plus also manufacture a lot of what they sell. But they also carry other well known brands too.


11 - Shop A.jpg

11 - Shop B.jpg

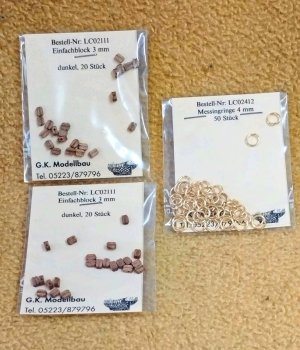
They also have all possible small parts like these 3 mm walnut blocks and 4 mm brass rings for my schooner project.

12 - Blocks & Rings for Schooner.jpg

More on this later; today I'm busy sewing schooner sails!

Best Regards, UrkerVisser
 
Last edited:
Love the picture of the shop with all the models. It reminds me of when I was a wee little man and you could go to the Hobby Shop and all manner of models could be found on the shelves. Unfortunately the “Hobby Shop” has become as rare as hens teeth.:(
 
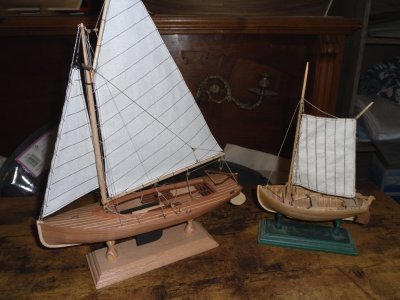
Hi, these are real nice kits, perfect to take a break while building something bigger. Here my 2 GK's, the 'Workboat' and the 'Küstenjolle'. The 'Karavelle' is still in my wishlist for later. Happy building.

View attachment 510994
Hi, these are real nice kits, perfect to take a break while building something bigger.

View attachment 510994
Hi!
I have a question:
Should I stain the planks with oak stain before building the boat? I've never built a ship with planking before.
Thanks!
UrkerVisser
 
Hi UrkerVisser,

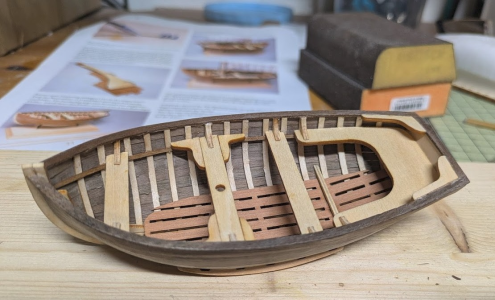
I wish you a lot of fun with this. I also started this a few weeks ago ....

View attachment 510980

best regards,
mapoo
Hi!
Can you give me any advice about tapering the planks at the bow and stern? In German this is called "Verjüngung" and I don't know if the planks are to be shaved off on their tops and bottoms too where the come to the bow.
Thanks!
UrkerVisser
 
Hi!
I have a question:
Should I stain the planks with oak stain before building the boat? I've never built a ship with planking before.
Thanks!
UrkerVisser
No. They are quite nice the way they are. To bend them into shape, you will have to make them wet, then warm them with the plank bender while gluing them into place before filling the gaps with thinned white glue and sanding dust. No staining will survive that kind of treatment and still look like anything.
 
Last edited:
Hi!
Can you give me any advice about tapering the planks at the bow and stern? In German this is called "Verjüngung" and I don't know if the planks are to be shaved off on their tops and bottoms too where the come to the bow.
Thanks!
UrkerVisser
You keep the first 2 planks straight, then lay the next ones over the frames without forcing them up or down, mark (more in your head than on the plank) where they overlap the former plank, carefully cut and sand off what's too much and glue it in place when you're happy with the result. Repeat with all the others, working on both sides simultaneously. Never force a plank up or down; it will make a bump and break your heart. This is very fine stuff, so treat it all as hedgehogs make love: veeeeery caaarefully!!
 
You keep the first 2 planks straight, then lay the next ones over the frames without forcing them up or down, mark (more in your head than on the plank) where they overlap...
Thanks that's good advice!
I also have a Dutch Hoogars in 1:25 scale to build after this one. But I will take my time and be very careful like the hedgehogs indeed!
 
My personal advice: try to make the Hoogars first. It's a somewhat bigger project, but much less fiddly to build than the little boat.
Well I was actually 'scared' to start my Hoogars and thought I could use this plank bender and cutter anyway plus this small boat looked like a 'safe start' in planking.
 
Last edited:
Hi Urker!

If this small model is built carefully, other ship boats can also be designed and manufactured by yourself.

IMG_0102[1].JPG
I replaced the oars, the benches and the floor with better wood.

IMG_0103[2].JPG
Lantern, water barrel, bucket and anchor.

IMG_0104[1].JPG
Narrower planks at the bow.

IMG_0105[1].JPG
The planks also become narrower at the stern.

IMG_0106[1].JPG
The planks on the main frame are the widest.

The kit has only a few parts. If you carefully work each piece of wood, it will be a wonderful little model.

Good luck
Thomas
 
Hi Urker!

If this small model is built carefully, other ship boats can also be designed and manufactured by yourself.

View attachment 511153
I replaced the oars, the benches and the floor with better wood.

View attachment 511158
Lantern, water barrel, bucket and anchor.

View attachment 511159
Narrower planks at the bow.

View attachment 511160
The planks also become narrower at the stern.

View attachment 511161
The planks on the main frame are the widest.

The kit has only a few parts. If you carefully work each piece of wood, it will be a wonderful little model.

Good luck
Thomas
Hi , for your information, the scalms should not be placed like this but alternated according to the beams of the rowers.Frank
 

Attachments

  • IMG_0103[2].JPG
    IMG_0103[2].JPG
    265.9 KB · Views: 9
Thanks for you advice Thomas this is a big help! Oh, did you stain your wooden parts before gluing them together or afterwards? And did you use a colored varnish? I need a few tips and staining and varnishing vs gluing.
UrkerVisser (Fisherman from Urk)
 
Hi Urker Visser,

the hull was assembled with the supplied glue. Now, coat the planks with white glue (Ponal) and let it dry briefly. Then, sand it with 240-grit sandpaper and remove any glue lumps inside with a needle. The white glue and the sanding dust seal all joints. I stained the boat stand, handrail, the benches, the knees and the water barrel with water stain (light walnut) and glued them with wood glue (Ponal). The final coat of paint on the model was a clear nitrocellulose primer (Clou). Of course, the model can also be left natural or painted with water-based paints (acrylic).
It's difficult to make the planks opaque (between the planks) without sanding through the hull. So grind carefully. Glue residue on the wood will later show up as light spots under the laquer.

Good luck
Thomas
 
Last edited:
Back
Top