-

Win a Free Custom Engraved Brass Coin!!!
As a way to introduce our brass coins to the community, we will raffle off a free coin during the month of August. Follow link ABOVE for instructions for entering.
-

PRE-ORDER SHIPS IN SCALE TODAY!
The beloved Ships in Scale Magazine is back and charting a new course for 2026!
Discover new skills, new techniques, and new inspirations in every issue.
NOTE THAT OUR FIRST ISSUE WILL BE JAN/FEB 2026
You are using an out of date browser. It may not display this or other websites correctly.
You should upgrade or use an alternative browser.
You should upgrade or use an alternative browser.
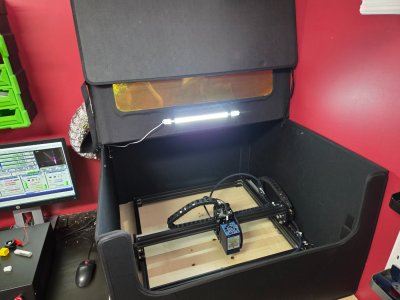
I aso bought a new laser head. It's a 22W from Sculpfun - and it has 4 regular 5-something-W diodes inside focused in one point, so theoretically should be 4 times more powerful than my old single 5W diode laser.
It was actually a kit that included the laser, the cables, the motherboard, the air pump and even the end travel switches. I installed everything on my frame from old laser, Feungsake. The only problem is that the cables were very short for my frame (with working area of 400x500mm).
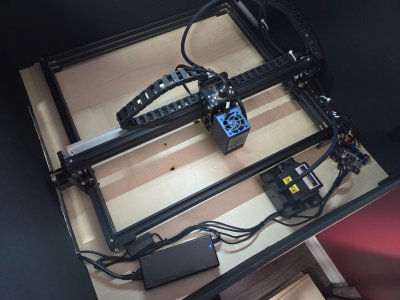
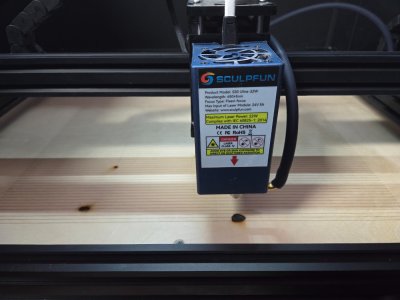
It was actually a kit that included the laser, the cables, the motherboard, the air pump and even the end travel switches. I installed everything on my frame from old laser, Feungsake. The only problem is that the cables were very short for my frame (with working area of 400x500mm).


Last edited:
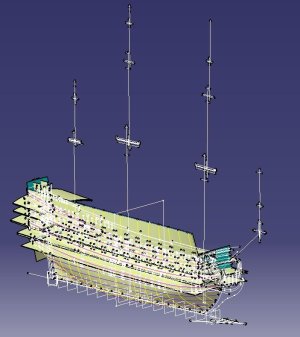
WOW. This is not my shipyard on my knee))) It's a dream to have something like this. Congratulations and I'm waiting for the start of construction!!!A new journey begins...
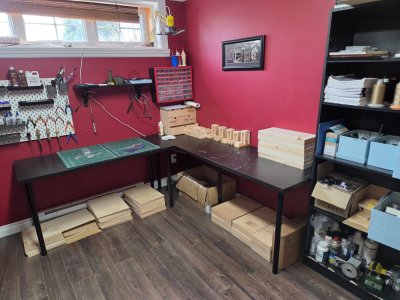
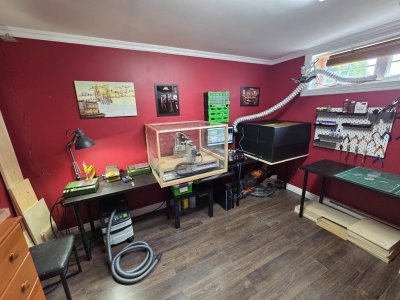
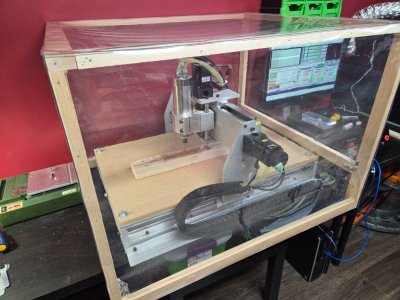
First of all I rearranged my workshop and did a slight upgrade. I bought a case for my laser to help preventing the spread of smoke and smell, and built a case for my cnc machine to keep the wood dust inside. As a bonus it also slightly reduces the noise
View attachment 514026View attachment 514027
Aaaah, okay - I know this will be excellent and will happily follow along!
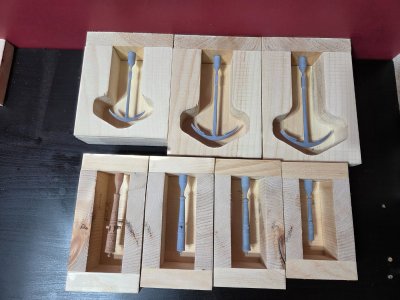
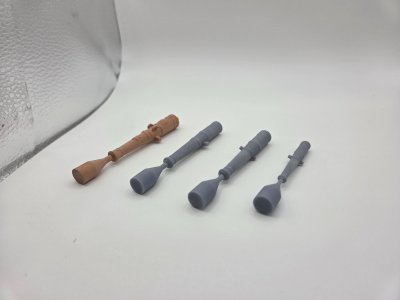
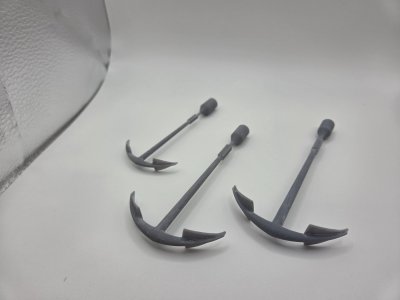
One of my friends borrowed me his 3d printer for a couple of weeks and I used it to make models for molds - cannons and anchors.
I'm still not using my 4th axis - I haven't built a way of attaching it reliably to the table and then calibrating it, so I'm doing all my 2 or 4 side machining by doing a pause and manually flipping the blank. With all precautions this still gives miniscule mismatches that are acceptable for various other parts but are upsetting on cannons. Hence 3d printing attempt.
Le SP has several types of cannons on each deck, that's too much of a diversity for me. I will make only one gun type per deck, and I will have bronze decorated version on the gundeck only.
For the anchors nothing is simplified, 3 molds will give me 5 anchors. I'm not making the heaviest ones (6000 and 5500) that are kept in the hold.
I'm still not using my 4th axis - I haven't built a way of attaching it reliably to the table and then calibrating it, so I'm doing all my 2 or 4 side machining by doing a pause and manually flipping the blank. With all precautions this still gives miniscule mismatches that are acceptable for various other parts but are upsetting on cannons. Hence 3d printing attempt.
Le SP has several types of cannons on each deck, that's too much of a diversity for me. I will make only one gun type per deck, and I will have bronze decorated version on the gundeck only.

For the anchors nothing is simplified, 3 molds will give me 5 anchors. I'm not making the heaviest ones (6000 and 5500) that are kept in the hold.

Last edited:
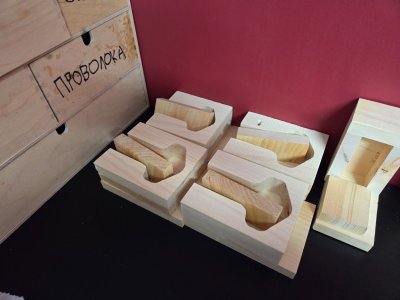
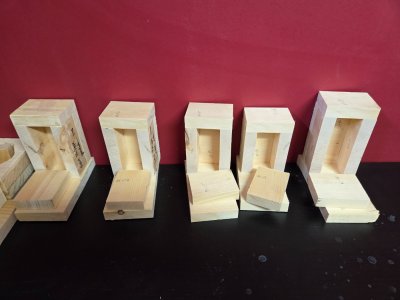
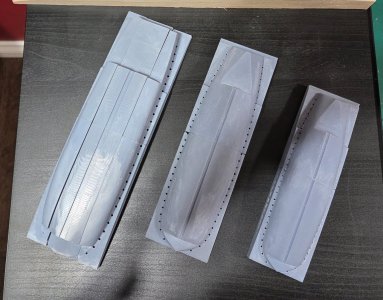
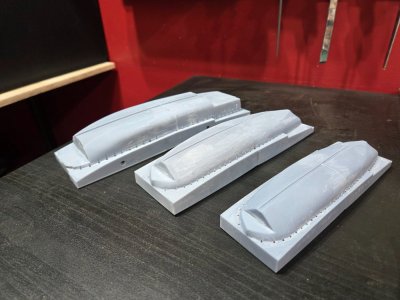
While I still had the 3d printer at my disposal, I checked what else I could potentially do with it. That's how I made these building jigs for the SP boats. Unfortunately it seems that printing such massive and big parts is a more difficult job and requires either a different, maybe better printer and different also maybe better resin.
However, I think I will be able to use my prints.
You may notice that the jig for longboat is comprized of 3 separate parts, that's because the longboat is narrower at the planksheer that at the max breadth, so it wouldn't be possible to lift it off the jig if it was one piece. There are holes for screws to keep all the 3 parts together, the screws are yet to arrive.

Regarding acrylic:
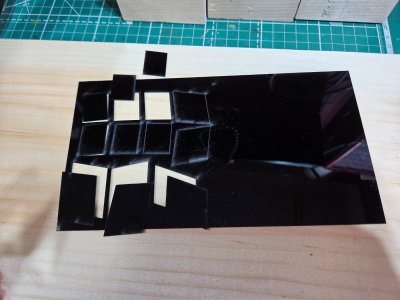
If you want to cut acrylic on mill cnc or laser, first of all you need real acrylic, polymethyl methacrylate (PMMA). All other "acrylic-like" materials will either not work, or not work plus make toxic fumes.
Second, you need cast acrylic, not extruded.
And third, for laser to be able to cut the acrylic, it has to be black (all through) or at least very dark in color.
Air supply is also recommended for both laser and cnc.
I went a long path of fails to understand this...
After a long search I found a company that can supply 0.5mm thickness cast PMMA.

 www.astraproducts.com
This is the only supplier I know to provide 0.5mm thickness.
If you want to cut acrylic on mill cnc or laser, first of all you need real acrylic, polymethyl methacrylate (PMMA). All other "acrylic-like" materials will either not work, or not work plus make toxic fumes.
Second, you need cast acrylic, not extruded.
And third, for laser to be able to cut the acrylic, it has to be black (all through) or at least very dark in color.
Air supply is also recommended for both laser and cnc.
I went a long path of fails to understand this...
After a long search I found a company that can supply 0.5mm thickness cast PMMA.

Astra Products: Premium Acrylic Sheet Manufacturer & Supplier
Explore Astra Products' premium, customizable acrylic and polycarbonate sheets, filters and parts to meet the needs of your unique application.

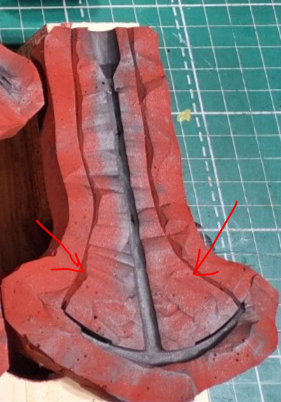
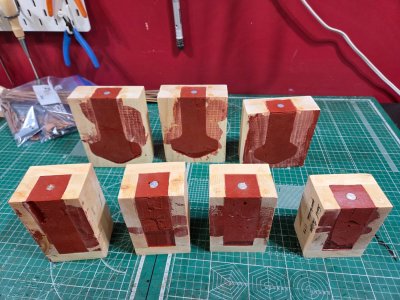
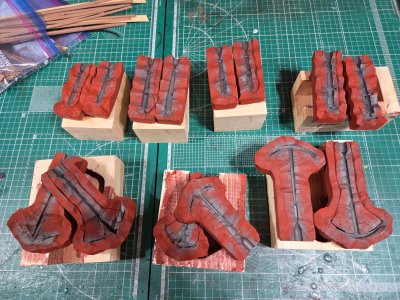
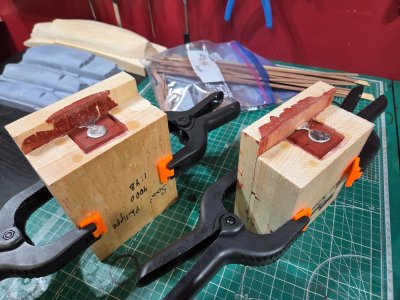
Yeah.... I goofed a little with the molds. Looks like I made a wrong silicon mix in terms of proportions between part A and part B, and the mix started to cure and thicken too quickly. This led to small bubbles being trapped underneath the cannons. Luckily, they are relatively easily to remove from the castings, just some additional work to do...


- Joined
- Mar 1, 2022
- Messages
- 684
- Points
- 308

Hi. I'm curious about the outcome with no vent relief in the mold. Male plugs are awsome, btw. Let us know! Cheers.
Oleg,
Have you tried making the cannon molds in a single piece rather than two halves. It eliminates the seam where the two halves meet. https://shipsofscale.com/sosforums/threads/making-cannon.14545/ post #4.
Allan
Have you tried making the cannon molds in a single piece rather than two halves. It eliminates the seam where the two halves meet. https://shipsofscale.com/sosforums/threads/making-cannon.14545/ post #4.
Allan
Oleg,
Have you tried making the cannon molds in a single piece rather than two halves. It eliminates the seam where the two halves meet. https://shipsofscale.com/sosforums/threads/making-cannon.14545/ post #4.
Allan
I'm not familiar with the mold material that is flexible enough to remove the casting from it when it is one piece. In the thread you mentioned, I see that liquid resin was used fos casting (not metal), so it may be that such flexible material cannot be used to cast metal. And I prefer metal cannons, so the silicon has to be able to withstand 200--300 C.
Last edited:
I don't remember, if I already told this in my previous thread, byt these are the materials I use:

 sculpturesupply.com
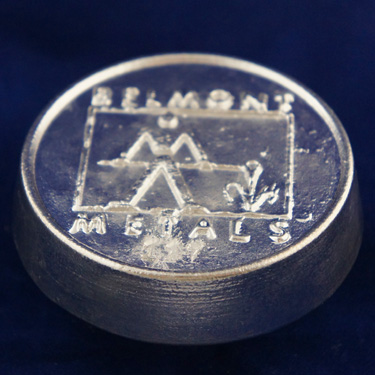
 www.belmontmetals.com

Mold Max 60
Unit Size Net Weight Quart Kit 2 lb Gallon Kit 12.36 lb Five Gallon Kit 61.8 lb Mold Max¨ 60 is a Shore 60A tin catalyzed silicone rubber formulated for applications requiring high heat resistance (up to 560¡F/294¡C) . It features a low mixed viscosity and cured rubber exhibits very low...

TRU Alloy, 281 F, 138 C Eutectic Low Melting Alloy - Belmont Metals
This is a Bismuth based Eutectic low melting alloy whose main attribute is the minimal volume change between its liquid and solid state. This is the highest melting point of the bismuth-base alloys commonly used in the industry and provides an easily castable material ready for use soon after it...
 www.belmontmetals.com
Last edited:

