• LUCZORAMA SHIPWRECK SCAVENGER HUNT GIVEAWAY. 4 Weeks of Fun • 1 Legendary Prize ((OcCre’s Fram Ship)) • Global Crew Welcome!
    **VIEW THREAD HERE**

My 1/72 scale aircraft

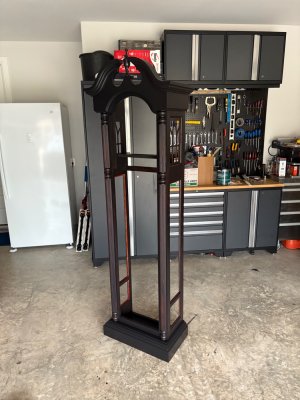
If I could ever finish painting the grandfather clock I’m working on, and assemble it, then I could focus on my models full time again. ;)

You know we're gonna wanna see photos of this clock, right?
 
You know we're gonna wanna see photos of this clock, right?
IMG_8581.jpeg
I originally stained it a reddish brown and the admiral did not like it. So I decided to paint it black because the clock face, weights, pendulum and hardware are all gold. I still need another coat of black on the outside in a few areas and I have to finish the inside. I already painted the back panels and the door. So once I’m done with the main housing, I can begin assembly and mount the movement, the chimes, install glass and hang door, etc. So looking forward to getting this project off my plate! I was chastised by the admiral for letting it sit too long. ROTF
 
Thanks, it’s been in the works for years, so now it’s time to finish it. ;)

That's beautiful! Can't wait it see it finished. All those 1/72 kits will make a nice carrot to get the job done!
 
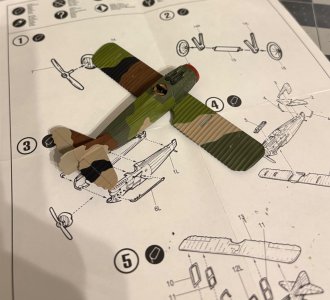
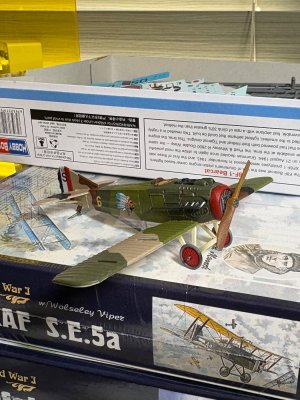
I’m not done with the clock…but I had to take a break from it…so I started building my 1/72 Spad XIII kit. There is still a lot to be done, but I have most of the painting done on the top and sides. Next I have to paint the bottom and put the exhaust on for the motor. Then I can start adding some decals to the body and tail.
IMG_8731.jpeg
Until next time…
 
Update on the Spad XIII build…
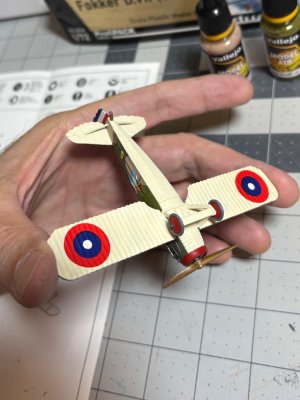
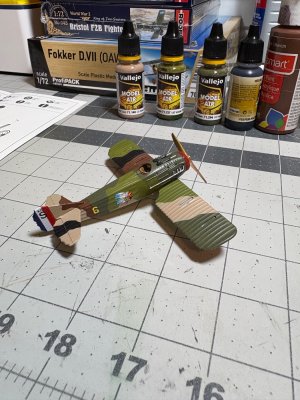
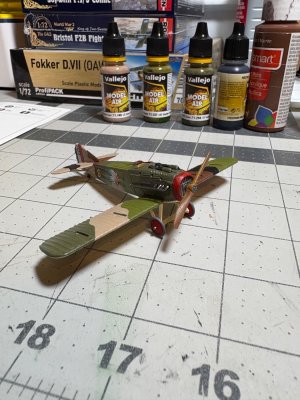
The wheel assembly, exhaust and propeller was added, the bottom painted and all the decals added and clear coated for the fuselage and lower wing.
IMG_8744.jpeg
IMG_8748.jpegIMG_8747.jpegIMG_8750.jpeg

Next will be painting the upper wing and adding decals and clear coat. Then finally will be painting all the struts and attaching the upper wing and adding all of the cables. This one has a lot of cables…sigh.
See ya next time…
 
Last edited:
That's looking great! Does it have actual cables, or molded plastic representations? And where do they attach? I see no holes.
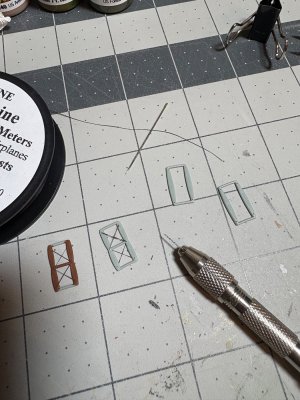
Thank you. No cables are typically provided with the kits. I use EZline for the cables. I drill tiny pilot holes to super glue the ends of the EZline. It stretches so you can tension it and glue with CA and it stays tight.
I will take a few pictures of the process. I’m hoping to glue all the struts to the lower wing and fuselage, and only sit the upper wing in place until they dry. Then I can attach all of the cables with the upper wing off. Then glue it on last. I normally work with the upper wing on, but it’s hard to get to everything. So I’m hoping I can do it this way. As long as I don’t put too much tension on the line, I think it will work because of how these struts are glued in place. So looking to take advantage. ;)
 
Update on the Spad XIII build…
The wheel assembly, exhaust and propeller was added, the bottom painted and all the decals added and clear coated for the fuselage and lower wing.
View attachment 533657
View attachment 533658View attachment 533659View attachment 533660

Next will be painting the upper wing and adding decals and clear coat. Then finally will be painting all the struts and attaching the upper wing and adding all of the cables. This one has a lot of cables…sigh.
See ya next time…
Another nice paint job, Dean. It would be nice to show the steps of adding the EZlines.
Regards, Peter
 
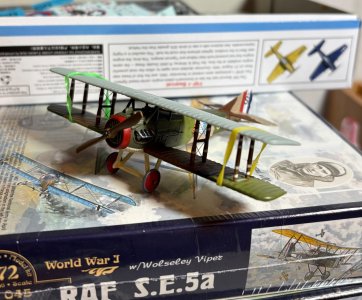
I can typically finish a 1/72 scale aircraft model in 3-5 days. This one (Spad XIII) was finished in 3 days.
Here is the final work...
We left off with the upper wing, the struts and cabling needing to be completed.
IMG_8760.jpeg
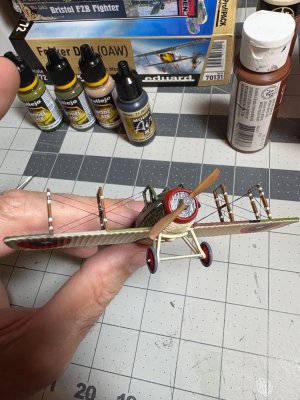
Here I have drilled holes where I will need to attach the cables in the struts. The cabane struts on the fuselage have been drilled and glued on already. I also drilled two holes on each side of the fuselage in the lower wing where the cables will attach…

IMG_8761.jpeg
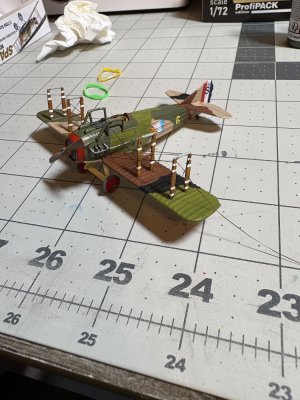
Next I glued the struts onto the lower wing and held the upper wing in place with rubber bands to properly locate them while drying.


IMG_8770.jpeg
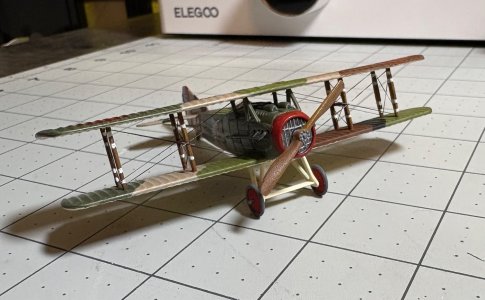
Now I start by gluing the EZline into the hole in the lower wing next to the fuselage with CA glue. Then I route the line through the upper strut as shown. Then it will be run into the lower hole in the opposing strut, and finally run up to the cabane strut on the fuselage. It is tensioned and glued at each hole.
Then that is repeated starting on the other side of the wing.

IMG_8775.jpeg
After both sides are done I paint the ends silver to represent the turnbuckles. At this scale that’s as much trouble as I am going through! ROTF
The line is so small and elastic, like a rubber band, that the tension was not too much for the struts without the upper wing. So this was far easier to do without the upper wing in place! ;)


IMG_8762.jpeg
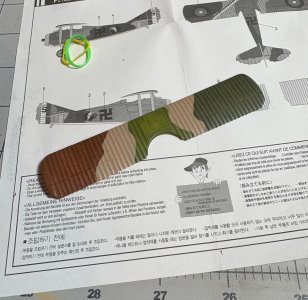
Next I painted the upper wing…


IMG_8777.jpegIMG_8778.jpeg
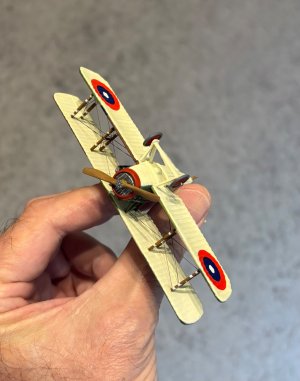
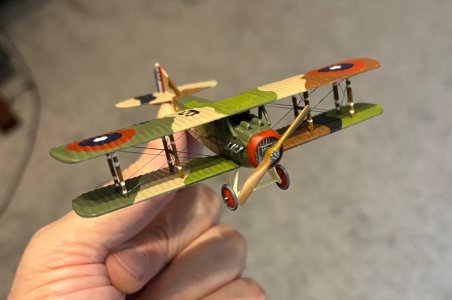
Upper wing attached and decals and clear coat applied.

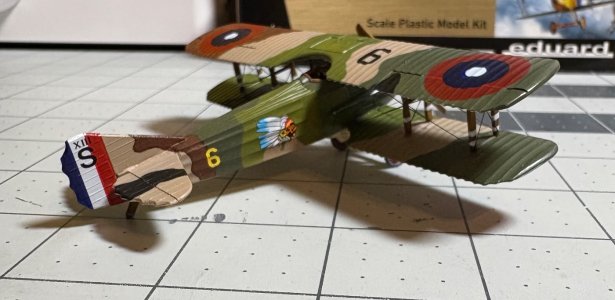
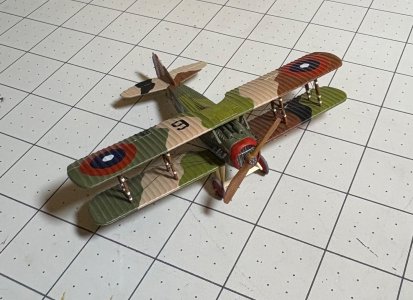
Well she’s done. My opinion on the Academy kit of the Spad XIII...it was very basic and lacked any detail in the cockpit. I fortunately had extra parts from previous builds and used a seat and control stick from a Nieuport that I modified slightly to work. There was also some bad gaps in a few places that required putty. And finally I did not like the decals or the paint scheme, so I found some references online that I used for the paint. I also had some spare decals that I could use.
So not as nice as a Roden kit or a Eduard kit, but can still be made into something worth displaying.
I keep a box full of spare parts and decals for 1/72 scale aircraft. You never know what you may need. ;)

A few final pics…

IMG_8790.jpegIMG_8791.jpegIMG_8792.jpeg

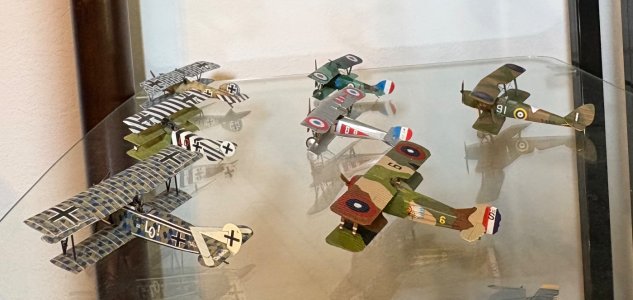
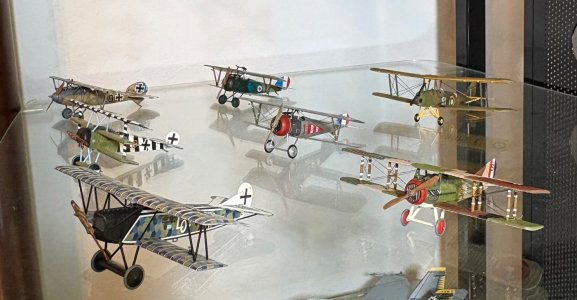
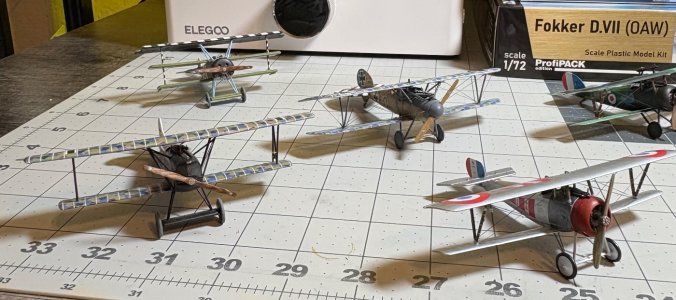
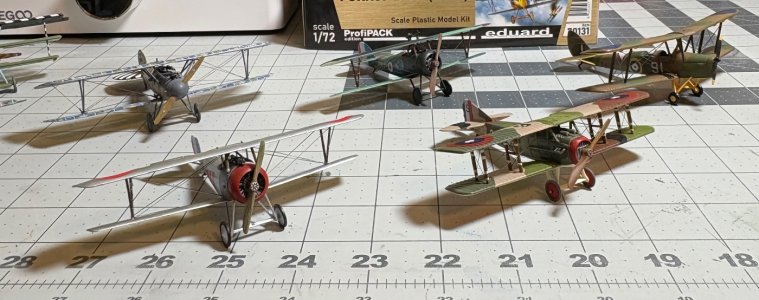
And here are a few of my current WW1 aircraft…3 german aircarft, 3 French/US aircraft and the Tigermoth...

IMG_8796.jpegIMG_8798.jpegIMG_8800.jpegIMG_8801.jpeg

Well that’s it for now. One more out of the box and on the shelf! ;)
Next I will start building some of the WW1 English aircraft (Sopwith Camel F.1, RAF S.E.5a, Bristol F2B).
See ya next time!
 
Last edited:
You're the master of the miniature Dean. Seeing your planes without a size reference makes them appear much bigger than they are when you have them in your hand.
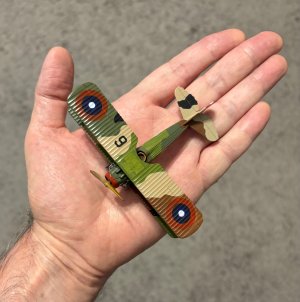
 
You're the master of the miniature Dean. Seeing your planes without a size reference makes them appear much bigger than they are when you have them in your hand.
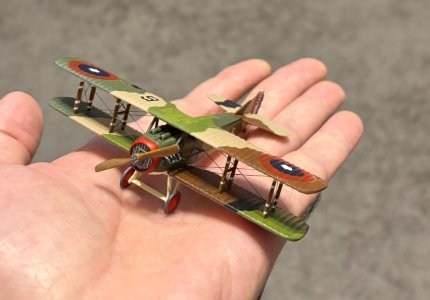
Thank you Daniel!
The wingspan is typically 4" and fuselage around 3-1/2" long on the WW1 aircraft. I found out perfection is not happening at this scale and detail is limited, so there's a learning curve for sure. Some kits have amazing detail and others very little. The biggest area they skimp on detail is the cockpit. However it’s so hard to see in there once built, that it’s almost a waste of time at this scale. The rigging on the biplanes is so fine, you almost can't see it until you get close enough.
The key is I work with magnifying glasses on, so if I can make it look good with them on, then once you take them off it will look fine. ;) Kind of like the 10 foot rule…lol

IMG_8818.jpegIMG_8816.jpeg
 
Last edited:
Back
Top