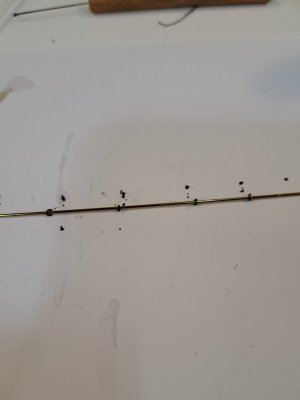
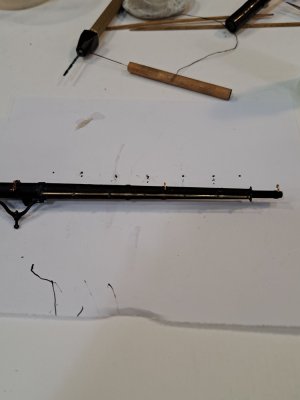
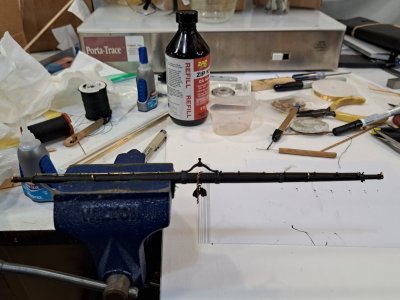
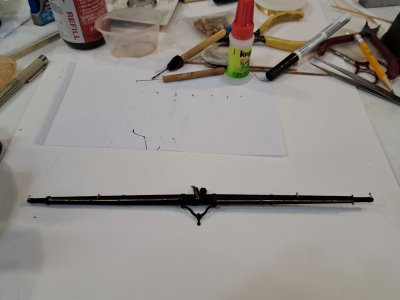
Nice detail.Mainyard tips modeled.View attachment 536598View attachment 536599
-

Win a Free Custom Engraved Brass Coin!!!
As a way to introduce our brass coins to the community, we will raffle off a free coin during the month of August. Follow link ABOVE for instructions for entering.
-

PRE-ORDER SHIPS IN SCALE TODAY!
The beloved Ships in Scale Magazine is back and charting a new course for 2026!
Discover new skills, new techniques, and new inspirations in every issue.
NOTE THAT OUR FIRST ISSUE WILL BE JAN/FEB 2026
You are using an out of date browser. It may not display this or other websites correctly.
You should upgrade or use an alternative browser.
You should upgrade or use an alternative browser.
"Flying Cloud " by Mamoli - kit bash
- Thread starter Peter Gutterman
- Start date
- Watchers 33
-
- Tags
- flying cloud mamoli
- Joined
- Jun 17, 2021
- Messages
- 3,202
- Points
- 588

I'll watch the videos and see if I can get my brain to connect. Your illustration de mystifies it a bit for me. I learn better hands on. Maybe my son will show me.
" You point the cursor here... the cursor that's the little arrow thingy... yes, now it's a little hand... that's right...then you left click...LEFT!... YOUR OTHER left!!!"
" You point the cursor here... the cursor that's the little arrow thingy... yes, now it's a little hand... that's right...then you left click...LEFT!... YOUR OTHER left!!!"
Get a teenager to show you.I'll watch the videos and see if I can get my brain to connect. Your illustration de mystifies it a bit for me. I learn better hands on. Maybe my son will show me.
" You point the cursor here... the cursor that's the little arrow thingy... yes, now it's a little hand... that's right...then you left click...LEFT!... YOUR OTHER left!!!"
- Joined
- Jun 17, 2021
- Messages
- 3,202
- Points
- 588

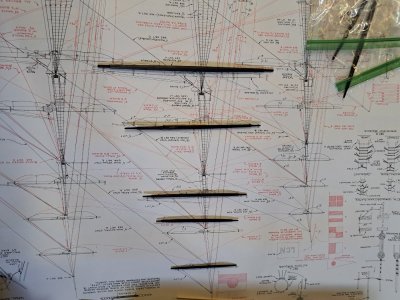
Plugging away at the spars. Quite a few more spars, gaffs, booms and s'tun'sl spars to go. Each to be fitted out and a little model unto itself, with the attendant issue of scale. The fittings become increasingly tiny. I'll be picking Rob Wiederrich, Chuck Henson and anyone else's brain willing to chime in. if this pic gets turned sideways it won't matter much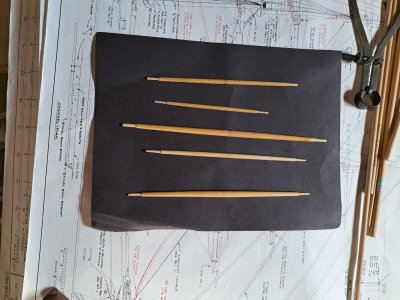

- Joined
- Jun 17, 2021
- Messages
- 3,202
- Points
- 588

Yup. Still sideways.
That's the only good use for balsam vinaigrette I've ever seen. I prefer french or blue cheese dressing.After consulting with "Clipperfan" Rich Jones on mast and spar color schemes, I've proceeded as follows on my masts so far. On the masts I used a "golden brown" alcohol aniline stain sealed with amber shellac. Both very dilute. The couplings and hounds are white (like the lower masts). I left the upper crosstrees in the natural walnut that they were made of by Mamoli. Nice solid hardwood laser cut pieces. Too fussy to paint in place, so I'm taking a little artistic license. The spars (and perhaps the spanker and gaff booms) will be black-ish. Translucent ebony over dark walnut, sealed with amber shellac.
View attachment 536452
View attachment 536453
View attachment 536454
- Joined
- Jun 17, 2021
- Messages
- 3,202
- Points
- 588

Finished turning the spars. I used Trans Tint aniline alcohol soluble stain almost full-strength dark walnut to simulate the black stain for the spar,s an almost black deep brown lends richness to what would be otherwise dead flat black for the spars.
Next part of the project, to fit the spars out with their necessary fittings. some verrry tiny eyebolts and bands to be simulated. I will probably use black thread,and maybe some fine blackened brass wire.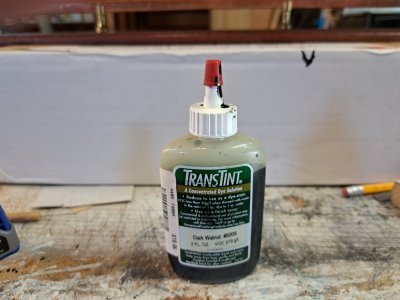 . To be cont'd.
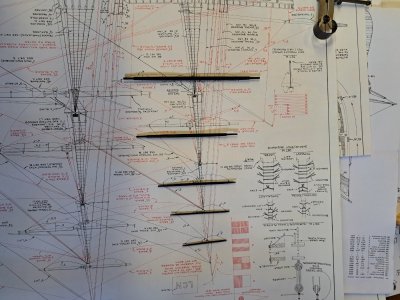

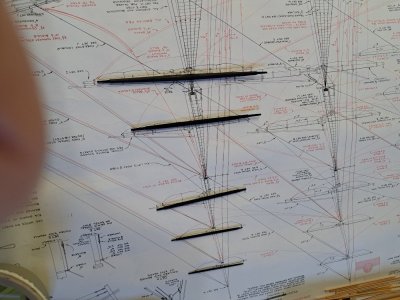
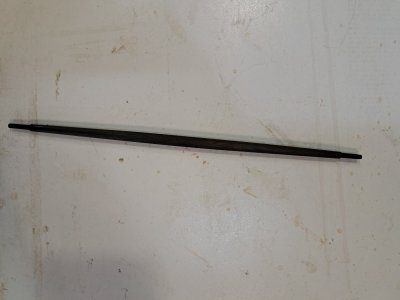
Oops. I thought I fooled the orientation to appear right side up, taking the photo sideways. Wrong sideways. You get the idea.
Next part of the project, to fit the spars out with their necessary fittings. some verrry tiny eyebolts and bands to be simulated. I will probably use black thread,and maybe some fine blackened brass wire.
 . To be cont'd.


Oops. I thought I fooled the orientation to appear right side up, taking the photo sideways. Wrong sideways. You get the idea.
- Joined
- Jun 17, 2021
- Messages
- 3,202
- Points
- 588

I know I said "turning" the spars. In fact, I used my belt sander with 220 grit, a block plane, a scraper and a sanding block to slowly creep up on the shape.
- Joined
- Jun 29, 2024
- Messages
- 1,525
- Points
- 438

Nice work! I like those Trans Tint dyes too.
Roger
Roger
What are you using the eyebolts for, Peter?Finished turning the spars. I used Trans Tint aniline alcohol soluble stain almost full-strength dark walnut to simulate the black stain for the spar,s an almost black deep brown lends richness to what would be otherwise dead flat black for the spars.
Next part of the project, to fit the spars out with their necessary fittings. some verrry tiny eyebolts and bands to be simulated. I will probably use black thread,and maybe some fine blackened brass wire.View attachment 540098. To be cont'd.View attachment 540099View attachment 540100View attachment 540100View attachment 540101View attachment 540102
Oops. I thought I fooled the orientation to appear right side up, taking the photo sideways. Wrong sideways. You get the idea.
- Joined
- Jun 17, 2021
- Messages
- 3,202
- Points
- 588

Rather than try to make wire eyebolts and drill the necessary holes through the spars at that tiny scale I'll try tying tiny loops of thread around a waxed nail, use ca to harden the loop and tie the "eyebolt" to the spar with the ends of the thread. A little hard to visualize, but I hope to have at least a trial sample soon.
- Joined
- Jun 19, 2013
- Messages
- 968
- Points
- 393

Nice work Peter. She's coming along very nicely. I too, like the translucent black die.Rather than try to make wire eyebolts and drill the necessary holes through the spars at that tiny scale I'll try tying tiny loops of thread around a waxed nail, use ca to harden the loop and tie the "eyebolt" to the spar with the ends of the thread. A little hard to visualize, but I hope to have at least a trial sample soon.
Rob
- Joined
- Jun 17, 2021
- Messages
- 3,202
- Points
- 588

Thanks, Rob. Yours too!
I've been working out the spar details on the mainmast main spar. I've done a lot of work and experiments. Nothing quite ready for primetime yet. Lots of details, none of which show up very well as everything is, well,.. black. So I'll wait until it's in a final form, and work on the photography. Maybe a light blue background. Time to order some construction paper. Of course, as the spars get successively smaller, so do the details, so some fudge factor awaits.
Pete
I've been working out the spar details on the mainmast main spar. I've done a lot of work and experiments. Nothing quite ready for primetime yet. Lots of details, none of which show up very well as everything is, well,.. black.

Pete
- Joined
- Jun 17, 2021
- Messages
- 3,202
- Points
- 588

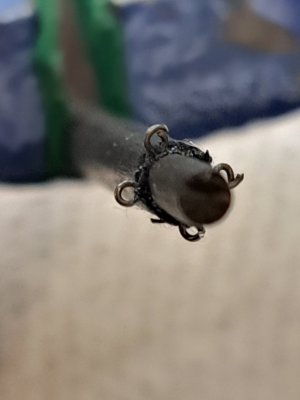
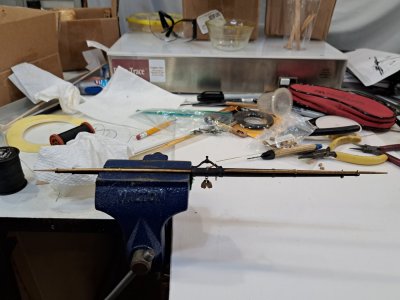
A few spar pics from the Not Quite Ready for Prime-time Player. The dowels are just place holders for the stuns'l spars. The black "iron bands are colored paper. The "eyebolts" at the ends of the spar are annealed wire split rings tied on with fine black thread. Still more detail to go. I like the brass sleeves for the stuns'l spars for contrast.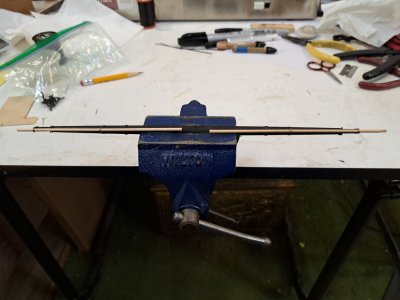
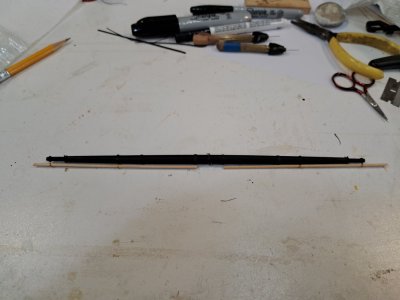
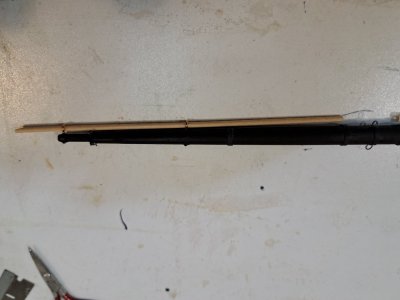
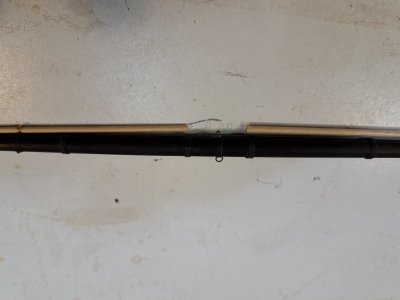
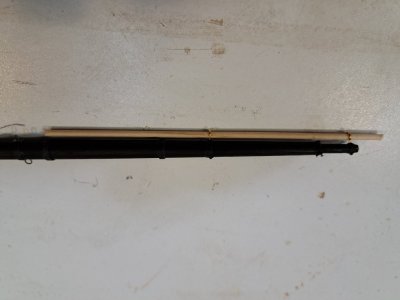


That is some very nice and fine brass-work, Pete. It gives indeed a nice contrast.A few spar pics from the Not Quite Ready for Prime-time Player. The dowels are just place holders for the stuns'l spars. The black "iron bands are colored paper. The "eyebolts" at the ends of the spar are annealed wire split rings tied on with fine black thread. Still more detail to go. I like the brass sleeves for the stuns'l spars for contrast.View attachment 540772View attachment 540773View attachment 540774View attachment 540776View attachment 540777
Regards, Peter
- Joined
- Jun 17, 2021
- Messages
- 3,202
- Points
- 588

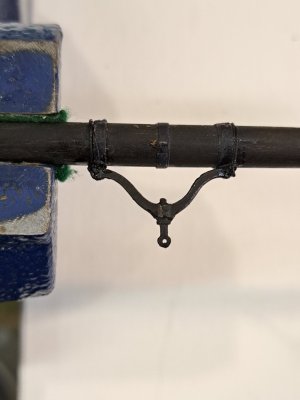
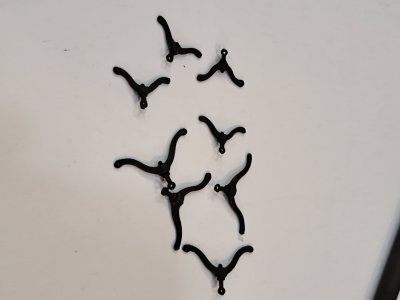
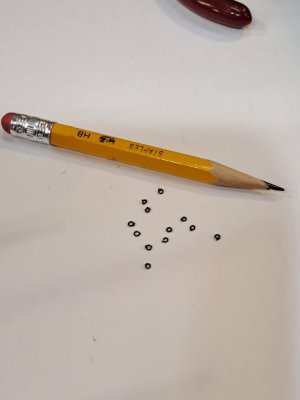
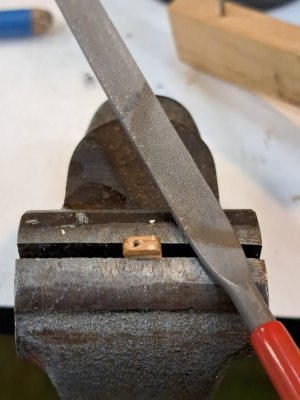
Some more progress on the same yard. The pair of blocks for the chain are in lieu of a single cloverleaf iron block which, at this scale, is above my paygrade to fabricate and requires threading two chains through the single block. Again, at this scale, beyond me. 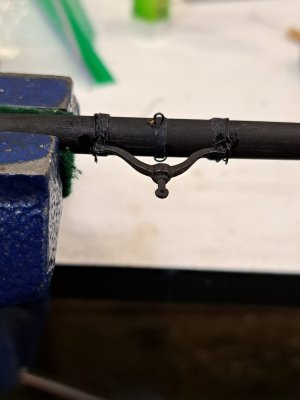
 M
M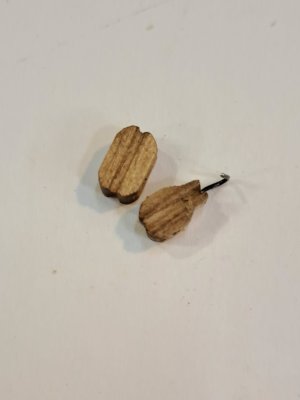 M
M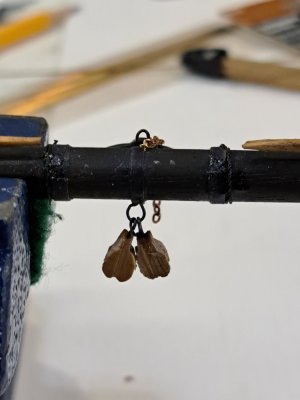
 The Mamoli plans show two single blocks. I decided to give them a unique shape to at least appear as purpose designed blocks for the chain. I plan to paint them black as though they were iron. (I know. I should have done that first before mounting them.
  )
)
A pair of simulated jackstays (I'm making them brass for contrast, strictly for the look) and twelve more blocks still to be added.


 M
M M
M
 The Mamoli plans show two single blocks. I decided to give them a unique shape to at least appear as purpose designed blocks for the chain. I plan to paint them black as though they were iron. (I know. I should have done that first before mounting them.
 A pair of simulated jackstays (I'm making them brass for contrast, strictly for the look) and twelve more blocks still to be added.
- Joined
- Jun 17, 2021
- Messages
- 3,202
- Points
- 588

The yard iron was glued in place and secured with thread.
The close-up photos magnify every stray hair and fiber. At a normal viewing distance, they disappear into the background.
Thanks to Donnie for restoring the Attachment editor.

The close-up photos magnify every stray hair and fiber. At a normal viewing distance, they disappear into the background.

Thanks to Donnie for restoring the Attachment editor.

Last edited:
Beautiful work, Peter. Looks like you are going all-in on the rigging after all.Some more progress on the same yard. The pair of blocks for the chain are in lieu of a single cloverleaf iron block which, at this scale, is above my paygrade to fabricate and requires threading two chains through the single block. Again, at this scale, beyond me. View attachment 541084View attachment 541085View attachment 541086View attachment 541087View attachment 541088View attachment 541089MView attachment 541091MView attachment 541092View attachment 541093The Mamoli plans show two single blocks. I decided to give them a unique shape to at least appear as purpose designed blocks for the chain. I plan to paint them black as though they were iron. (I know. I should have done that first before mounting them.)
A pair of simulated jackstays (I'm making them brass for contrast, strictly for the look) and twelve more blocks still to be added.
- Joined
- Jun 17, 2021
- Messages
- 3,202
- Points
- 588

Well, I think it will be worth the effort in the end.


