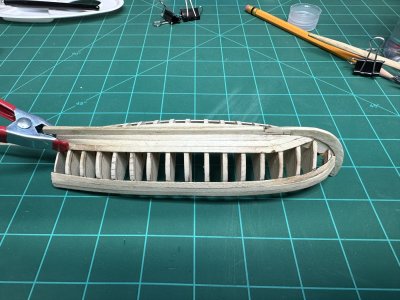
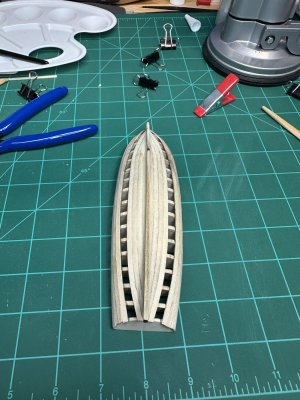
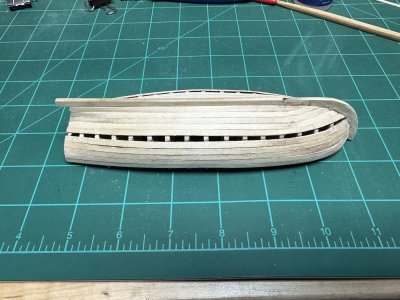
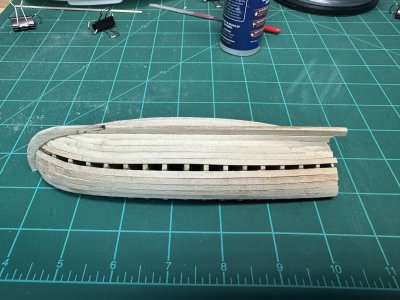
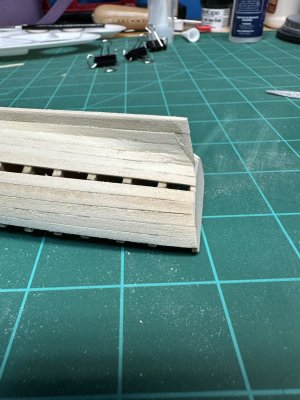
-

Win a Free Custom Engraved Brass Coin!!!
As a way to introduce our brass coins to the community, we will raffle off a free coin during the month of August. Follow link ABOVE for instructions for entering.
-

PRE-ORDER SHIPS IN SCALE TODAY!
The beloved Ships in Scale Magazine is back and charting a new course for 2026!
Discover new skills, new techniques, and new inspirations in every issue.
NOTE THAT OUR FIRST ISSUE WILL BE JAN/FEB 2026
You are using an out of date browser. It may not display this or other websites correctly.
You should upgrade or use an alternative browser.
You should upgrade or use an alternative browser.
Hi John M, I am a newbie myself and have much to learn about model boat building. From what I've observed, planking seems to be a tricky thing to master. I gave it a go many years ago, and I struggled with it _ with much cursing.
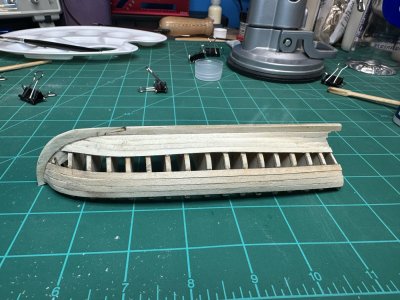
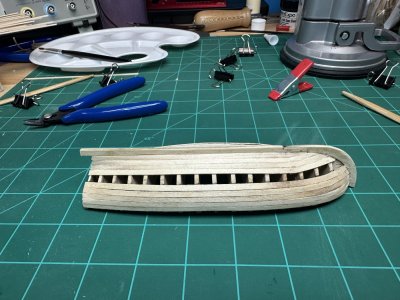
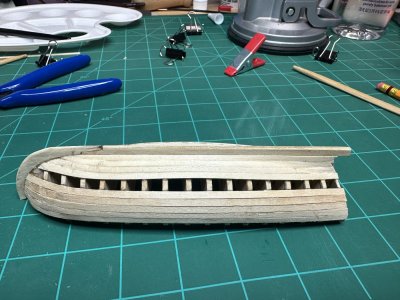
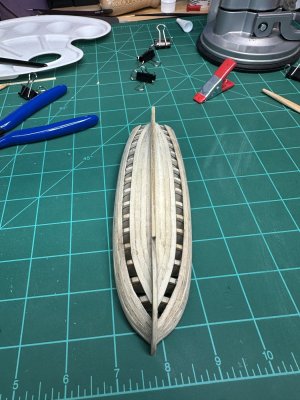
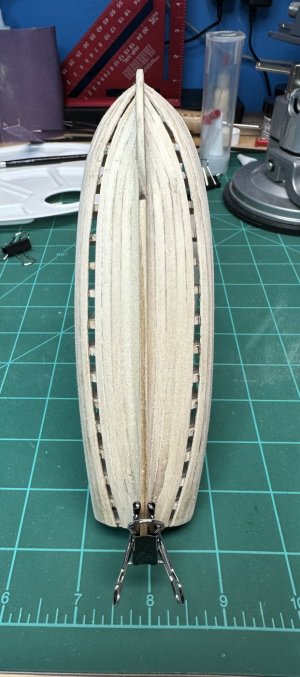
I have a question about the bulkheads for this type of vessel. Are they supposed to be solid like a wall? Or am I missing something about them not being like ribs? If they are rib-shaped, do you cut them out later? I mean, how would a sailor sit in the longboat?
I have a question about the bulkheads for this type of vessel. Are they supposed to be solid like a wall? Or am I missing something about them not being like ribs? If they are rib-shaped, do you cut them out later? I mean, how would a sailor sit in the longboat?
Good morning John. I just caught up with your log. Welcome to SOS and enjoy. Lovely progress so far. Cheers Grant
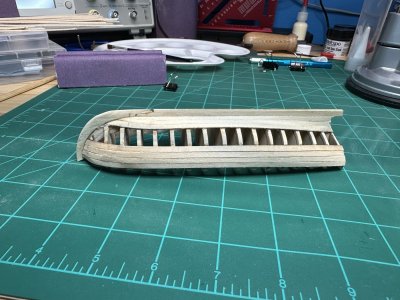
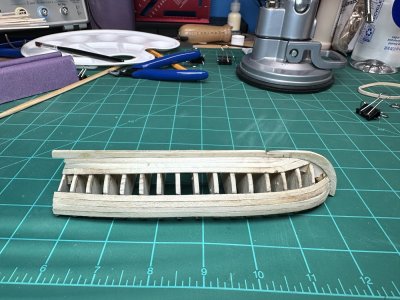
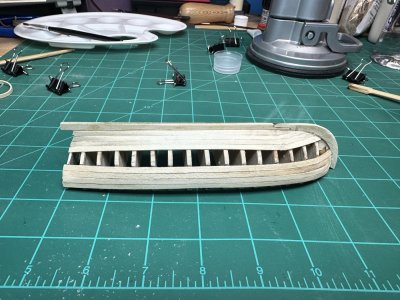
The bulkheads are cutout after planking. They are laser cut to make the center easy to remove. It helps to keep the planking aligned. It is still easy to twist the keel, I used a keel clamp to hold it straight while attaching the sheer planks.Hi John M, I am a newbie myself and have much to learn about model boat building. From what I've observed, planking seems to be a tricky thing to master. I gave it a go many years ago, and I struggled with it _ with much cursing.
I have a question about the bulkheads for this type of vessel. Are they supposed to be solid like a wall? Or am I missing something about them not being like ribs? If they are rib-shaped, do you cut them out later? I mean, how would a sailor sit in the longboat?
Thanks Grant.Good morning John. I just caught up with your log. Welcome to SOS and enjoy. Lovely progress so far. Cheers Grant
Cool. Thank you, John, for explaining the bulkheads. I did not realise that the black lines on the bulkheads were laser cuts. This goes to show that I still am a newbie and learning. Thanks for the lesson.The bulkheads are cutout after planking. They are laser cut to make the center easy to remove. It helps to keep the planking aligned. It is still easy to twist the keel, I used a keel clamp to hold it straight while attaching the sheer planks.
- Joined
- Apr 12, 2025
- Messages
- 285
- Points
- 158

By looking at your workbench, I'd say that you are already well ahead of most beginners. You have a definite advantage. When it comes time to plank your model you will be able to shape and spile the planking via resonant frequencies using your O-Scope and Signal Generator. Sand a little here, trim a little 'there' and when the wood rings at the proper resonant frequency... you'll know your plank is 'perfect'!Welcome to my build log! This is my first wooden ship kit. I finally cleared my workbench so I can get started.
View attachment 547238
The kit comes with a basic set of tools, paint and glue. I chose to use Elmer’s carpenters glue. I also bought some other tools and supplies.
View attachment 547239
I attached my build plans to my computer monitor which is on an arm mounted to my bench.
View attachment 547240
I also bought a notebook to journal my build and keep track of the time I spend on my build.
View attachment 547241
I started off by checking the parts list and making sure everything was in good condition. Next, I started on the keel, I dry fitted everything, created a rabbet and glued it all together.
View attachment 547242
View attachment 547243
Next, I dry fitted all the bulkheads. I decided to start gluing the bow bulkhead, it attaches to the stem and it was easier to square first.
View attachment 547244
View attachment 547245
View attachment 547246
I clamped everything to a small pocket square while the glue sets.
So far I’m off to a good start.
I see you know exactly what the O-scope and sig-gen are used for, you must have done so experimenting yourself. All part of the fun.By looking at your workbench, I'd say that you are already well ahead of most beginners. You have a definite advantage. When it comes time to plank your model you will be able to shape and spile the planking via resonant frequencies using your O-Scope and Signal Generator. Sand a little here, trim a little 'there' and when the wood rings at the proper resonant frequency... you'll know your plank is 'perfect'!
I am about to finish a Theremin project, after which my shipbuilding project will take over my desktop. From your post, I can easily envision the theremin frequencies stressing the planks into the required shape.By looking at your workbench, I'd say that you are already well ahead of most beginners. You have a definite advantage. When it comes time to plank your model you will be able to shape and spile the planking via resonant frequencies using your O-Scope and Signal Generator. Sand a little here, trim a little 'there' and when the wood rings at the proper resonant frequency... you'll know your plank is 'perfect'!
- Joined
- Apr 12, 2025
- Messages
- 285
- Points
- 158

... and if the frequencies 'alone' can't properly do the job... start cranking up the amplifier! Might have a hard time convincing your neighbors that you're only trying to build a model ship, but 'hey'. You could always give them a model ship kit and invite them to the party!I am about to finish a Theremin project, after which my shipbuilding project will take over my desktop. From your post, I can easily envision the theremin frequencies stressing the planks into the required shape.
For some of the larger ships, you might need one that goes to 11…... and if the frequencies 'alone' can't properly do the job... start cranking up the amplifier! Might have a hard time convincing your neighbors that you're only trying to build a model ship, but 'hey'. You could always give them a model ship kit and invite them to the party!
Sorry @John M, for the hijacking.
But they won't be pleased when they realize that the theremin is also evoking spirits into a new ghost ship.... and if the frequencies 'alone' can't properly do the job... start cranking up the amplifier! Might have a hard time convincing your neighbors that you're only trying to build a model ship, but 'hey'. You could always give them a model ship kit and invite them to the party!


