- Joined
- Oct 23, 2018
- Messages
- 999
- Points
- 403

Thanks for the photo‘s and compliments. I have to modify the design, because I do not have 3mm space between my frames.

 |
The beloved Ships in Scale Magazine is back and charting a new course for 2026! Discover new skills, new techniques, and new inspirations in every issue. NOTE THAT OUR NEXT ISSUE WILL BE July/August 2026 |
|
 |
As a way to introduce our brass coins to the community, we will raffle off a free coin during the month of August. Follow link ABOVE for instructions for entering. |
|



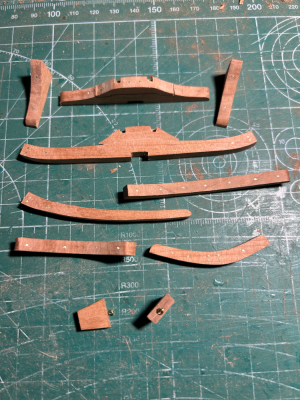
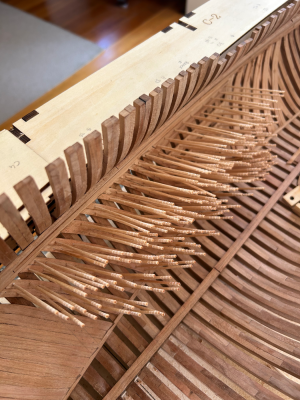
Agreed. What looks right is the best guide. FYI I used 0.6 mm for my 1:48 Kingfisher and Saint Philippe.Paul, the trunnels have 0.8mm holes, the same as Le Coureur. It’s quite difficult to say why I chose that measurement. As you say, it’s more about the look. One millimetre is too big and half a millimetre is too small…
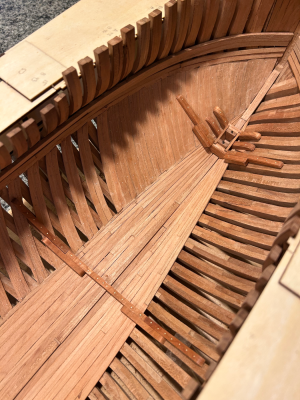
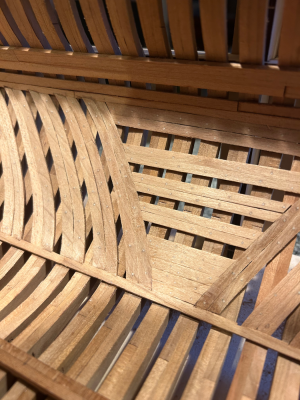
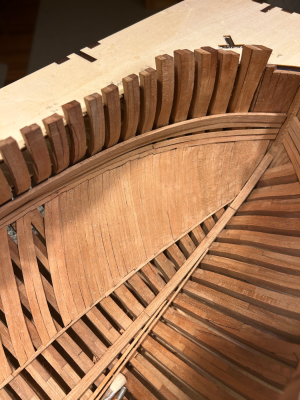
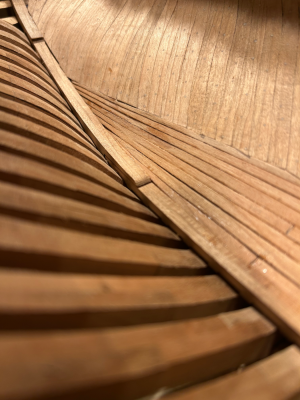
Here is the bow section of the diagonal planking finished:
View attachment 602528
It was a little easier than the stern, but a lot of care was still needed and I even I took up and relaid the three planks next to the stem because I just thought they weren’t sitting quite right.
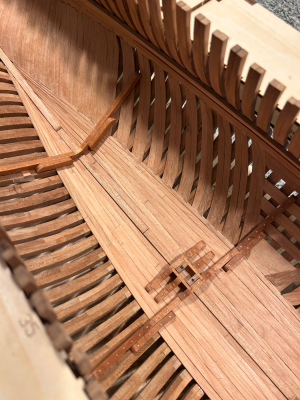
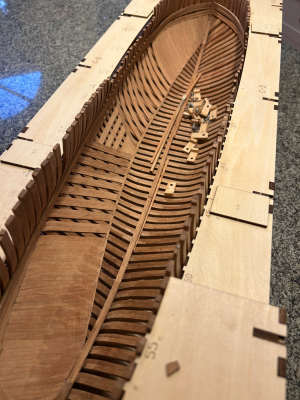
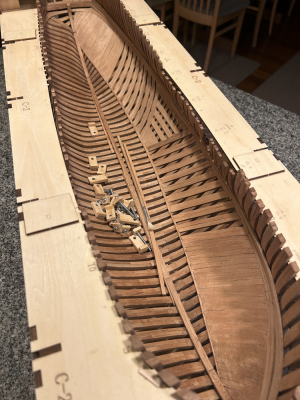
And here is what it looks like with both the fore and aft sections completed:
View attachment 602529
View attachment 602530
Kind regards
Salty


true storyexcellent work.
Remember, one step at a time and you can walk around the world.So far I’ve completed the first 18 steps in the instruction manual for the internal structure, but sadly there still more than 100 to go…
Kind regards
Salty

I just ordered section 5, should be here in a few weeks!Brian, Grant and Paul, thanks for your kind words and encouragement. I’ll try to keep up the standards.
Brad, I only use an iPhone for my photos, but it’s surprisingly easy. I try to take pictures which show a bit of “warts and all” detail, plus over impressions.
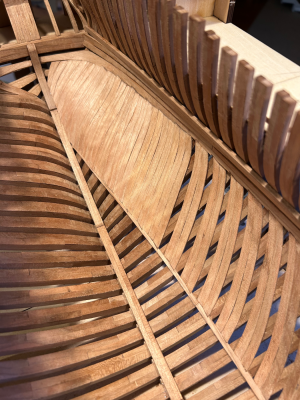
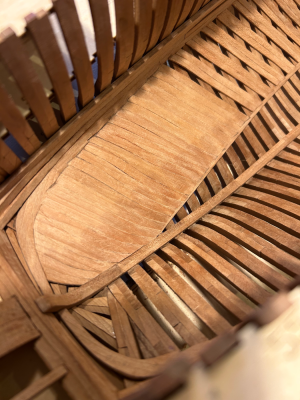
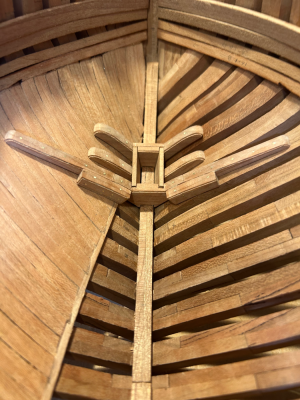
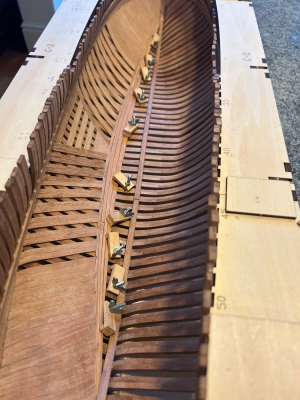
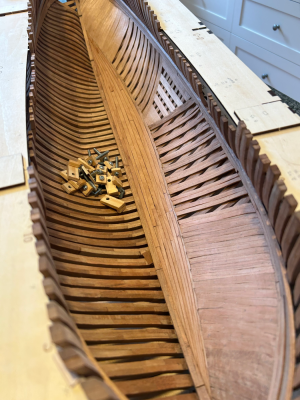
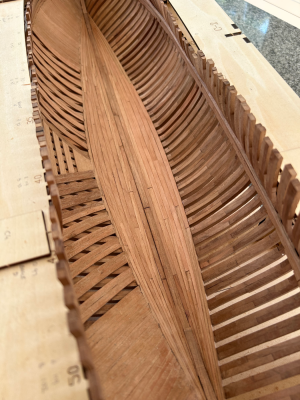
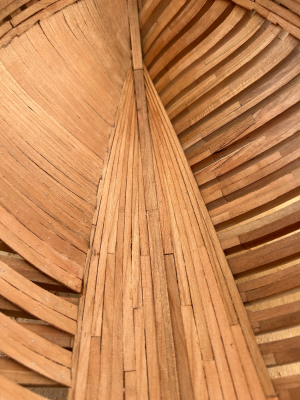
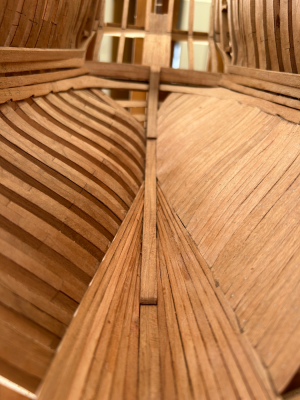
I have just completed planking the starboard side:
View attachment 604051
View attachment 604053
View attachment 604052
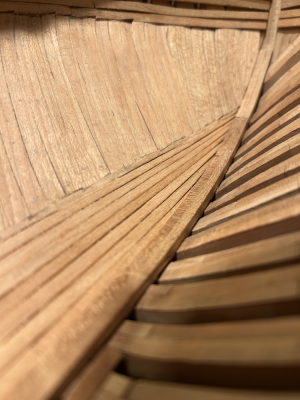
It went relatively smoothly and I only had to trim the lengths to match those on the port side. As with the frames, I finished everything with a scraper. Not perfect, but given all that could go wrong with all the irregular surfaces, I’ll take it.
So far I’ve completed the first 18 steps in the instruction manual for the internal structure, but sadly there still more than 100 to go…
Kind regards
Salty