• Ships of Scale has incorportated an extra level of security when you log In. Please follow on-screen prompts to acknowledge that you are not a robot via a "Check Box" or a "Pictorial Check Box Puzzle". This is needed due to higher level of AI Activity Security.
  • SUBSCRIBE TO SHIPS IN SCALE TODAY!

    The beloved Ships in Scale Magazine is back and charting a new course for 2026!
    Discover new skills, new techniques, and new inspirations in every issue.

    NOTE THAT OUR NEXT ISSUE WILL BE July/August 2026
  • Win a Free Custom Engraved Brass Coin!!!
    As a way to introduce our brass coins to the community, we will raffle off a free coin during the month of August. Follow link ABOVE for instructions for entering.

King of the Mississippi - Artesania Latina

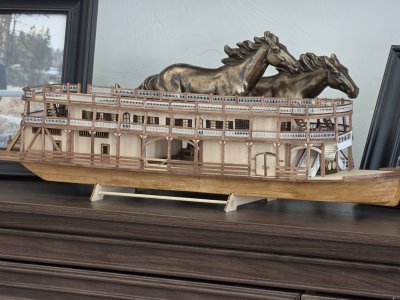
This was one of my first ships back in the 1980s and she still graces our living room!

You are doing a wonderful job with the Artesania Latina Kit!

I will follow till you finish. Thanks for sharing.
 
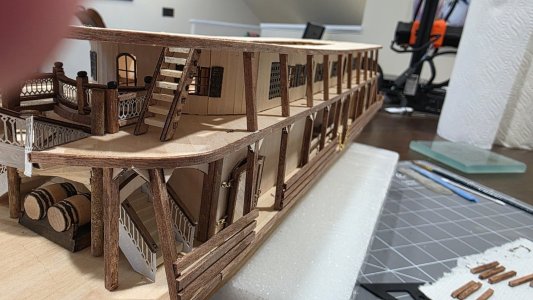
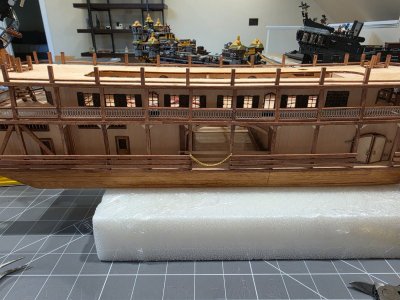
Finished with the columns on Deck 2 and about to start installing railings. I know that some of the column spacing is not perfect at every gap. If someone in posterity is looking at this build, one piece of advice would be to make certain that you get the spacing as accurate as possible using the included spacer. Some of my railings will be a little tight and some a little loose. I'll get to repeat the "customizations" on Deck 3 to account for my earlier lack of perfection.

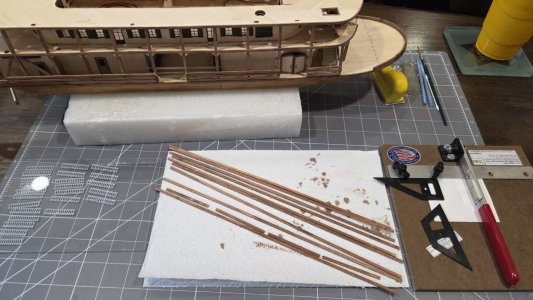
When it comes to tools, I am thankful I have the Northwest Short Lines chopped shown in the picture to make short work of repetitive cuts. Highly recommended. I need to clean up the photoetched parts where there is a little metal left from cutting them off the sprue (is that the right term?). Do you file that off? I do not want to bend the parts. The other though I had was to use some side snips, but the ones I have don't work that well on tiny parts. Any suggestions for side snips that can do very fine work?

Thanks to everyone for following along!

20260607_155623.jpg
 
That cut saw looks awesome and you're putting it to good use, I can tell!

For those little bits of metal that need trimming, several options:
1. Make a small sanding stick with 200-220 sandpaper.
2. Use a fine metal file. If you don't have a set, here is a link to some decent ones on Amazon. Cheap file set
3. Fingernail Emory files would also work.
 
Hi William
I've been watching in the wings and first want to commend you on a beautiful build. Regarding the PE parts, I highly recommend a good set of jewelers files. Use mine all the time. For wood, sanding sticks are great, but I find the files much better for metal. Also, if you don't have them, get a god pair of plyers for making jewelry. You can find them at Michael's or HobbyLobby. For your purposes, I recommend blunt nose players with flat face, so they don't leave marks. They allow you to hold the part firmly so it doesn't get bent while filing.
Keep up the great work. She's a beautiful boat
 
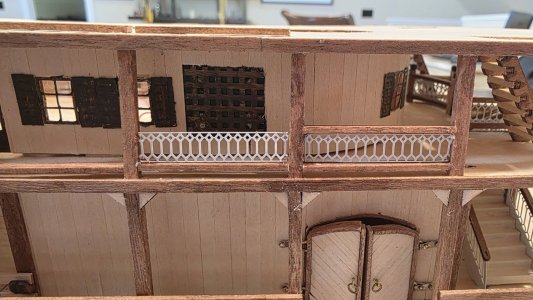
These railings are much more challenging than anticipated. The photoetch is not a perfect fit - it's a little wider than the supplied spacer. Trimming it down is no easy task! Anyone else who has done this model have this issue?

1000004890.jpg
 
An update, finally. Life has gotten in the way of modeling, but I am back at it. The brass railings gave me fits. I even had my son 3D print a block to give me the correct measurements from the plans. It turns out that the difference between 11mm and 11.5mm doesn't even matter when you get it on the model because wood isn't perfect to those tolerances and there are slight differences in the distance between decks. I ended up marking the angles off on a block of wood with a finishing nail to help me form the curves and called it a day. Good lessons learned. On to deck 3.

20260823_140458.jpg
20260823_152607.jpg
20260823_162702.jpg
20260823_162713.jpg
 
These railings are much more challenging than anticipated. The photoetch is not a perfect fit - it's a little wider than the supplied spacer. Trimming it down is no easy task! Anyone else who has done this model have this issue?

View attachment 611764
Yup. Same problem. Sharp wire snips did the job. My build is on this site, if you want to look.
 
One thing is for certain - absolutely nothing on this model is perfectly straight!
Don’t worry about that with the almost open construction of this type of ships. The deck curvature from side to side and the sheer in the longitudinal direction of the ship are highly visible. If they where straight, you had a problem …… ;):)
You made a nice progress.
Regards, Peter
 
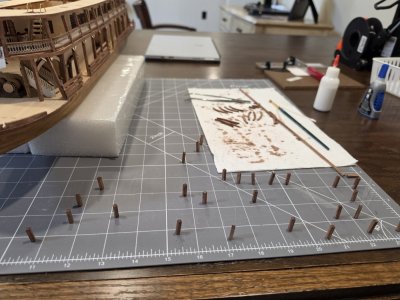
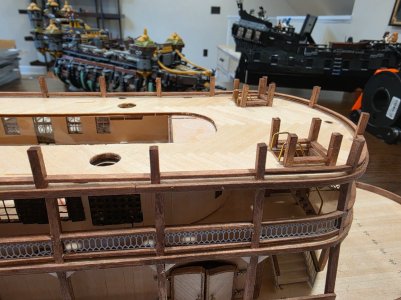
The repetitive business for the 3rd deck started out with cutting out all the posts and then standing them all on end to check level. There was a lot of sanding involved lol.

20260829_145858.jpg

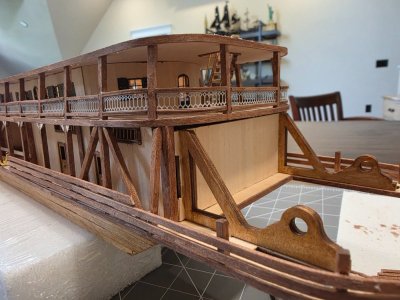
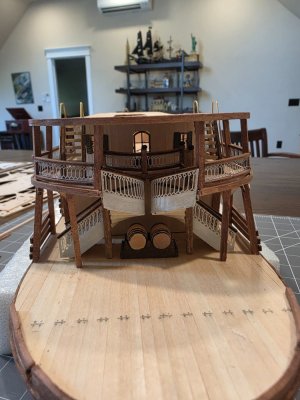
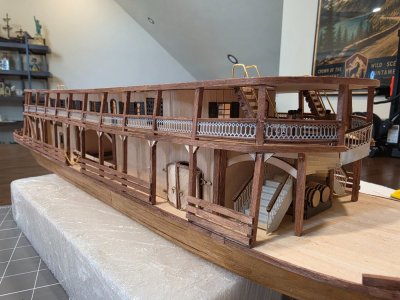
As I mentioned above, the alignment of the posts has been challenging. I managed to get deck 1 and 2 reasonably aligned with each other, but spacing is a little inconsistent, which required trimming some of the PE railing and other places where the PE doesn't fully fill the gap. On the 3rd deck, I cut all of the lower rails to the same length with the fore and aft placed using the template. That means deck 3 is where everything "should" be. I'm considering pulling all of 3 off and just aligning as best I can with the lower decks even though there will be a lot more work involved. If I were doing the instructions, I would have built up the interior through the base of deck 3 and then filled in the posts and railing afterwards to make alignment between decks easier. Another oddity about the instructions - why would you do the railings around the stair entrances on deck 3 after you have the full railings built up on the outside? Makes the stairs less accessible.

20260904_184121.jpg20260904_184128.jpg
 
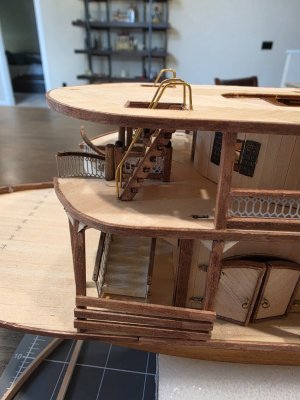
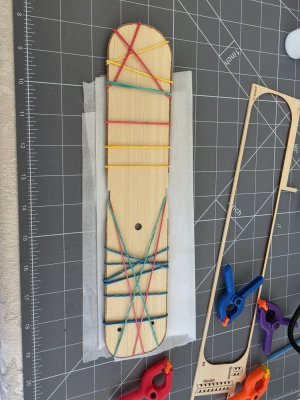
Finished with the main part of the boat for now. On to the upper two decks, which get assembled separately. You can never have too many rubber bands.

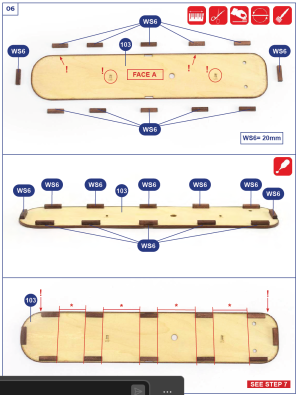
Question for anyone who has done this model - what should the spacing be in the step pictured below? It is not indicated anywhere.

Screenshot 2026-10-04 151420.png

I am almost out of 1mm x 3mm sticks but they are needed for the outside of the upper deck and a few other things. I've reached out to AL to see about getting a few more. I haven't had any waste with those, so I should not be running out.


20261004_150828.jpg20261004_133612.jpg
 
Back
Top