• Ships of Scale has incorportated an extra level of security when you log In. Please follow on-screen prompts to acknowledge that you are not a robot via a "Check Box" or a "Pictorial Check Box Puzzle". This is needed due to higher level of AI Activity Security.
  • SUBSCRIBE TO SHIPS IN SCALE TODAY!

    The beloved Ships in Scale Magazine is back and charting a new course for 2026!
    Discover new skills, new techniques, and new inspirations in every issue.

    NOTE THAT OUR NEXT ISSUE WILL BE July/August 2026
  • Win a Free Custom Engraved Brass Coin!!!
    As a way to introduce our brass coins to the community, we will raffle off a free coin during the month of August. Follow link ABOVE for instructions for entering.

San Felipe - ZHL JM

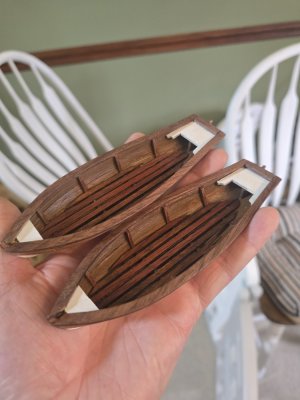
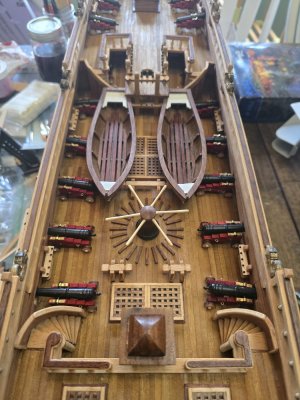
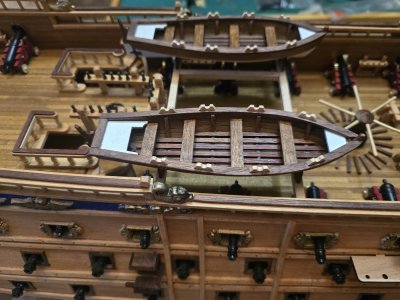
Luckily my wife has quite a collection of acrylic paints and I mixed a few until I got a shade of brown I didn't hate. I'd call this a success. I couldn't help myself and had to see the baby boats with their mother. 1000029257.jpg1000029259.jpg
 
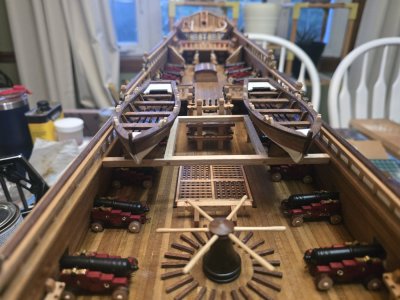
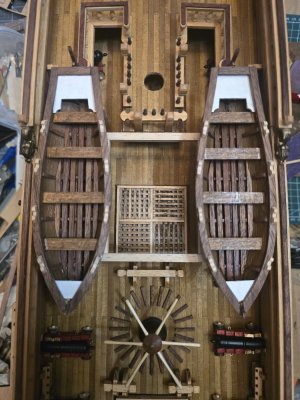
These skiffs were probably the second most intimidating part of this build outside of rigging. In my opinion, they're kind of the centerpiece on the deck; it's just what my eye personally goes for. I still need to make the oars, but I wanted to get the cradle started and see what these looked like mounted. The cradle is just "press fit" for now. I'm really happy with the outcome.

On another note, it took me far too long into this build to remember I owned an old Alvin friction divider. It has made these awkward measurements on the deck effortless and significantly reduced my trimming and sanding when fitting pieces. I know some of you read things like that and think "who doesn't use one of those?" This build has taught me so much. 1000029349.jpg1000029350.jpg1000029351.jpg
 
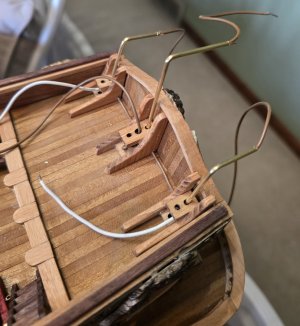
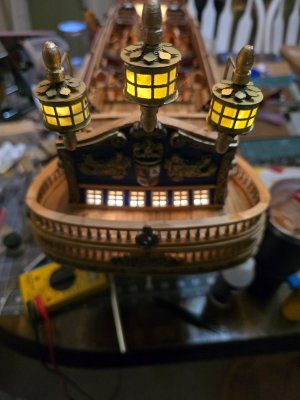
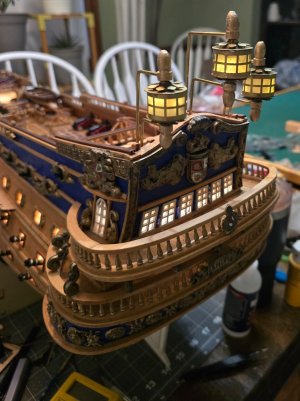
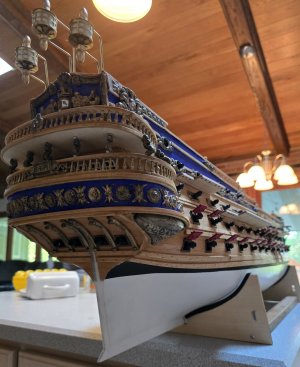
Found some brass tubing on Amazon and had some spare wiring that would fit through to light the lanterns. I'm kind of figuring this out as I go, but I like this plan so far.

Bending the tubing with the wiring inside and not having it kink is tricky. I bend it slightly, then squeeze the outside with smooth pliers to get a fairly smooth bend. So far so good! Still kicking myself for using the white silicone wire; it's just barely too wide. The solution will have to be some tedious soldering without burning the ship. Then again, everything has been tedious!

1000029515.jpg
 
I'm dry fitting the unfinished chainwales...does this angle look too steep?

It looks steep to me, but my thinking also tells me chainwales should be more or less perpendicular with the hull when mounted, especially considering the brackets that attach them to the hull are roughly 90 degrees. Thanks in advance!

Edit: it's come to my attention that the rear chainwale is backwards in the photo. Sorry, still a newbie!
1000029624.jpg1000029625.jpg
 
Last edited:
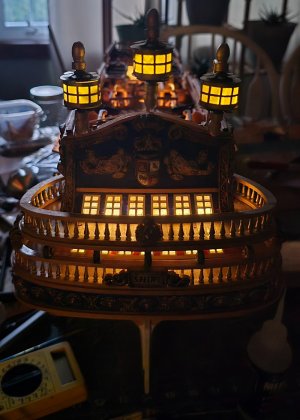
Perhaps they look a little unorthodox, but I think it's the best I could have hoped for. It'll look really nice lit up in its display at night.

A lot of things had to go right on the first try with these lamps. I'm not 100% finished with them. They're made of very thin foiled cardboard, so you really only get one chance with the glue. 20260715_205213.jpg20260715_205334.jpg20260715_205451.jpg
 
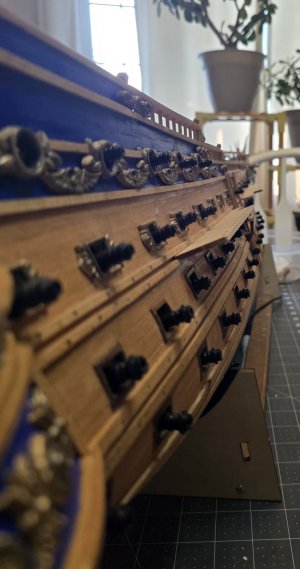
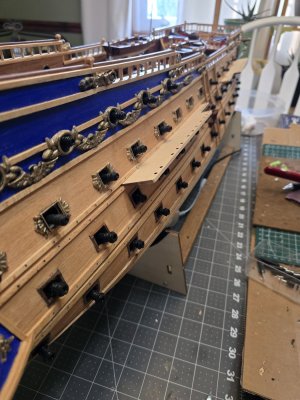
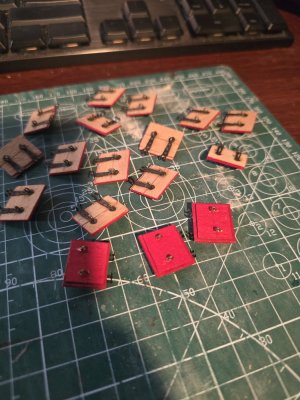
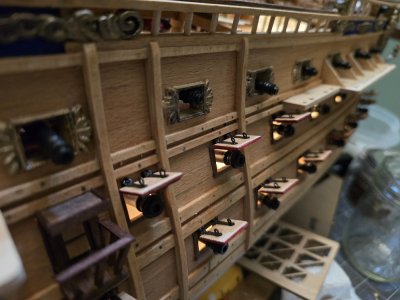
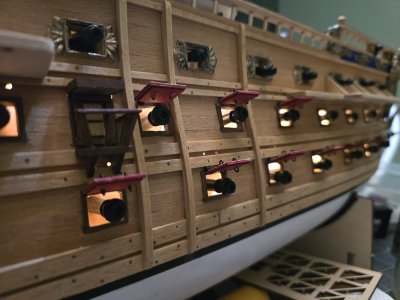
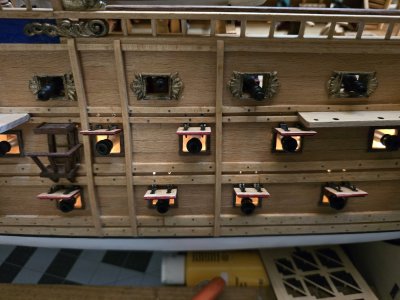
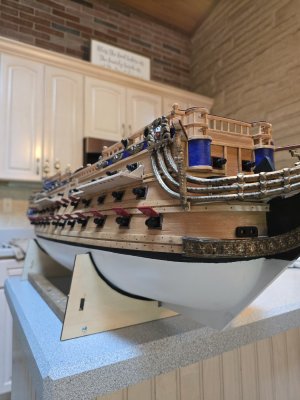
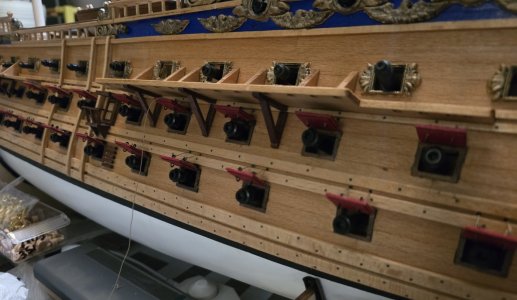
One thing that has helped and hurt me in this build is constantly looking ahead. It's helpful for the obvious reason of planning, but it also forces me to look ahead at some of the more daunting tasks. Canons, skiffs and gun port lids were some big ones, yet here I am with all three done.... except rigging, my "final boss" of this build. 62 lids done.

I've seen a couple ways to display these, one being wide open with all red showing. I put so much effort into the rings and hardware on the outside of the lid, it would feel wrong virtually hiding it against the side of the ship. I went with a 90ish degrees to the hull open position. I'm excited to see the rest of these go on!

1000030057.jpg1000030056.jpg1000030054.jpg
 
Looking ahead is necessary for planning, especially if one is working outside the instruction steps and modifying or scratch building. However, you have to keep in mind that all the daunting tasks to come WILL be completed one step at a time, each planned, each executed as if it were a model in itself. Just KEEP MOVING and believe you will solve the upcoming tasks the same way you have for the ones in the past, and even though the tasks to come are unfamiliar, you will do your research in forum build logs and books and work your way through them. You really won't know how until you get there, and THEN you will start unraveling the puzzle. Just be patient with yourself and all will work itself out. I am in the middle of a daunting scratchbuild, with no prior experience, but am inventing techniques and making design decisions one at a time, and it's slowly getting done. It's the persistance that gets these complicated long term models done. Skill and techniques are gain along the way. You know ahead of time the model won't be absolutely perfect, but if you can stand back when it's done and marvel over the final product and remember just how much you learned along the way, you'll be more than satisfied... then you'll start another one. . .

 
Looking ahead is necessary for planning, especially if one is working outside the instruction steps and modifying or scratch building. However, you have to keep in mind that all the daunting tasks to come WILL be completed one step at a time, each planned, each executed as if it were a model in itself. Just KEEP MOVING and believe you will solve the upcoming tasks the same way you have for the ones in the past, and even though the tasks to come are unfamiliar, you will do your research in forum build logs and books and work your way through them. You really won't know how until you get there, and THEN you will start unraveling the puzzle. Just be patient with yourself and all will work itself out. I am in the middle of a daunting scratchbuild, with no prior experience, but am inventing techniques and making design decisions one at a time, and it's slowly getting done. It's the persistance that gets these complicated long term models done. Skill and techniques are gain along the way. You know ahead of time the model won't be absolutely perfect, but if you can stand back when it's done and marvel over the final product and remember just how much you learned along the way, you'll be more than satisfied... then you'll start another one. . .

This is all so true. I haven't really looked at the plans for this build since I used the plans to make my own gunport template; the plans are pretty useless! To be fair, I will definitely be using the rigging plans.
There's a well documented build on YouTube by Adam Hef that I've used extensively and he deserves a lot of credit for how well my build has turned out so far, especially considering the lack of plans he probably had to work with.

You're also right about getting better as you go. Admittedly, I always start on the same side of the ship and I've usually got a methodology down before I go to the "display" side. Fortunately, they've both mostly turned out to my liking.....so far. Since MSW has gone dark, this forum and your advice is that much more valuable. I am a complete novice when it comes to old ships (or new ships really) so this site is an invaluable wealth of knowledge. I know this ship is out of scale and awkward in places, but it can still be beautiful to look at, so I will continue patiently doing my best. I still have many small jobs before the hull is complete. Heck, the ship doesn't even have a rudder yet!

Scratch building is as foreign to me as sculpting. What an art, and the level of patience is impressive. I've always had a good eye for straight lines and symmetry, but I've seen your 3D print decorations and they're next-level. I'm looking forward to watching your updates. 1000030076.jpg1000030075.jpg
 
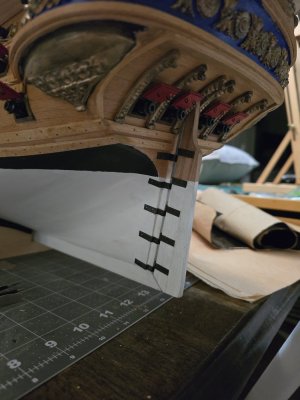
We finally have a rudder! Making these iron hinges takes some serious planning and patience. Have to get the spacing just right.

1000030712.jpg


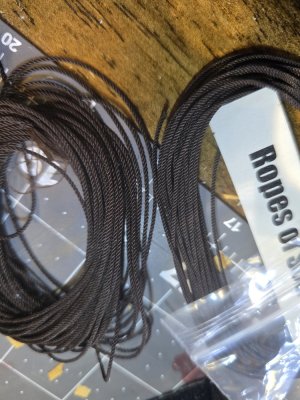
I also starting adding rope to the gunport lids. I maybe should have tied pieces of rope to the lids before installing them, but I've found a way to tie them that leaves zero waste. These ropes from RoS look excellent so far.

1000030713.jpg
 
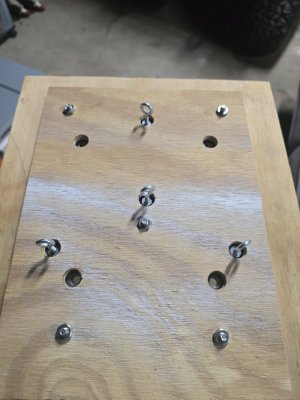
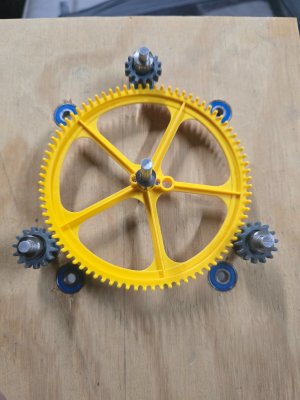
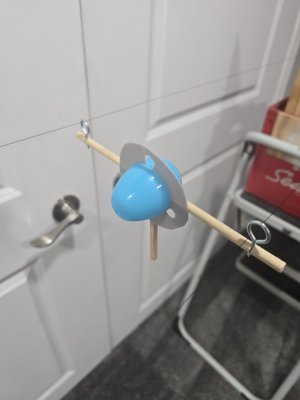
Taking a break from the build to make a ropewalk. Luckily I have most of the hardwear and tools laying around to do this, but the parts are fairly cheap. Definitely cheaper than buying pre-made one outright. I have some Gutermann thread on the way from ROS and I'm excited to see what this thing can do. 1000031516.jpg

20260914_101533.jpg
 
Well, I went from not knowing what a rope walk was to slapping one together and making my first rope with some upholstery thread I had lying around. More of a proof of concept at this point, but not a bad starting point.

1000031535.jpg
 
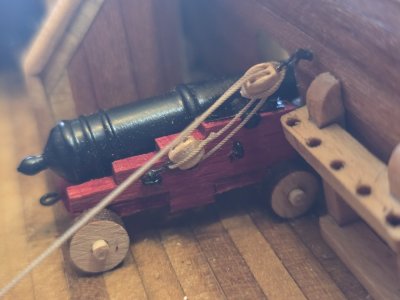
Made some more rope using the gutermann thread that arrived from ROS. Blocks from HiSModel came as well for the canon tackle. I wanted to rig up tackle on one canon to get a sense of the effort involved. I've got a loooong way to go.

1000031926.jpg1000031925.jpg
 
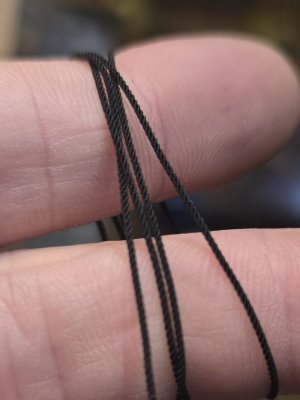
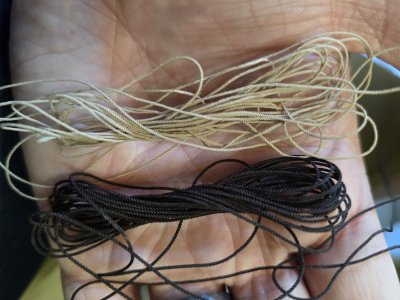
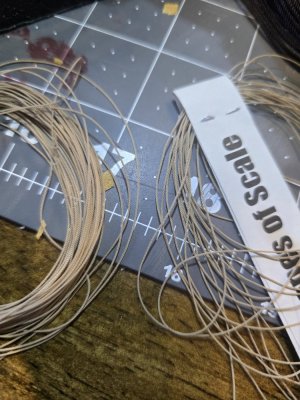
It took much trial and error, but I've been able to fairly consistently recreate the ropes I purchased from ROS using the gutermann thread (also from ROS). I recommend their products to anyone who doesn't want to go through the trouble, I guess I'm just stubborn enough to go through it.

The first two photos are mine vs ROS. They're not exact, but close enough for my liking.

1000031986.jpg

1000031985.jpg

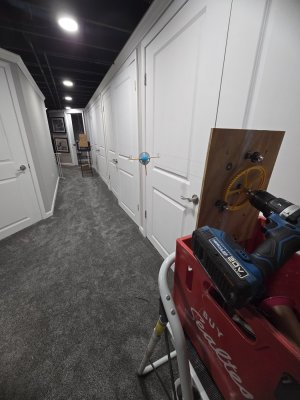
My ropewalk setup in the basement.

1000031988.jpg
1000031987.jpg

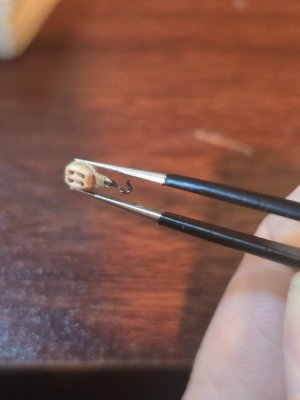
Adding rope and hooks to the HiSModel blocks. I'm getting better/faster at making these. I believe I have 78 of these to make for the canon rigging!

1000032006.jpg

I'm seeking advice/techniques on how to make rope coils on the deck for the canon tackle. Thanks for looking!
 
Back
Top