• Ships of Scale has incorportated an extra level of security when you log In. Please follow on-screen prompts to acknowledge that you are not a robot via a "Check Box" or a "Pictorial Check Box Puzzle". This is needed due to higher level of AI Activity Security.
  • SUBSCRIBE TO SHIPS IN SCALE TODAY!

    The beloved Ships in Scale Magazine is back and charting a new course for 2026!
    Discover new skills, new techniques, and new inspirations in every issue.

    NOTE THAT OUR NEXT ISSUE WILL BE July/August 2026
  • Win a Free Custom Engraved Brass Coin!!!
    As a way to introduce our brass coins to the community, we will raffle off a free coin during the month of August. Follow link ABOVE for instructions for entering.

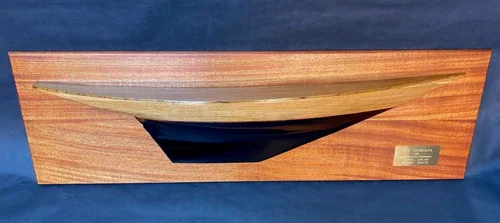
The "Shadow" 1871 Racing Yacht designed by Nathanael G. Herreschof - Half-Hull Presentation Model Build Log

18. Build Log: The "Shadow" 1871 Racing Yacht by Nathanael G. Herreshoff - Wooden Half-Hull Presentation model

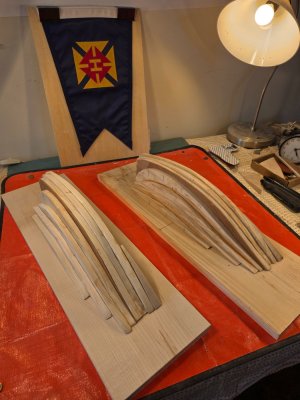
Leaving for vacation in a few, so wanted to update on where we are in the build of the Shadows, both Shadow 1 (painted hull) and Shadow 2 (stained hull).

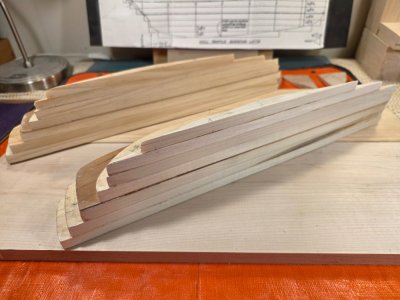
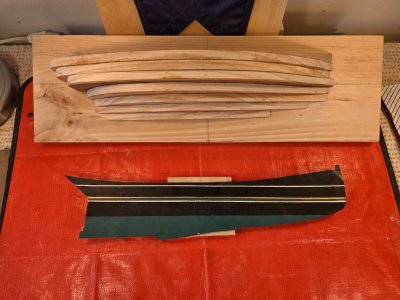
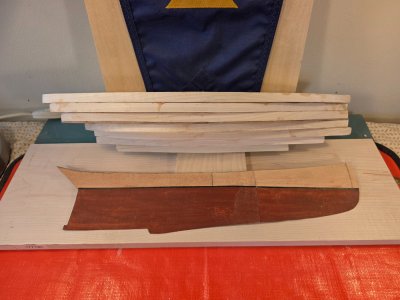
I have done all preparations, pre-sanding, fairing, dry fitting, and planing. Suffice to say all preparatory steps have been checked off. I'd say we are at the 2/3 complete stage, with plenty of fairing and wood removal in coming days and weeks. But I'm further than half way through for both Shadow 1 and Shadow 2.

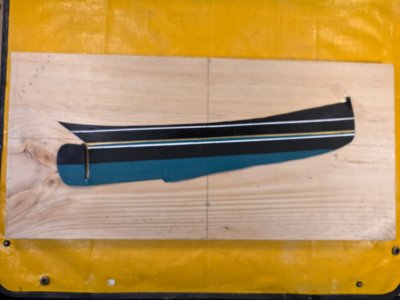
I've chosen my final color schemes - black and teal for Shadow 1and golden pecan and natural walnut for Shadow 2.

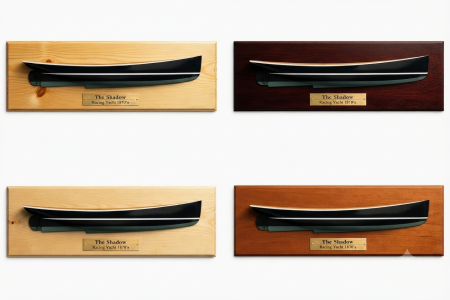
I'm also landing on the 11" x 24" x 1" backboard. It emphasizes the horizontal length of the ship, suggesting speed, and it has room above and below to emphasize the upward sweep of the bow at sea.

See you in about a week.
20260709_102838.jpg

20260709_104237.jpg

20260709_080622.jpg

20260709_102819.jpg
 
Last edited:
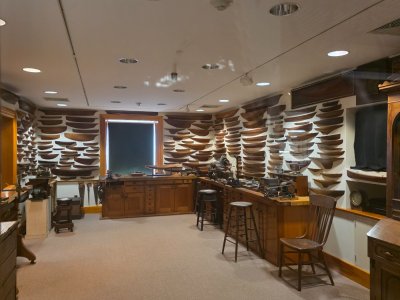
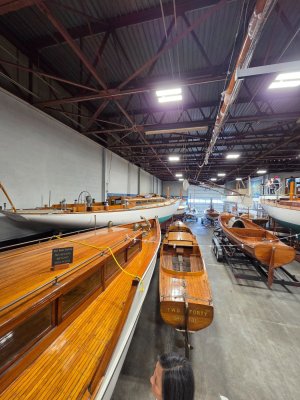
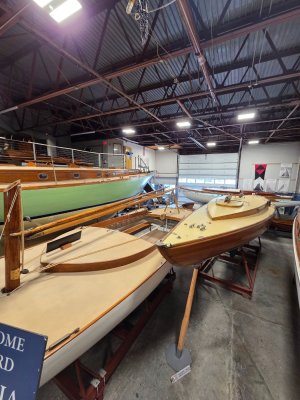
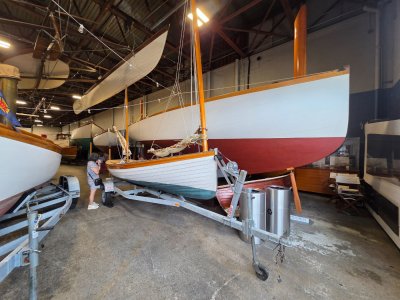
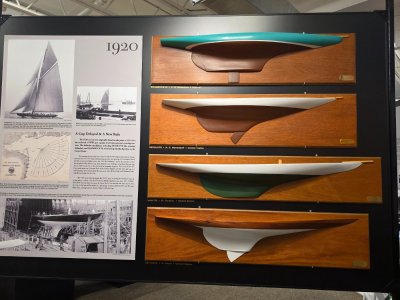
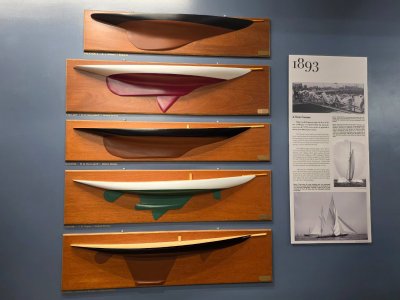
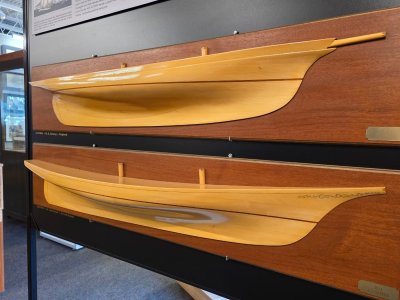
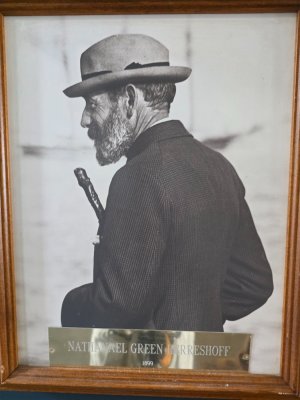
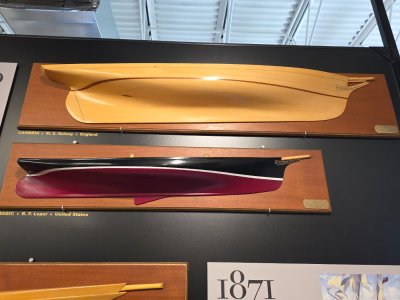
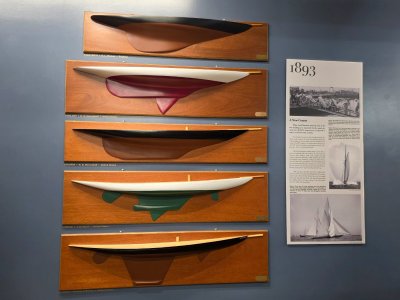
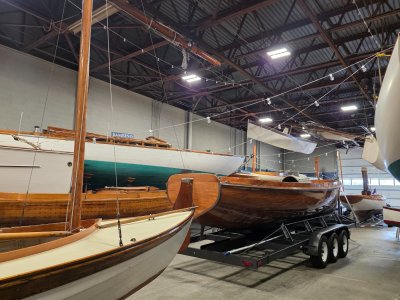
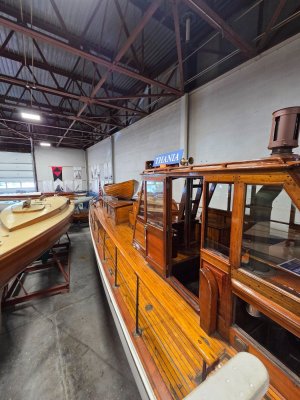
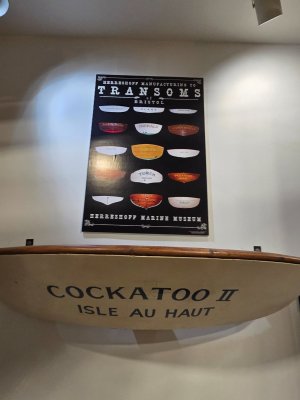
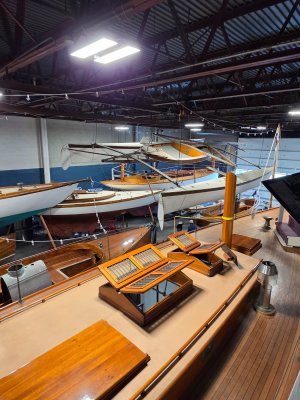
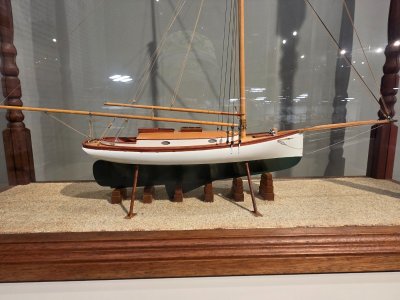
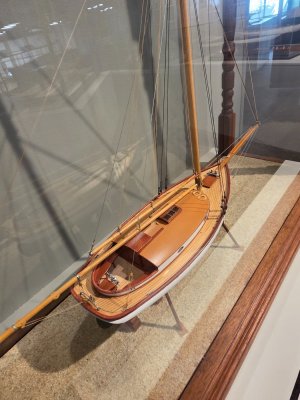
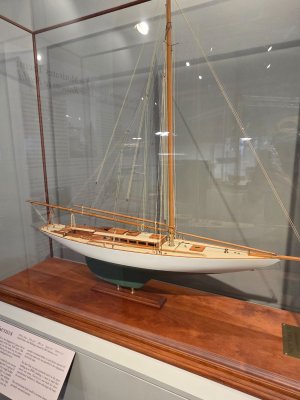
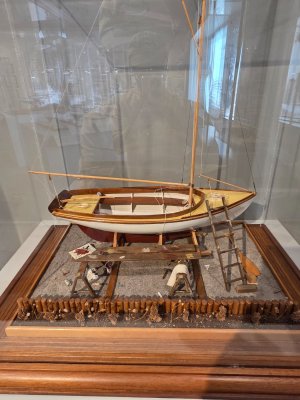
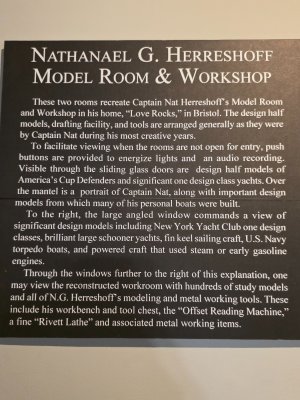
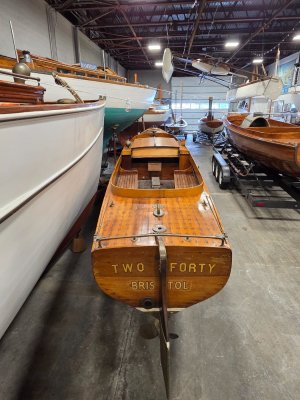
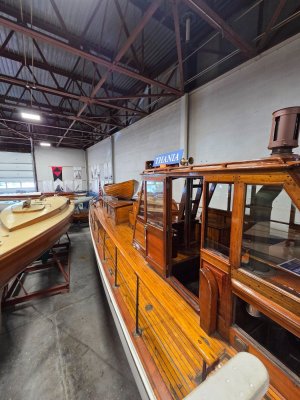
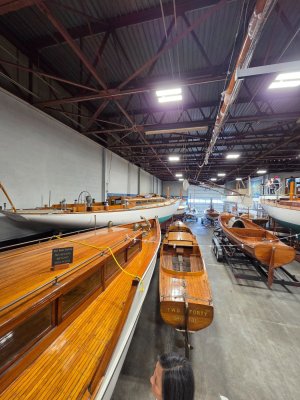
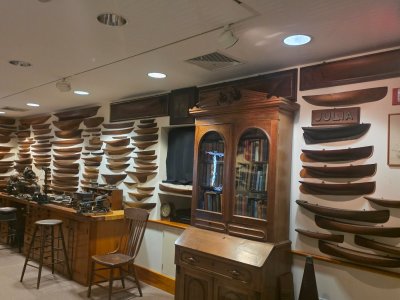
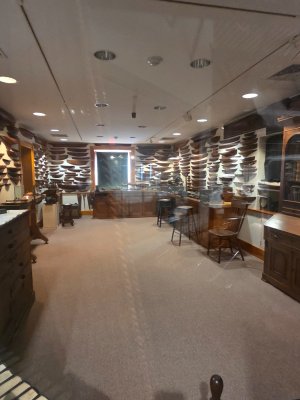
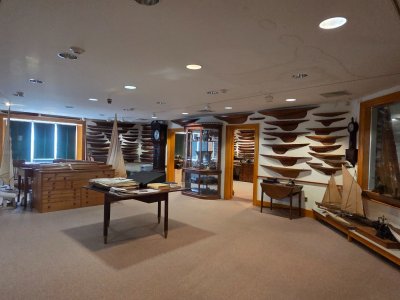
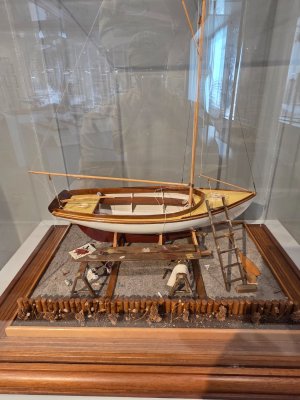
Some pictures from our visit to the Herreshoff Maritime Museum in Bristol RI yesterday.

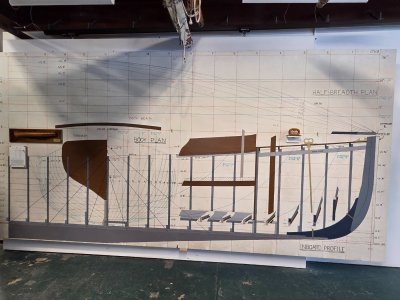
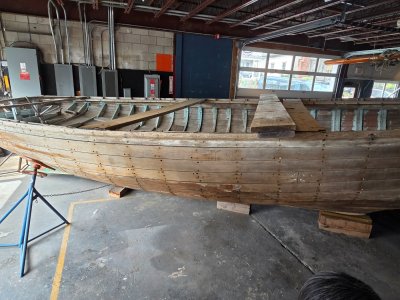
Pictures include Nathanael G. Herreshoff's design room, model/half-hull room, boats going back to 1859 (including the Sprite, Capt. Nat's first boat design), and the many warehouses with Herreshoff-built vessels into the 1960s.

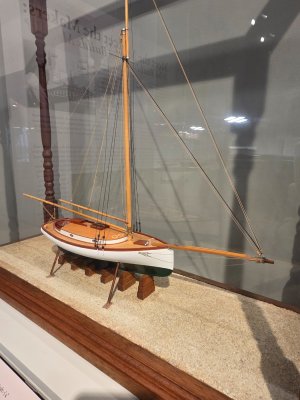
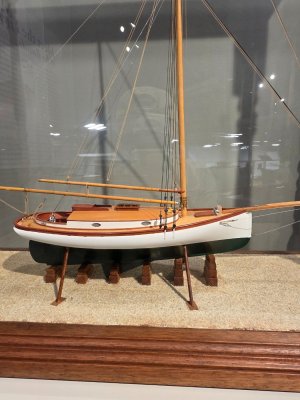
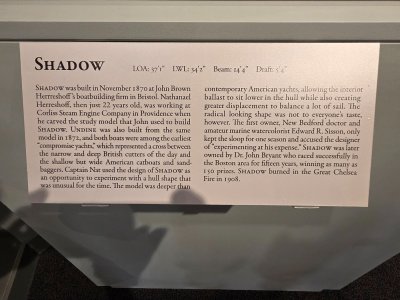
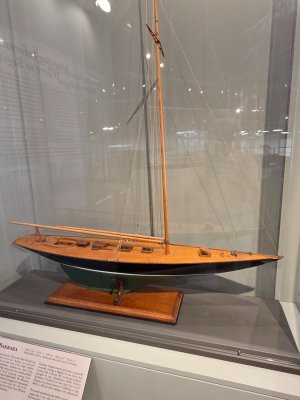
And pleasantly surprised to find a scale model of the "Shadow" and many America's Cup yacht winners.

20260710_150028.jpg

20260710_145315.jpg

20260710_145321.jpg

20260710_145157.jpg

20260710_144940.jpg

20260710_144835.jpg

20260710_144815.jpg

20260710_144507.jpg

20260710_135528.jpg

20260710_144809.jpg

20260710_144834.jpg

20260710_145018.jpg

20260710_145318.jpg

20260710_145414.jpg

20260710_145541.jpg

20260710_145615.jpg

20260710_145815.jpg

20260710_150018.jpg

20260710_150104.jpg

20260710_150106.jpg

20260710_150216.jpg

20260710_150221.jpg

20260710_150246.jpg

20260710_150308.jpg

20260710_150327.jpg
 
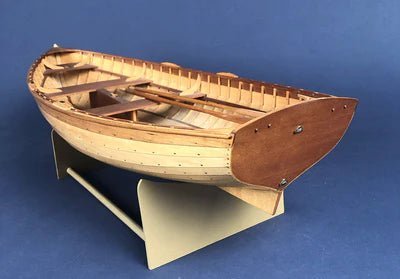
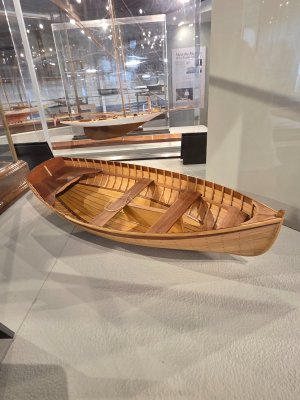
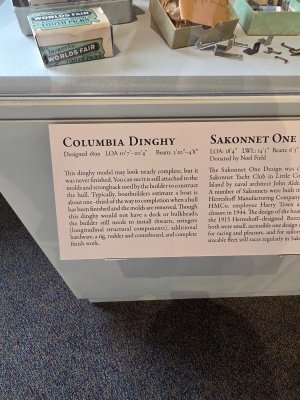
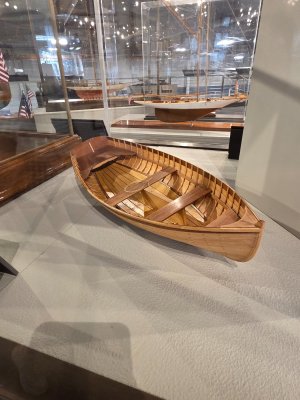
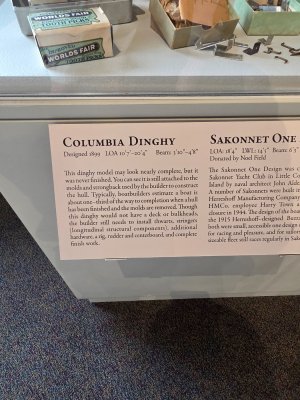
Inspired by our visit to the Herreshoff Maritime Museum, I purchased a kit for an updated wooden boat model of the Columbia Dinghy, one of Capt. Nat's most commercially successful product lines of the Herreshoff Manufacturing Company. I purchased the kit from The Wooden Boat Company, which is beginning to be one of my favorite goto places for Herreshoff drawings and projects.

It is a scratch wooden build from 4 design and rigging plans and a 32 page build manual. I will build the Herreshoff Columbia Dinghy after 2 or 3 of my next builds, the "Onrust" Dutch jaght and the Dutch pinas by Witsen. Seeing Herreshoff's Columbia Dinghy up close as both model and formed boat shows off the simple beauty of his vessel designs. Will also be my first lapstrake hull, so excited to get started.

CATSPAWONSTAND_6fee521a-e0f7-4504-9734-4b22d1c31164_400x.jpeg

20260710_150500.jpg

20260710_150414.jpg
 

Attachments

Last edited:
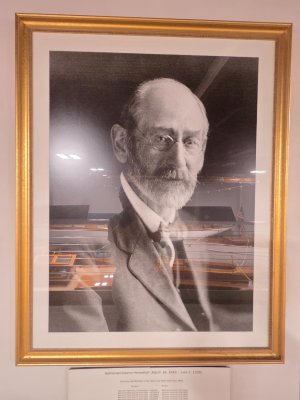
You’ve just visited the Best of the Best. The Herreshoff Museum is a gem. One of its founders and supporters is Halsey Herreshoff, Nathaniel’s Grandson or maybe Great Grandson I’m not sure which. Halsey is also a Naval Architect educated at Nathaniel’s Alma Mater, MIT. As a privately owned institution in a yachting Mecca they have avoided the “museums as Entertainment fad and can focus on the boats and their technology.

I wish that they would identify the builders of the models that you posted. They are truly works of art. The Shadow model is particularly lovely.

Of course there were two famous Herreshoff naval architects. Nathaniel and his son L. Francis. Growing up, L. Francis was a household name as my father built a boat that he designed. I didn’t learn about Nathaniel until much later. At least the last time that I visited the museum (2019) nothing was said about L. Francis. I asked the curator why. L Francis was dyslexic and Nathaniel sent him to Agricultural College so that he could manage a farm that the family owned. Instead, he became a self taught naval architect whose skills were belittled by his father. When Francis died in the 1960’s there was a split in the family. The Nathaniel branch started the Herreshoff Museum. Heirs to Francis’s estate gave all of his papers, drawings, etc. to Mystic Seaport.

Roger
 
You’ve just visited the Best of the Best. The Herreshoff Museum is a gem. One of its founders and supporters is Halsey Herreshoff, Nathaniel’s Grandson or maybe Great Grandson I’m not sure which. Halsey is also a Naval Architect educated at Nathaniel’s Alma Mater, MIT. As a privately owned institution in a yachting Mecca they have avoided the “museums as Entertainment fad and can focus on the boats and their technology.

I wish that they would identify the builders of the models that you posted. They are truly works of art. The Shadow model is particularly lovely.

Of course there were two famous Herreshoff naval architects. Nathaniel and his son L. Francis. Growing up, L. Francis was a household name as my father built a boat that he designed. I didn’t learn about Nathaniel until much later. At least the last time that I visited the museum (2019) nothing was said about L. Francis. I asked the curator why. L Francis was dyslexic and Nathaniel sent him to Agricultural College so that he could manage a farm that the family owned. Instead, he became a self taught naval architect whose skills were belittled by his father. When Francis died in the 1960’s there was a split in the family. The Nathaniel branch started the Herreshoff Museum. Heirs to Francis’s estate gave all of his papers, drawings, etc. to Mystic Seaport.

Roger
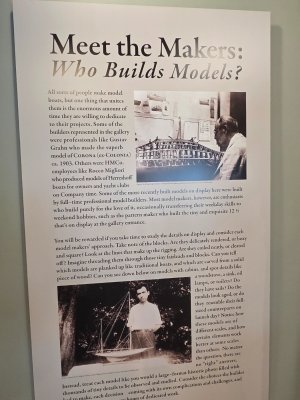
Roger - What an amazing museum! They did have some info on the model builders. While Nathanael was still alive, he would have employees build scale models based on hull shapes he designed as half-hull models. Most of the models were built on company time if they were built for a client, but employees would also bring their own models to bring new ideas to Capt. Nat.

Later, the Museum started receiving private modelers builds into the collection, and many of the Americas Cup models were made privately by yacht enthusiasts.

20260710_150232.jpg

20260711_103435.jpg

20260711_103458.jpg
 
Last edited:
19. Build Log: The "Shadow" 1871 Racing Yacht by Nathanael G. Herreshoff - Wooden Half-Hull Presentation model

Back from our maritime themed vacation to New England and trying to get back to my bench to work on the Shadow.

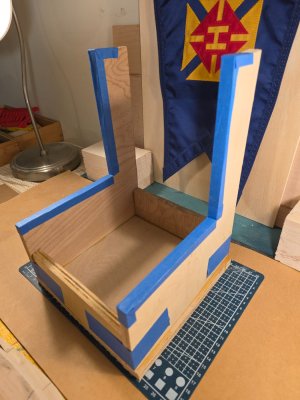
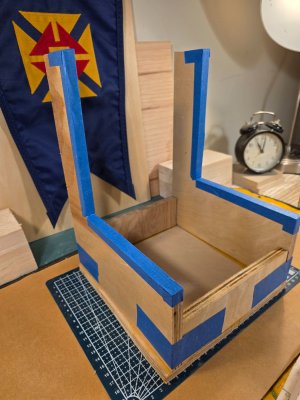
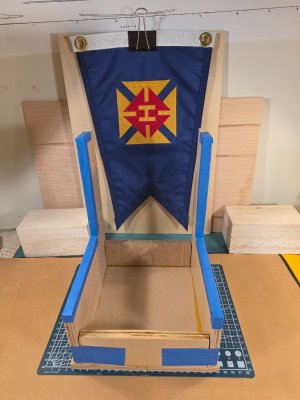
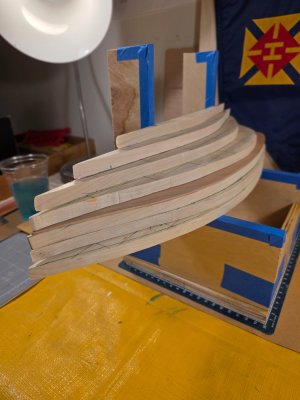
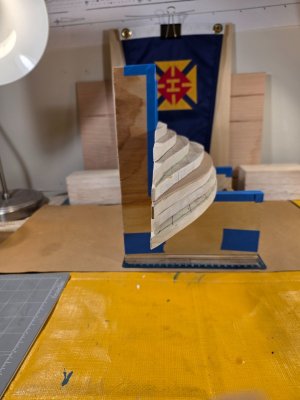
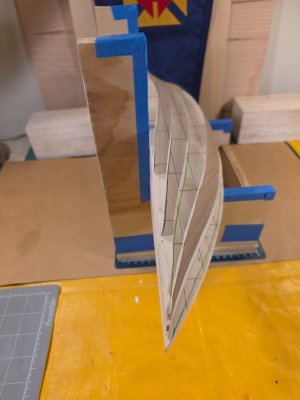
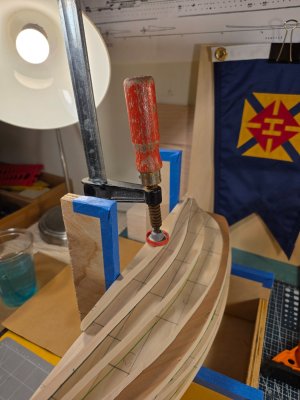
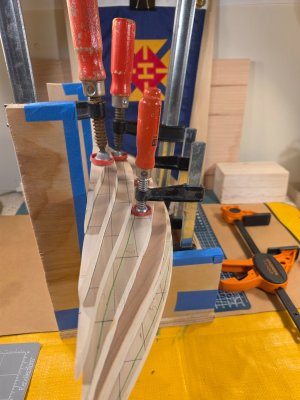
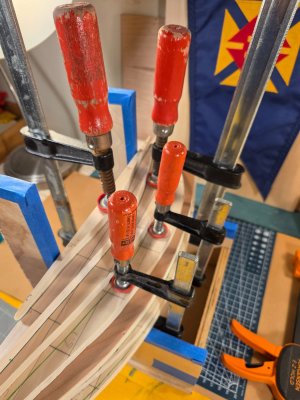
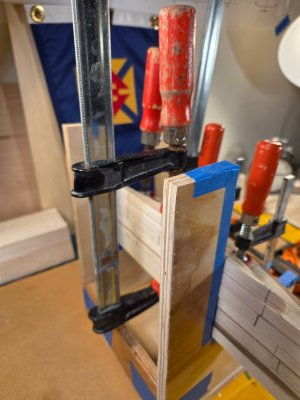
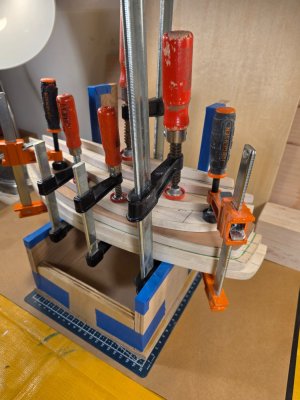
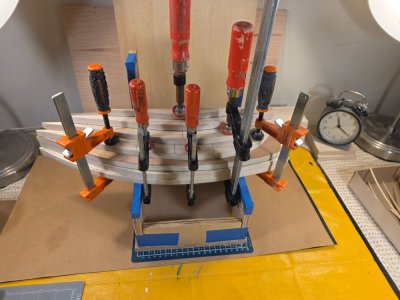
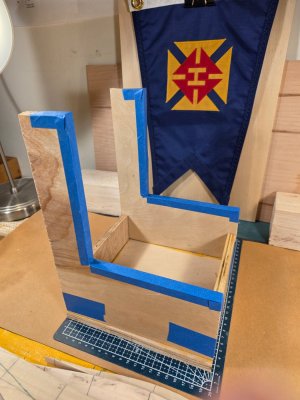
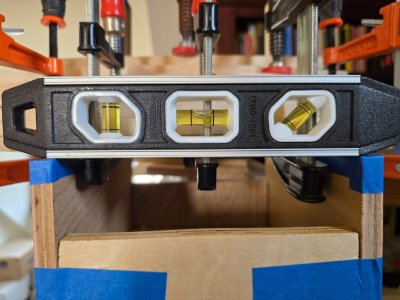
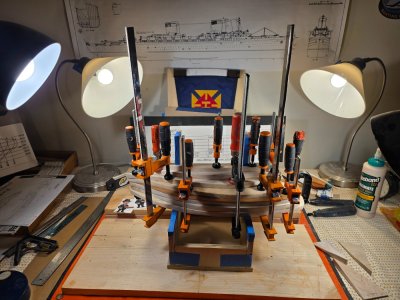
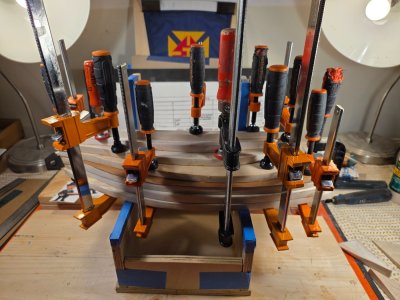
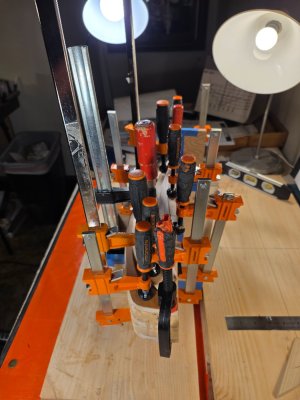
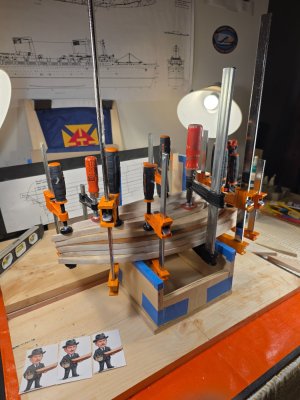
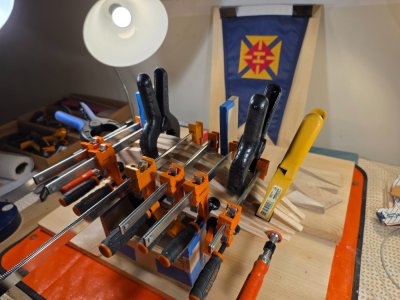
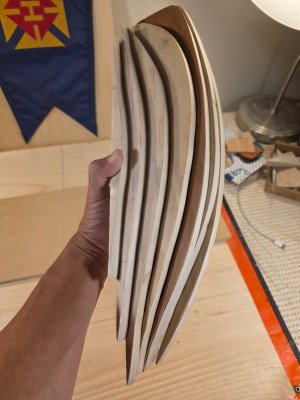
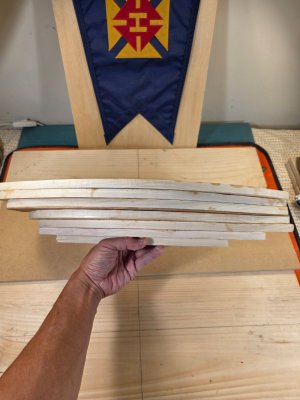
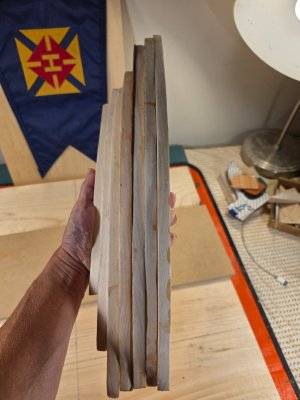
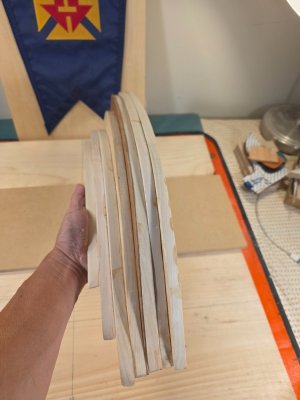
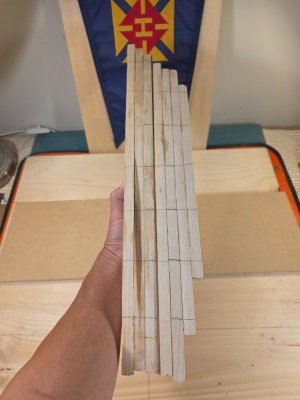
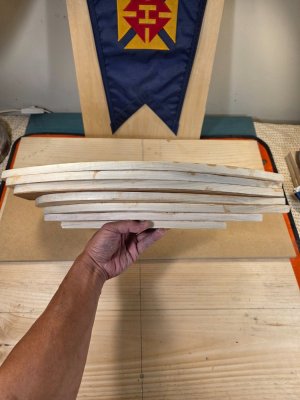
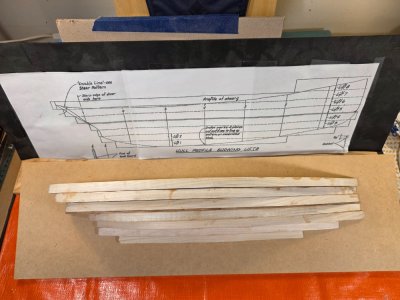
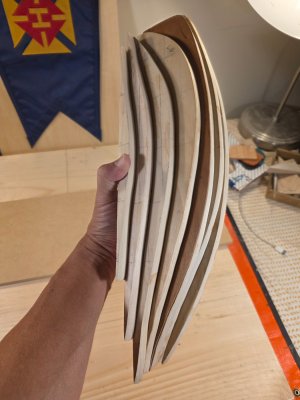
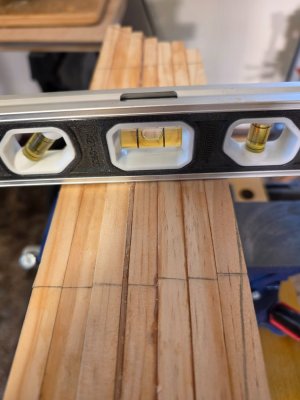
Here is a jig that I saw on YouTube that will help to nail, clamp and glue the lifts. Dry fit to make sure everything is level. I recently bought several new Jorgenson plastic clamps but they don't seem to work as well as these old Bessey clamps.

Also started a new build that is inspired by our trip to Mystic Seaport Museum in Connecticut. Will start a new build log on the new build in a few days after I get some progress pics together.

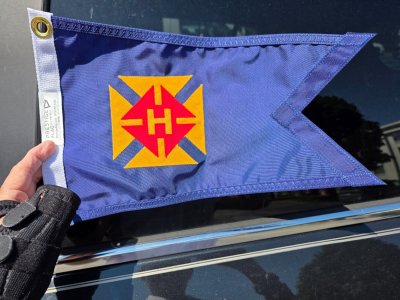
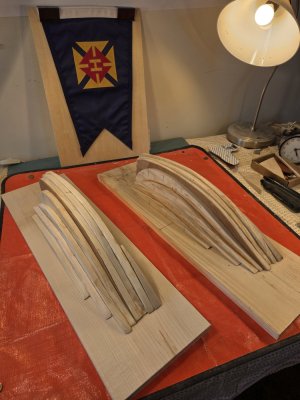
The blue pennant on my shop wall is from the Herreshoff Maritime Museum and is their historic logo. Turned sideways, the "H" becomes an "I" for "Ignatius." A fella can dream about building boats like Capt. Nat, right!

20260716_225906.jpg

20260716_225912.jpg

20260716_225921.jpg

20260716_230043(0).jpg

20260716_230047.jpg

20260716_230054.jpg

20260716_230820.jpg

20260716_231245.jpg

20260716_231249.jpg

20260716_231258.jpg

20260716_231312.jpg

20260716_231450.jpg

20260716_231459.jpg


20260716_231737.jpg

20260716_231746.jpg

20260716_231750.jpg


20260716_225935.jpg

20260717_162135.jpg
 
Last edited:
20. Build Log: The "Shadow" 1871 Racing Yacht by Nathanael G. Herreshoff - Wooden Half-Hull Presentation model

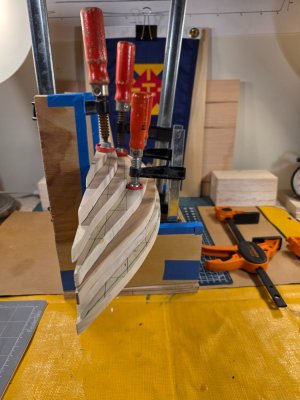
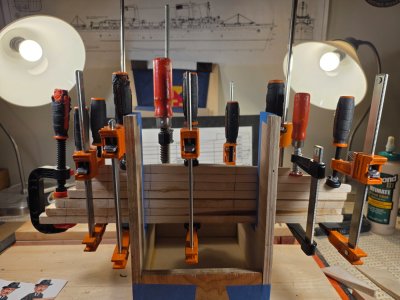
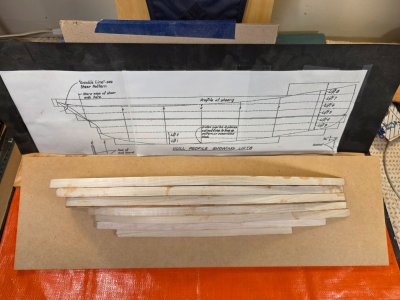
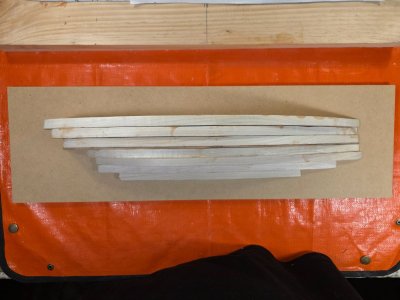
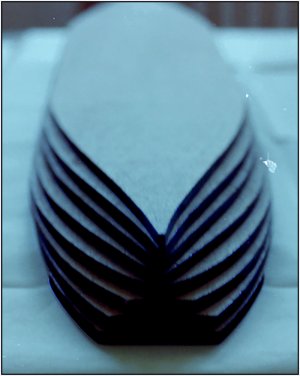
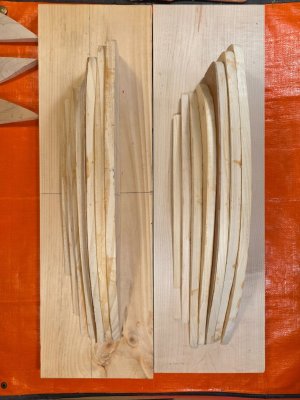
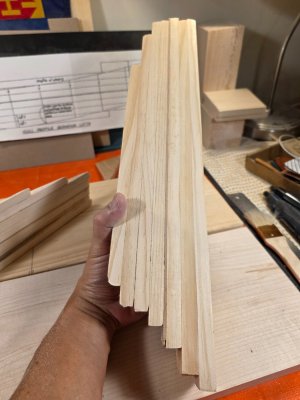
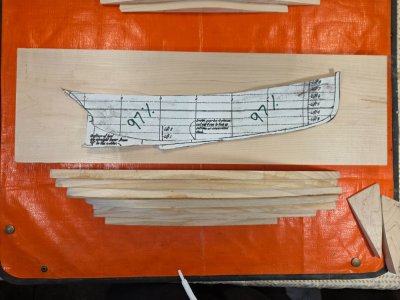
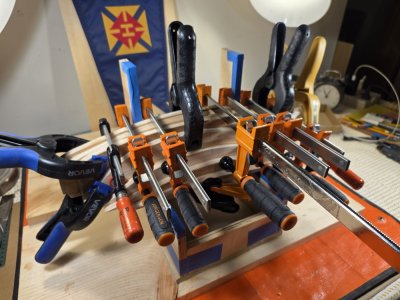
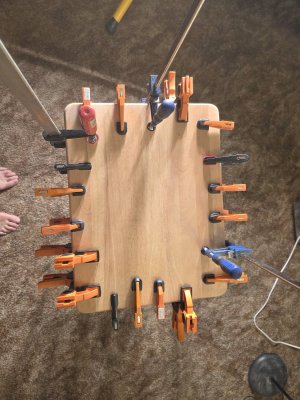
Back at the bench for the first gluing of Shadow 1 (poplar lifts). Still waiting for my 1/16th inch cherry veneer to complete hull construction for Shadow 2 (maple lifts). This is my first time doing a half-hull model, so anxious about how the first gluing takes with as many clamps as possible. Everything is lining up well given the meticulous scribing of the station marks, buttock lines, and body lines. We'll see how it turns out when I remove the clamps tomorrow.

20260730_233107.jpg

20260730_233051.jpg

20260730_233951.jpg

20260730_234025.jpg

20260730_234214.jpg

20260730_234516.jpg

20260730_234510.jpg
 
Last edited:
21. Build Log: The "Shadow" 1871 Racing Yacht by Nathanael G. Herreshoff - Wooden Half-Hull Presentation model

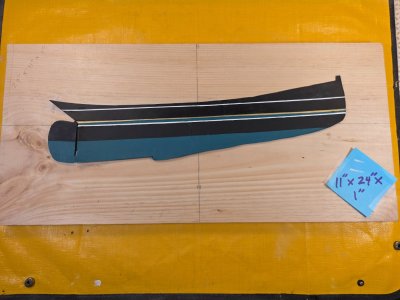
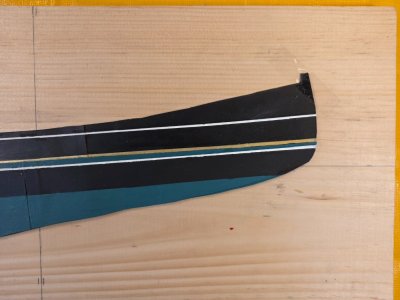
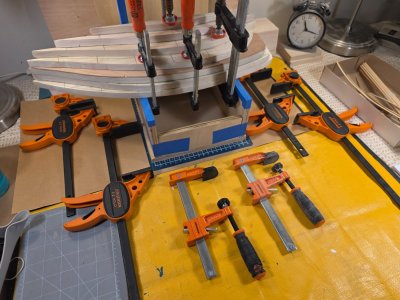
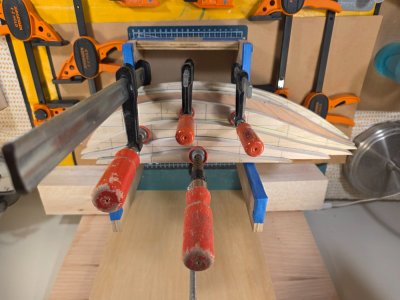
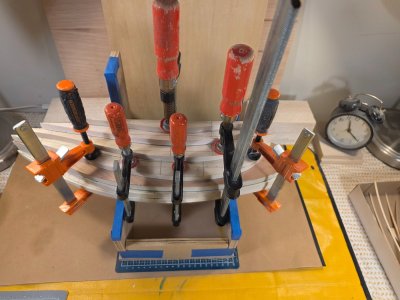
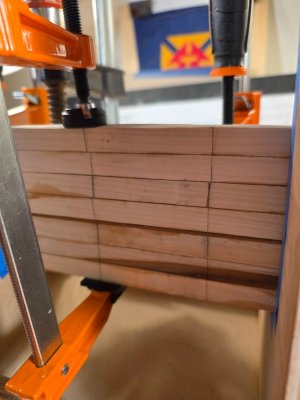
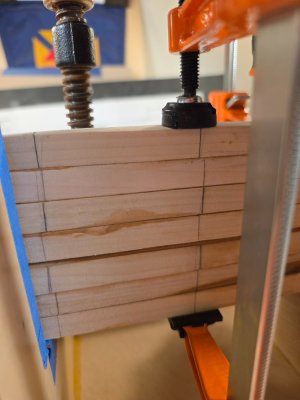
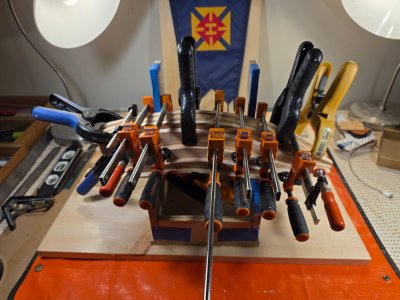
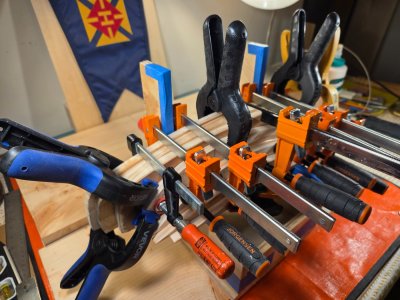
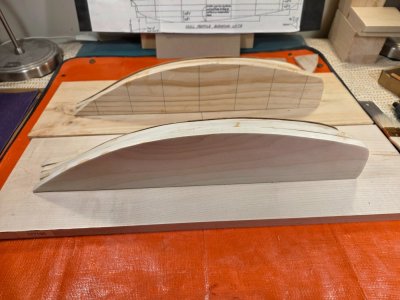
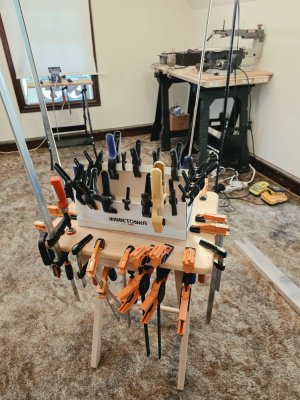
Gluing up Shadow 2 (to be painted black, with white, gold and verdigris accent colors). I am clamping it down horizontally instead of vertically on my lift rig. Shadow 1 (to be just stained lifts) had some uneven lift joins on the centerline side because I clamped it up vertically on the lift jig. I will need to do some remedial planing to get that lift face flush for the backboard gluing.

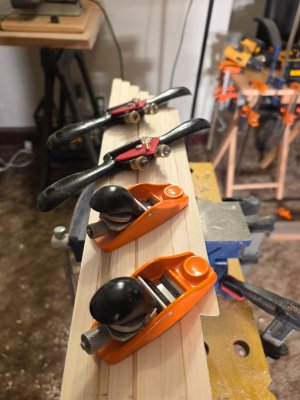
By this time tomorrow night I should have both Shadow 1 and Shadow 2 ready for the Big Carve using my planers and spokeshaves.

I am happy with how Shadow 1 looks after it was glued and planked overnight. I removed all of the clamps and found a couple places where I will need to sand off extra glue left over. There will be plenty of wood to move in the next few days. Since I am doing 2 half hull lift models I am going to go very slow.

I have an issue with the keel and the centerboard that I will have to figure out tomorrow. I don't know how to join both the keel (stem to stern) and the center board to the half hull without creating a negative
surface right at the centerboard because the keel is 1/8 inch tapered down to 1/16 inch. I'll figure that one out before we glue the half-hull to the centerboard.

I hope I have enough clamps...

20260731_230111.jpg

20260731_230100.jpg

20260731_225617.jpg

20260731_232158.jpg

20260731_232226.jpg

20260731_231854.jpg

20260731_231907.jpg

20260731_231844.jpg

20260731_231836.jpg

20260731_231923.jpg

20260731_231911.jpg

20260731_232149.jpg

20260731_231853.jpg
 
Last edited:
21. Build Log: The "Shadow" 1871 Racing Yacht by Nathanael G. Herreshoff - Wooden Half-Hull Presentation model

Gluing up Shadow 2 (to be painted black, with white, gold and verdigris accent colors). I am clamping it down horizontally instead of vertically on my lift rig. Shadow 1 (to be just stained lifts) had some uneven lift joins on the centerline side because I clamped it up vertically on the lift jig. I will need to do some remedial planing to get that lift face flush for the backboard gluing.

By this time tomorrow night I should have both Shadow 1 and Shadow 2 ready for the Big Carve using my planers and spokeshaves.

I am happy with how Shadow 1 looks after it was glued and planked overnight. I removed all of the clamps and found a couple places where I will need to sand off extra glue left over. There will be plenty of wood to move in the next few days. Since I am doing 2 half hull lift models I am going to go very slow.

I have an issue with the keel and the centerboard that I will have to figure out tomorrow. I don't know how to join both the keel (stem to stern) and the center board to the half hull without creating a negative
surface right at the centerboard because the keel is 1/8 inch tapered down to 1/16 inch. I'll figure that one out before we glue the half-hull to the centerboard.

I hope I have enough clamps...

View attachment 623165

View attachment 623166

View attachment 623167

View attachment 623193

View attachment 623194

View attachment 623195

View attachment 623196

View attachment 623197

View attachment 623198

View attachment 623199

View attachment 623200

View attachment 623201

View attachment 623202
Hi ‘Ignatius27’.
A tip for when you are sanding the parts into shape using this stacking method: Give the sides of the planks a color. I made them black. By the end of sanding, the black should be 'just' gone.
1785920088969.jpeg
In any case, you have done thorough research, and it is fun to follow.
Regards, Peter
 
Hi ‘Ignatius27’.
A tip for when you are sanding the parts into shape using this stacking method: Give the sides of the planks a color. I made them black. By the end of sanding, the black should be 'just' gone.
View attachment 624146
In any case, you have done thorough research, and it is fun to follow.
Regards, Peter
Thanks Peter! That sounds like a good pro tip. Does it matter what type of paint you use (oil, water-based)? Could it be stain instead of paint? I plan to start carving tomorrow, so excited to bring this build to it's logical conclusion.
 
Thanks Peter! That sounds like a good pro tip. Does it matter what type of paint you use (oil, water-based)? Could it be stain instead of paint? I plan to start carving tomorrow, so excited to bring this build to it's logical conclusion.
You can use a soft pencil to prevent paint from soaking into the wood grain. If you paint the hull later, it is not a problem. If you use a varnish to keep the grain visible, then I think the pencil is the best option.
Regards, Peter
 
You can use a soft pencil to prevent paint from soaking into the wood grain. If you paint the hull later, it is not a problem. If you use a varnish to keep the grain visible, then I think the pencil is the best option.
Regards, Peter
Thanks Peter. I like the pencil idea for coloring in the sides of the lifts...alot less permanent than paint or stain. I also have a tube of graphite powder that I use for lubricating some ships parts, it comes out of a tube, so let me see if that is easier to apply than pencil. I always appreciate when SoS members share their knowledge and experience. Thanks!
 
Thanks Peter. I like the pencil idea for coloring in the sides of the lifts...alot less permanent than paint or stain. I also have a tube of graphite powder that I use for lubricating some ships parts, it comes out of a tube, so let me see if that is easier to apply than pencil. I always appreciate when SoS members share their knowledge and experience. Thanks!
Try the graphite powder first on a piece of spare wood and see if you can sand all the powder of without a residue. But that’s for all kind of coloring: always test first!
Regards, Peter
 
Try the graphite powder first on a piece of spare wood and see if you can sand all the powder of without a residue. But that’s for all kind of coloring: always test first!
Regards, Peter
Agreed. I'm building 2 versions of the Shadow half-hull model - one using natural wood stains and one painted with acrylics to match her coloring during her racing days. So I will definitely test out the graphite and pencil shading of the lifts for both before I start to carve in a few days. Thanks!
 
22. Build Log: The "Shadow" 1871 Racing Yacht by Nathanael G. Herreshoff - Wooden Half-Hull Presentation model

This week's labors on the two "Shadow" half-hull builds include:

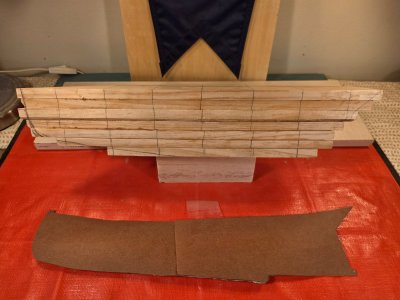
1. Finish gluing and clamping the lifts.
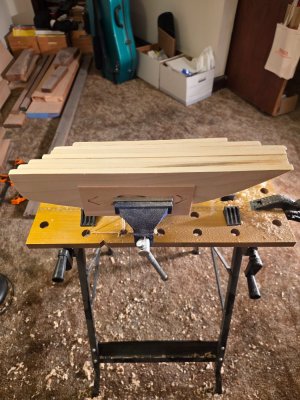
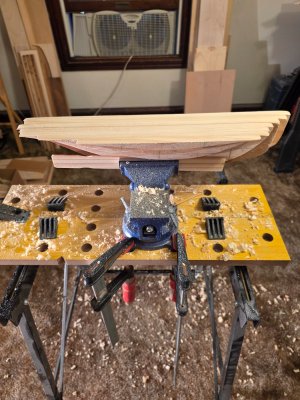
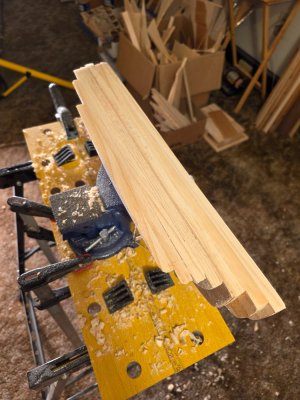
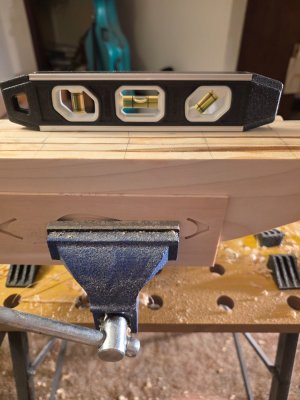
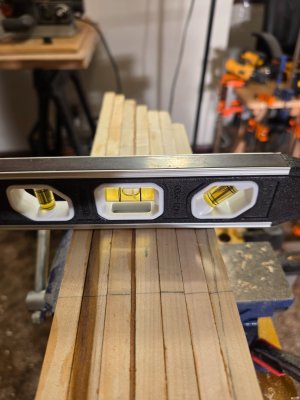
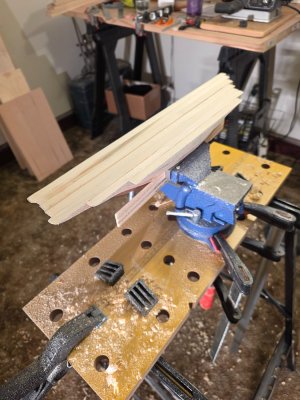
2. Assembling my rig for carving and fairing the hulls (workbench, table vise, clamps and spirit level).
3. Watching YouTube videos on the proper ways to use the planer and spokeshave.
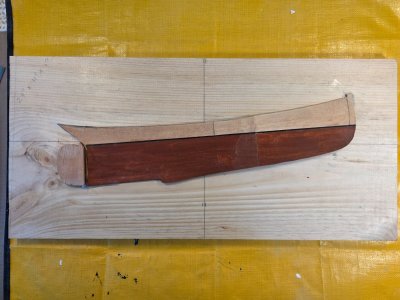
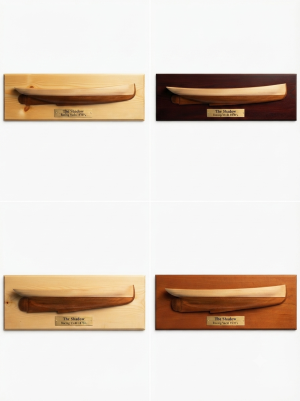
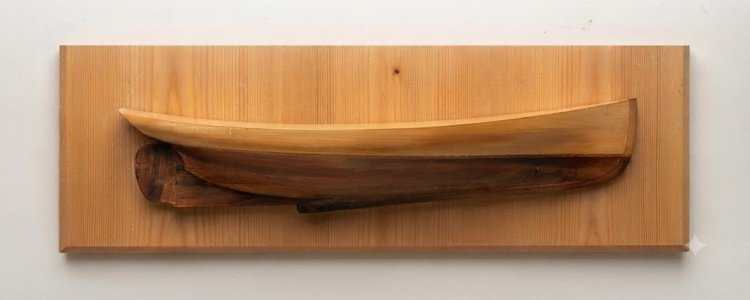
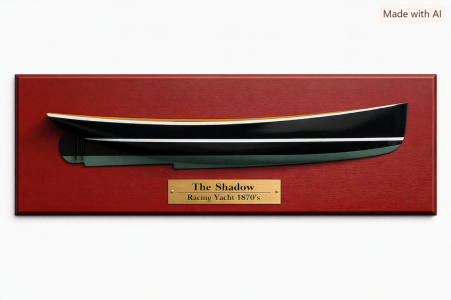
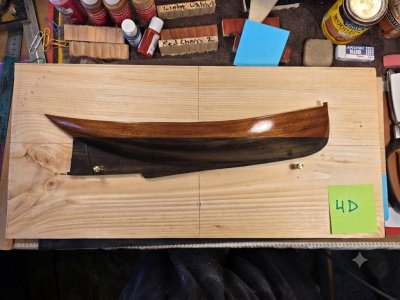
4. Using AI to visualize my backboard presentations for Shadow 1 (natural wood stains) and Shadow 2 (painted as she appeared during her racing days). Thanks SoS member Rigged and Reckless for your AI support!
5. Using mini-plane and spokeshave to do the first, preliminary fair on the centerline faces.
6. Rough tuning the centerline faces so they will be (almost) perfectly flat against the backboards.
7. Carving preliminary backboards of various sizes to find the best backboard dimensions for mounting the half-hulls.
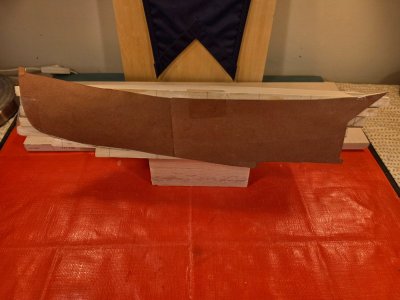
8. Adjusting the sheer line drawing by 3% to match the glued half-hulls, then making sure that the sheer line drawing fits precisely on the glued lifts.
9. Learning that I need to buy a set of larger planers and a set of smaller spokeshaves to complete the job.
10. Measuring and cutting the keel, centerboard, rudder and rudder stem that will complete the half-hull models.
11. Carving and sanding Lift 8, which is the topmost lift but a challenge to establish the convex curve towards the upper deck and the centerline face.
12. Installing a permanent vacuuming station and air filter in my workshop (wow, this build creates ALOT of sawdust and wood shavings).

Thanks to SoS member Peter Voogt! Peter is an experienced builder from the Netherlands, I will be trying out his suggested method to use pencil or graphite to mark the carve areas before I start fairing. The principle is that marking the lifts this way will help to show when each lift is properly carved / faired down before final sanding. Thanks Peter!

Still resisting the urge to get to the end of this build so that I can turn to my next project, building the Dutch Statenjaght 1/48 scale kit from Dusek-Mamoli (my recent birthday build from my favorite wife). As this long build log has shown me, a methodical step-by-step approach to building these two half-hull models is required. No greater truths than "slow and steady wins the race" and "wood is patient."

Lessons learned: The research required to build an historic half-hull model, especially for the first time, is extensive. But the research is absolutely necessary to understand how best to build the Shadow correctly. Especially how to address the two greatest challenges of these two builds: the tumblehome needed on the top 4 lifts and the 2 cambers at the sheer (the camber athwartships from the centerline to the hull face, and the negative camber from stem to stern, saddleback style).

20260805_213918.jpg

1000026090.jpg

1000026092.jpg

1000026096.jpg

1000026098.jpg

20260804_193829.jpg

1000026039.jpg

1000026041.jpg

1000026042.jpg

1000026055.jpg

Black Shadow 2 backboard tests.png

Gemini_Generated_Image_rgbrdrrgbrdrrgbr.png

Backboard 4 - 7 by 24 by .75.jpg

Oxblood backboard.png

Backboard 5 - 7 by 24 by .75.jpg

20260805_213440.jpg

1000026069.jpg

1000026073.jpg

1000026075.jpg

1000026077.jpg

1000026078.jpg

1000026082.jpg

1000026051.jpg


20260806_130147.jpg
 
Last edited:
23. Build Log: The "Shadow" 1871 Racing Yacht by Nathanael G. Herreshoff - Wooden Half-Hull Presentation model

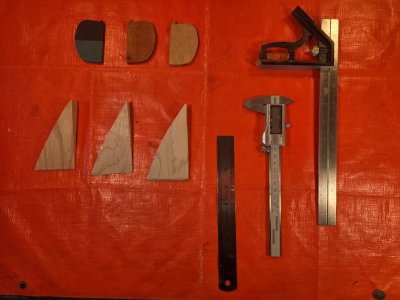
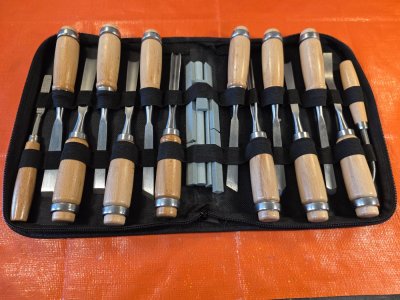
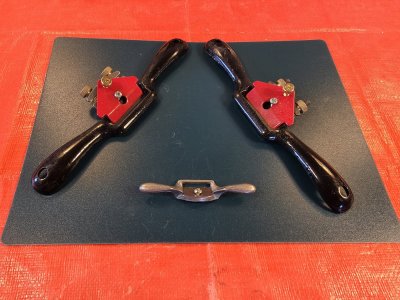
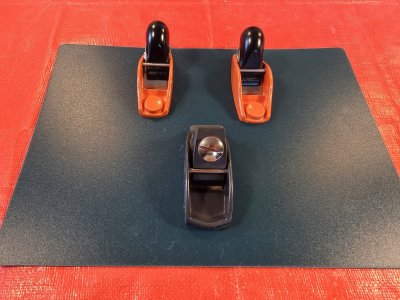
As I am getting ready to begin carving and fairing my two "Shadow" half-hulls, I realized that I need more tools to proceed and do the work correctly. Specifically, I needed a slightly larger plane, a significantly smaller spokeshave, a set of chisels and wood-carving tools. On order are a set of rasps and wood scrapers. I am not going to start carving the hulls until the rasps and scrapers are delivered next week.

1786813651385.jpeg

1786814197764.jpeg
1786814254042.jpeg

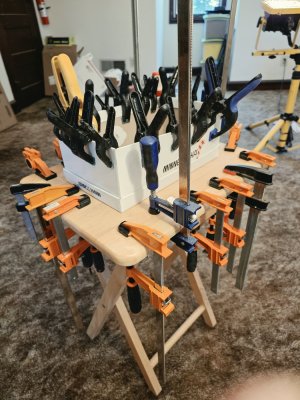
In the meantime, I'm taking a look at how many Bessey and Jorgenson clamps I need for this build. After gluing both hulls, I realized that I have ALOT of clamps in the shop right now, so I guess I'm going to be building half-hull models for a long time!

1786814482294.jpeg

1786814576266.jpeg
1786814623356.jpeg

I will be working on the 2 backboards - testing finishes (stain on Shadow 1 and paint on Shadow 2), carving a 1/4 inch bevel around the 4 borders of each backboard. And testing the 1.25 inch nails / brads counter-sunk into the back of each backboard.

1786814708911.jpeg

I am also exploring the possibility of using the "Stand-Off Mount Method" to mount both hulls to their respective backboards. Here is a description of this mounting method:

Stand‑Off Mount​

Small blocks (usually 1/8"–1/4") are glued to the hull’s centerline face, and screws pass through the backboard into these blocks.
  • Creates a deliberate shadow gap
  • Makes the hull appear to “float”
  • Popular in modern gallery displays
  • Adds dimensionality and emphasizes the sheer line
  • Also called floating mount, shadow‑gap mount, or standoff block mount

Why builders choose the stand‑off method​

A stand‑off mount creates a thin, controlled shadow line around the hull. This visually separates the model from the board and makes the hull look more sculptural—almost like it’s suspended rather than attached. It also avoids the slight visual flattening that can happen when a hull sits flush. It is a subtle shift in the look of the mounted half-hull that creates a "halo" or "shadow" effect...perhaps appropriate for a ship called "Shadow."

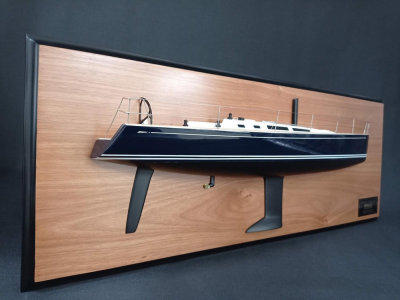
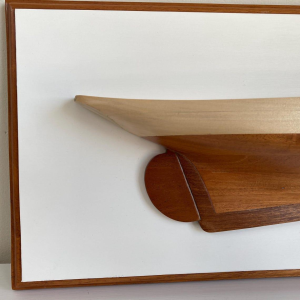
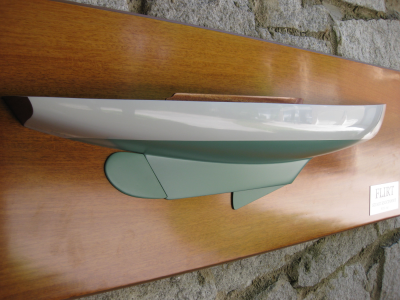
Here are some pics of half-hull models mounted using this method, including two Herreshoff half-hulls:

1786815852475.png
1786816009642.png


HAS ANYONE ON SoS MOUNTED A HALF-HULL MODEL USING THE "STAND-OFF MOUNT" METHOD? Doing a preliminary search on SoS, I haven't been able to find any build logs using the Stand-Off Mount Method. But I may have not used the proper search terms. If anyone has done a mount this way, can we connect? Let me know. Thanks SoS!

1786814535264.jpeg

1786816252033.png
 
Last edited:
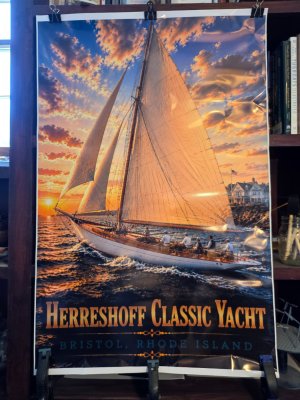
Herreshoff Interlude 1: New poster from the Herreshoff Maritime Museum in Bristol, RI. Bad packing job - box too small so poster edges a bit wrinkled. Trying to straighten out the poster for framing. It's a pretty picture of an "idealized" Herreshoff yacht, not representing any real Herreshoff racing yacht known to have a Bermuda / Marconi sail rig. Plus the scale is substantially off - it's too large to be a personal yacht like the "Sprite" or the "Alerion III," and yet too small to be a "New York 30" or a "New York 50." Since Bristol Harbor opens to the sea in an easterly direction, this ship is sailing out at dawn.

1000026561.jpg
 
Last edited:
Herreshoff Interlude 2:

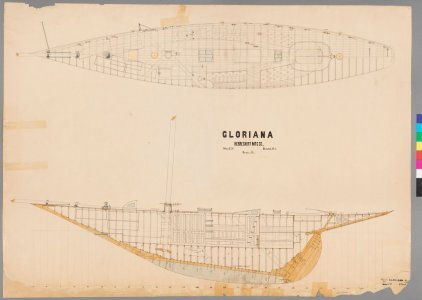
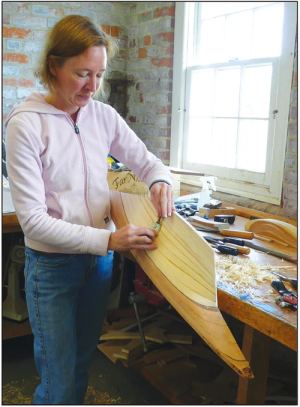
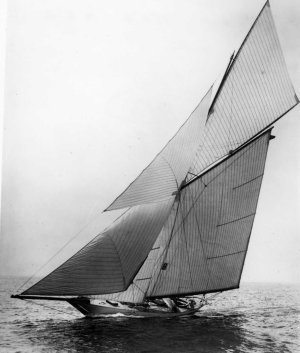
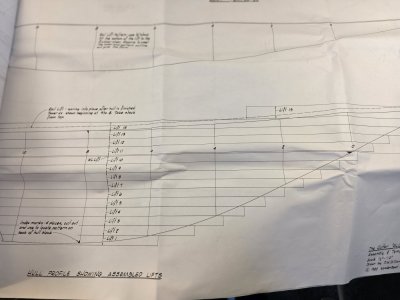
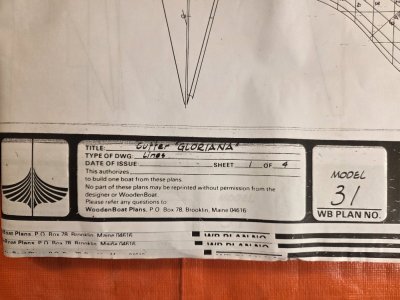
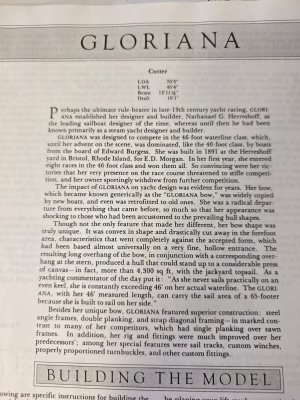
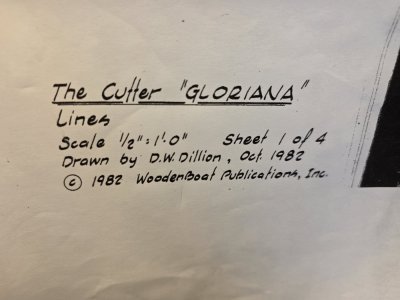
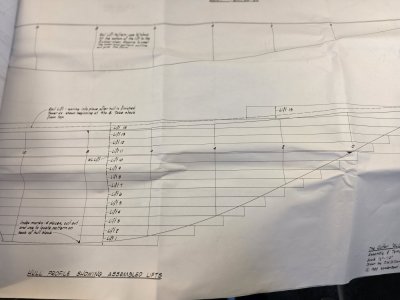
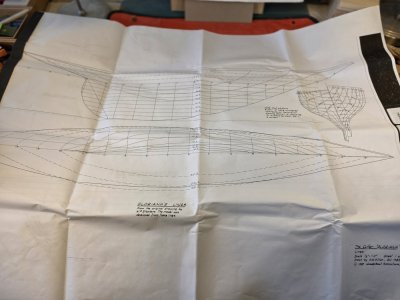
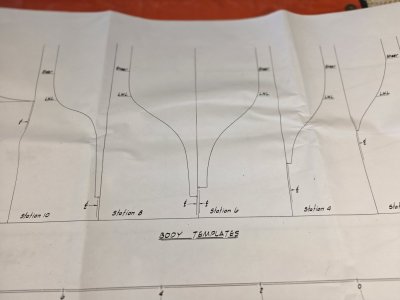
In the meantime, while waiting for my carving tools, I've landed on my next half-hull presentation model build: The "Gloriana" (1891) Herreshoff racing yacht. Here are some pics of her, the massive design drawings at 1/24 scale (over 36" LOA), and an in-progress picture of Gloriana from The Wooden Boat Store. Description from the MIT Museum Herreshoff Collection.

Description​

Gloriana was built in 1891 for New York Yacht Club (NYYC) member E. D. Morgan to compete in a new 46 foot-class. Gloriana was NGH's key breakthrough yacht that shifted HMCo from steam vessels back to sail in the 1890s. She was undefeated in her first year of racing and became a sensation in the yachting press because her form was a radical departure from previous boats. The most obvious change was much longer bow and stern overhangs and radical cut away of forward underwater profile, compared to other yachts of this period.

Gloriana was built of composite construction (metal framing and wooden planking) to reduce hull weight and retain strength for the purpose of concentrating lead ballast low on her keel. This provided more stability to carry greater sail area. Extending the overhangs forward and aft provided increase in waterline length when heeling (leaning over) under sail, that in turn extended the potential hull speed. She also used a variety of innovative hardware for more efficient sail handling.

Gloriana was a hugely disruptive design that altered the way new yachts would be designed for many years. Her success led directly to the first of many America's Cup defender and contender commissions for HMCo. NGH wrote in later years that in Gloriana's design he aimed to take advantage of a rule he thought not well devised to limit extreme overhangs, as his original Boston Yacht Club measurement rule of 1867 would have done.

(Source HCR - Gloriana text NGH http://research.herreshoff.info/Menu/).
1786818590776.webp
1786818618446.jpeg
1786818710764.png
1786818758604.jpeg
1786819190811.jpeg
1786819235473.jpeg
1786819266095.jpeg
1786819291438.jpeg

1786819332901.jpeg

1786819423988.jpeg
1786819466490.jpeg
 
Last edited:
I don’t believe that your poster is of Gloriana. The boat in your picture has a Bermuda (aka Marconi) rig. T(e photo shows a gaff rig; much more usual for 1882.

Roger
 
Back
Top