• Ships of Scale has incorportated an extra level of security when you log In. Please follow on-screen prompts to acknowledge that you are not a robot via a "Check Box" or a "Pictorial Check Box Puzzle". This is needed due to higher level of AI Activity Security.
  • SUBSCRIBE TO SHIPS IN SCALE TODAY!

    The beloved Ships in Scale Magazine is back and charting a new course for 2026!
    Discover new skills, new techniques, and new inspirations in every issue.

    NOTE THAT OUR NEXT ISSUE WILL BE July/August 2026
  • Win a Free Custom Engraved Brass Coin!!!
    As a way to introduce our brass coins to the community, we will raffle off a free coin during the month of August. Follow link ABOVE for instructions for entering.

Clara May 1891 - Artesania Latina 1:50

Joined
Jan 29, 2026
Messages
515
Points
188

Location
Round Rock, TX
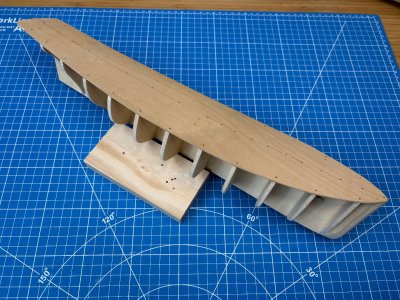
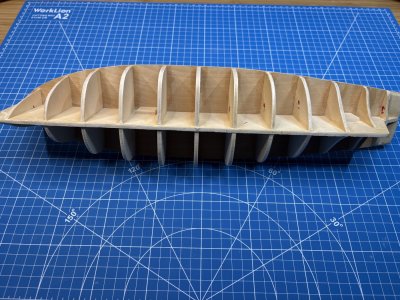
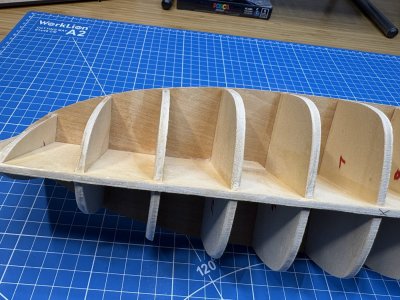
I'm motivated to revisit this long abandoned kit from 15+ years ago, when I thought I wanted to dive in to this wonderful hobby. That is until life tapped my brakes. Starting a build log seems like a good launch point - or madness since I'm also busy building my 1921 Bluenose Schooner! Redface

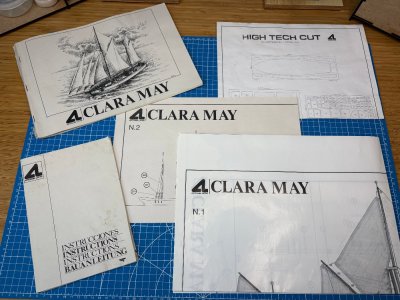
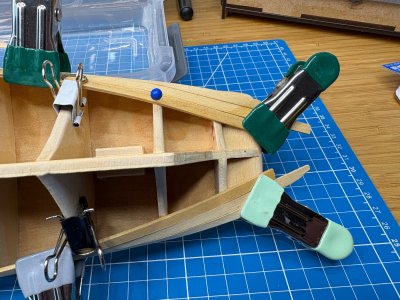
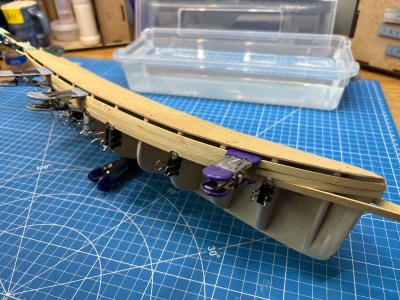
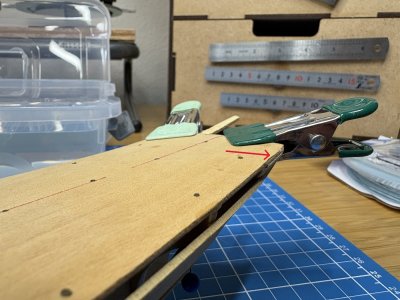
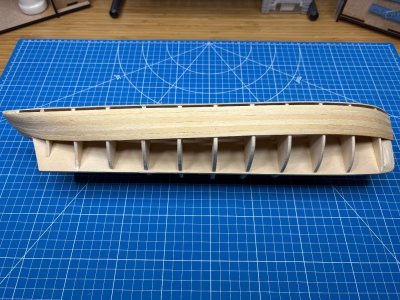
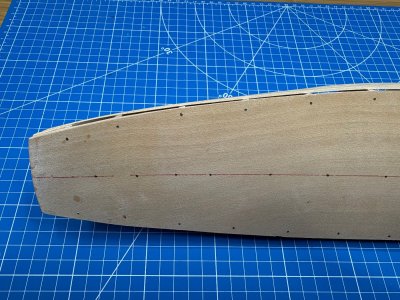
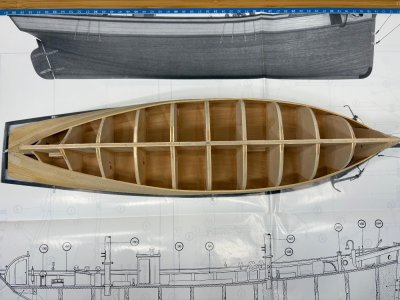
There seems to be limited build information on the Clara May or this nice AL kit so in case I missed any valuable intel, feel free to weigh in. Until then, including some quick images of the current situation. P.S. I do recall reading another member looking for plans (for sails perhaps?) so if kits and instructions in the wild are scarce, I'm happy to help out.
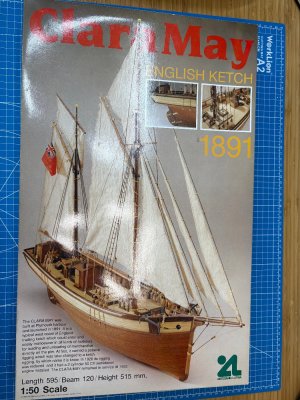
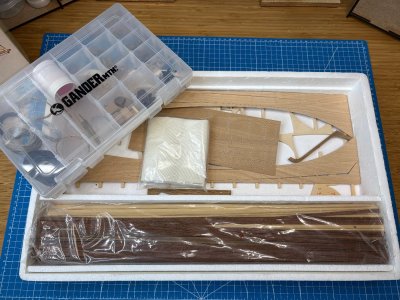
IMG_1174.jpegIMG_1175.jpegIMG_1176.jpegIMG_1177.jpeg
 
Try the following link for instructions...https://artesanialatina.net/usa/en/p/20-instructions
 
From what I remember from old brain cells, that are almost dead, my local shop at the time had someone who made and sold "sail kits" for several kits they had in stock. Wasn't an option from the manufacture.
 
Nice little ketch, i wonder if she was part of the armada of small boats that helped out at Dunkirk ? she would have been active and in the right part of the country , it would seem.
 
Nice little ketch, i wonder if she was part of the armada of small boats that helped out at Dunkirk ? she would have been active and in the right part of the country , it would seem.
Hi Martin, funny you say that as I was thinking about Dunkirk (the movie) recently and the amazing volunteer mariners who made the evacuation such a success. Perhaps the Clara May was indeed in the mix!
 
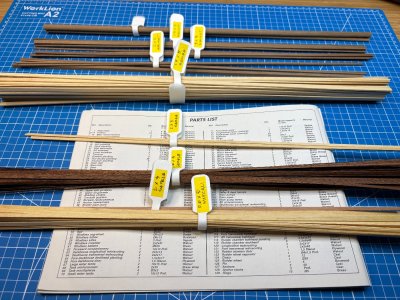
Sorting the single bundle of lumber is a test of patience and problem solving. Not sure if AL could have made the part identification any more complex. :p

IMG_1331.jpeg
 
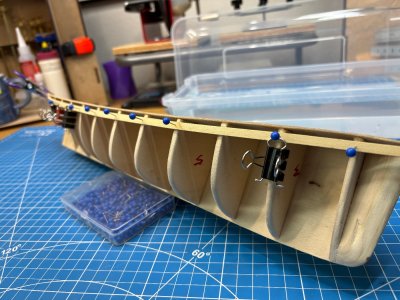
Started preparing for the base layer of planking by soaking/clamping/training the first plank below the deck line, per instructions. These are THICK planks at this scale! I briefly thought about planing them a bit thinner to gain some flexibility but decided to move on.

IMG_1336.jpeg
IMG_1332.jpeg
 
It's been fun to chip away at this nice little boat during natural transitions (currently, paint curing) on my Bluenose. I've already found the variety and change of focus keeps things fresh.

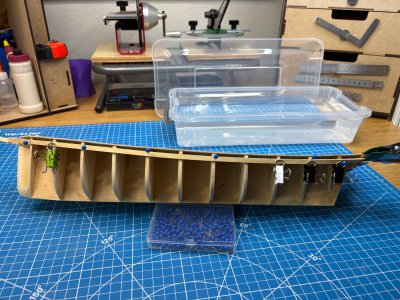
Planking is underway, first two rows attached, third row is being shaped. Beating the thick Samba lumber into submission is a little challenging but nothing too bad. I chose to use CA to secure the planking and skip the provided nails altogether since it's double-planked (attaching its Sapele veneer will be a brand new experience). I see I'll need to trim/fair a few bulkheads at the keel, plus shape the stern where the aft end of the bulwarks will sit.

The confidence I built on my Bluenose hull has made this project a pleasure so far.

IMG_1340.jpeg IMG_1341.jpeg IMG_1345.jpeg IMG_1343.jpeg
 
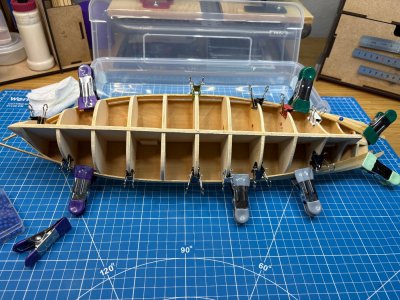
Made progress on planking, trimming the deck for the lower bulwarks, trimming bulkheads at the keel. My stern might be slightly narrower than what's shown on the kit's nice photographic plan view (there is no drawn plan view) but once the upper bulwarks, gunwales, etc. are installed, I think it'll be close. I even went back and checked whether I had trimmed the deck when I built up the hull frame 15+ years ago but I still had the plywood blank and I had not. Definitely a case of "it is what it is" to make everything fit right.

IMG_1352.jpeg IMG_1353.jpeg IMG_1354.jpeg
 
Last edited:
Made progress on planking, trimming the deck for the lower bulwarks, trimming bulkheads at the keel. My stern might be slightly narrower than what's shown on the kit's nice photographic plan view (there is no drawn plan view) but once the upper bulwarks, gunwales, etc. are installed, I think it'll be close. I even went back and checked whether I had trimmed the deck when I built up the hull frame 15+ years ago but I still had the plywood blank and I had not. Definitely a case of "it is what it is" to make everything fit right.

View attachment 620409 View attachment 620410 View attachment 620411
the photographs Artesania use for the plans are often of the original exploratory one off build, they do not always necessarily match the eventual production kit, question of large scale supply, cutting economy etc.
 
the photographs Artesania use for the plans are often of the original exploratory one off build, they do not always necessarily match the eventual production kit, question of large scale supply, cutting economy etc.
Thanks for this. Interesting that they included a mix of photos and one drawn elevation in the plan.
 
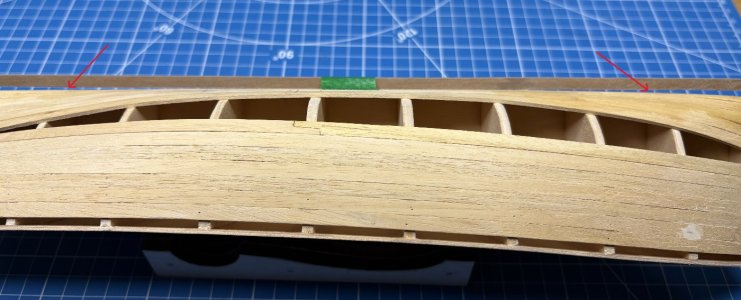
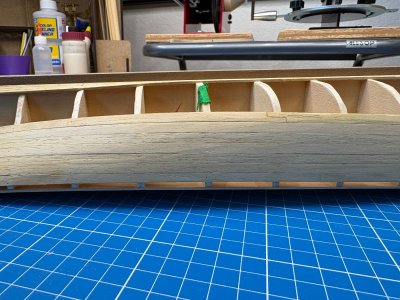
I was this close to completing the first layer of planking when I randomly checked the fit of the walnut stem and keel. The instructions did not specify or call out this check but the keel is designed to be straight. Mine was not.

I suspect I had sanded the false keel too aggressively when I started the model so many years ago and currently, my fairing/planking/sanding may have added to a bow roughly midships. The profile of the bulkheads there is nearly flat so my brief attempt at planing out the bow revealed there was too much material to remove without destroying the planks. So, off with the 5 rows of planks! I was able to plane the false keel straight pretty quickly and after the lengthy cleanup of the old planking remnants and some additional fairing, began my do over.

For me, this was a good lesson on trying to stay a few steps ahead and not relying on instructions to hold your hand. Cautious :p

IMG_1364.jpeg

IMG_1365.jpeg
 
Last edited:
Back
Top