
-

SUBSCRIBE TO SHIPS IN SCALE TODAY!
The beloved Ships in Scale Magazine is back and charting a new course for 2026!
Discover new skills, new techniques, and new inspirations in every issue.
NOTE THAT OUR NEXT ISSUE WILL BE July/August 2026 -

Win a Free Custom Engraved Brass Coin!!!
As a way to introduce our brass coins to the community, we will raffle off a free coin during the month of August. Follow link ABOVE for instructions for entering.


You are using an out of date browser. It may not display this or other websites correctly.
You should upgrade or use an alternative browser.
You should upgrade or use an alternative browser.
HMS Enterprise 1774 POF 1:48.
- Thread starter GrantTyler
- Start date
- Watchers 96
-
- Tags
- caf model enterprise


- Joined
- Jan 31, 2021
- Messages
- 635
- Points
- 403

Such Clean Crisp work.....Im so jealous!Good evening. Some more work on the fore deck beams, bits, knees,…. etc…
Overall progress :
View attachment 620678View attachment 620679View attachment 620666
Some close ups :
View attachment 620671View attachment 620670View attachment 620677
Untreated bits and the kits wooden sheaves…..hmmm.
View attachment 620675
Fully rigged cannons:
View attachment 620672View attachment 620673
Some fun photos with perfect knee notches and rope bindings……and dust where you don’t want it……Eish
.
View attachment 620676
View attachment 620674
You all have an enjoyable, night, day or morning where ever it finds you.
Cheers Grant

Agree with the friends. Precise detailing.


Grant,
Just catching up - well visually - will never with your skill set - superlative work - just lovely to look at and following along,......
Regards,
Just catching up - well visually - will never with your skill set - superlative work - just lovely to look at and following along,......
Regards,

Looks great Grant!

Good morning Peter. Yep she is coming on nicely.....so far. Slowly slowly we will get the cannons done. I have left out the outhaul tackles as they dont fit with my look and feel. A little repsite.Yes, fully rigged canons .. !! .. and other nicely detailed parts. You made a nice progress with that fore deck, Grant.
Regards, Peter
Thanks Daniel. So far I have been lucky I, guess, that everything lines up nicely.....still holding my breath for the "OH NO " moment. I am starting to like her more each dayYou've made excellent showcase of complex design; she's a real beauty Grant.
 .
.Cheers Grant
Thank you kindly John. The are plenty mistakes however I think they get lost in the gaggle of parts and structures that are going in.Grant,
Just catching up - well visually - will never with your skill set - superlative work - just lovely to look at and following along,......
Regards,
Thanks DeanLooks great Grant!
Cheers Grant
Thanks Allan. I also enjoy cotton vs synthetic rope.I love that you are using rope instead of thread. Well done!!!!
Ahh Paul, thanks. I know the feeling. When I look at the other Paul (the Doc) work I feel the same way.Such Clean Crisp work.....Im so jealous!
.Thank you Paul. Ahh my precision is a "close but no cigar" model. I give it shot tho and I am improving. Patience is my biggest challenge when playing with my ship. I don't do slowly very well.Agree with the friends. Precise detailing.
Cheers Grant
Good morning everyone. Whew the guys are busy on the forum……nice.
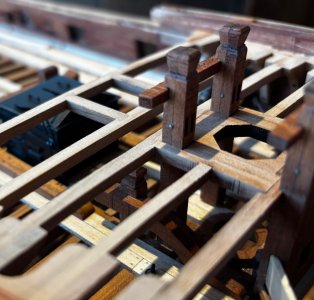
Eish! My struggles compounded with this fore deck beam installation. I change the kit a lot and this often causes knock on effects. Grants modelling is exposed .
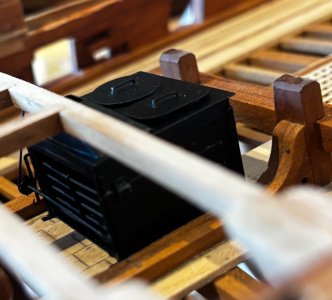
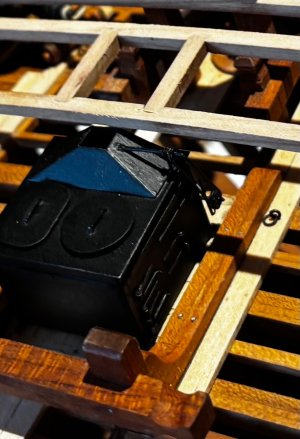
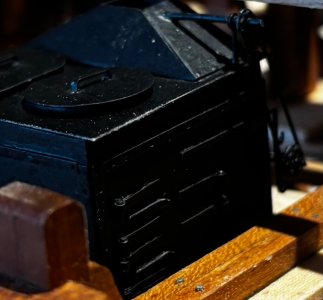
Finished the stove, added extra hinges and levers. I attempted blackening but couldn’t get this right- used a metal spray paint in the end….
Two more cannon:
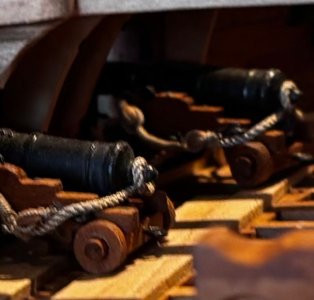
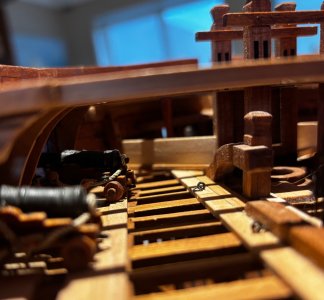
……then POF modelling gave me a beating:
I got the beams etc mostly in line as I use a plum line when building:
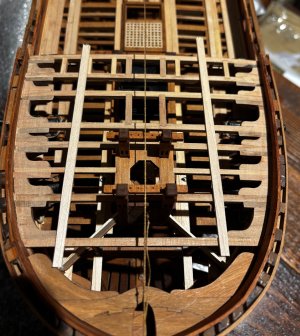
The blunders:
Something went wrong with my measurements laying my Deck clamp…..
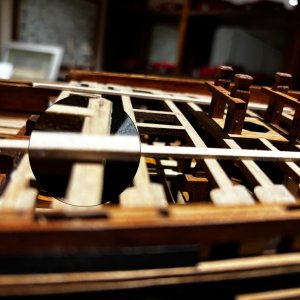
My second last beam is marginally too low. Maybe I can sand this ?
My deck clamps are about 0.5mm too low
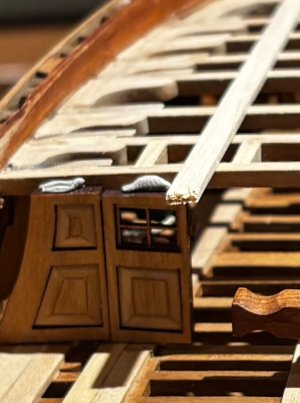
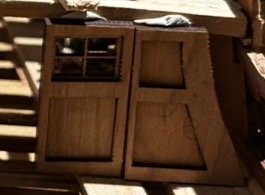
My main riding bit is scew. This is going to be fun redoing this….
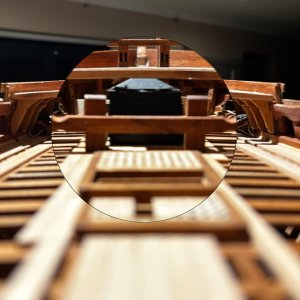
Some fun photos :
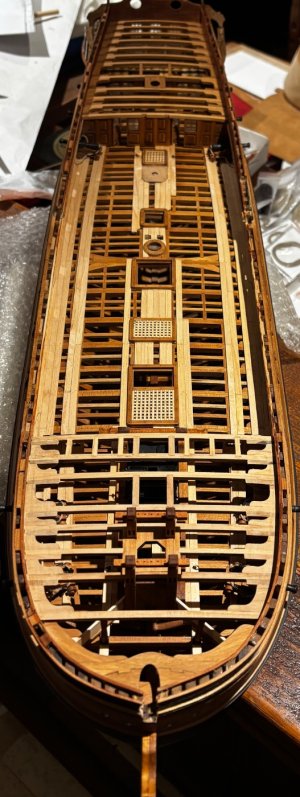
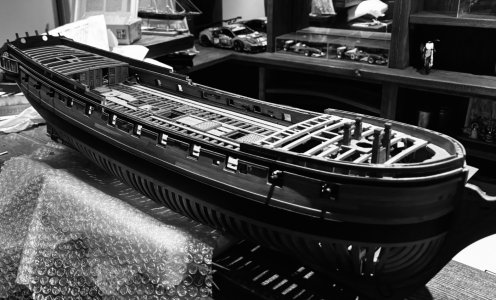
Cheers Grant
Eish! My struggles compounded with this fore deck beam installation. I change the kit a lot and this often causes knock on effects. Grants modelling is exposed
.Finished the stove, added extra hinges and levers. I attempted blackening but couldn’t get this right- used a metal spray paint in the end….
Two more cannon:
……then POF modelling gave me a beating:
I got the beams etc mostly in line as I use a plum line when building:
The blunders:
Something went wrong with my measurements laying my Deck clamp…..
My second last beam is marginally too low. Maybe I can sand this ?
My deck clamps are about 0.5mm too low
My main riding bit is scew. This is going to be fun redoing this….
Some fun photos :
Cheers Grant


- Joined
- Jul 27, 2021
- Messages
- 687
- Points
- 403
Very nice 


Terrific work Grant, it’s always impressive to see.


She's a true looker Grant. Your stove looks fantastic; I'm always intrigued by their presence on a ship.

Grant! Stunning work! I'm with Peter on the cannons - fantastic detailing among so many fantastic details! Also, is that a new pup I see up thread? 

With so many parts to fit in 3 directions and across different levels, there is a good chance that something won't quite fit somewhere. I would especially check carefully whether the opening will still be visible later.Good morning everyone. Whew the guys are busy on the forum……nice.
Eish! My struggles compounded with this fore deck beam installation. I change the kit a lot and this often causes knock on effects. Grants modelling is exposed
Finished the stove, added extra hinges and levers. I attempted blackening but couldn’t get this right- used a metal spray paint in the end….
View attachment 621933View attachment 621934View attachment 621935View attachment 621936
Two more cannon:
View attachment 621937View attachment 621938
……then POF modelling gave me a beating:
I got the beams etc mostly in line as I use a plum line when building:
View attachment 621939
The blunders:
Something went wrong with my measurements laying my Deck clamp…..
View attachment 621940
My second last beam is marginally too low. Maybe I can sand this ?
My deck clamps are about 0.5mm too low
View attachment 621942
View attachment 621943
My main riding bit is scew. This is going to be fun redoing this….
View attachment 621941
Some fun photos :
View attachment 621944View attachment 621945
Cheers Grant
On the other hand... you know it's there
(and we now also), so you keep looking at it (and we to). But after a few new pages of your log, I think I've forgotten it again.Regards, Peter

Good morning Stephan...Sexy, never thought of a British frigate from 1774 as sexy....but I will take it -Thanks.Spoken about sexy pictures!I see a whole bunch of them here.
Thank you Dirk this is much appreciated. Maybe one day I will be able to get my work as precise, neat and tidy as you do....I will keep trying thoVery nice
.With so many parts to fit in 3 directions and across different levels, there is a good chance that something won't quite fit somewhere. I would especially check carefully whether the opening will still be visible later.
On the other hand... you know it's there
Regards, Peter
. I have to show some of the many flaws on this model. Luckily the beams are correct, it is just the main anchor cable bit which I got wrong.....whew. I think I can redo this. I will be putting the removable bulkhead and doors in which is my next task.Good morning Roger. I hope you are all strong and doing well. Thank you kindly for the compliment.Terrific work Grant, it’s always impressive to see.
Good morning Daniel. Thanks again. Ahhh this stove. It gave me many headaches. It does look good on the model, however I am not sure the kit got its scale correct. I struggled to get it to fit between the beams correctly - I have seen a few guys who built this kit leave this out and I now know why. Being a typical South African I have persevered continuously to ensure my ship has a stoveShe's a true looker Grant. Your stove looks fantastic; I'm always intrigued by their presence on a ship.
.Good morning Bill. Thank you kindly. Rigging cannons is not my favourite job, however if I do two at a time as I work down the ship, it breaks the monotony.Grant! Stunning work! I'm with Peter on the cannons - fantastic detailing among so many fantastic details! Also, is that a new pup I see up thread?
Gooi more Johan. Hey, it is good to hear from you. Hope you are doing well up there in the Netherlands. Thank you. Cheers GrantBeautiful eyecandy!

Looks lovely Grant.
Thanks Richard.Looks lovely Grant.
Good morning. After filling plenty swear jars …….I mean plenty, I think my fight with this Frigate ended in stalemate.
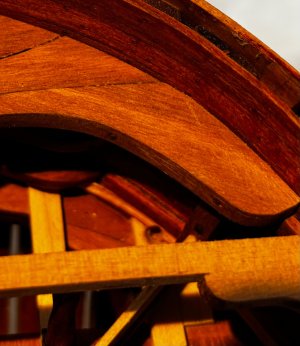
Some pics- final sanding of the beams, carlings, knee tops etc still to be done: looks a bit raw at this stage.
Pics:
Overall view :
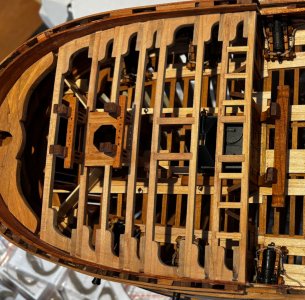
Different angles :
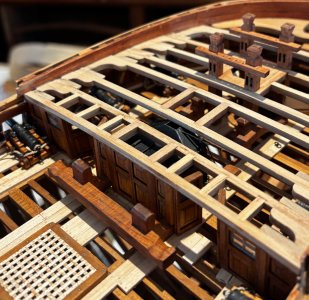
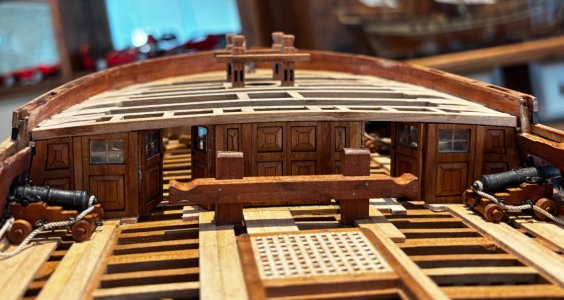
Close ups :
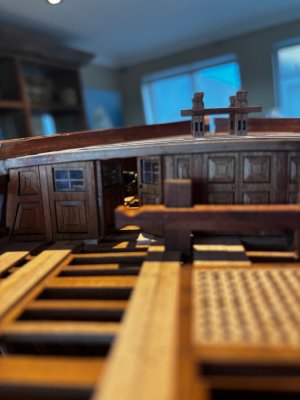
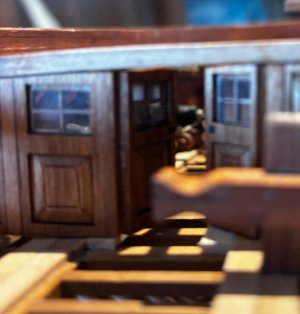
Hinges :
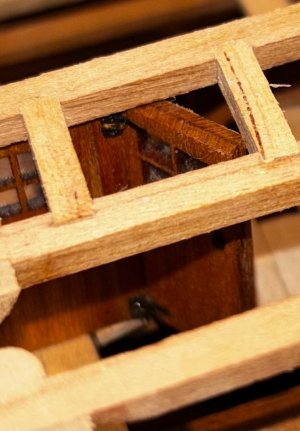
Scupper which I placed incorrectly…..should be outside the removable bulkhead….Oops.
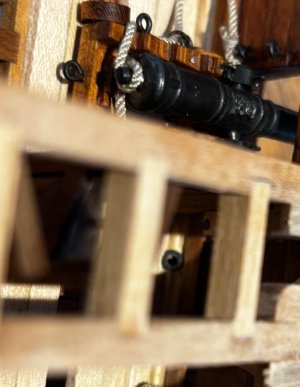
Scuppers in the manager- still need to insert lead simulates.
Cheers Grant
Some pics- final sanding of the beams, carlings, knee tops etc still to be done: looks a bit raw at this stage.
Pics:
Overall view :
Different angles :
Close ups :
Hinges :
Scupper which I placed incorrectly…..should be outside the removable bulkhead….Oops.
Scuppers in the manager- still need to insert lead simulates.
Cheers Grant