• Ships of Scale has incorportated an extra level of security when you log In. Please follow on-screen prompts to acknowledge that you are not a robot via a "Check Box" or a "Pictorial Check Box Puzzle". This is needed due to higher level of AI Activity Security.
  • SUBSCRIBE TO SHIPS IN SCALE TODAY!

    The beloved Ships in Scale Magazine is back and charting a new course for 2026!
    Discover new skills, new techniques, and new inspirations in every issue.

    NOTE THAT OUR NEXT ISSUE WILL BE July/August 2026
  • Win a Free Custom Engraved Brass Coin!!!
    As a way to introduce our brass coins to the community, we will raffle off a free coin during the month of August. Follow link ABOVE for instructions for entering.

HMS Bellona by Yves Vidal - CAF Model - 1/48th

Joined
Jul 14, 2026
Messages
27
Points
58

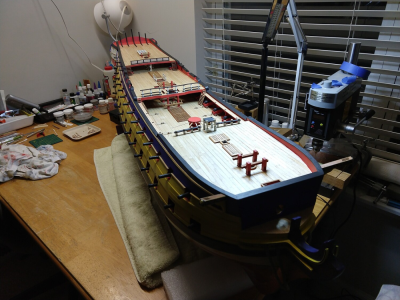
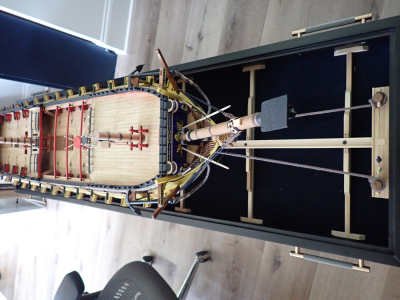
48 pages of extreme detailing and more than 54,000 views are what I remember of the original thread posted on the defunct MSW 2.0 forum. Describing again the complicated and tedious assembly of such a kit is impossible as I did not keep any pictures or document. I will simply post a few information from the CAF Model web site.

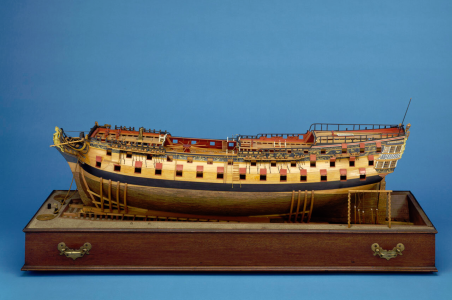
The Bellona kit comes in five installments (or sessions), which makes it very easy to spread the expenses and to stall the construction if you feel like it will not be possible to complete it. I started with the first session and after some surprising and encouraging success, I quickly acquired the other four sessions. In fact, it is not possible to go beyond the first session without the other ones, as some delicate decisions and assembly questions must be solved with parts included in Sessions 3, 4 and 5. The kit is presented in "Admiralty" fashion and has no rigging or masts, besides 4 stumps of dowels provided in the kit. The model is a smaller copy of the HMS Bellona model (1/36th) located in the National Maritime Museum in Greenwich, London.
1788467549883.png

Some of the CAF model characteristics are:

Scale 1/48
Length 1250 mm
Width 300 mm
Height 335 mm
External keel: Simulation of cherry wood splicing
internal keel: wood plate
Ribs: cherry wood plate
Deck: Maple
Gun: Brass
Anchor: Brass
Rudder hinge: Brass
Tail window: ultra-thin glass or transparent film
Sculpture: resin version​


My finished model weights about 25 pounds, which makes it hefty and heavy. The length of my model was increased by one foot, due to the bowsprit that I built. It took me about 2 years to complete the model and its stand.

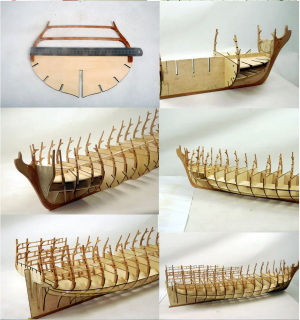
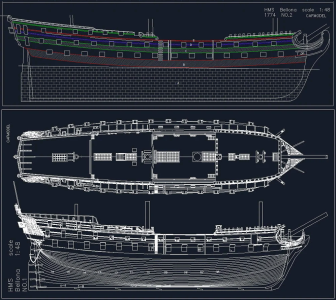
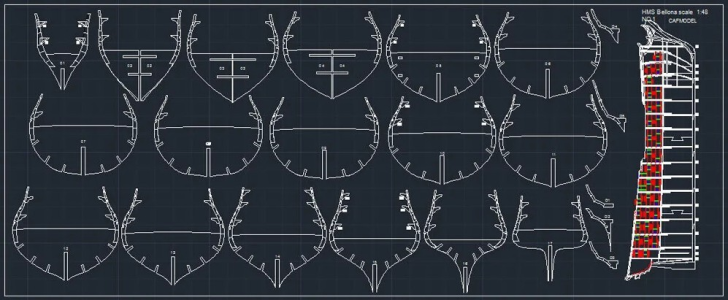
Session 1 comes with the following plan and is all about building the frames and keel:
1788467600718.png

1788467618390.png

Once you are done with Session 1, you have in your arms a heavy baby of close to four feet long.

More to come.....

Yves
 
Session 2 as far as I remember is about planking the hull and building the gun deck. Here, planks of 8 mm wide and 3 mm thick are provided as well as thicker planks made of another darker wood, for the wales. The hull before and after planking, is extremely solid and robust. It is impossible to warp it.

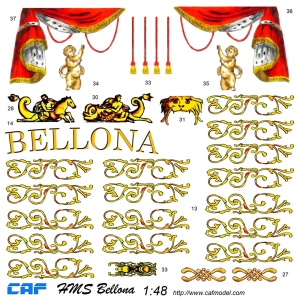
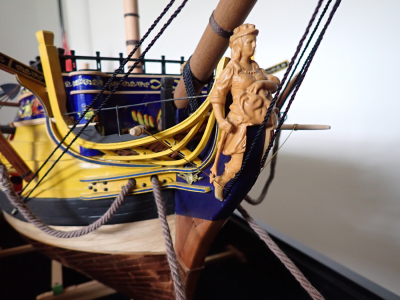
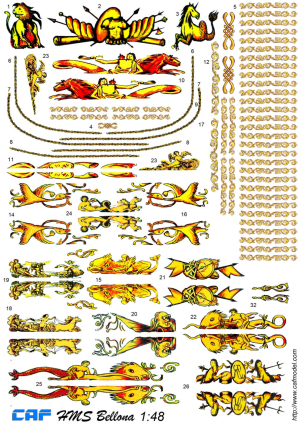
Sessions 3, 4 and 5 are addressing the various upper decks and all the parts to complete the model. Guns and anchors are coming in Session 5; as such you will have to procure Session 5 if you intend to place some large guns on the main gun deck. The figure at the bow is made of 3D print and is nicely rendered. The kit also provides two large decal sheets of extreme beauty:

1788467764673.png

1788467790974.png

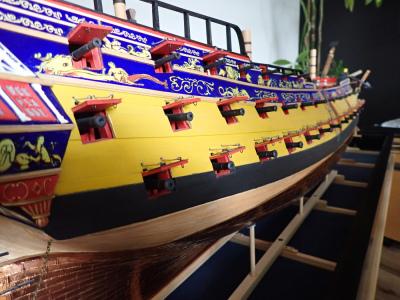
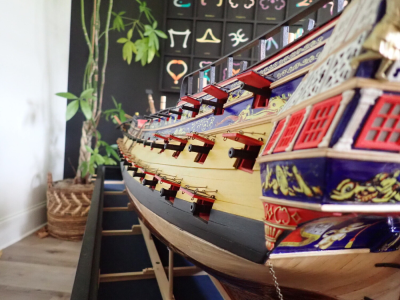
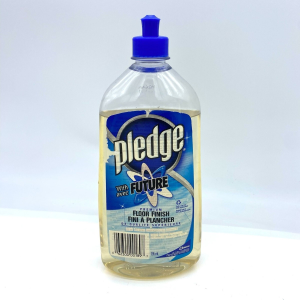
I installed the decals after coating the sides and stern with Future. Additional coats of Future were used to seal the decals, in place.

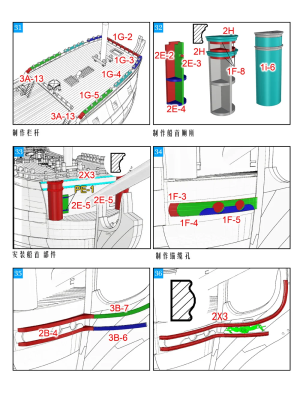
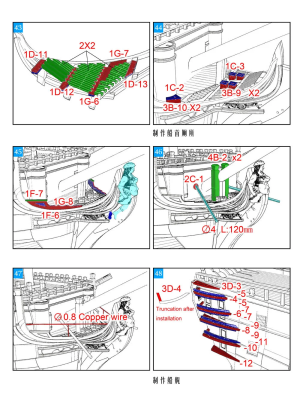
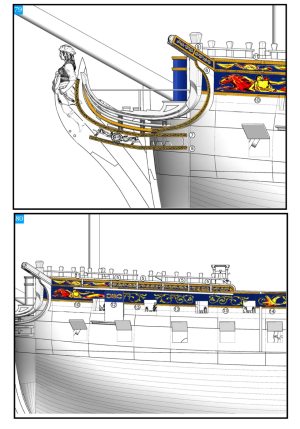
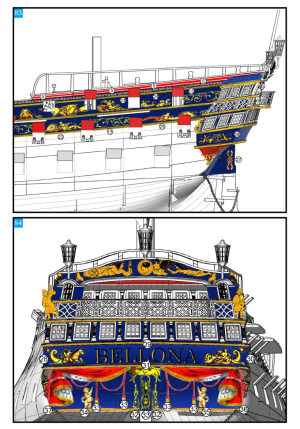
The instructions are pure drawings and there is almost no text, besides a few Chinese inscriptions that you need to translate with your Smart Phone. CAF Model is like IKEA and does everything with figures and drawings:

1788467833416.png

1788467852395.png

1788467880223.png

1788467898050.png

The overall plan comes with Session 4, if I remember correctly:

1788467936422.png

It is a fantastic kit to put together. It is not easy and requires some commitments to bring it to completion. A lot of thinking has to take place as the order of assembly suggested by CAF is not always the right way to do it. All the pitfalls were clearly detailed and illustrated in MSW 2.0, unfortunately.

Yves
 
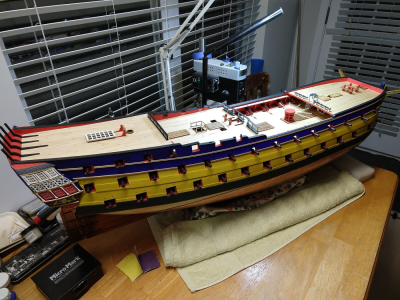
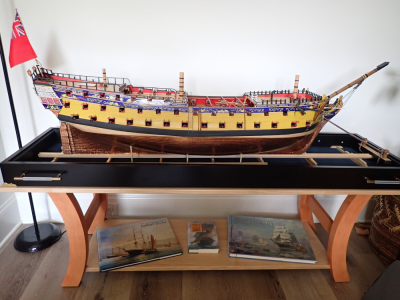
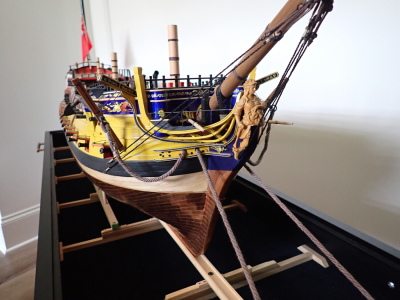
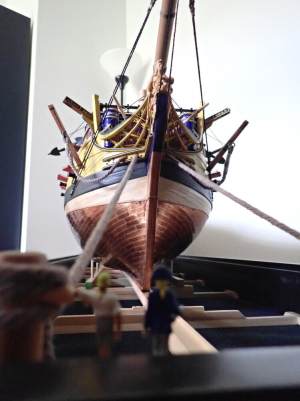
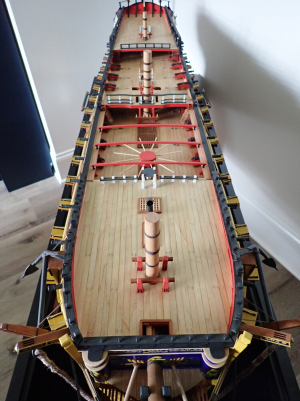
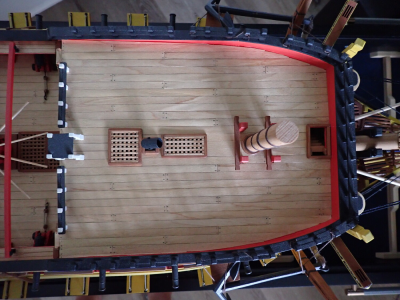
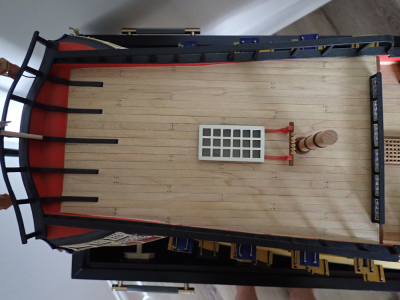
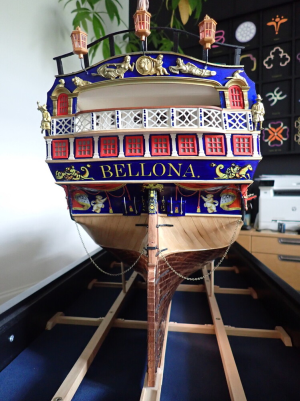
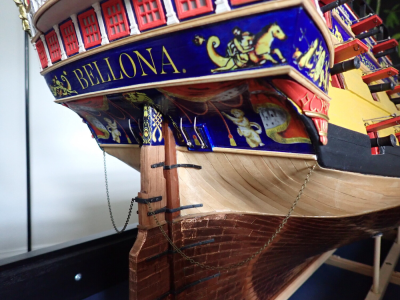
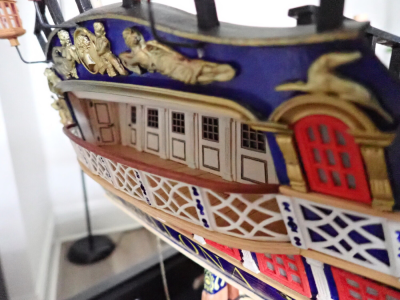
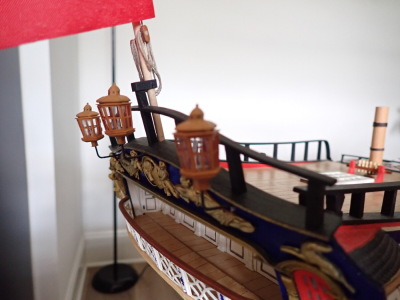
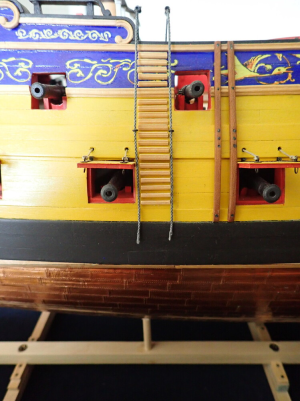
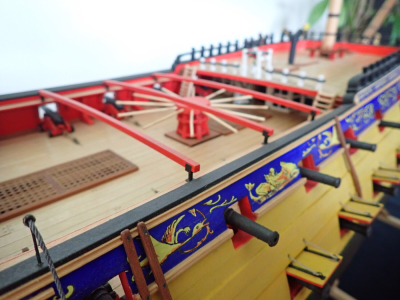
A few pictures of the finished beast. I intend to add a couple of things on the deck, in the future. As such, it is still a work in progress.....

1788468114666.png

1788468142636.png

1788468170309.png

1788468190267.png

1788468222654.png

1788468250425.png

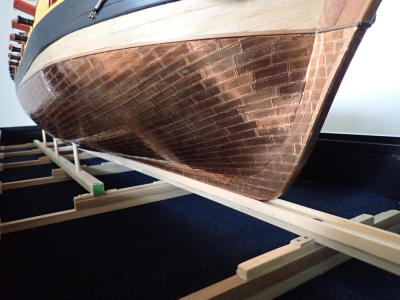
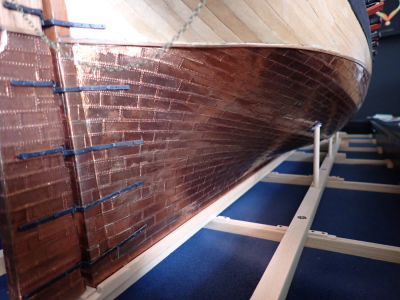
About 2400 tiles were cut and embossed, before being glued. The tiles are done with 3M copper tape of 8 mm wide and 28 mm long. That tape is self sticking and has been working really well. The tiles are sealed with multiple coats of Future, which protects them from handling and allow them to tarnish at a very low rate.

1788468282478.png

1788468309705.png

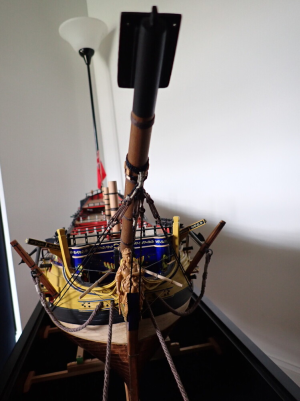
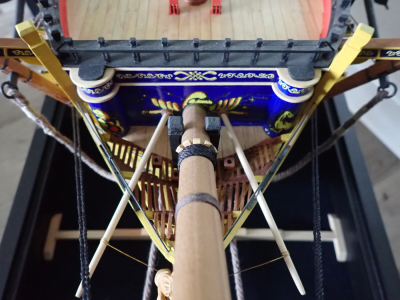
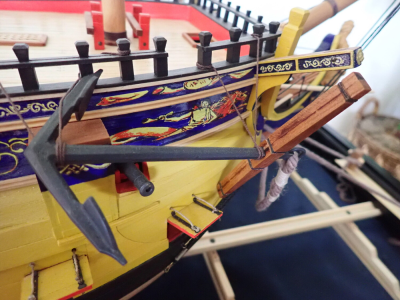
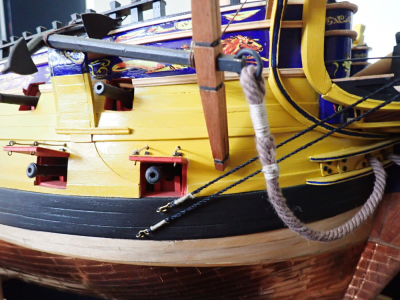
The bowsprit was built using the Anatomy Book, since the kit has no spars and rigging. I wanted to present something more exciting than a piece of dowel. The bowsprit adds another foot to the model.

1788468354403.png

1788468384823.png

1788468407245.png

1788468437614.png

1788468468913.png

1788468498937.png

More pictures to come....

Yves
 
1788471093775.png

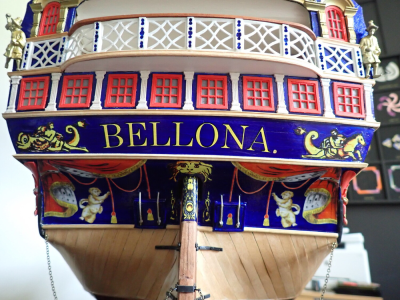
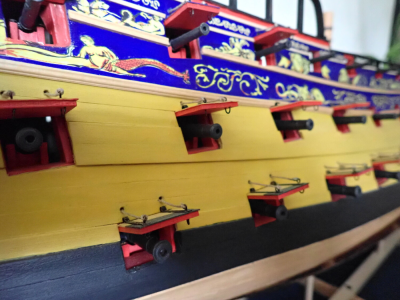
The beautiful decals are pivotal in making the stern look great:

1788471139996.png

Note that the kit does not provide the two stern guns, nor does it have any opening for them. The stern and bow planking are done with 0.8 mm thick maple planks, glued on the first planking.

1788471196683.png

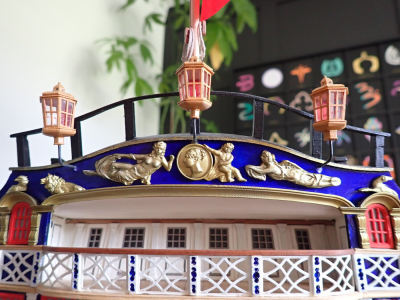
The stern balcony is made of wood and 3D printed parts for the walls.

1788471234059.png

The kit offers PE lights which are not very realistic in my opinion. Instead I went with the 1/48th Syren lights designed by Chuck and have been very happy with them. And yes, there are partially burnt wicks inside each one of them.

1788471277446.png

1788471301312.png

1788471325210.png

1788471346830.png

1788471366717.png

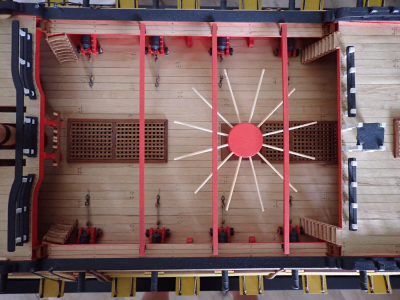
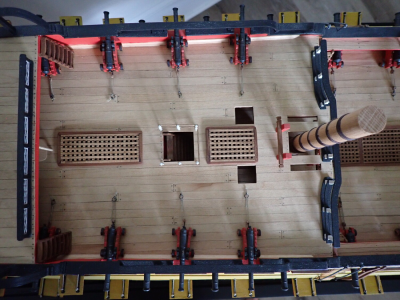
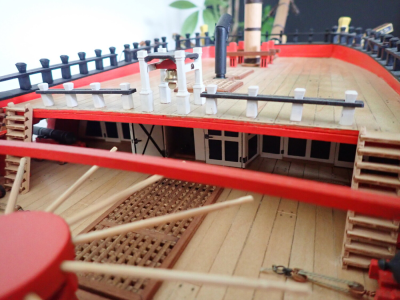
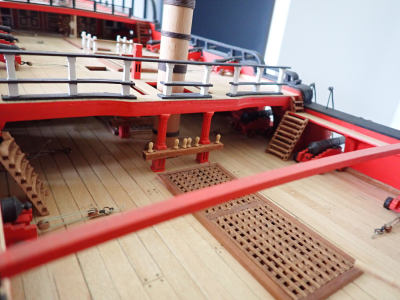
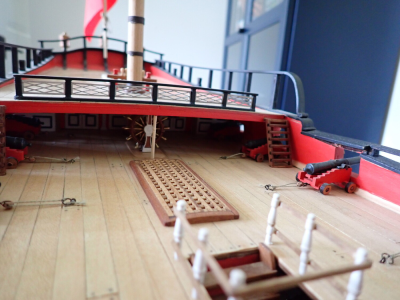
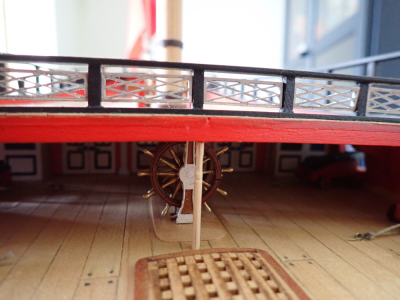
All decks are fully detailed with cabins, doors, and floors. Unfortunately, not much is visible once the decks have been planked and built: Below, view of the kitchen and its oven (barely visible).
1788471399654.png

1788471418351.png

1788471438648.png

1788471459409.png

1788471477712.png

1788471494791.png

Anchors are made of solid brass and weights an hefty amount....

1788471523297.png

1788471543410.png

The model by itself, weight about 25 pounds. The base is also very heavy and the four handles are required to carry the whole assembly safely.

1788471565178.png

Yves
 
Amazing model! By saying you used a Future for protecting it what substance did you actually mean? AI tells me that Future Floor Polish is out of production for decades.
 
Well, it may not be the Polish bottle, but it is called Future for giving a shine to floors. I bought the bottle in 2021 from Lowes.

1788483561729.png

Yves
 
Hi, Luchon! Congratulations on finishing the work!
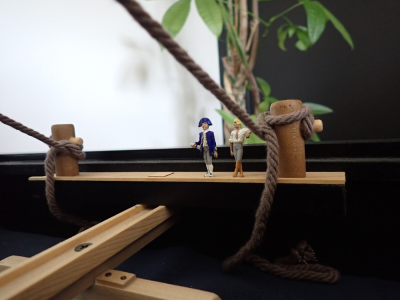
Your model is magnificent and looks very much like the museum one. The impression is enhanced by the dock simulation and the sailor figures.
It’s a pity, of course, that the materials from MSW have been lost… But the final part still gives a good idea of the scale of your effort!
I’m really interested in everything related to this ship, since I’m building its model myself. True, I took the COREL kit as a base, but I’ve long gone beyond its scope.
At this stage, I’m working on the decoration, and I think the photos of the CAF decoration sheets you posted will help me with that.
 
Alex,

I have been following your Corel Bellona on MSW 2.0 and now on DDM. You are making a fantastic model, especially in such small scale (1/96th-100th).
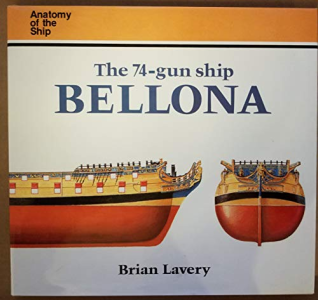
The book HMS Bellona Anatomy of the Ship by Brian Lavery is essential at completing a great and detailed rendition of your model:

1788523482576.png

I know that book was absolutely necessary for me, during the entire building phase. It also helped me build the bowsprit which is not included in the original CAF kit. The book has tons of information on the masts and rigging.

Yves
 
Yves, I have one more question. Was the surface you applied the decals to painted with acrylic paint? When I paint wood with acrylic, it turns out a bit rough, plus the plank strips might not be perfectly aligned. How do the decals sit on such a surface? Or did you treat it with something beforehand?
 
Yves, I have one more question. Was the surface you applied the decals to painted with acrylic paint? When I paint wood with acrylic, it turns out a bit rough, plus the plank strips might not be perfectly aligned. How do the decals sit on such a surface? Or did you treat it with something beforehand?
- After carefully sanding the wood/planking, I painted/brushed with a blue acrylic color (Liquitex in that case). Use two coats, preferably.
- Then I brushed the Pledge/Future glossy product to the acrylic surface. It will seal the acrylic coat(s) and provide a glossy surface for the decals.
- The decals are then placed with warm water and carefully set with a brush to conform with the painted surface.
Occasionally, I may use a decal softener to match a difficult surface. Most of the times, it is not necessary.
- When the decals are set, dry and you are happy with the results, I used the Pledge/Future product again to seal them. You may use a matte or semi-gloss varnish, based on your preferences. The beauty of the Pledge/Future is that it will not attack the decals and you can place as many coats as you want for added protection.
With varnish, you have to be more careful as they tend to heat up the surface of the decals.

Yves
 
A beautiful model of a beautiful ship! I'm glad you had anything from your earlier postings and could share pictures in its current state. I never thought of floorwax to be honest, but your finished product looks very nice. And if you decide one day you want to get the brown penny effect on the copper, you just need to use some floor stripper.

Nicely done!
 
- After carefully sanding the wood/planking, I painted/brushed with a blue acrylic color (Liquitex in that case). Use two coats, preferably.
- Then I brushed the Pledge/Future glossy product to the acrylic surface. It will seal the acrylic coat(s) and provide a glossy surface for the decals.
- The decals are then placed with warm water and carefully set with a brush to conform with the painted surface.
Occasionally, I may use a decal softener to match a difficult surface. Most of the times, it is not necessary.
- When the decals are set, dry and you are happy with the results, I used the Pledge/Future product again to seal them. You may use a matte or semi-gloss varnish, based on your preferences. The beauty of the Pledge/Future is that it will not attack the decals and you can place as many coats as you want for added protection.
With varnish, you have to be more careful as they tend to heat up the surface of the decals.

Yves
Yves, thank you for the detailed instructions!
 
Back
Top