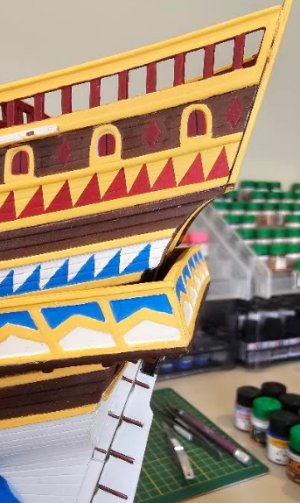
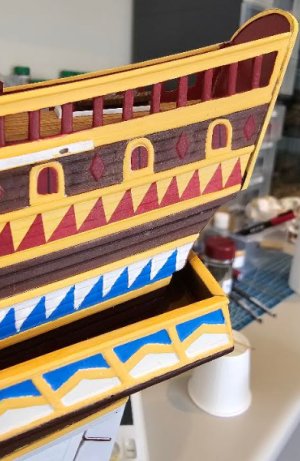
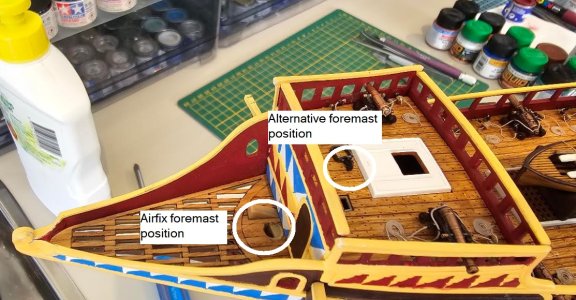
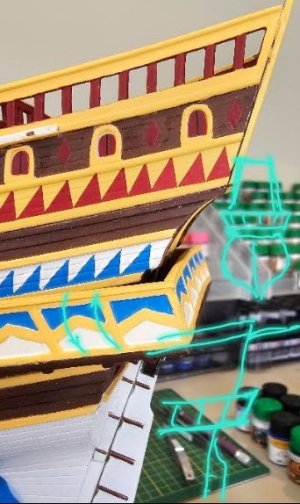
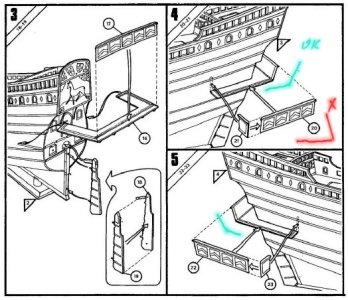
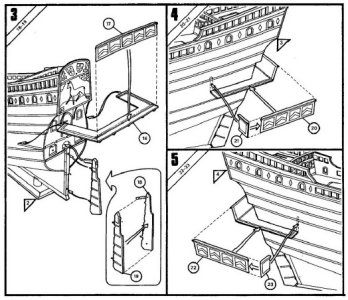
I note that there’s another in-progress Airfix Golden Hind build log in this forum (and very impressive it’s looking…). I don’t want to duplicate, but I believe that my build is sufficiently different that it may provide additional information/inspiration for anyone who is considering tackling this venerable (it’s coming up for 50 years old!) kit.
There are three versions of this kit. The original was released in 1977 and sold unchanged for 20 years. The Special Edition was sold from 1997 – 2018 when the current Vintage Classics version was released. The Special Edition and Vintage Classics versions differ from the original only in having additional detail on some mouldings, most notably raised lines on the hull exterior that define the pattern of coloured triangles. As far as I know, there is no difference in the mouldings for these two later versions other than that the Special Edition that I’m working on is moulded in dark, chocolate brown plastic while the more recent Vintage Classics version appears to be provided in a lighter, tan-coloured plastic.
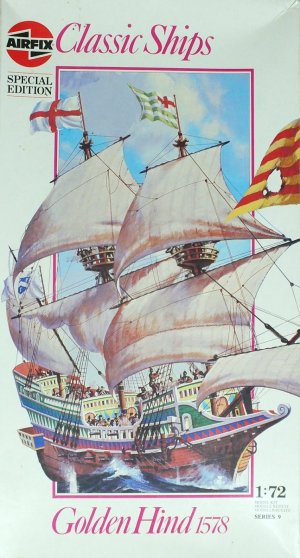
I bought this Special Edition of the Golden Hind on eBay for an absurdly low price and I have no idea how old it actually is: the Special Edition was released in 1997, so this example could be anything from almost 30 years old to less than ten. The box has been opened, but almost everything seems to be there – the only part I can see that’s missing is the cover for one of the hawse pipes (Part 14) though I would probably have replaced those anyway. This is my first attempt at a sailing ship kit, though I’m a fairly experienced plastic modeller. I don’t plan to make major changes to the basic kit, though I will add some detail and at least attempt rigging.
I’ll keep these reports fairly brief, covering just the high (and low…) points of each stage of the build. If you want more information and additional pics, I will include a link to the more detailed build log on my blog site (Model Kit World) at the end of each part.
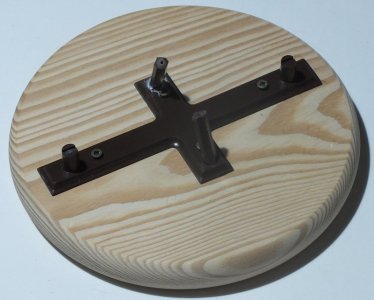
OK, let’s get started. I begin with the stand. The small plastic stand provided is, IMHO, much too narrow to be stable and the hull simply rests in two shallow indentations for the keel with two rather thin side supports that are intended to be butt-joined to the lower hull sides. I screwed the kit stand to a larger and heavier circular wooden base and replaced the kit side supports with heavy-duty replacements made from thick sprue from the kit – these were drilled and tapped at the top and bottom. They are screwed into the kit stand from underneath and I’ll also put screws from inside the hull into the top of these supports. I’ll be painting the stand and varnishing the wooden base eventually, but for the moment, this is what I have.
Next, the hull halves. These are completely devoid of detail on the inside, where the hull interior will be visible above the main decks. I have added some simple internal structure using plastic strip and scribed some lines to represent planking.
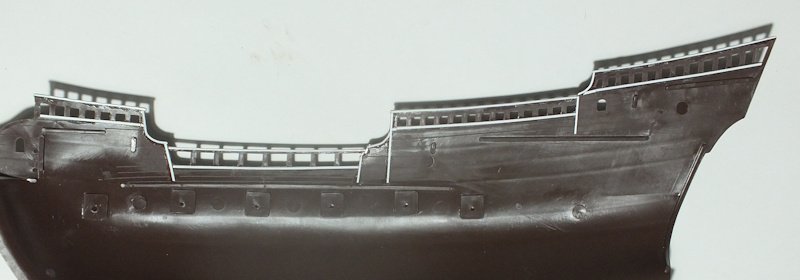
I then painted the inside part of the hull where it will be visible. I used acrylic paints and I generally use Vallejo products simply because these are widely available here in Spain where I live. I used the same approach I have used for wood in the past: I first painted it with a base coat of Vallejo Dark Sand (a very light tan) and added lighter and darker areas to provide visual interest – these will show through the translucent top coat. I then gave it several diluted washes using a dark brown semi-transparent paint, Vallejo Mahogany Ink. This gives a variable finish that I hope reproduces the look of aged wood. I then joined the hull halves which were slightly warped and it took a fair amount of clamping and taping to get everything aligned. I then screwed the completed hull to the base.
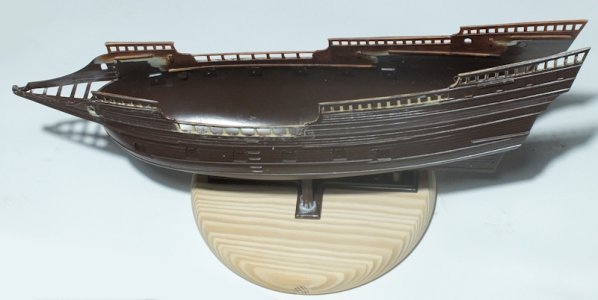
I then work on the internal bulkheads. I use the same approach for painting as on the hull, but I have made some changes here. Airfix suggest that these bulkheads are painted in the same triangular coloured pattern as used on the hull exterior. I find that hard to imagine. This was, after all, a warship, and I just can’t see that the interior would have been painted with such elaborate decoration. This is one of the bulkheads, as provided.
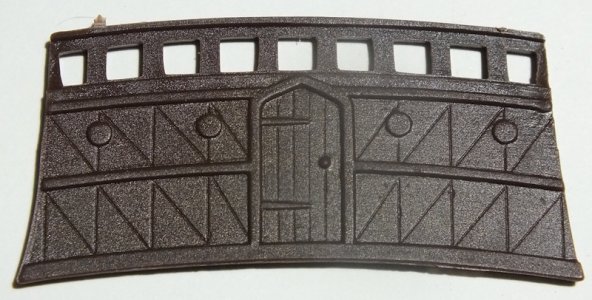
I have filled and sanded the deeply engraved panel lines that delineate the coloured pattern, scribed some vertical planking instead and painted them to look like plain wood. I have also made gaps in the balustrades under which I will add access ladders – none are provided here. I also opened out the small windows in the aft bulkhead and I’ll be creating something to represent mullioned glass to use here. One of the nice things about working on a model of the Golden Hind is that we don’t know what it looked like, so having plain wood internal bulkheads is certainly possible.
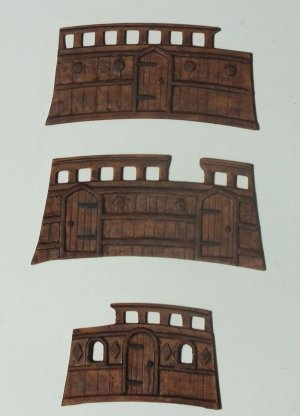
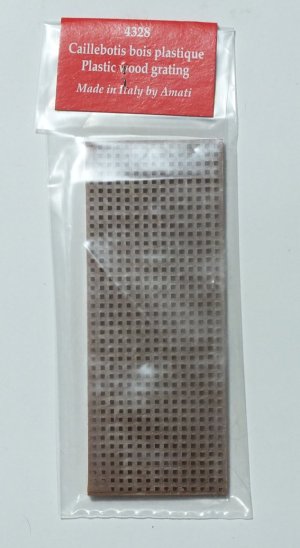
Then I turned my attention to the main deck. The principal issue here is that Airfix have moulded hatches on each of the four levels. I think that gratings would have been much more likely on at least the lower three decks, to allow light and air to the decks below. I obtained these plastic gratings from HiS Model in the Czech Republic (they stock lots of useful accessories for ship models and you’ll find a link to their website at the end of this article), and I think they will just about work in 1/72.
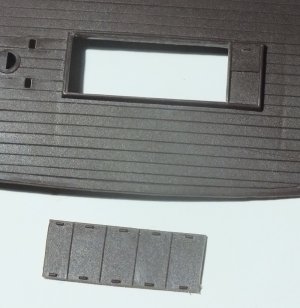
I cut out the existing hatches, leaving the coamings intact and the front hatches, which I imagine would have given access to a ladder leading to the deck below.
I then inserted the three gratings, using a little sprue goo to fill some small gaps at the edges.
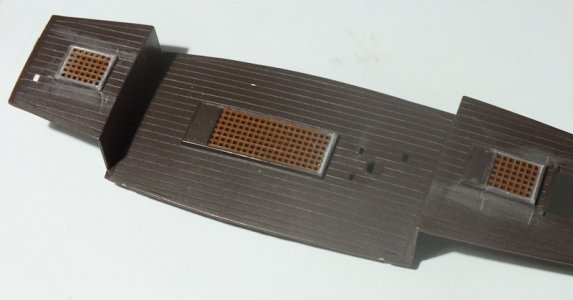
Then I painted the main deck using a similar approach to the hull and internal bulkheads, but using a lighter translucent paint, Vallejo Smoke, to give some visual contrast between the decks and the main structure. I installed the deck in the hull and discovered that it’s rather warped, perhaps due to the age of this particular kit? It took some wrestling and clamping to get it in position.
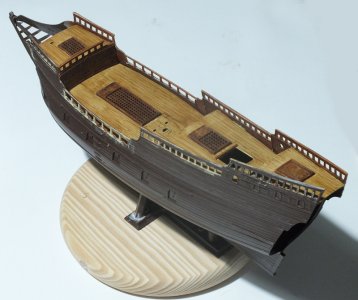
I added the internal bulkheads to complete the main construction of this first part of the build.
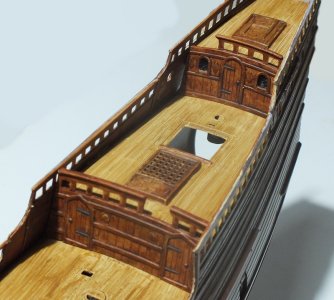
Finally, I added some simple ladders made from strips of plastic card to give access to each deck.
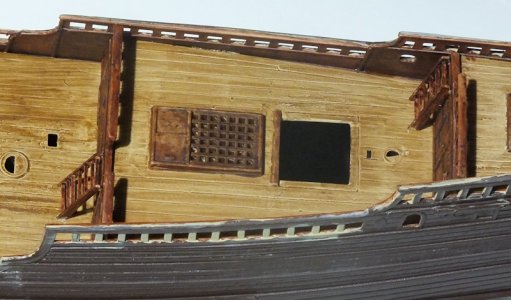
And that’s it for this part of the build. Other than for some minor issues with getting the hull halves to join accurately and getting the warped main deck into position, there was nothing too challenging here. It’s entirely possible that both these issues are due to the fact that this is an old kit that may have been lying around in someone’s attic for the last 25 years – if you buy the more recent Vintage Classics version you may not have these problems.
In the next thrilling instalment, I’ll be working on the hull exterior and adding the stern, head and main deck fittings.
Thanks for reading. If you want to see more detail and pics of this first stage of the build, please see the build log on my blog site:
https://modelkitworld49141446.wordp...9258v-build-review-part-1-hull-and-main-deck/
Links
HiS Model – in addition to a range of ship kits and accessories, HiS also provide useful information on a range of topics including rigging diagrams on specific ships and advice on things like choosing appropriate blocks and colouring brass cannon.
https://www.hismodel.com/en/
There are three versions of this kit. The original was released in 1977 and sold unchanged for 20 years. The Special Edition was sold from 1997 – 2018 when the current Vintage Classics version was released. The Special Edition and Vintage Classics versions differ from the original only in having additional detail on some mouldings, most notably raised lines on the hull exterior that define the pattern of coloured triangles. As far as I know, there is no difference in the mouldings for these two later versions other than that the Special Edition that I’m working on is moulded in dark, chocolate brown plastic while the more recent Vintage Classics version appears to be provided in a lighter, tan-coloured plastic.
I bought this Special Edition of the Golden Hind on eBay for an absurdly low price and I have no idea how old it actually is: the Special Edition was released in 1997, so this example could be anything from almost 30 years old to less than ten. The box has been opened, but almost everything seems to be there – the only part I can see that’s missing is the cover for one of the hawse pipes (Part 14) though I would probably have replaced those anyway. This is my first attempt at a sailing ship kit, though I’m a fairly experienced plastic modeller. I don’t plan to make major changes to the basic kit, though I will add some detail and at least attempt rigging.
I’ll keep these reports fairly brief, covering just the high (and low…) points of each stage of the build. If you want more information and additional pics, I will include a link to the more detailed build log on my blog site (Model Kit World) at the end of each part.
OK, let’s get started. I begin with the stand. The small plastic stand provided is, IMHO, much too narrow to be stable and the hull simply rests in two shallow indentations for the keel with two rather thin side supports that are intended to be butt-joined to the lower hull sides. I screwed the kit stand to a larger and heavier circular wooden base and replaced the kit side supports with heavy-duty replacements made from thick sprue from the kit – these were drilled and tapped at the top and bottom. They are screwed into the kit stand from underneath and I’ll also put screws from inside the hull into the top of these supports. I’ll be painting the stand and varnishing the wooden base eventually, but for the moment, this is what I have.
Next, the hull halves. These are completely devoid of detail on the inside, where the hull interior will be visible above the main decks. I have added some simple internal structure using plastic strip and scribed some lines to represent planking.
I then painted the inside part of the hull where it will be visible. I used acrylic paints and I generally use Vallejo products simply because these are widely available here in Spain where I live. I used the same approach I have used for wood in the past: I first painted it with a base coat of Vallejo Dark Sand (a very light tan) and added lighter and darker areas to provide visual interest – these will show through the translucent top coat. I then gave it several diluted washes using a dark brown semi-transparent paint, Vallejo Mahogany Ink. This gives a variable finish that I hope reproduces the look of aged wood. I then joined the hull halves which were slightly warped and it took a fair amount of clamping and taping to get everything aligned. I then screwed the completed hull to the base.
I then work on the internal bulkheads. I use the same approach for painting as on the hull, but I have made some changes here. Airfix suggest that these bulkheads are painted in the same triangular coloured pattern as used on the hull exterior. I find that hard to imagine. This was, after all, a warship, and I just can’t see that the interior would have been painted with such elaborate decoration. This is one of the bulkheads, as provided.
I have filled and sanded the deeply engraved panel lines that delineate the coloured pattern, scribed some vertical planking instead and painted them to look like plain wood. I have also made gaps in the balustrades under which I will add access ladders – none are provided here. I also opened out the small windows in the aft bulkhead and I’ll be creating something to represent mullioned glass to use here. One of the nice things about working on a model of the Golden Hind is that we don’t know what it looked like, so having plain wood internal bulkheads is certainly possible.
Then I turned my attention to the main deck. The principal issue here is that Airfix have moulded hatches on each of the four levels. I think that gratings would have been much more likely on at least the lower three decks, to allow light and air to the decks below. I obtained these plastic gratings from HiS Model in the Czech Republic (they stock lots of useful accessories for ship models and you’ll find a link to their website at the end of this article), and I think they will just about work in 1/72.
I cut out the existing hatches, leaving the coamings intact and the front hatches, which I imagine would have given access to a ladder leading to the deck below.
I then inserted the three gratings, using a little sprue goo to fill some small gaps at the edges.
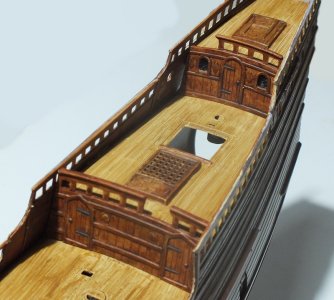
Then I painted the main deck using a similar approach to the hull and internal bulkheads, but using a lighter translucent paint, Vallejo Smoke, to give some visual contrast between the decks and the main structure. I installed the deck in the hull and discovered that it’s rather warped, perhaps due to the age of this particular kit? It took some wrestling and clamping to get it in position.
I added the internal bulkheads to complete the main construction of this first part of the build.
Finally, I added some simple ladders made from strips of plastic card to give access to each deck.
And that’s it for this part of the build. Other than for some minor issues with getting the hull halves to join accurately and getting the warped main deck into position, there was nothing too challenging here. It’s entirely possible that both these issues are due to the fact that this is an old kit that may have been lying around in someone’s attic for the last 25 years – if you buy the more recent Vintage Classics version you may not have these problems.
In the next thrilling instalment, I’ll be working on the hull exterior and adding the stern, head and main deck fittings.
Thanks for reading. If you want to see more detail and pics of this first stage of the build, please see the build log on my blog site:
https://modelkitworld49141446.wordp...9258v-build-review-part-1-hull-and-main-deck/
Links
HiS Model – in addition to a range of ship kits and accessories, HiS also provide useful information on a range of topics including rigging diagrams on specific ships and advice on things like choosing appropriate blocks and colouring brass cannon.
https://www.hismodel.com/en/
Last edited:


 ))
))