


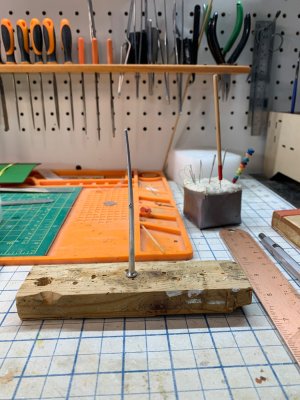
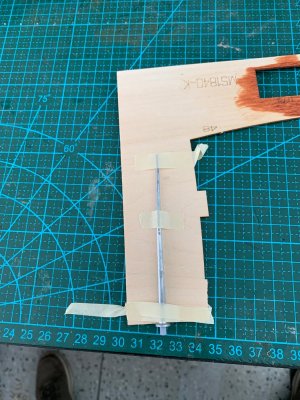
Here you can see the bow, I’ve been trying to straighten it put it continues to go back to bowed overnight.

 |
The beloved Ships in Scale Magazine is back and charting a new course for 2026! Discover new skills, new techniques, and new inspirations in every issue. NOTE THAT OUR NEXT ISSUE WILL BE July/August 2026 |
|
 |
As a way to introduce our brass coins to the community, we will raffle off a free coin during the month of August. Follow link ABOVE for instructions for entering. |
|

Be careful, it can snap….but you could try this….mine had a bigger bow than what’s in your photo…maybe yours started like mine?Here you can see the bow, I’ve been trying to straighten it put it continues to go back to bowed overnight.
View attachment 635962
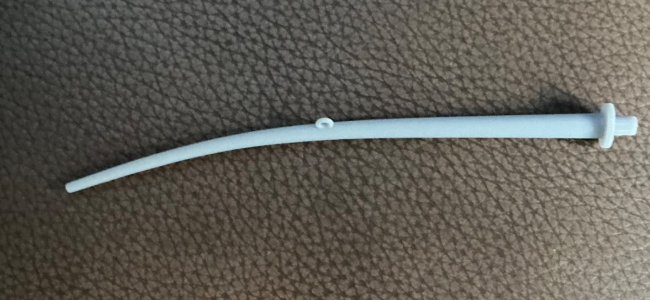
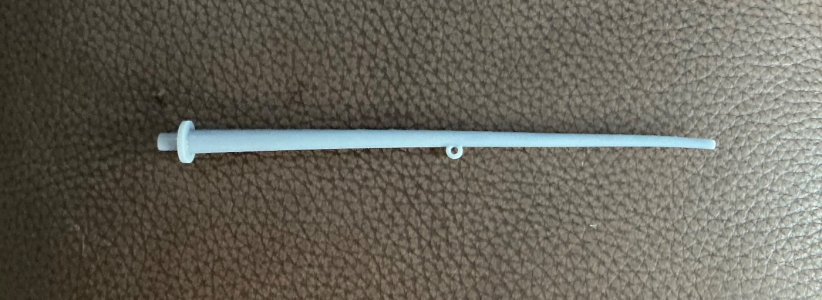
Thanks Herb, doing it nowThis was from one immersion. I put my mast in water, into the microwave for 90 seconds (tall water glass, filled). This was from one cycle. I put it between some extra pieces of wood from another kit i had used already when I pulled it out. Pinched the wood with the mast in between the wood in my fingers, put under cold water, say 10-15 seconds. Repeat as necessary. (My water wasn’t boiling, but it was definitely very hot, perhaps 160-170, be careful to not get burned)
BEFORE
View attachment 635986
AFTER
View attachment 635987

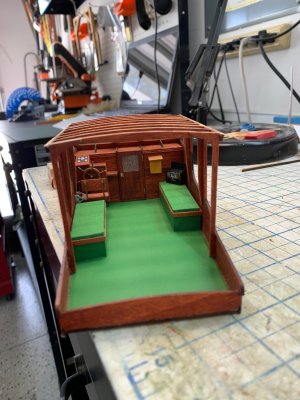
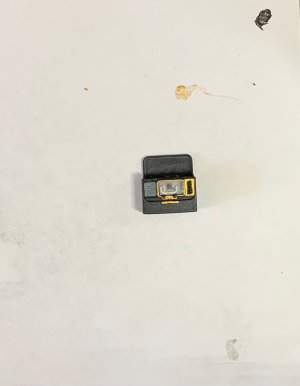

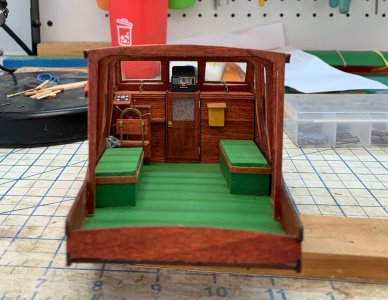
This was from one immersion. I put my mast in water, into the microwave for 90 seconds (tall water glass, filled). This was from one cycle. I put it between some extra pieces of wood from another kit i had used already when I pulled it out. Pinched the wood with the mast in between the wood in my fingers, put under cold water, say 10-15 seconds. Repeat as necessary. (My water wasn’t boiling, but it was definitely very hot, perhaps 160-170, be careful to not get burned)
BEFORE
View attachment 635986
AFTER
View attachment 635987

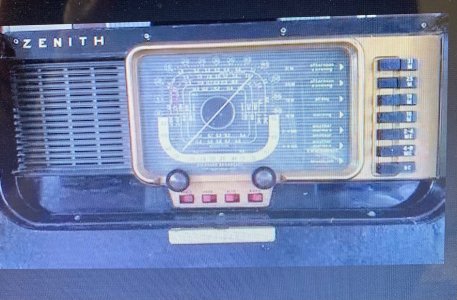
Awesome. I want to compliment you on the radio! Really nice job!

Enjoy your vacation time!The wife and I took a few days off went up to Beaufort NC, a few hours away from my house and went through the maritime museum again I love looking at the models and the artifacts from Blackbeard’s Queen Anne’s Revenge. Then on to the Outer Banks.
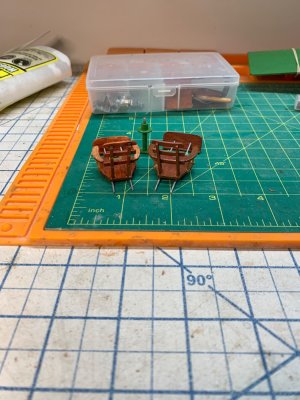
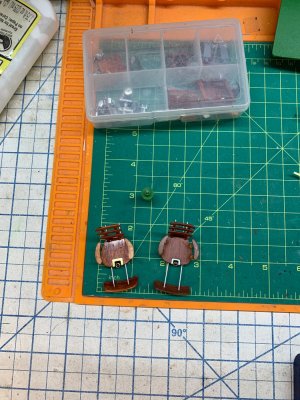
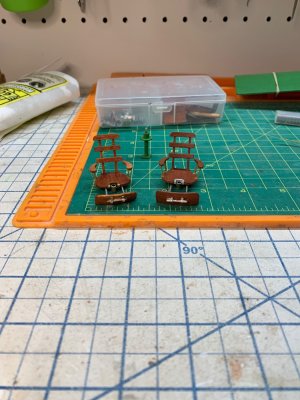
I’ll be back at the Pilar, I’ve been working on the fighting chair pictures on progress soon.
I used to vacation in the Outer Banks for 2 weeks…very relaxing and needed from the grind!The wife and I took a few days off went up to Beaufort NC, a few hours away from my house and went through the maritime museum again I love looking at the models and the artifacts from Blackbeard’s Queen Anne’s Revenge. Then on to the Outer Banks.
I’ll be back at the Pilar, I’ve been working on the fighting chair pictures on progress soon.
I think the chair looks great! He had a very simple chair. Pilar carried one of the pioneering fighting chairs of the 1930s—an early swivel chair designed specifically for battling giant tuna and marlin. At the time it didnt get any better!I finally finished the chair,
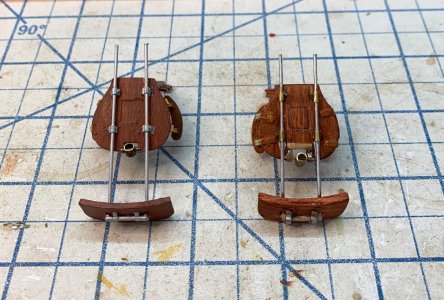
first I built the resin printed chair I thought it looked ok but I wanted to try my own so I built another from scratch to see if I could improve the look. I don’t think mine is better just a little different. I decide later which one I’ll use.
View attachment 638213
View attachment 638214
View attachment 638216
On the 3D printed I was surprised that the tiny supports were printed perfectly the 1mm rod fit nicely. On mine I used brass tube 1mm ID. Overall the 3D printed parts are, I’m opinion really good quality. Except for bent mastHow did the “bars” that support the foot rest fit? Any issues putting it together?
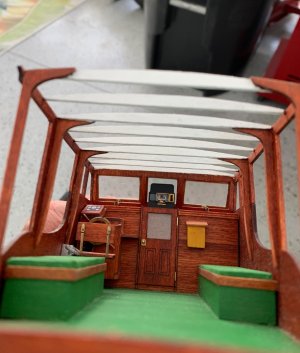
Thanks for that tip, Grex! It all looks very nice. Love how your fighting chair came out! Nice to see that the kit's chair comes together well, but your chair definitely has character! I'd imagine that, after all that work, you are keeping your chair build for the boat?Another heads up cuz I made this mistake, the roof cross supports should be painted white before you install them.




