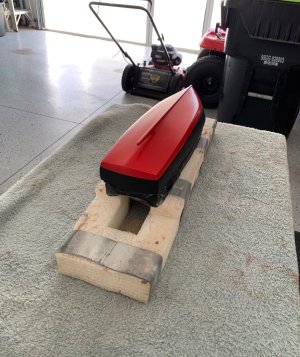
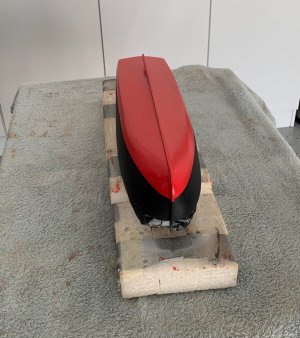
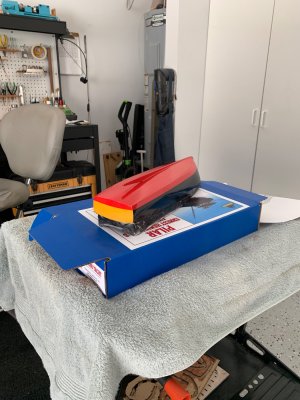
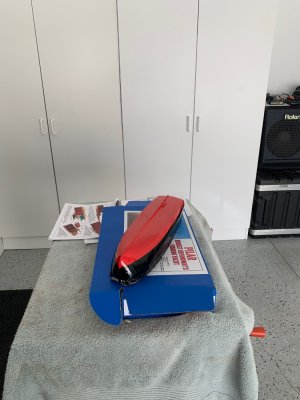
Got the bottom painted, now clear coat: matte, or gloss not sure which way to go yet.

 |
The beloved Ships in Scale Magazine is back and charting a new course for 2026! Discover new skills, new techniques, and new inspirations in every issue. NOTE THAT OUR NEXT ISSUE WILL BE July/August 2026 |
|
 |
As a way to introduce our brass coins to the community, we will raffle off a free coin during the month of August. Follow link ABOVE for instructions for entering. |
|

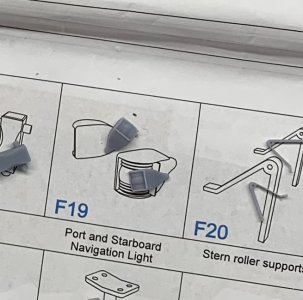

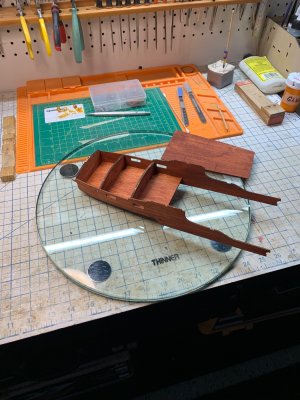
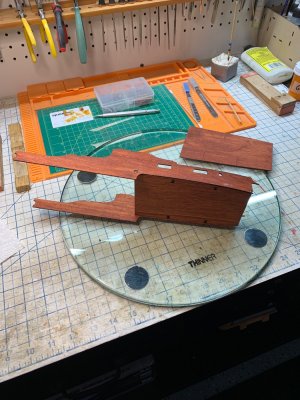
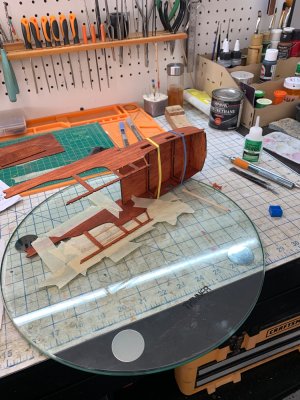
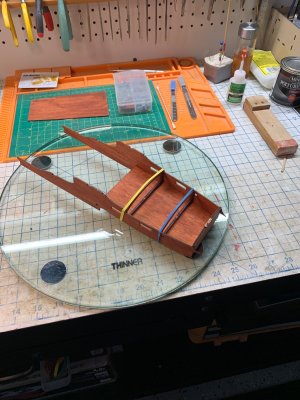
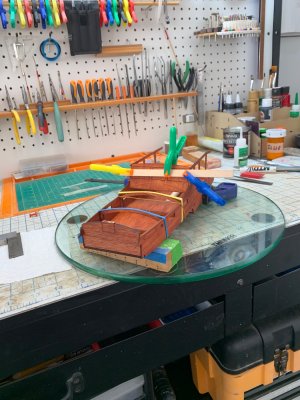
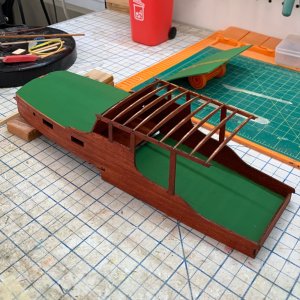
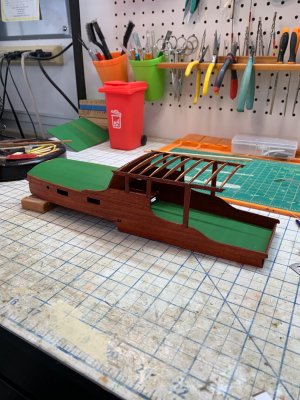
Started on the cabin, this is a little tricky.
The tricky part (for me) is making sure you have the correct alignment, I squared the long upright post with the bottom edge and then positioned the top roof runner to meet the small windshield angled piece. That seemed to work to get both port and starboard even with each other. As you can see, using masking tape to hold the side flat against the glass and also to hold all 5 pieces while the glue dries.Cabin is looking good, Grex! What makes it tricky? This cabin area was actually one of the pieces that I was contemplating replacing the kit's basswood with either boxwood or pearwood. Thoughts after you've been working on it?
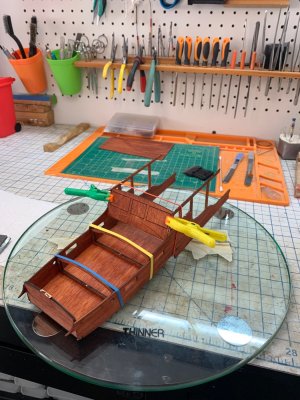
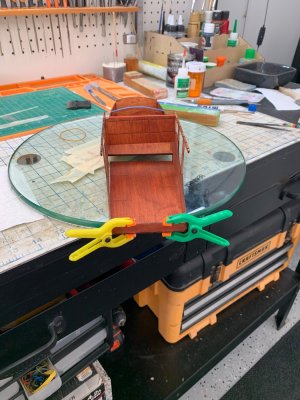
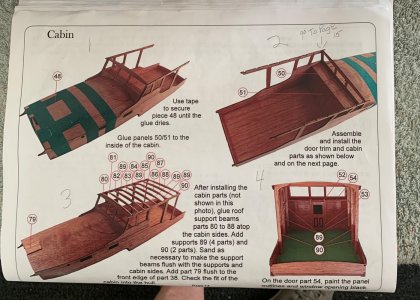
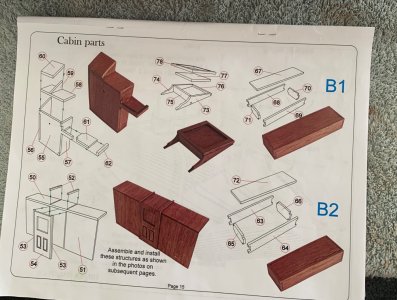
 I misread the instructions . Page 13 i thought was 1&2 on the left and 3&4 on the right. That was correct, however next page 14, it appears to go step 1&2 on top and step 3&4 on bottom. So, I have the roof braces on before the the cabin parts from page 15. I’m just going to have to work around them. In hindsight it’s obvious I should have finished the inside before the roof cross braces. Just a heads up for you all.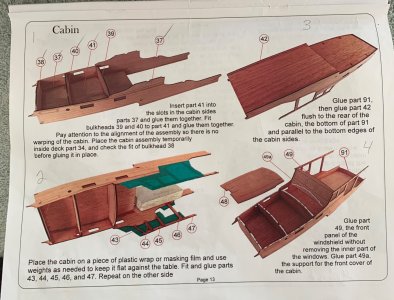
The USS Constitution, which we visited last September. Since I am building it now, I wanted to get on it to see as many details as I could. Unfortunately, it had rained that morning, so a lot of the top spar deck accoutrements were covered. We were able to also get down to the gun deck, as well, though, so it was still an awesome experience. Would go back to Boston again in a heartbeat. It was a fun trip.Thanks Gregg,
by the way what boat are you on in the picture. Looks like my USS Niagara model.