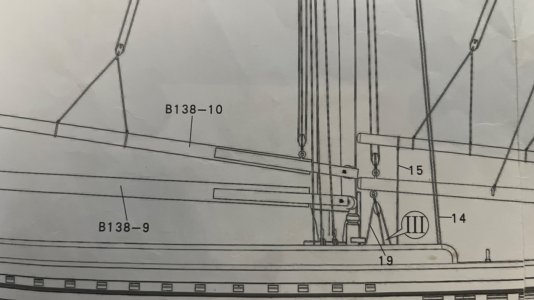
Does the eyebolt on spar B-138-10 use the detail in the attached photo or is the rope continuos like my rude sketch.
Please help
Ted
View attachment 484908View attachment 484909
View attachment 484910
Hi Ted. Please take a further look at sheet 8-6. There is gaff B138-10 also visible. There is a single sheave blok connected to the eye-pin. The rope to pull the gaff started around that blok.

See the line in the middle.
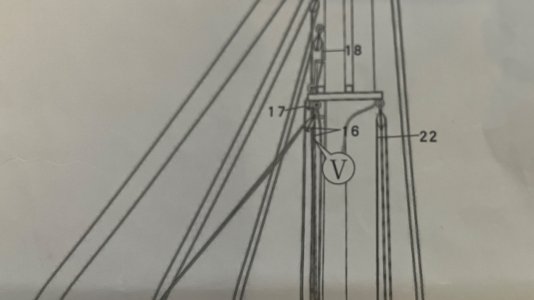
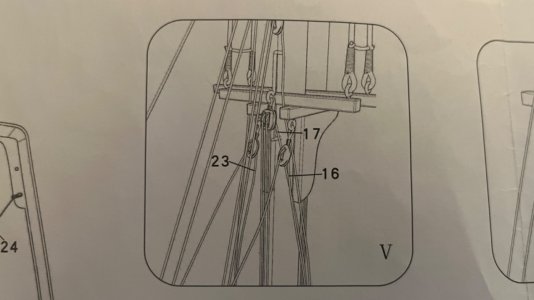
In the lower mast head is a double sheave blok with the rope number ‘17’. You see there also the capital ‘V’:

That represents to the top left also drawing ‘V’.
With again the rope number ‘17’ by the double sheave block:

The rope goes from the back to the front through the 1st sheave, back down through the gaff single sheave from the front to the back and up again to the 2nd sheave, again from the back to the front.
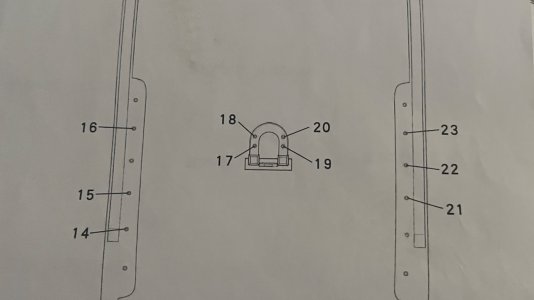
The end of the rope ‘17’ goes along the mast down and is connected to point ‘17’. You can find that on plan 8-6 on the right ‘top view’ drawing. It’s on the ‘horse-shoe’ table by the mast feet.

Hopefully this will help you understanding the YQ drawings It took me also ‘some time’ how to read them. Although I haven't used them myself.

You have to compare the information from different drawing. Making sketches, like you did above, of the routing of each lines is a good idea.
Regards, Peter


