• SUBSCRIBE TO SHIPS IN SCALE TODAY!

    The beloved Ships in Scale Magazine is back and charting a new course for 2026!
    Discover new skills, new techniques, and new inspirations in every issue.

    NOTE THAT OUR NEXT ISSUE WILL BE July/August 2026
  • Win a Free Custom Engraved Brass Coin!!!
    As a way to introduce our brass coins to the community, we will raffle off a free coin during the month of August. Follow link ABOVE for instructions for entering.

Pelican scale 1/45 a small English galleon 16th century

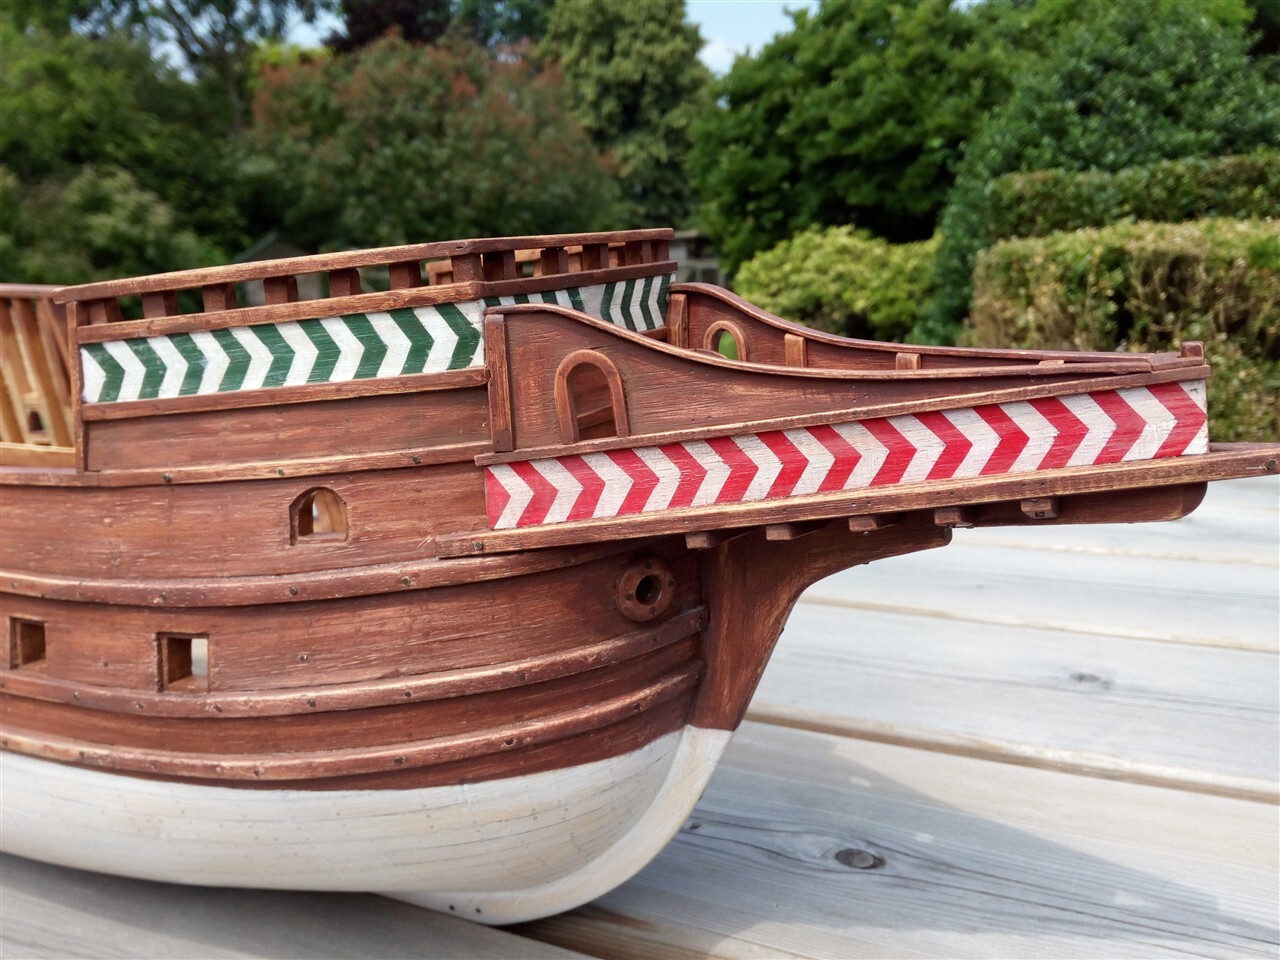
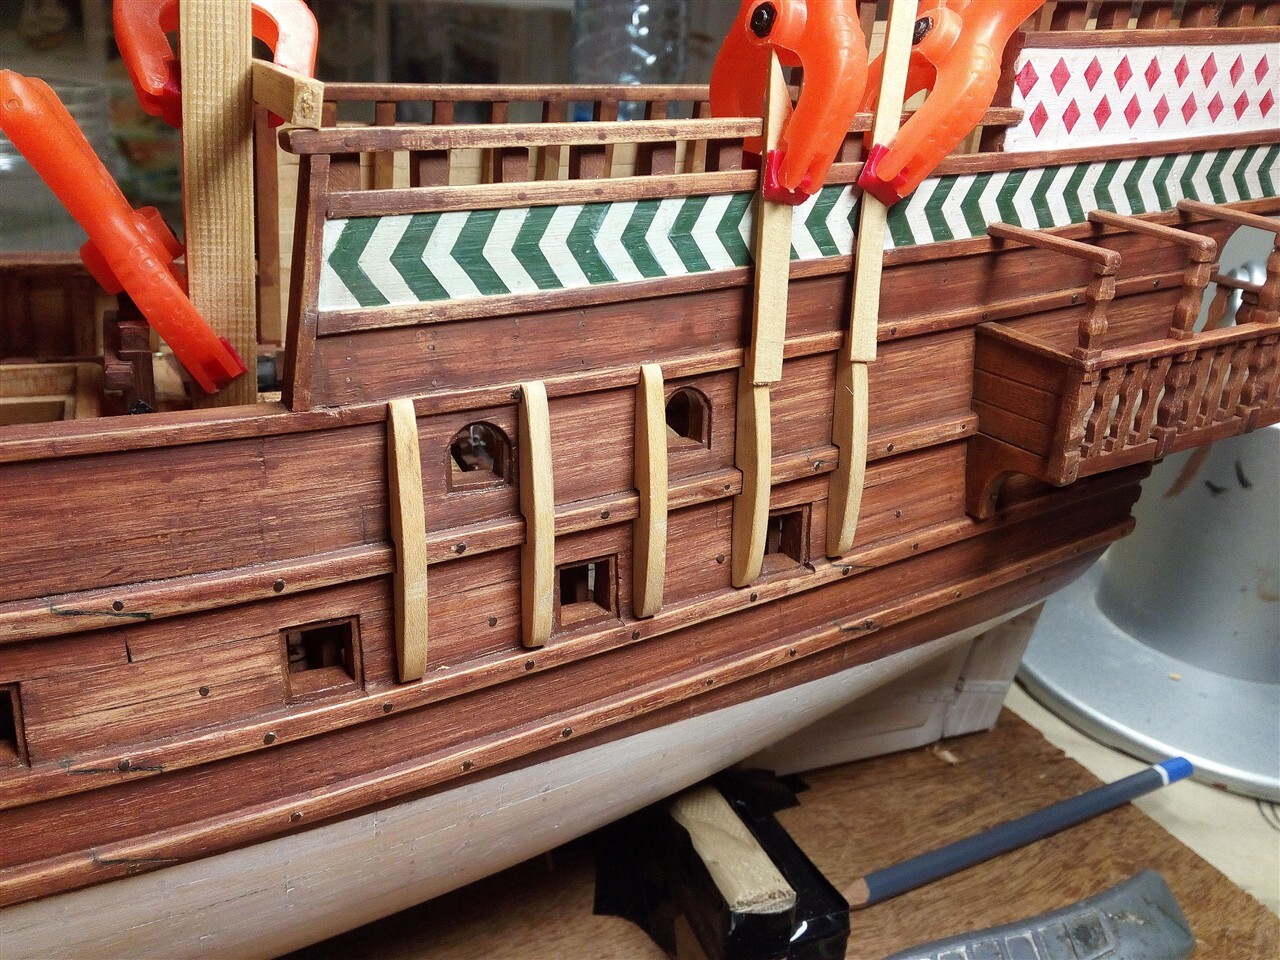
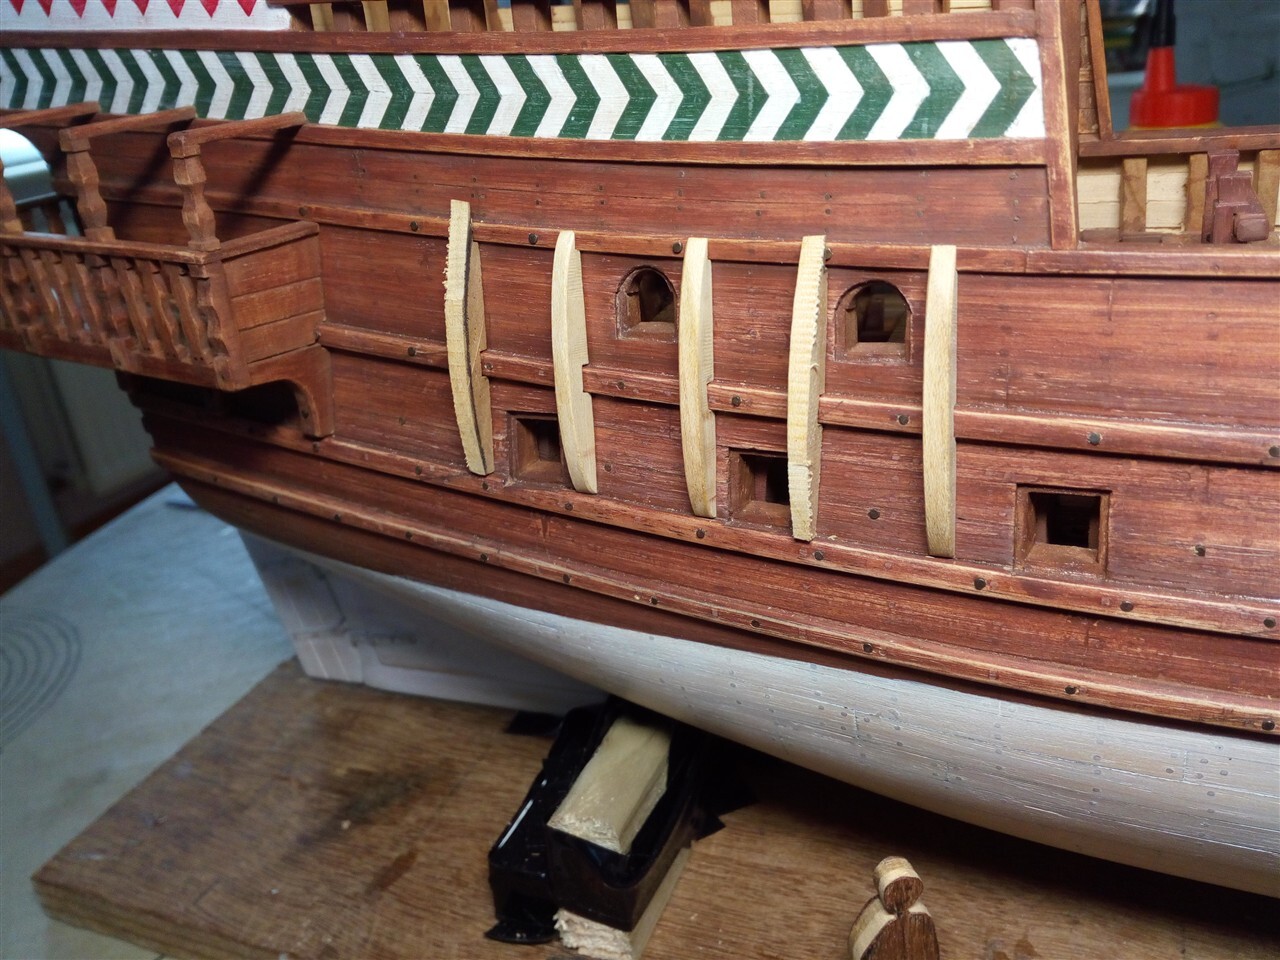
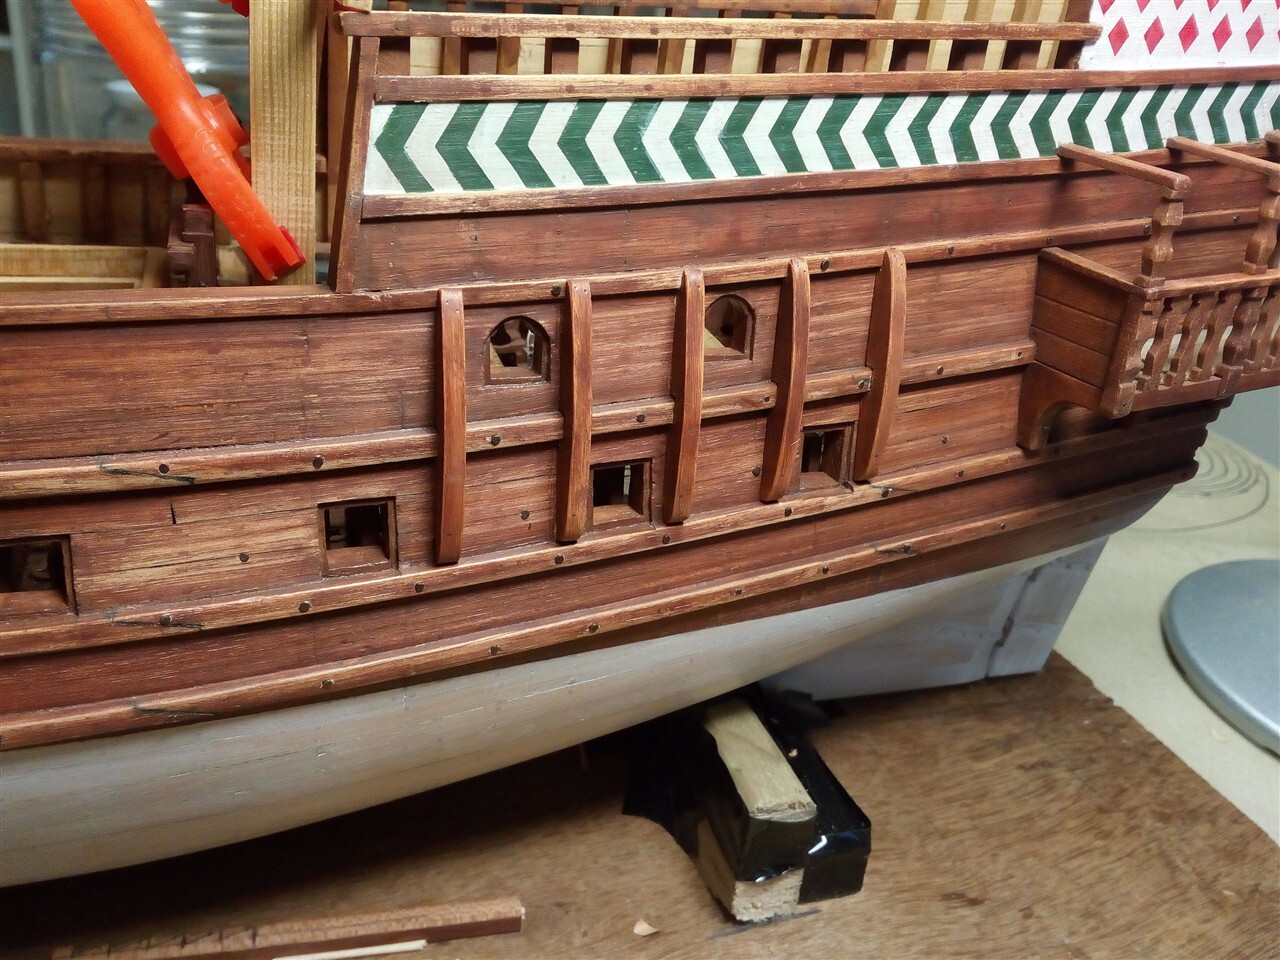
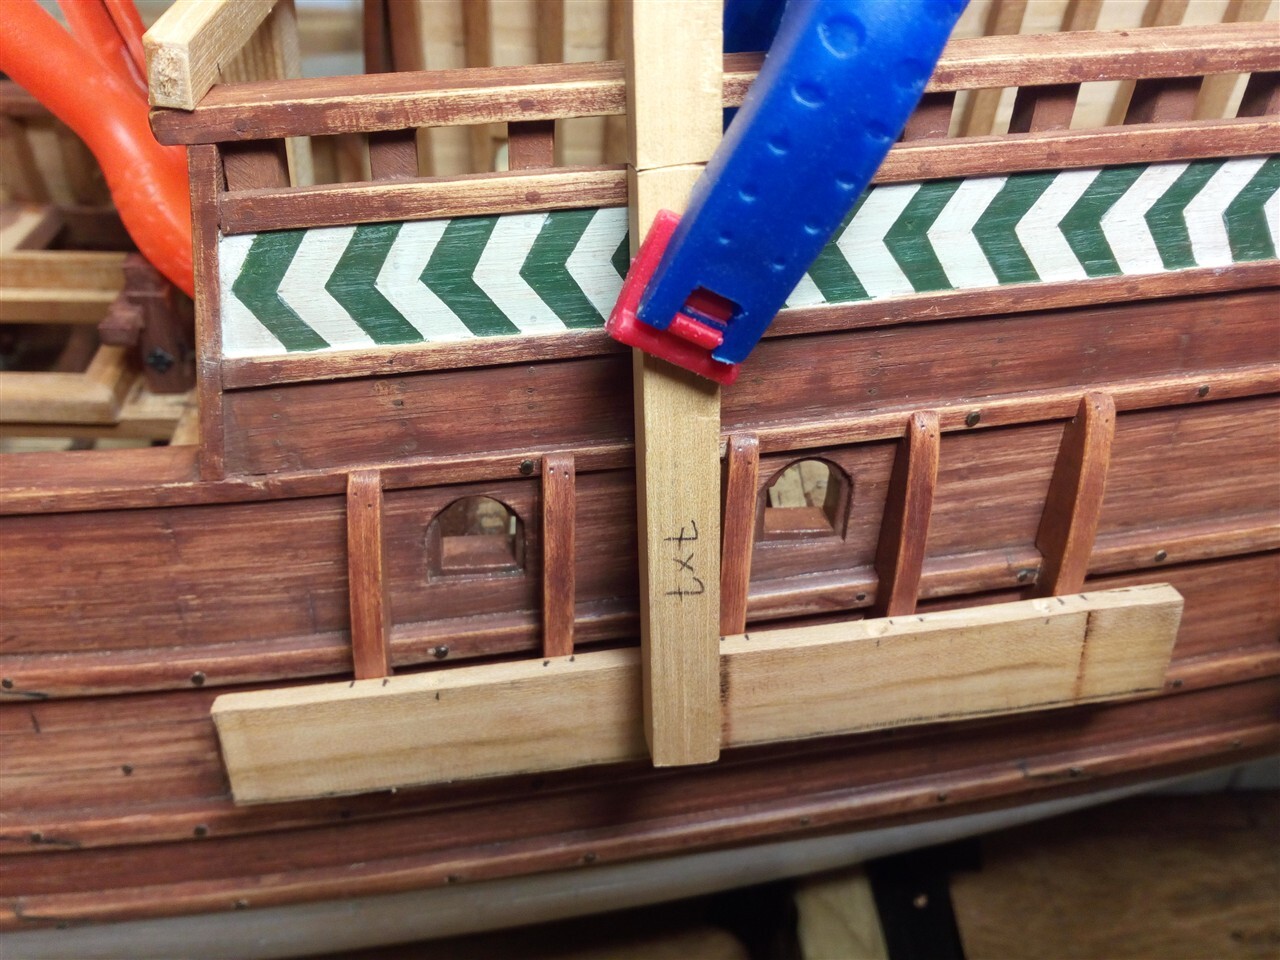
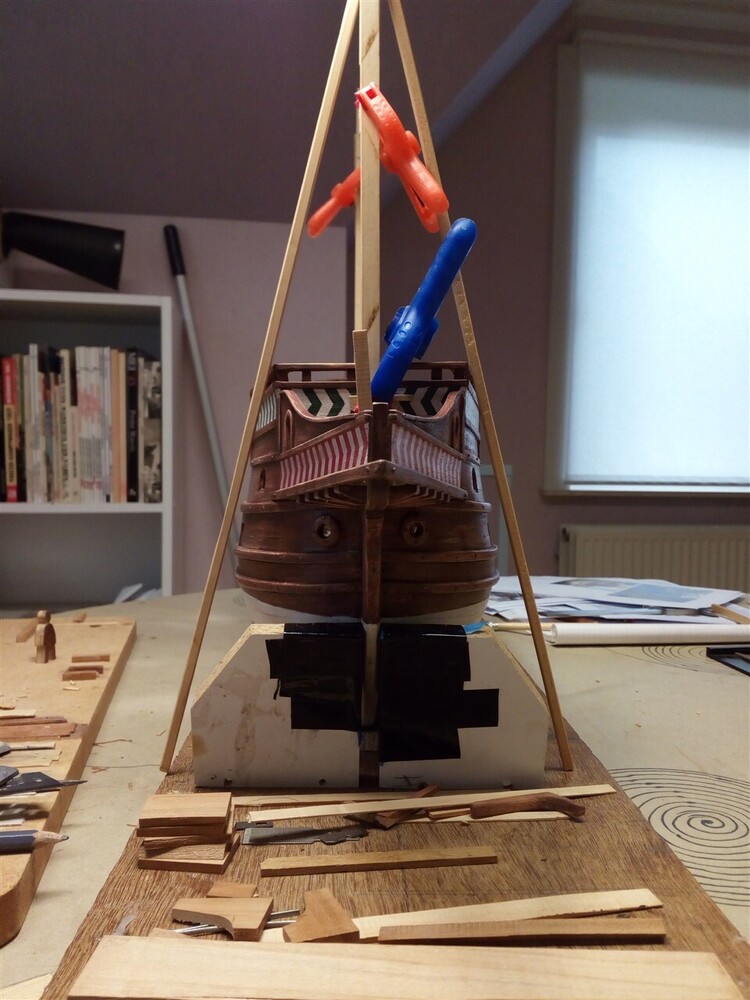
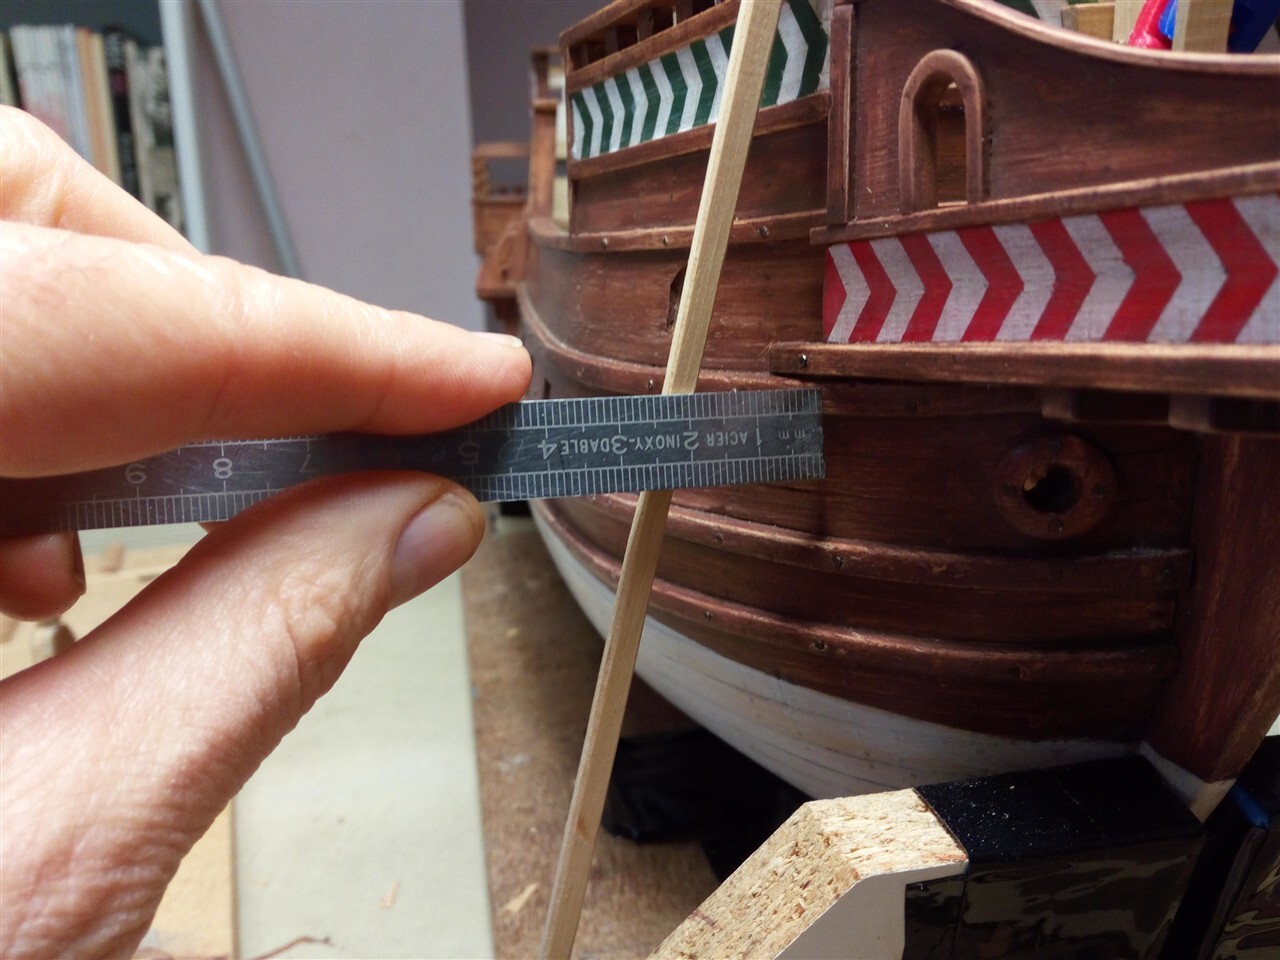
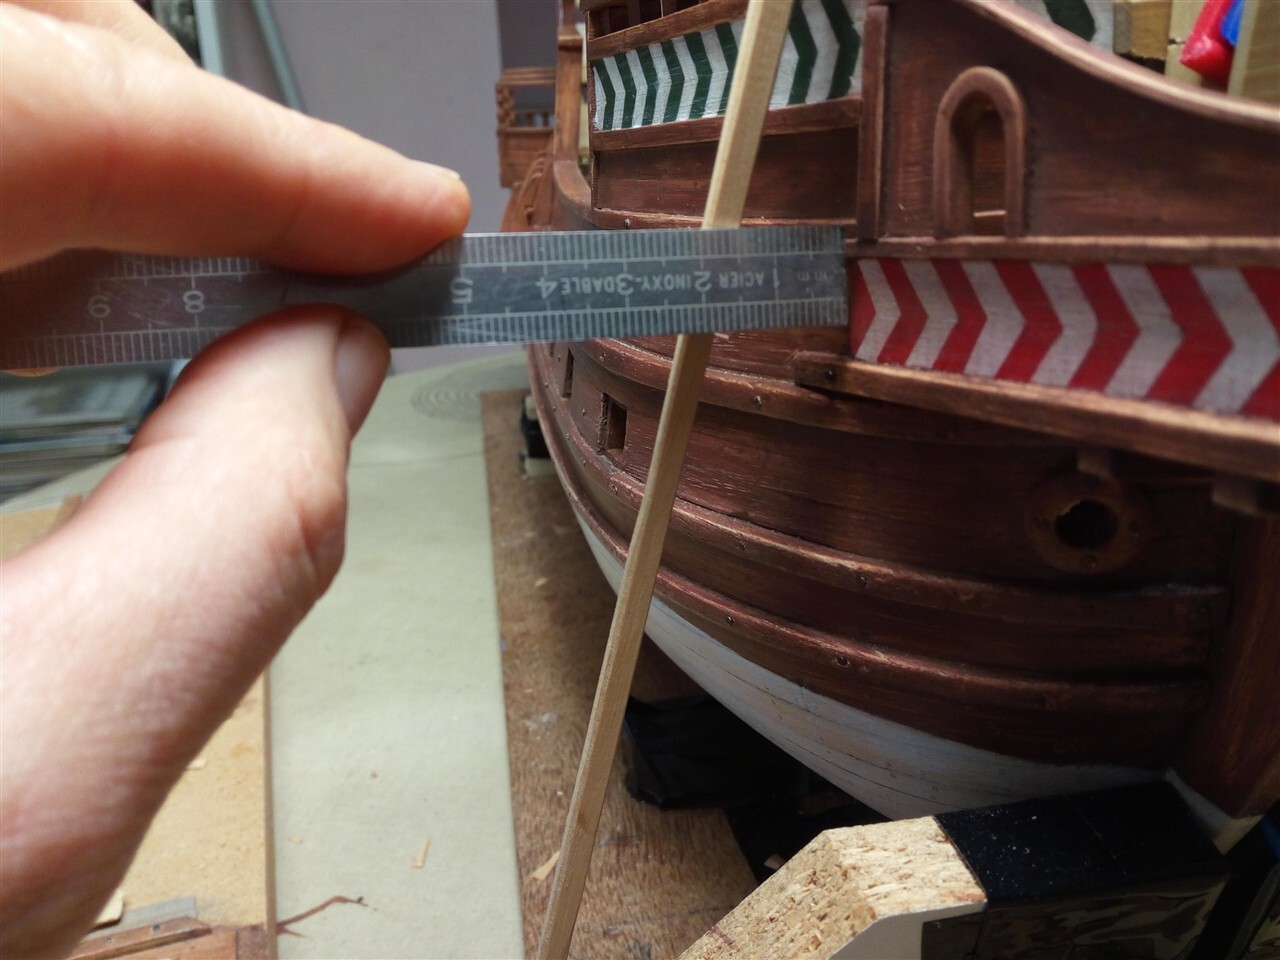
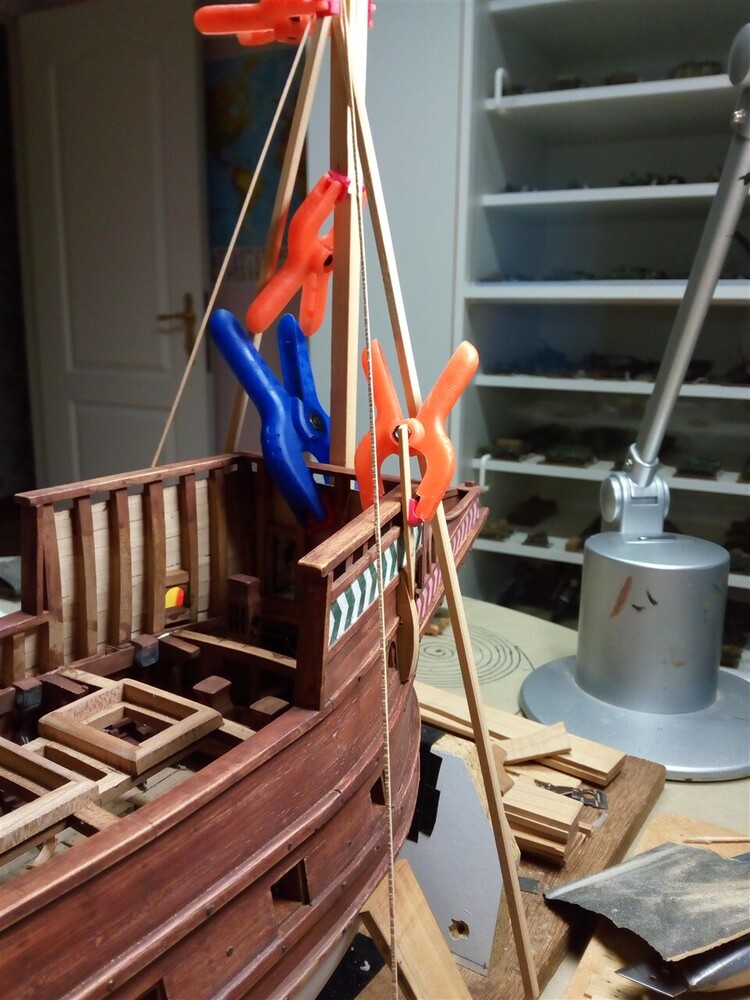
Part 4 .Start of the side walls.
First fit, paint, and then install.
IMG_20180530_201340_1280.jpg

IMG_20180601_190733_1280.jpg

IMG_20180602_135453_1280.jpg

IMG_20180602_151520_1280.jpg
 
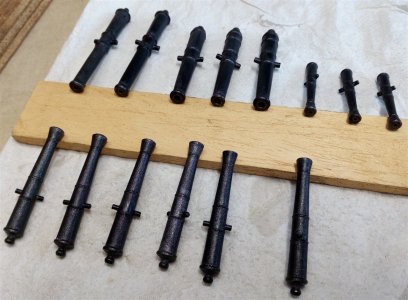
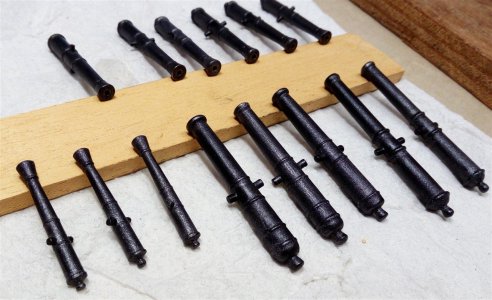
The Cannons, Part 1

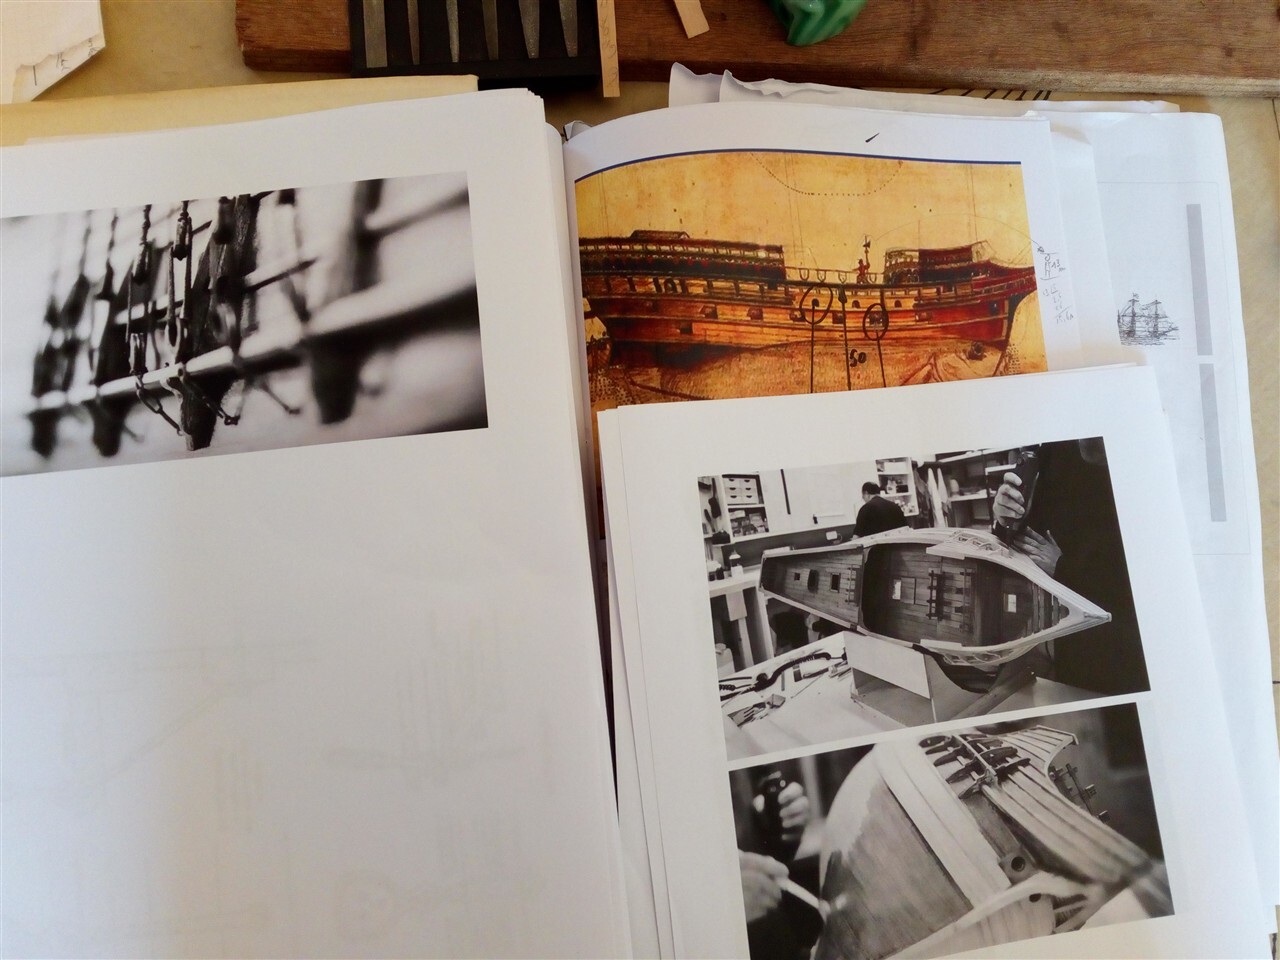
Given that virtually no cannon was identical during this period, they are all slightly different. Most of the information was found here, of which I unfortunately do not have a digital copy of the left document.
IMG_20180616_151816_1280.jpg

IMG_20180616_151840_1280.jpg


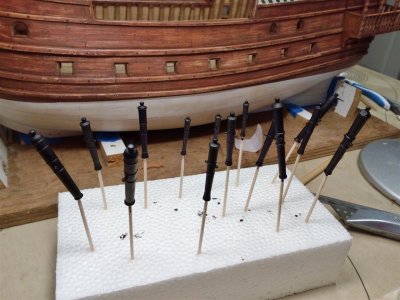
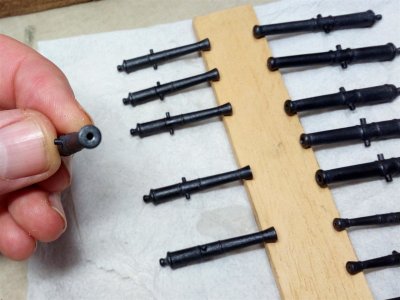
The cannons were purchased from various brands and modified on my "high-tech" lathe.
IMG_20180529_163802_1280.jpg

IMG_20180529_163832_1280.jpg

IMG_20180529_163848_1280.jpg


test setup.
IMG_20180611_194826_1280.jpg


And further finished.
IMG_20180612_140533_1280.jpg

IMG_20180612_140554_1280.jpg


The bore diameter on these cannons is actually too large, which is why it has been modified.
IMG_20180612_184907_1280.jpg

IMG_20180612_185025_1280.jpg
 
The main deck. Given the number of photos, this will be spread across several steps.

Step 1: the deck beams
First wet them, bend them, and let them dry.
IMG_20180615_193520_1280.jpg


Placing the deck beams
IMG_20180712_190111_1280.jpg

IMG_20180714_122644_1280.jpg


There is also modern led lighting.
IMG_20180721_144646_1280.jpg

IMG_20180730_161830_1280.jpg

IMG_20180731_211538_1280.jpg


Determining the position of the main mast.
IMG_20180721_143453_1280.jpg


Determining the position of the hatches.
IMG_20180901_154924_1280.jpg

IMG_20180901_155409_1280.jpg

IMG_20180903_183700_1280.jpg
 
Step 4: the planking.
Some 16th-century (San Juan, Mary Rose) and 17th-century (Vasa) examples
IMG_20180318_094001_1280.jpg

IMG_20181222_141719_1280.jpg


We continue with the ramin wood. "Tree nails" are placed in the plank beforehand. Then lightly painted with heavily diluted grey and polished with Scotchbrite.
IMG_20181217_171355_1280.jpg

IMG_20181218_090617_1280.jpg

IMG_20181221_162708_1280.jpg

IMG_20181223_160029_1280.jpg


The scuppers
IMG_20181224_112814_1280.jpg

IMG_20181224_112839_1280.jpg

IMG_20181221_162621_1280.jpg
 
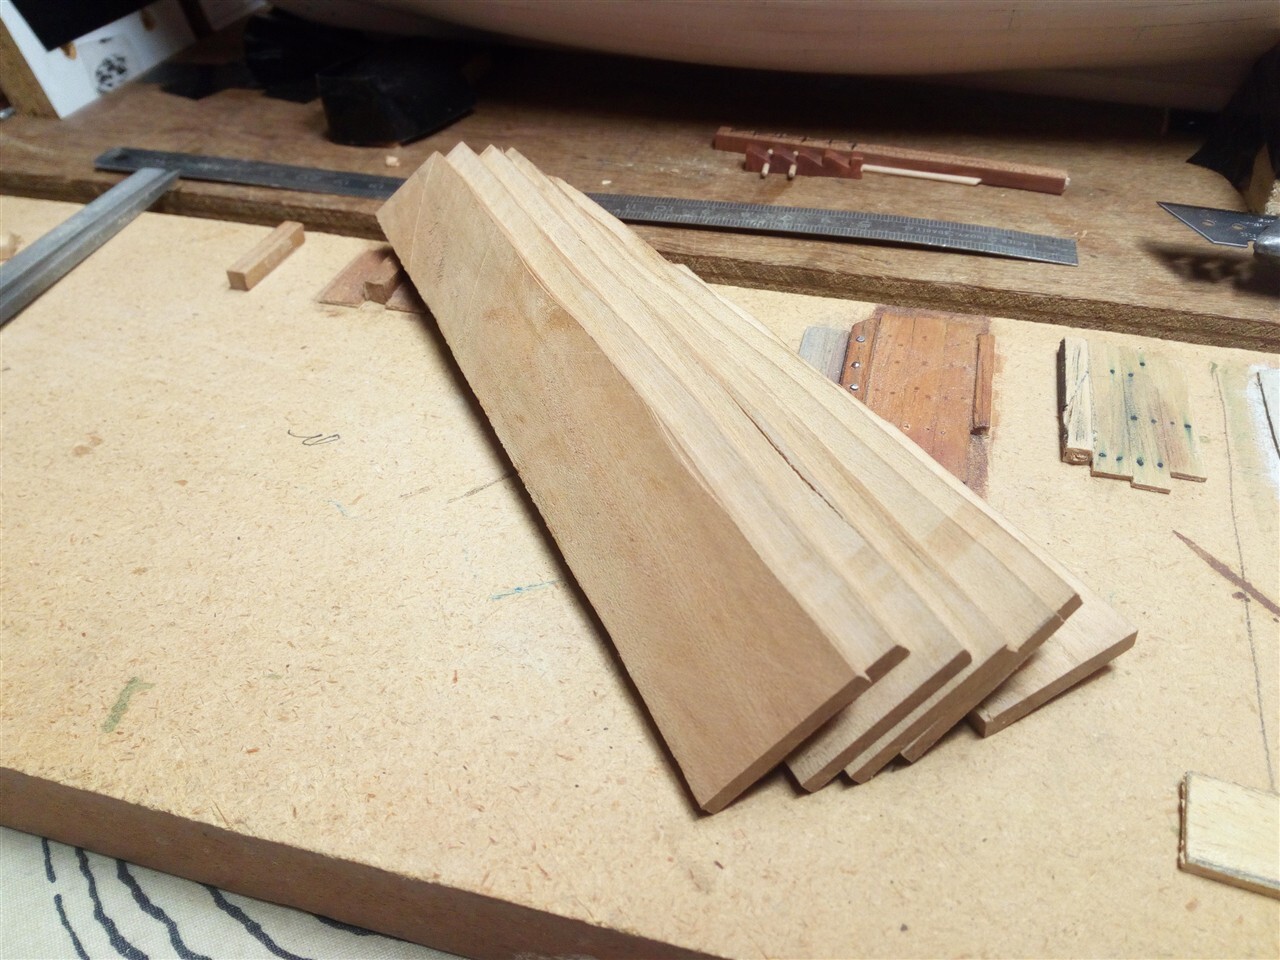
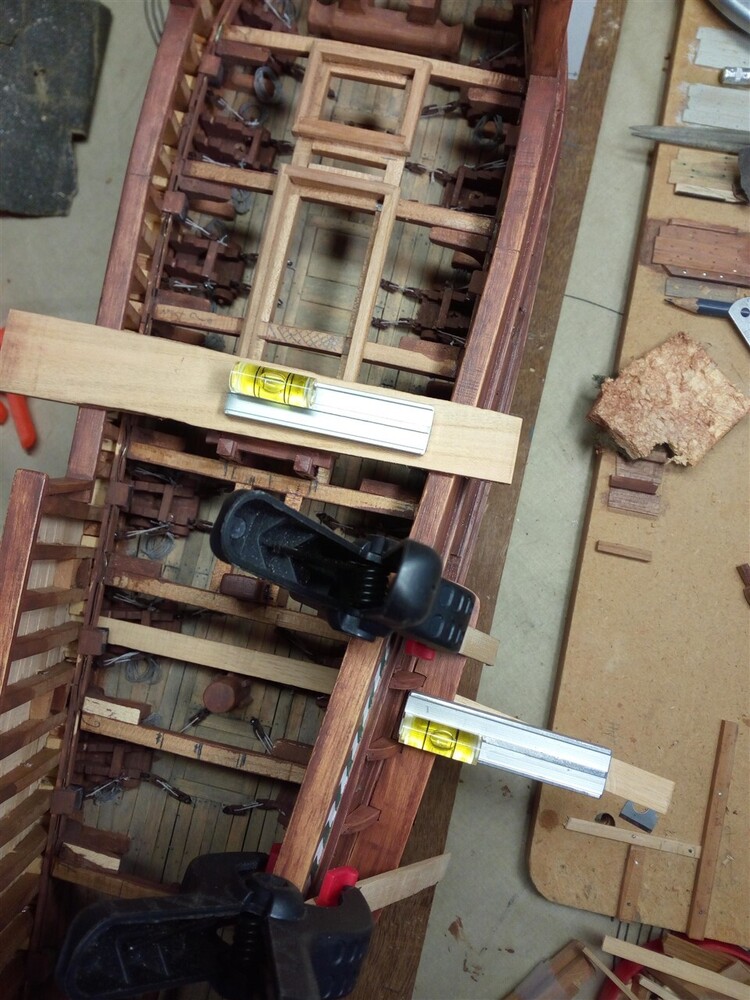
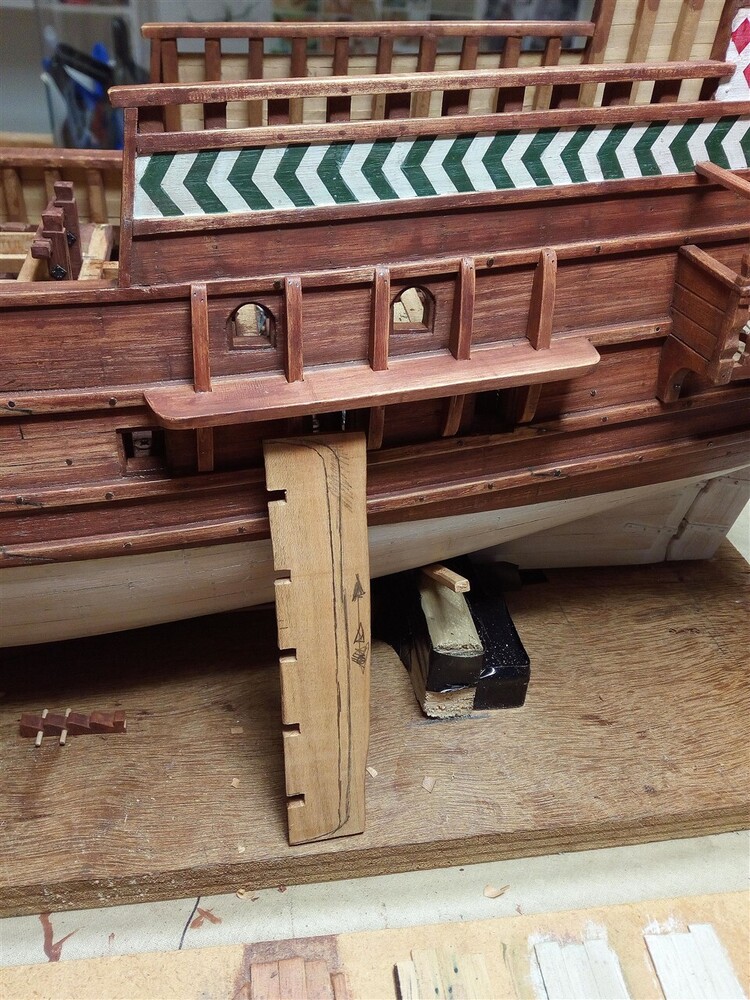
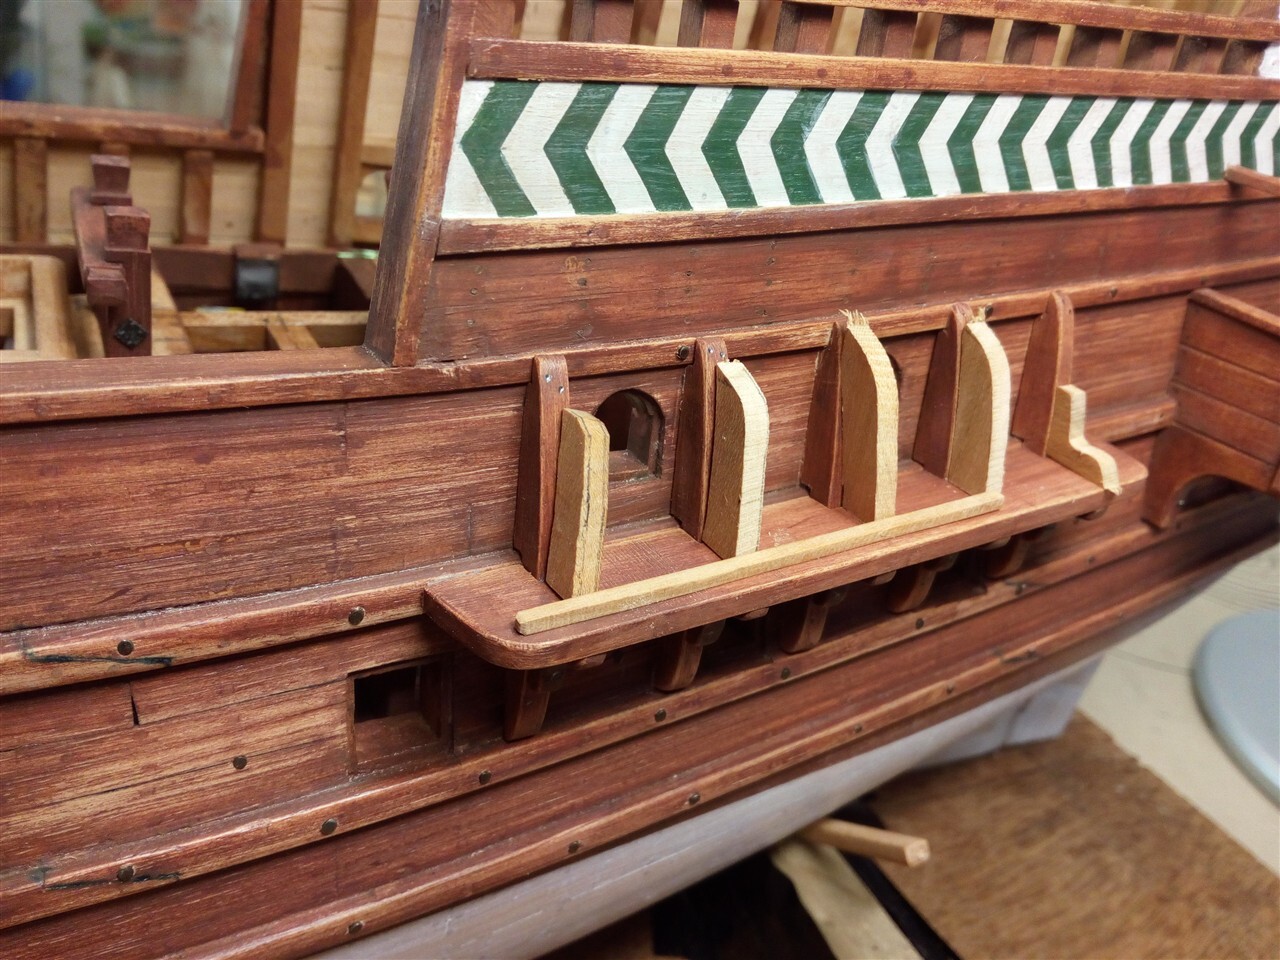
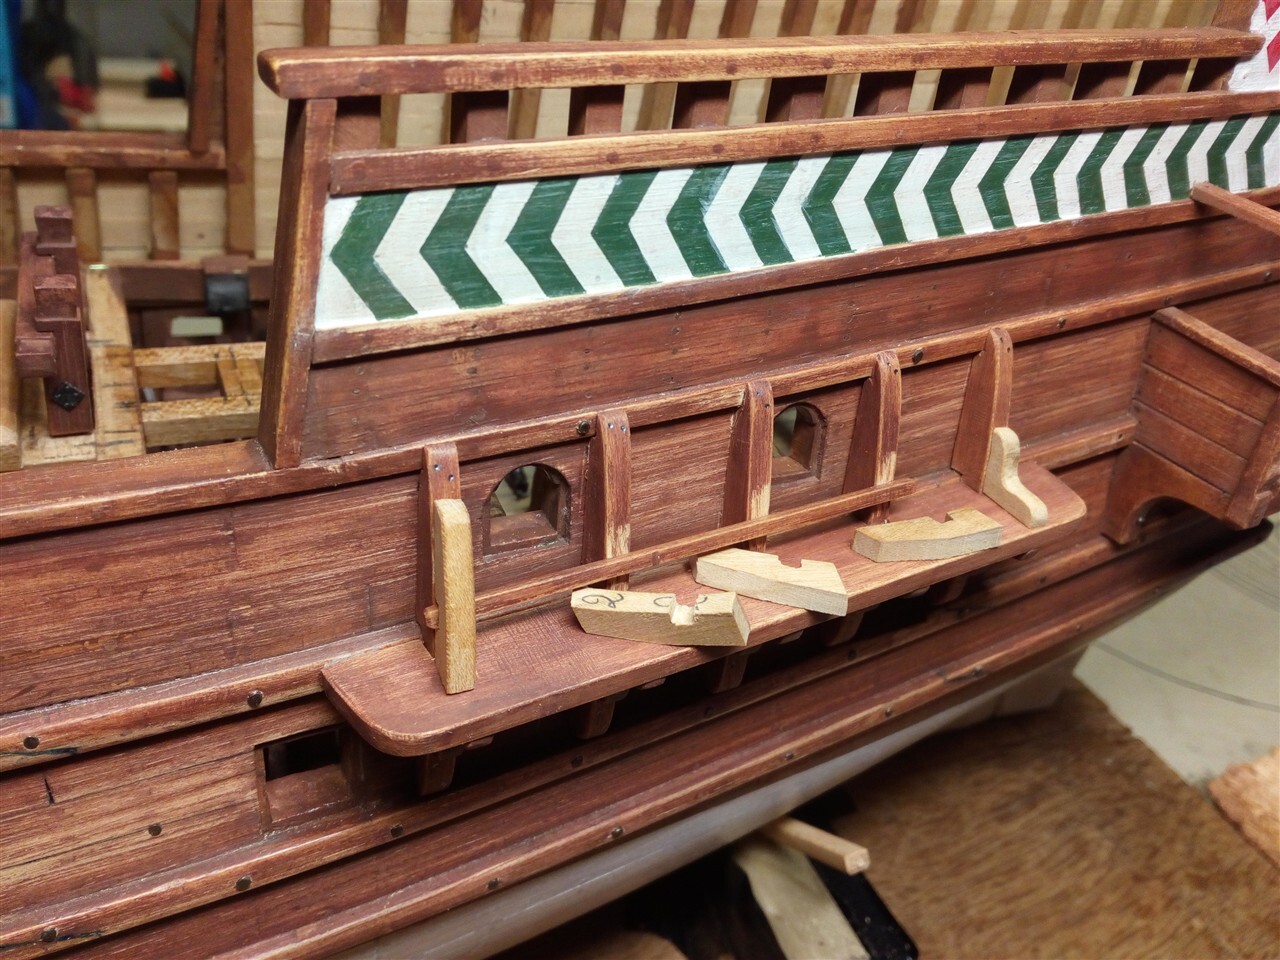
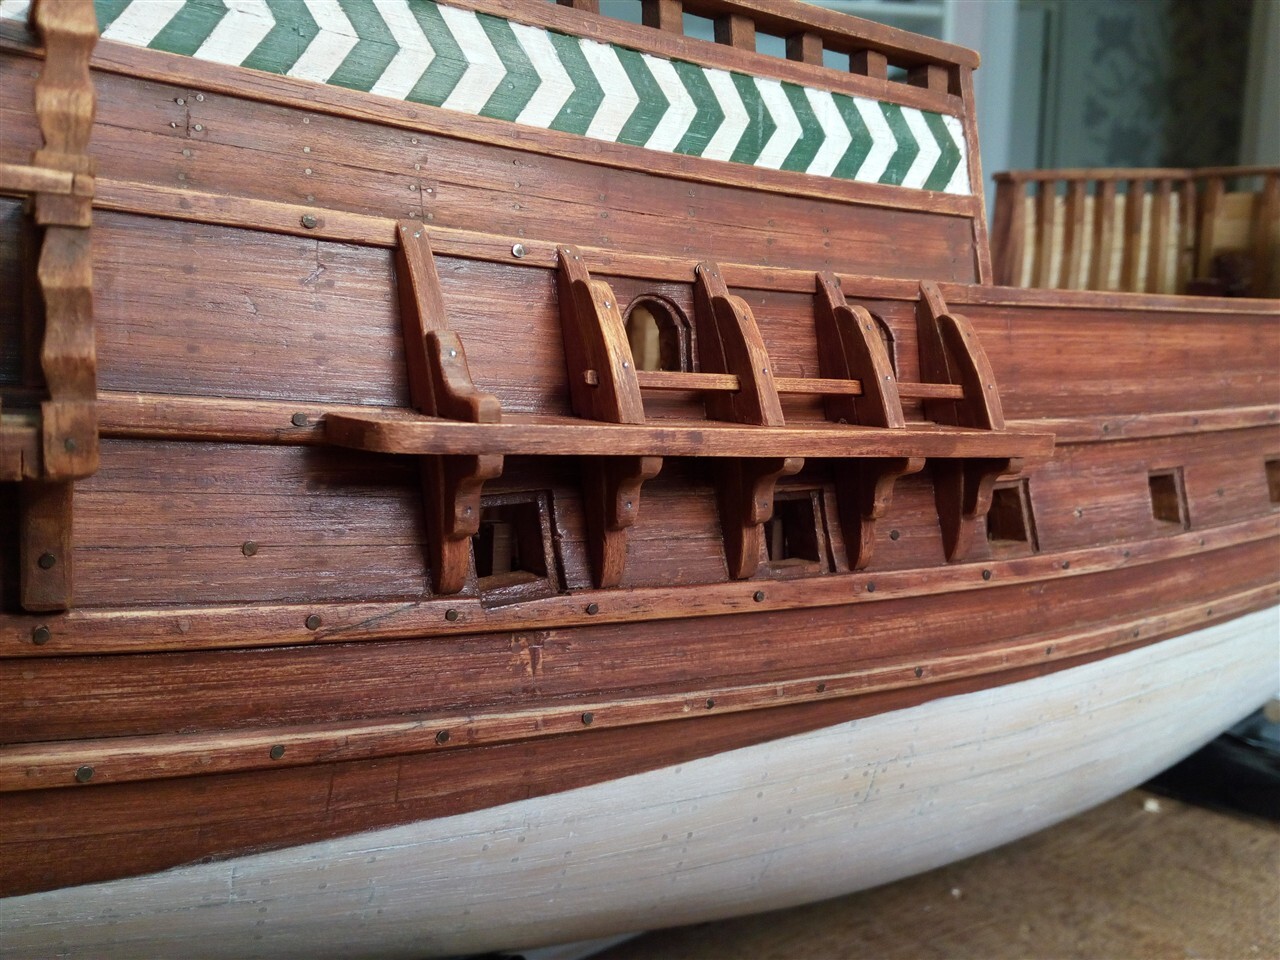
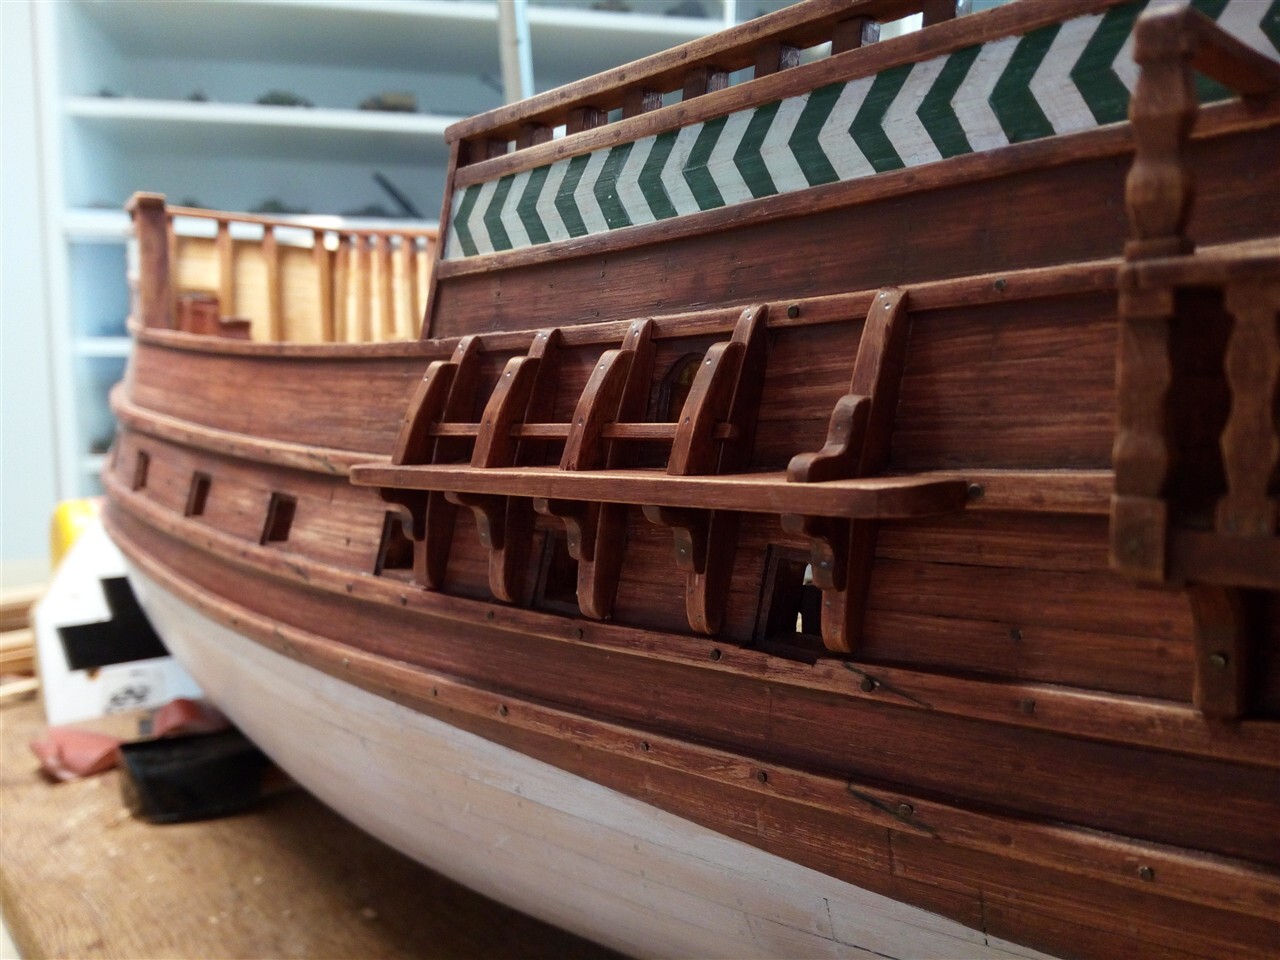
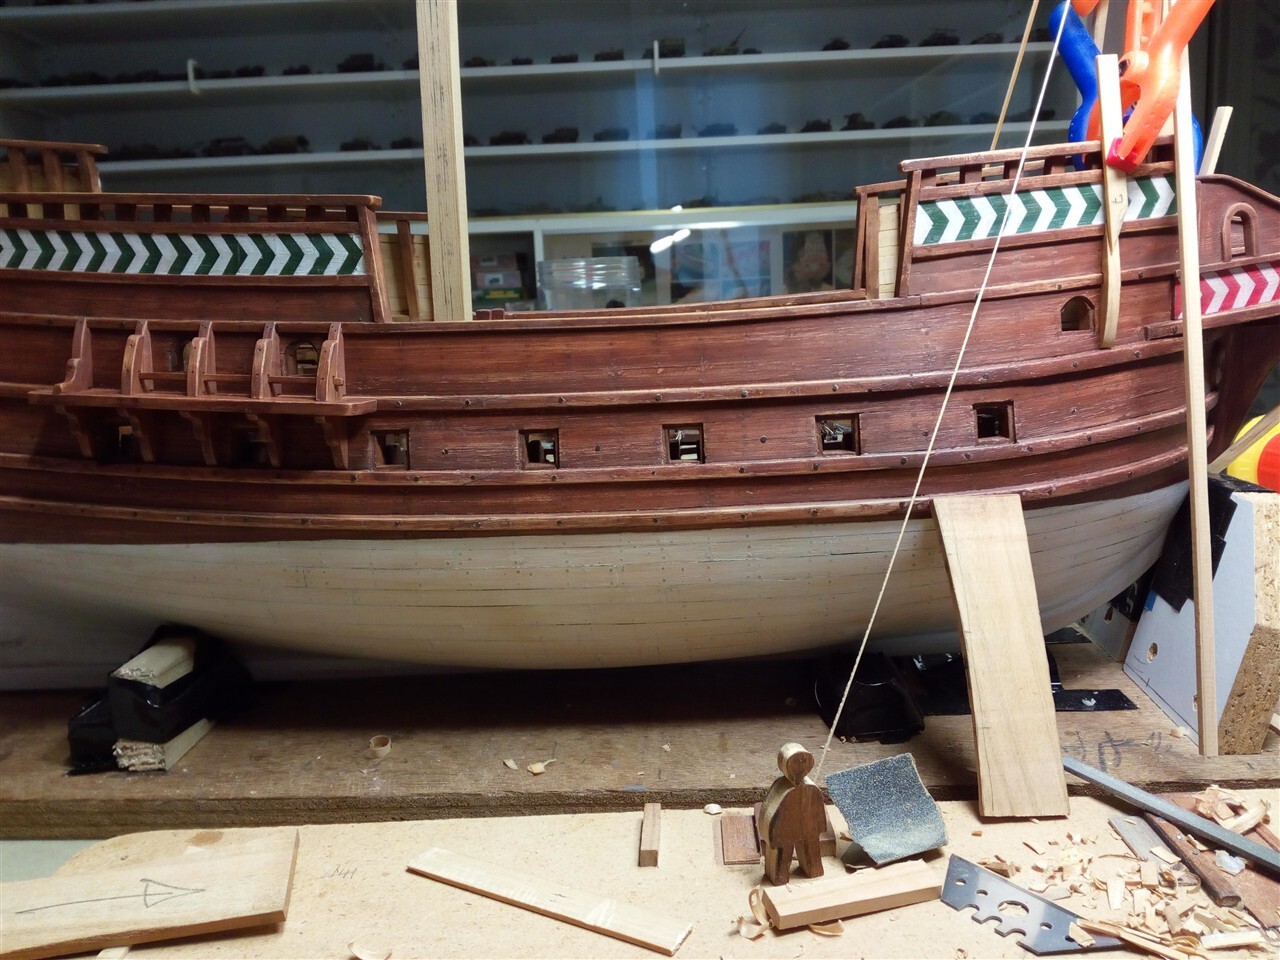
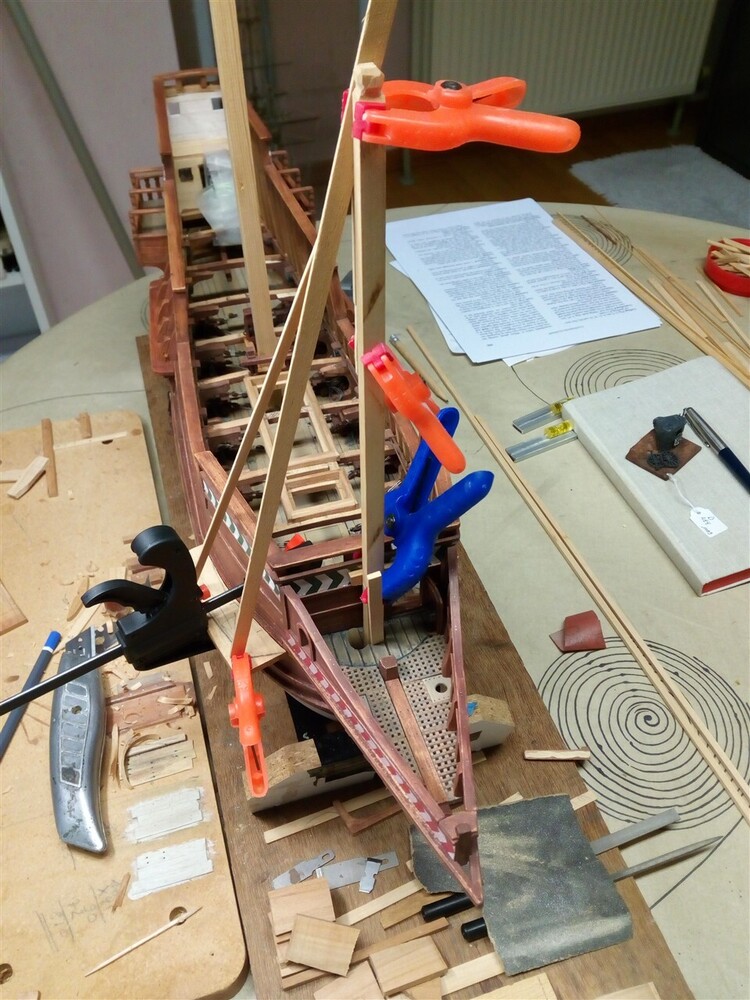
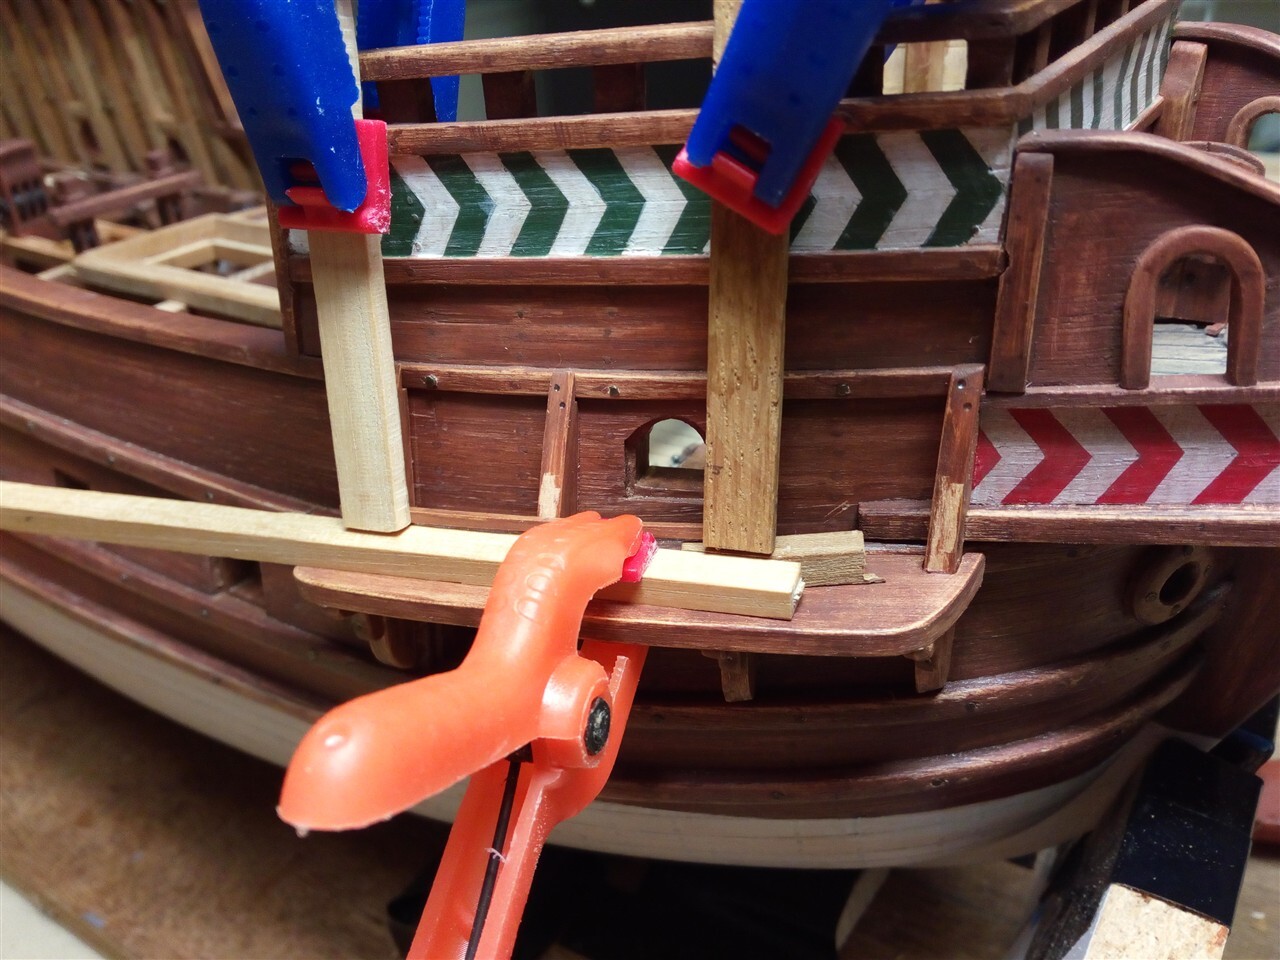
Almost forgotten: the channels, these were installed before placing the main deck
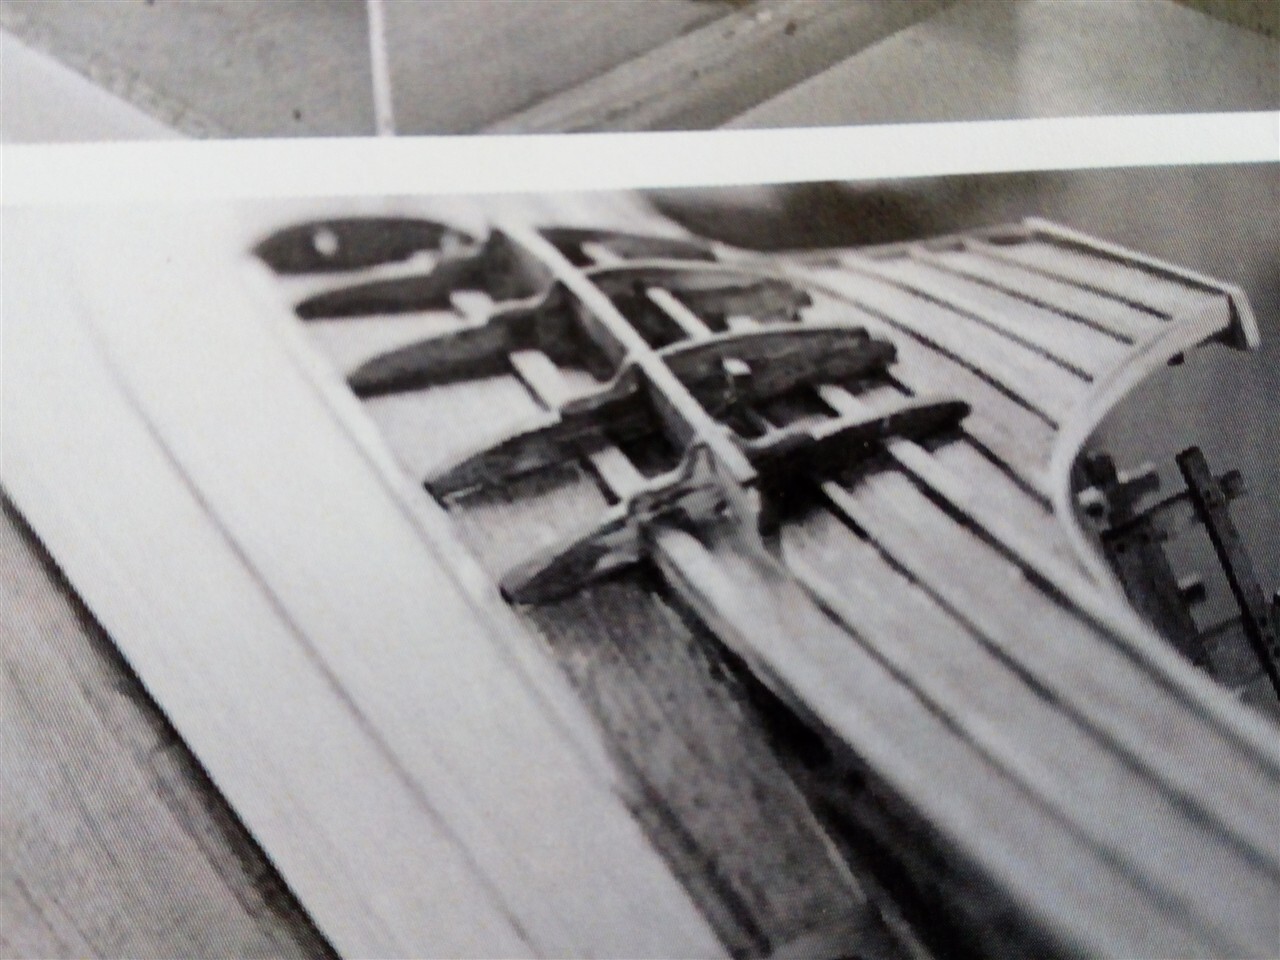
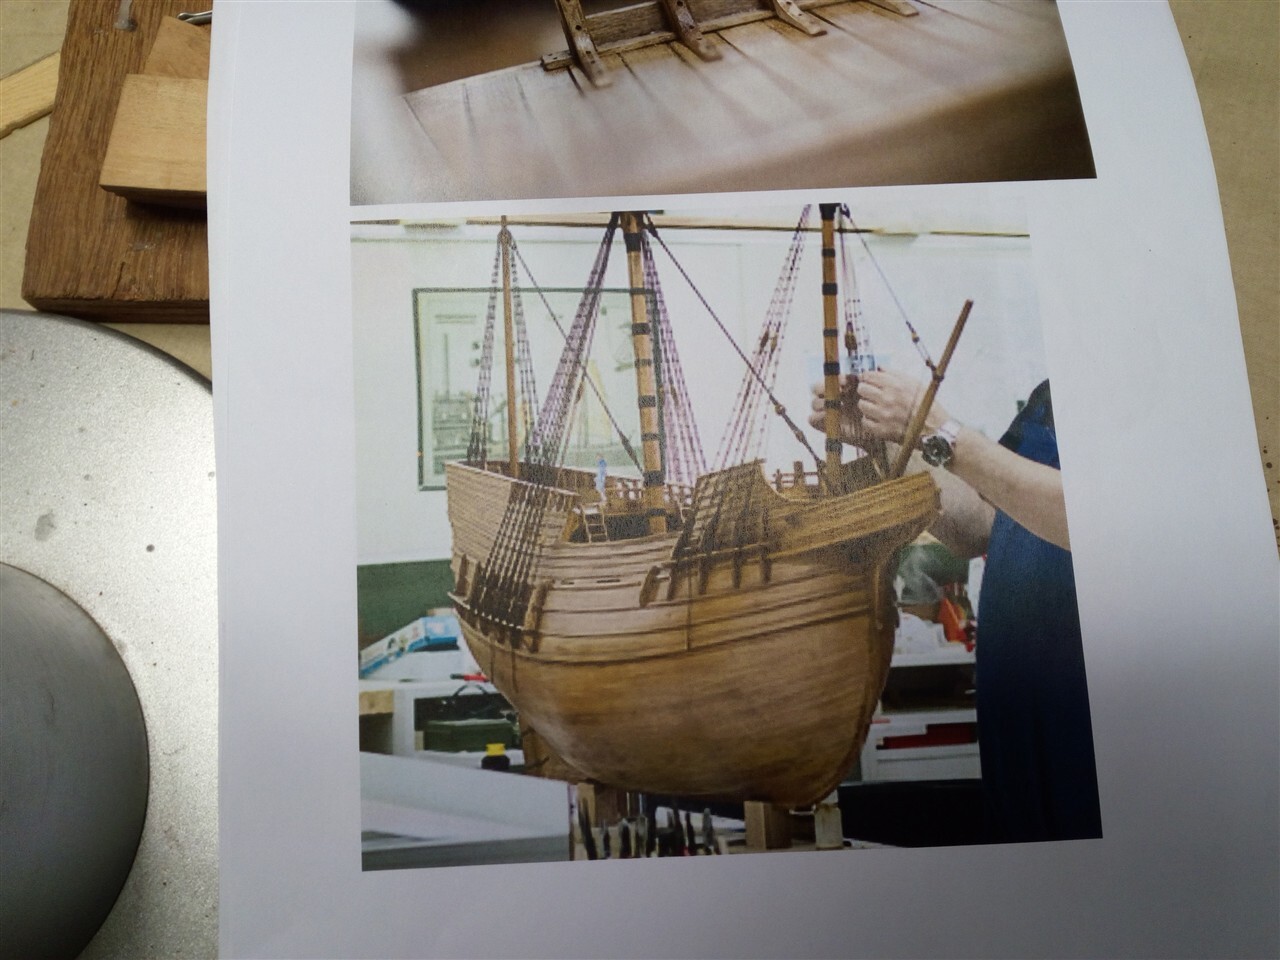
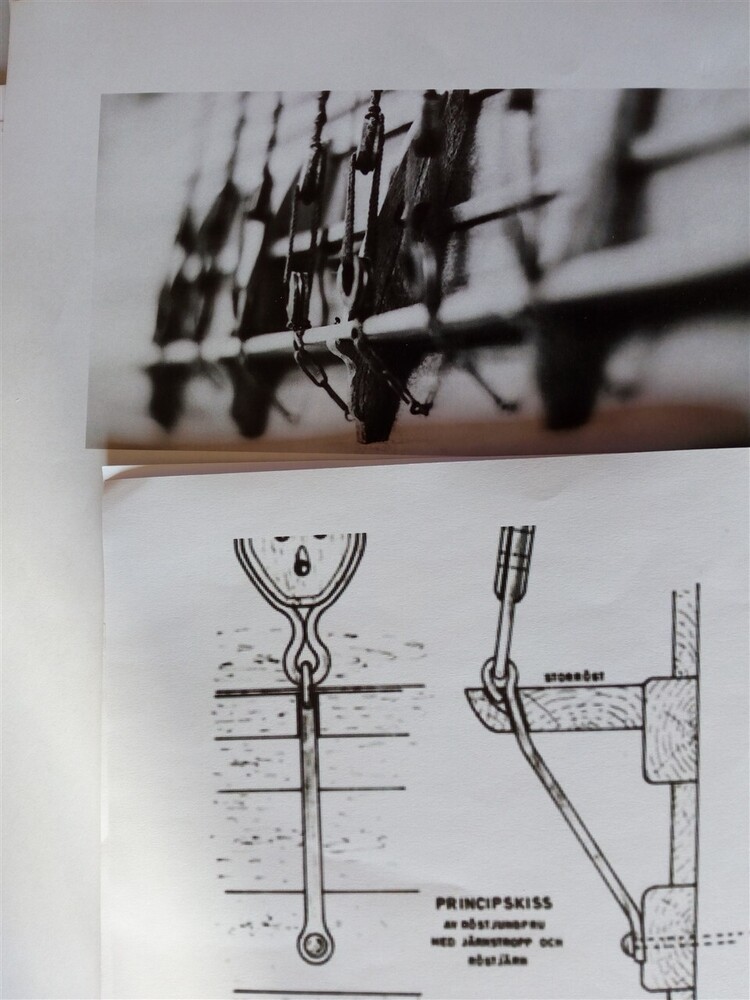
Again in several steps. Step 1: gathering information

The San Juan was very helpful
IMG_20181007_120647_1280.jpg

IMG_20181007_120700_1280.jpg

IMG_20181119_115146_1280.jpg


From San Juan and Vasa
IMG_20181007_122237_1280.jpg


Books
IMG_20181025_082400_1280.jpg


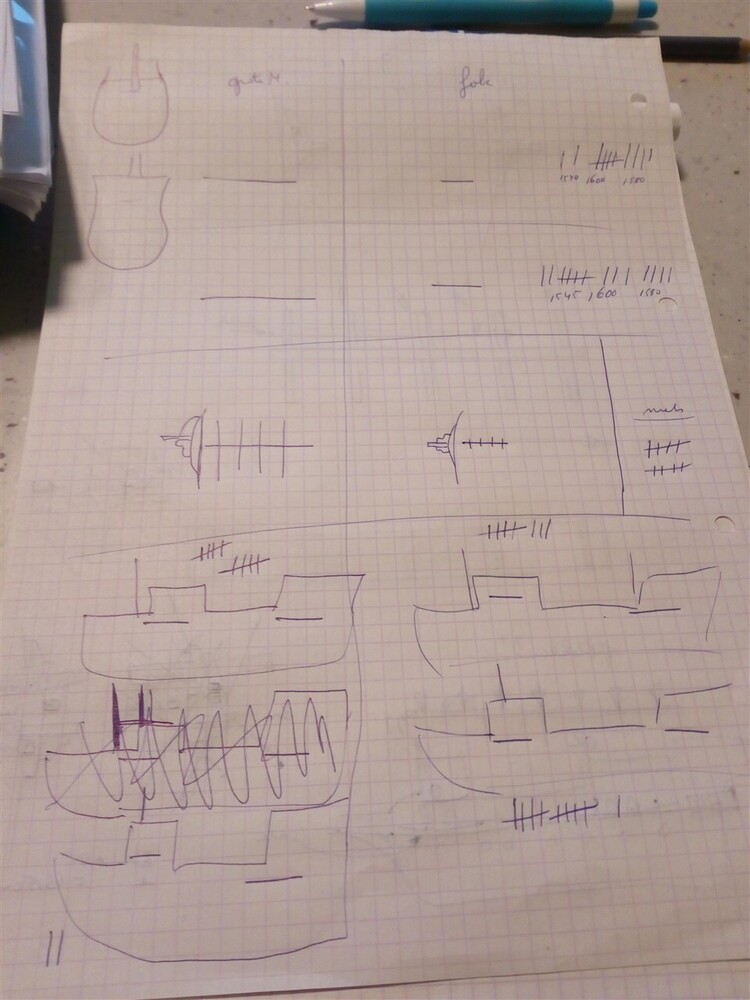
Thinking..
.
IMG_20181120_095139_1280.jpg

IMG_20181025_082040_1280.jpg


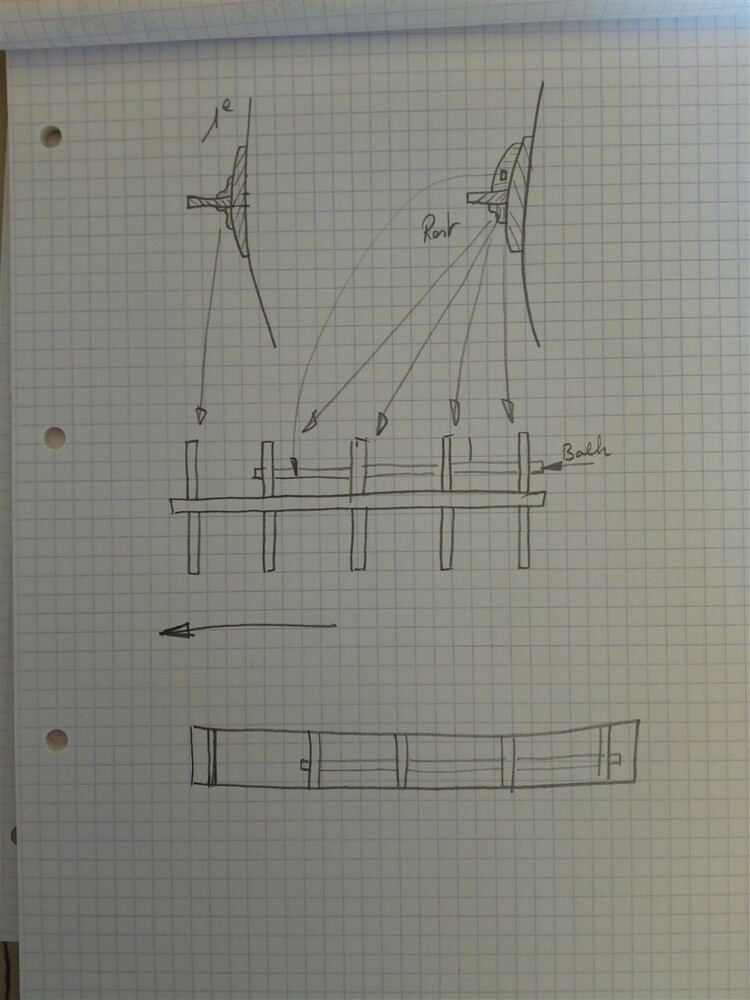
Drawing
IMG_20181007_120714_1280.jpg


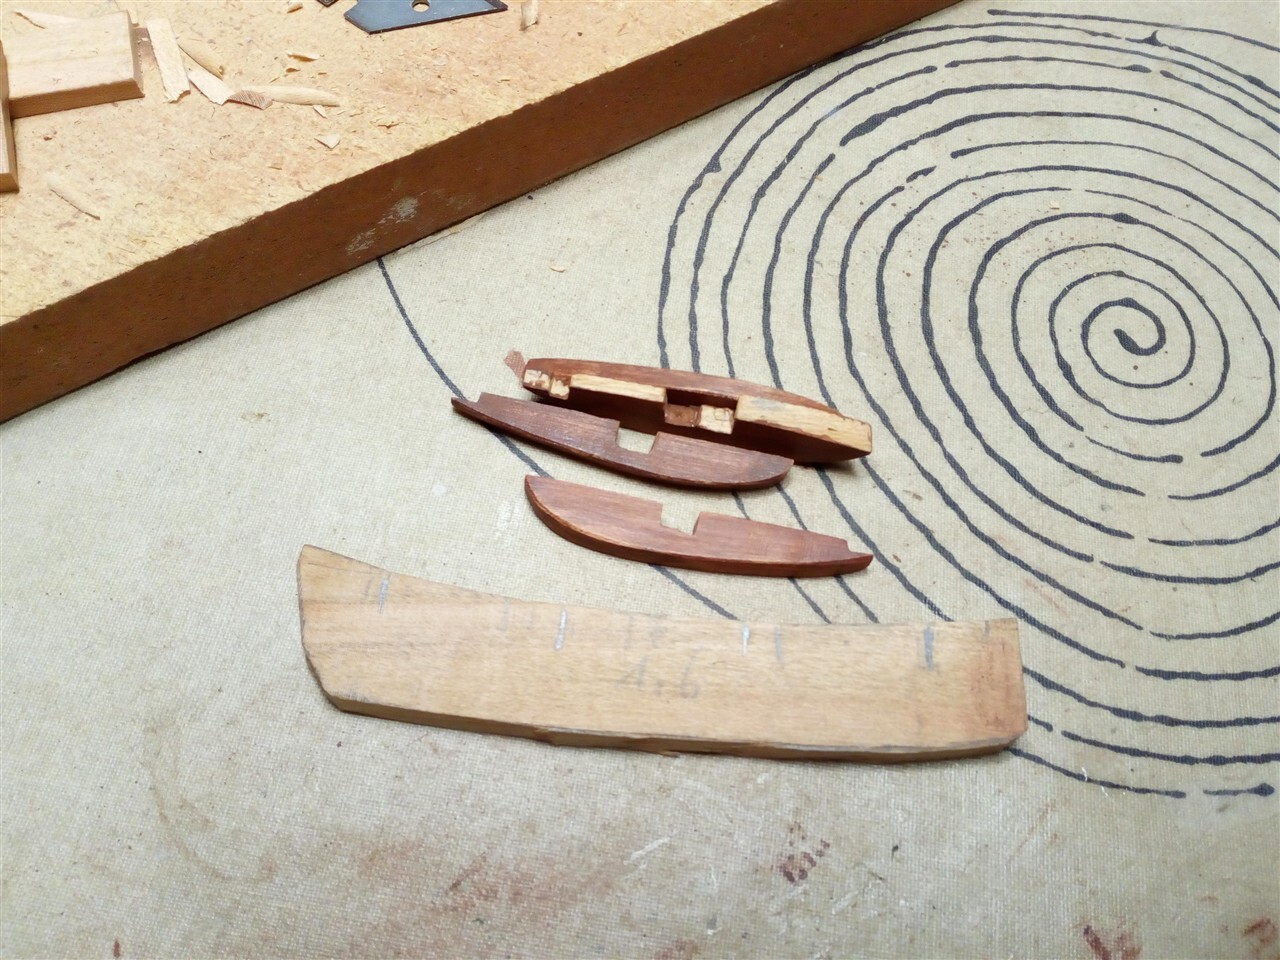
And sawing wood.
IMG_20181029_062712_1280.jpg
 
Step 2 The main mast channel.

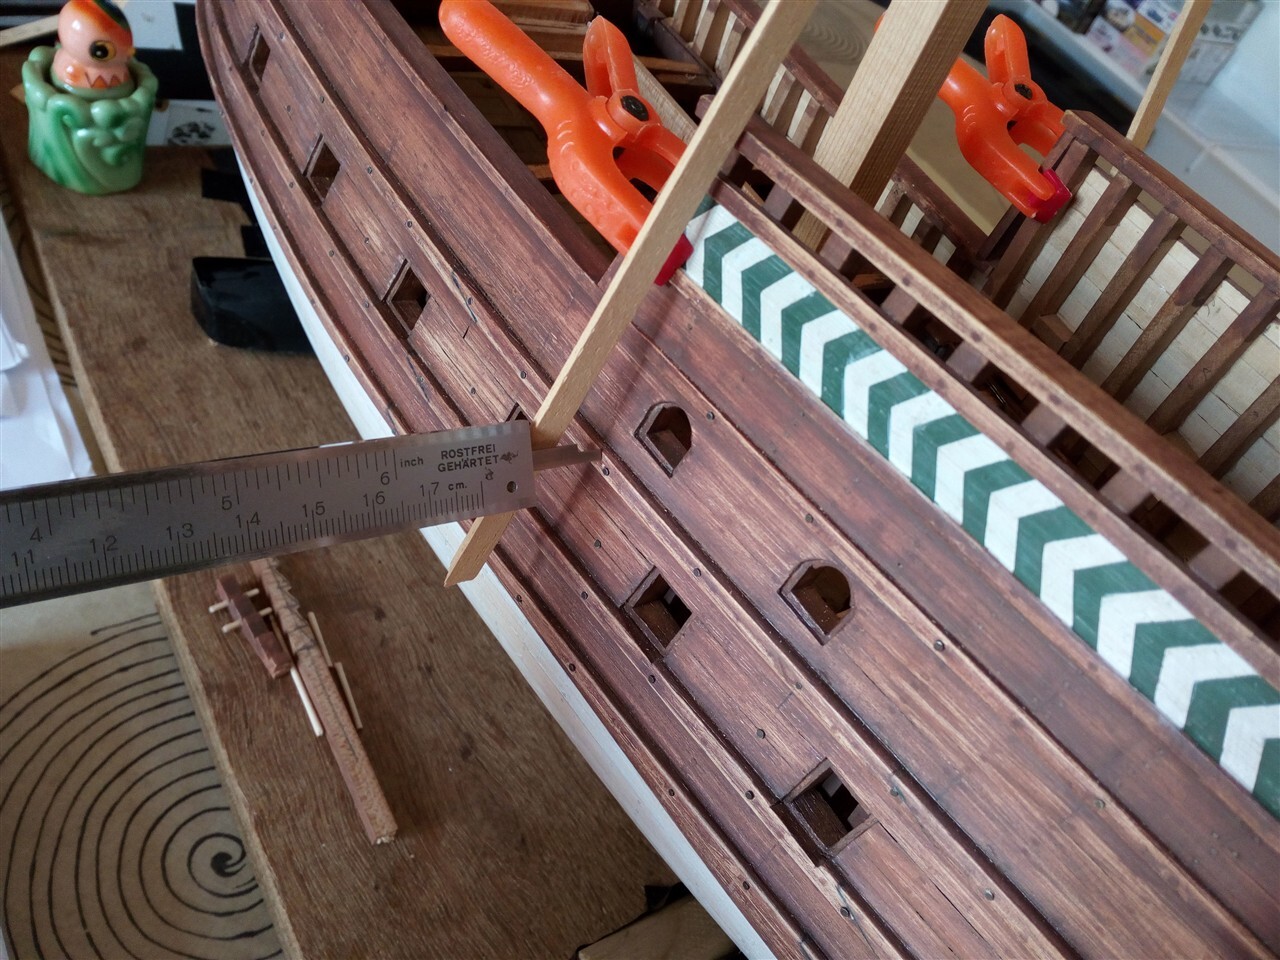
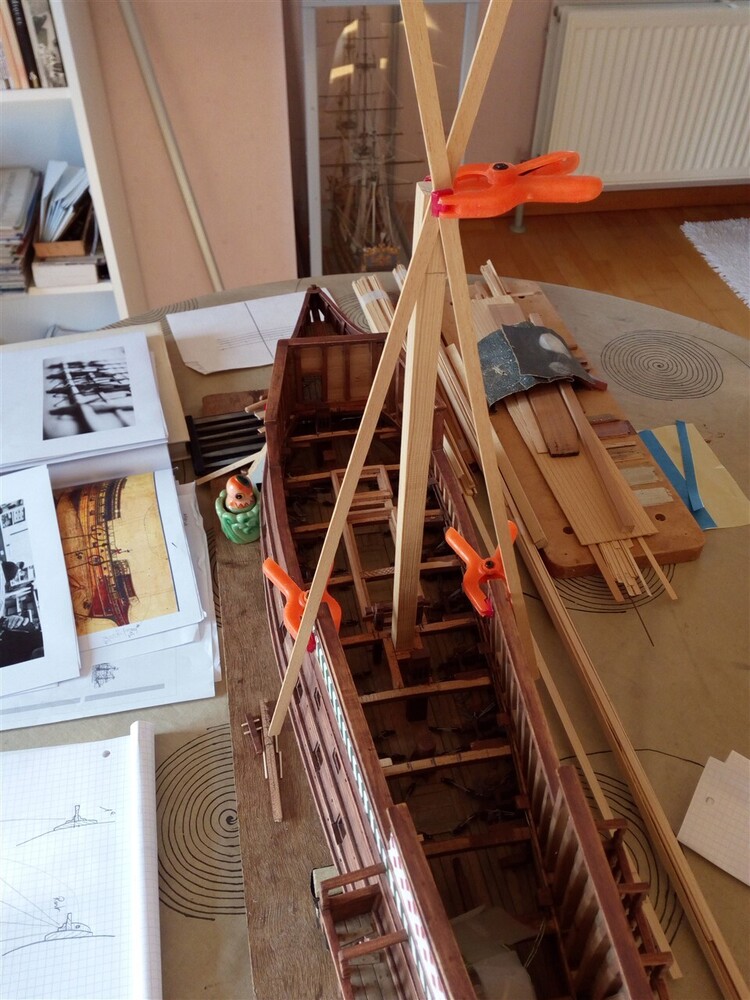
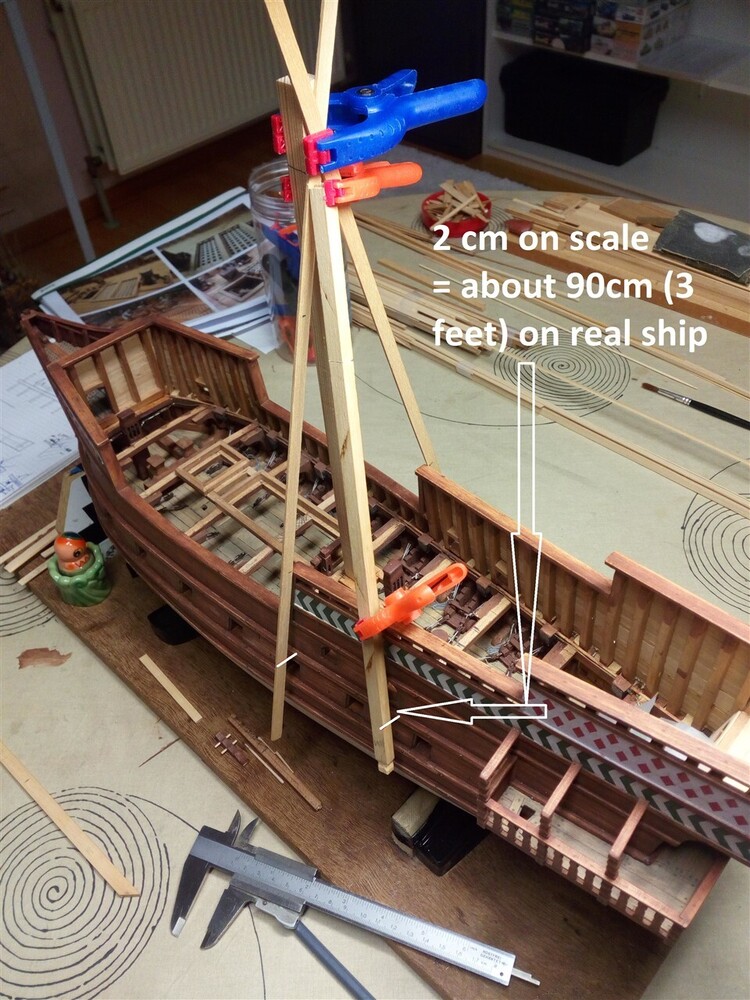
First, determine how wide it needs to be.
IMG_20181007_120837_1280.jpg

IMG_20181007_120848_1280.jpg

IMG_20181025_081917_1280.jpg


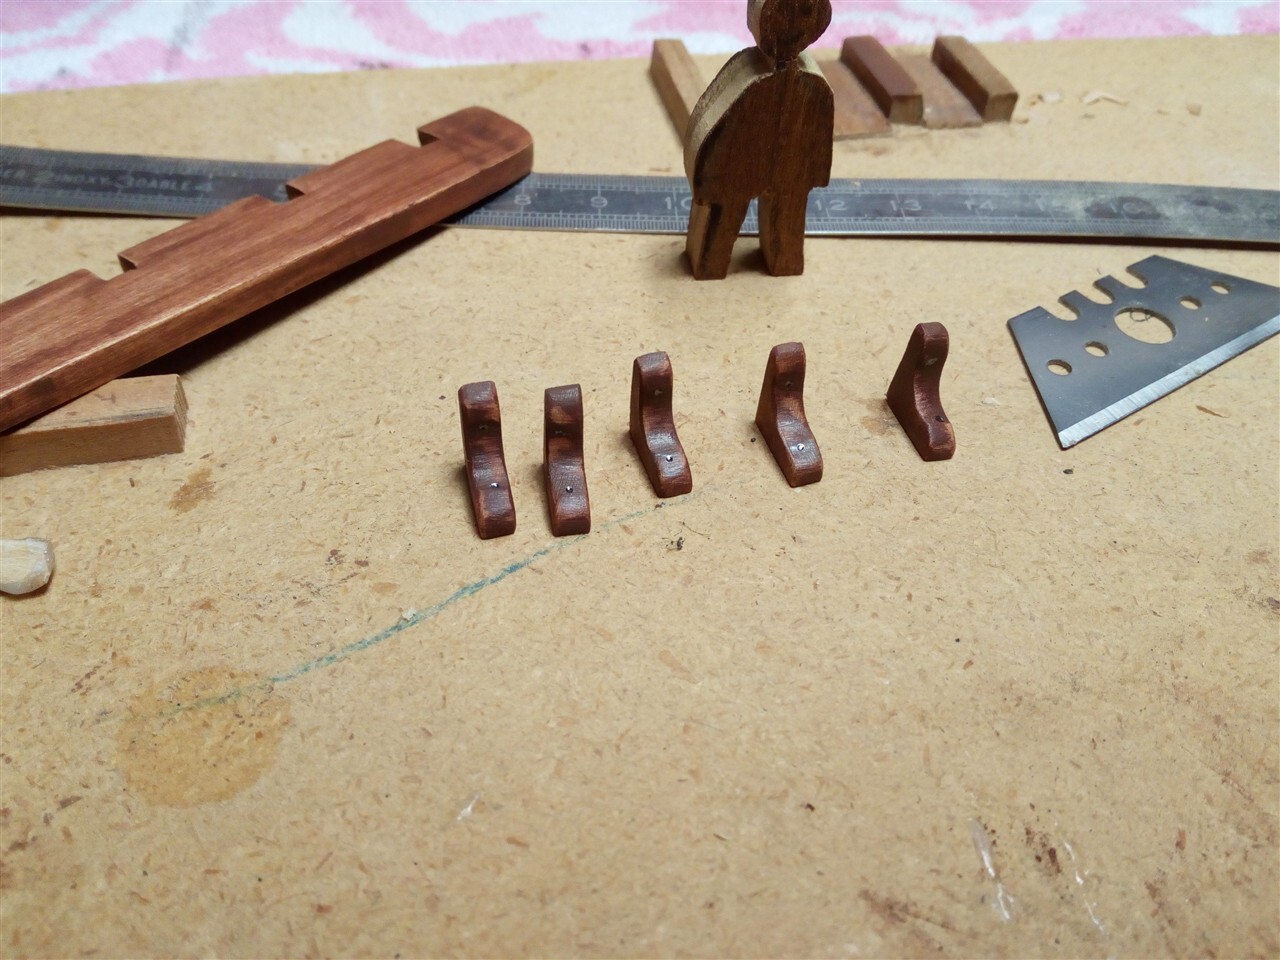
Then make and install the standards
IMG_20181029_062624_1280.jpg

IMG_20181103_155807_1280.jpg

IMG_20181029_114132_1280.jpg


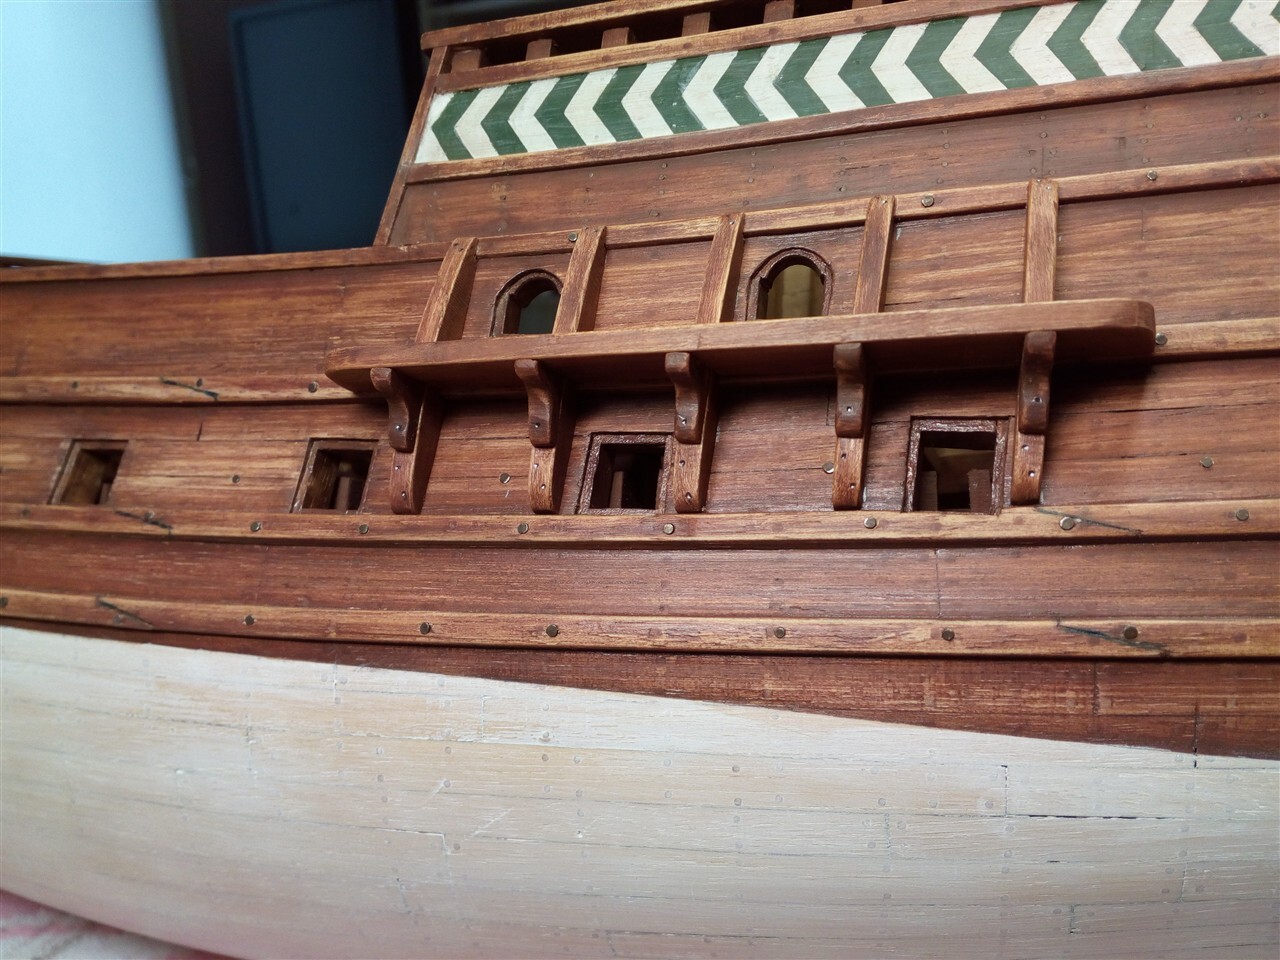
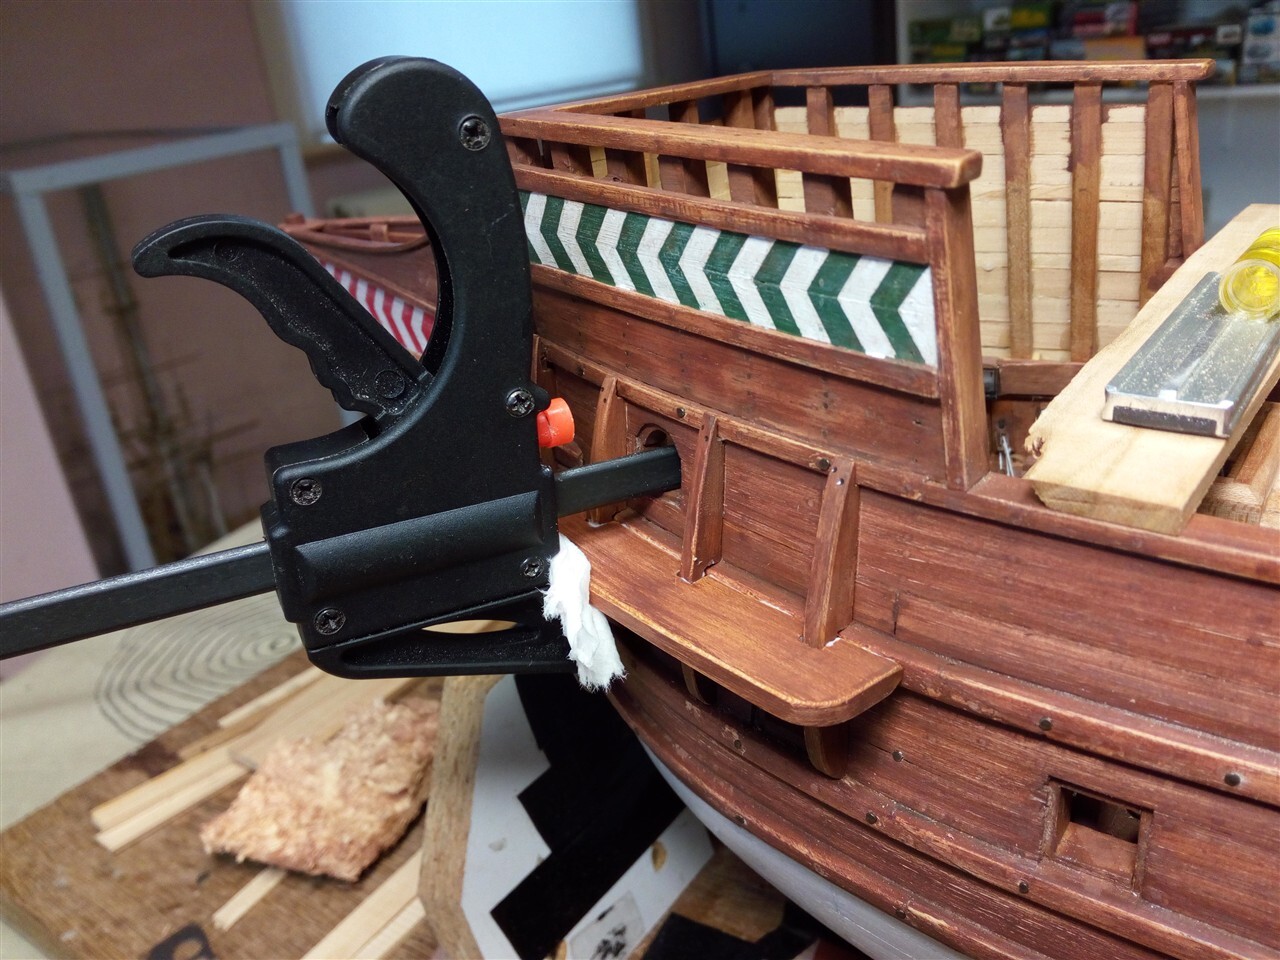
Fit the channels and glue them in place.
IMG_20181029_114057_1280.jpg

IMG_20181111_115258_1280.jpg

IMG_20181109_180310_1280.jpg


Note:
In hindsight, the channels could, should have been thinner.
And not come into contact with the wale (hull) along their entire length. Just like with Mary Rose.
 
Back
Top