• SUBSCRIBE TO SHIPS IN SCALE TODAY!

    The beloved Ships in Scale Magazine is back and charting a new course for 2026!
    Discover new skills, new techniques, and new inspirations in every issue.

    NOTE THAT OUR NEXT ISSUE WILL BE July/August 2026
  • Win a Free Custom Engraved Brass Coin!!!
    As a way to introduce our brass coins to the community, we will raffle off a free coin during the month of August. Follow link ABOVE for instructions for entering.

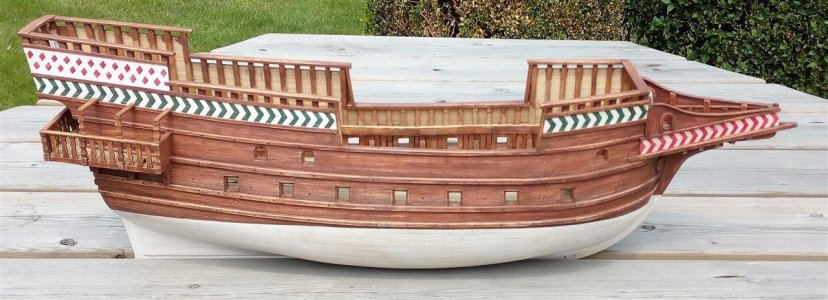
Pelican scale 1/45 a small English galleon 16th century

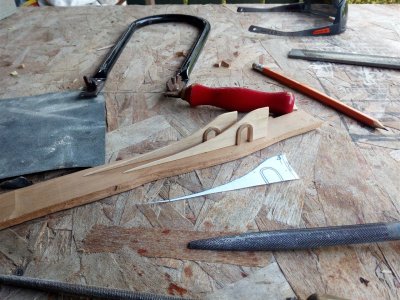
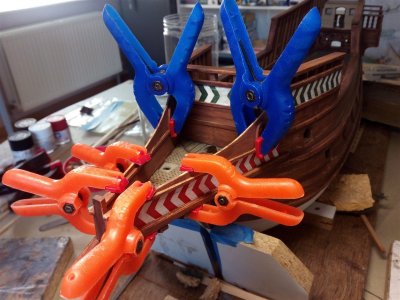
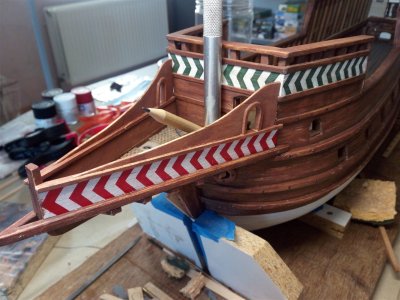
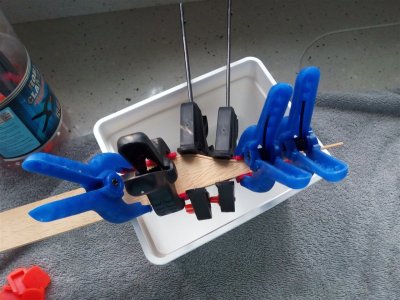
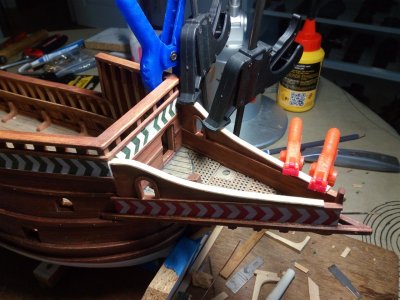
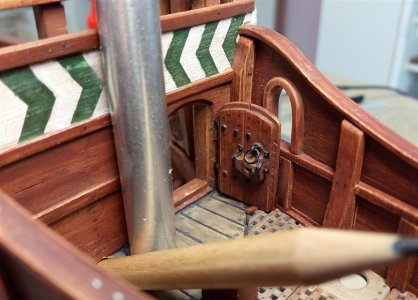
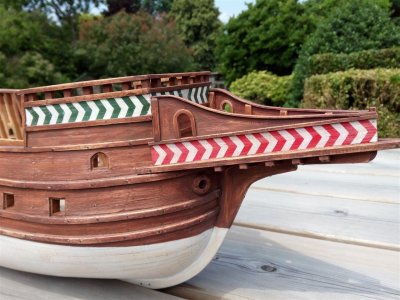
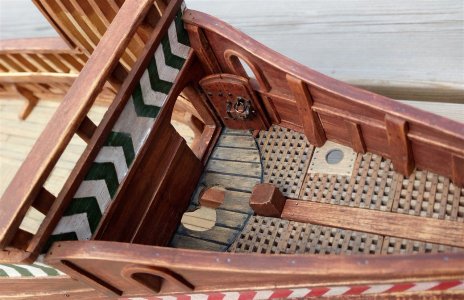
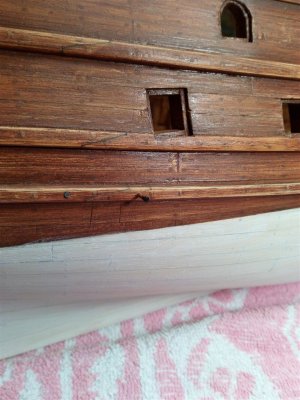
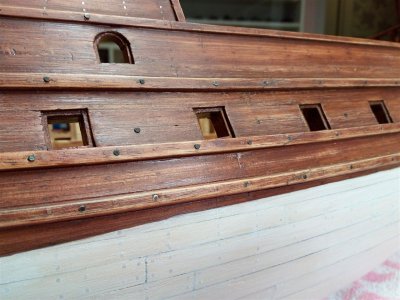
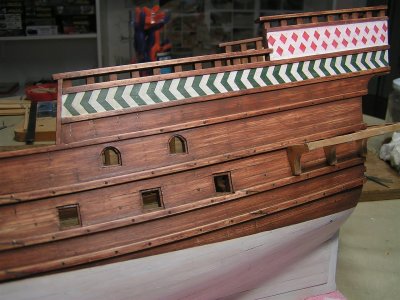
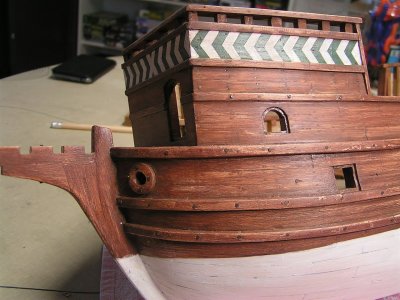
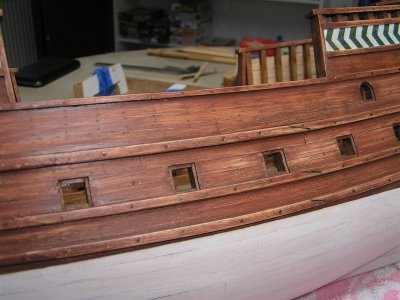
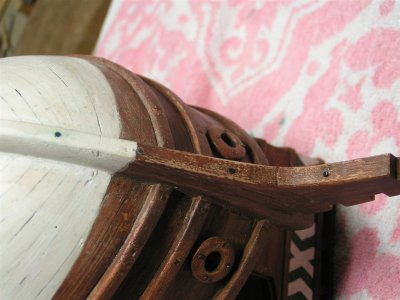
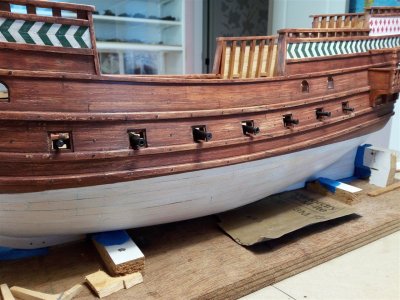
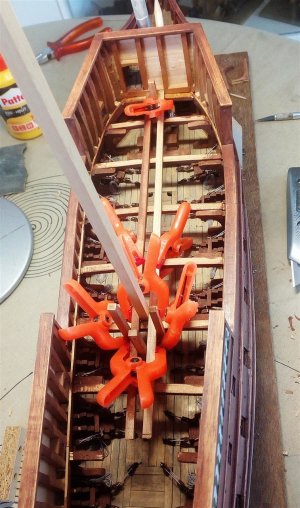
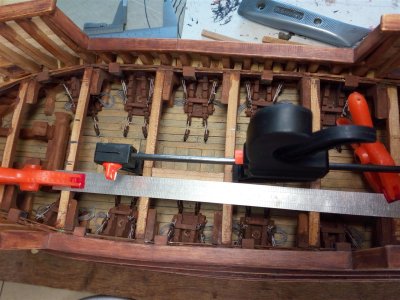
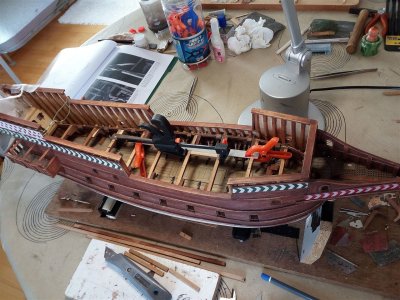
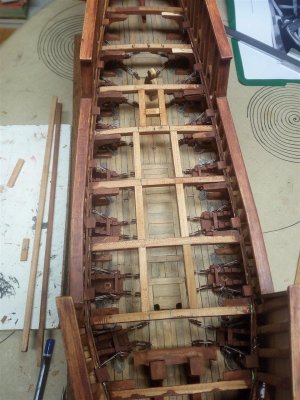
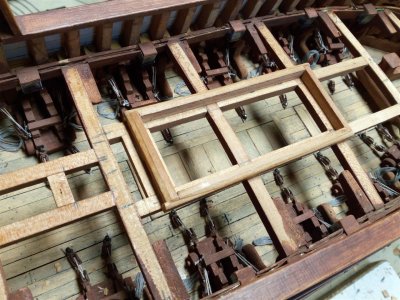
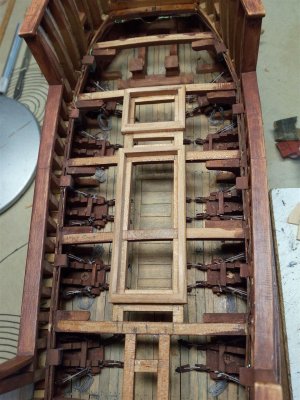
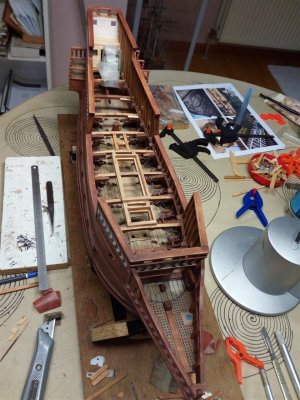
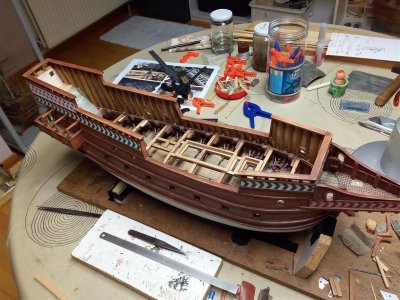
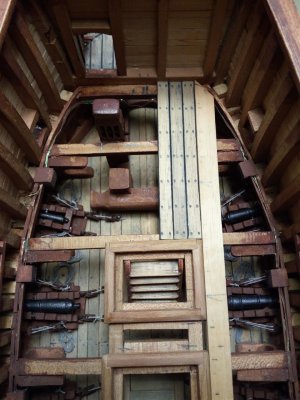
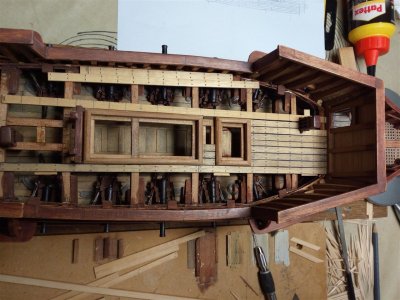
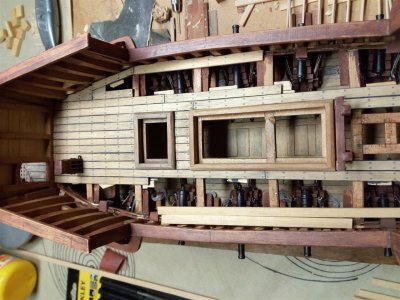
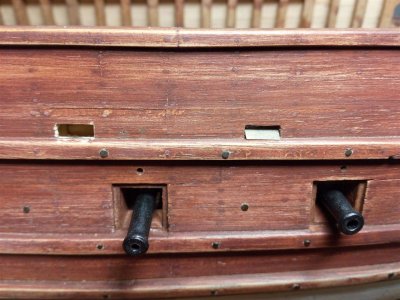
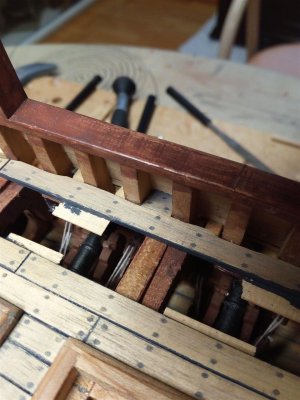
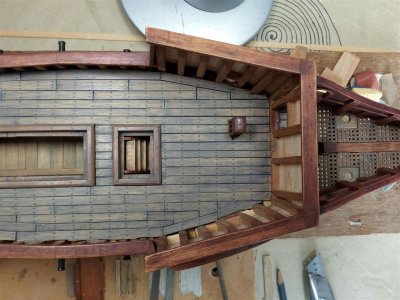
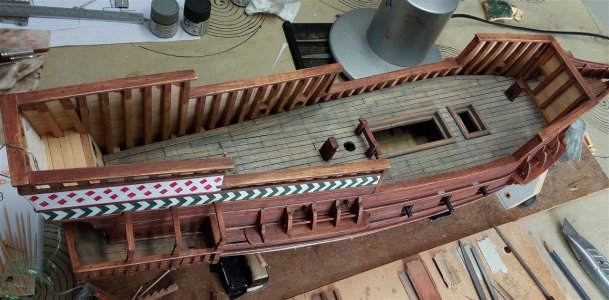
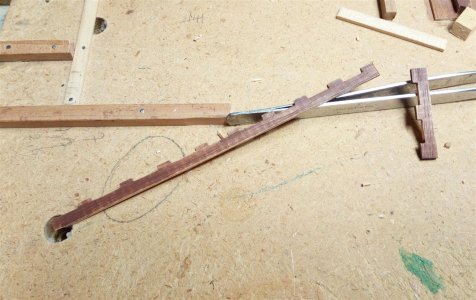
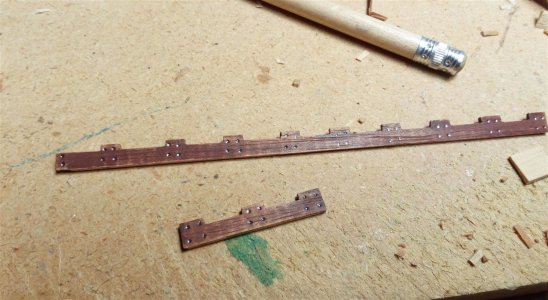
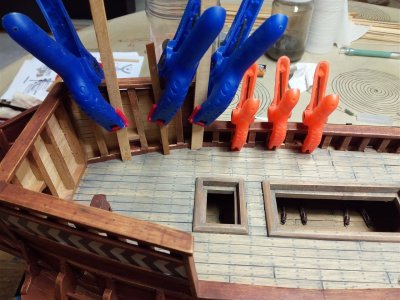
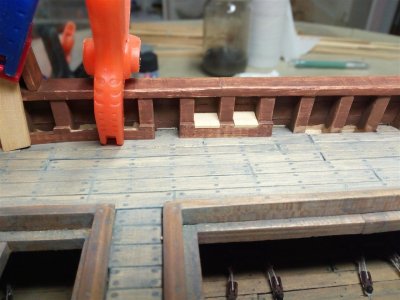
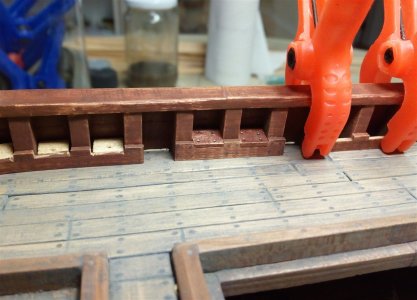
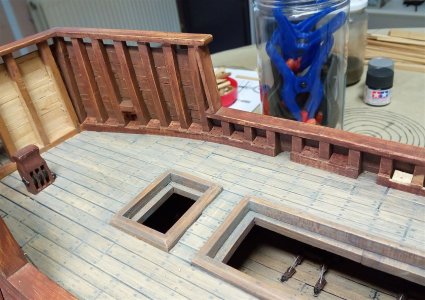
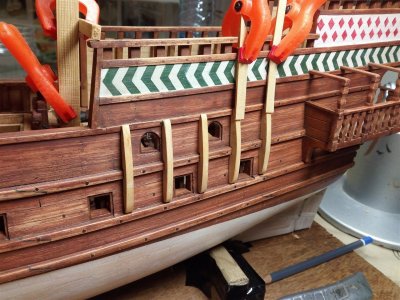
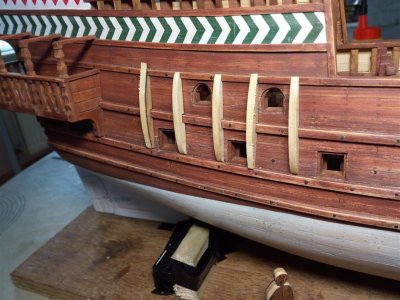
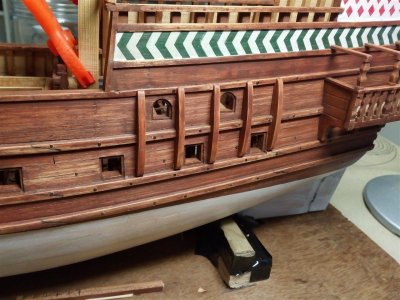
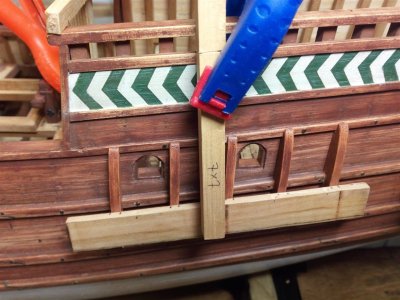
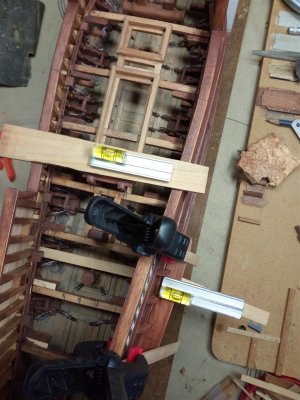
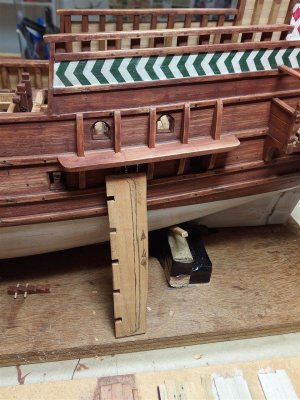
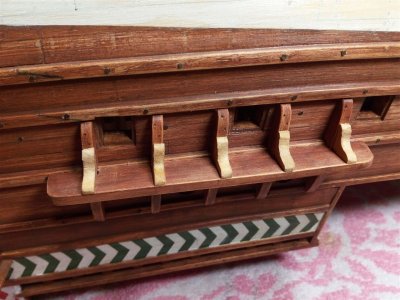
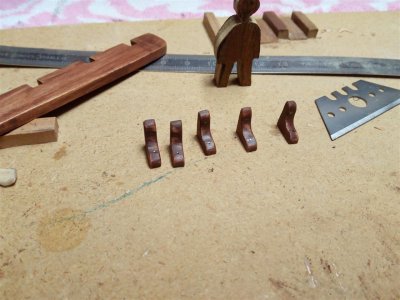
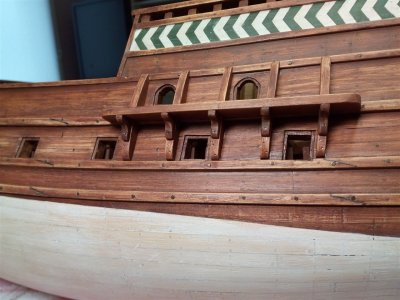
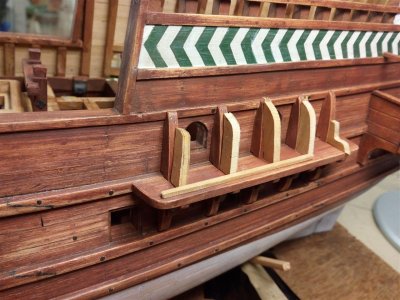
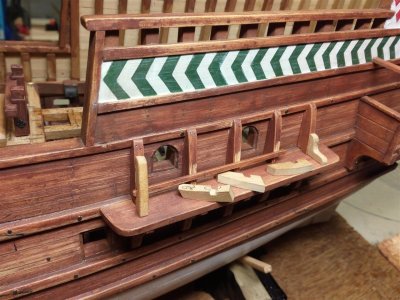
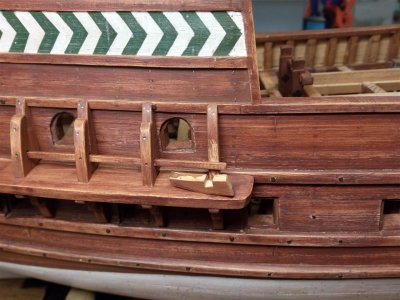
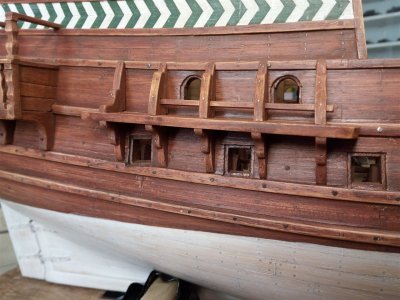
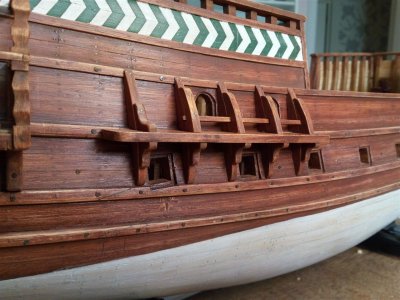
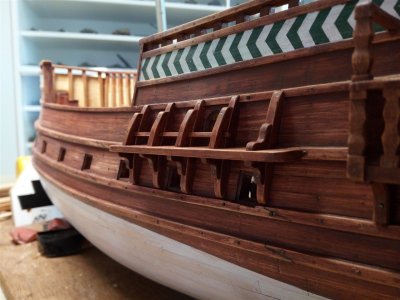
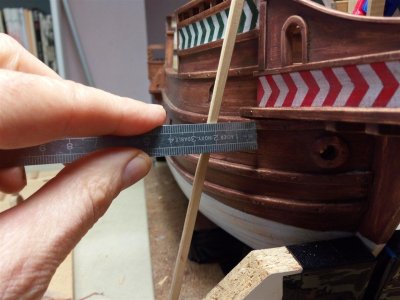
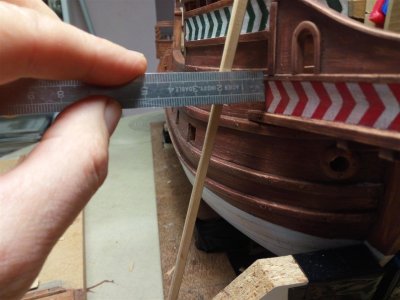
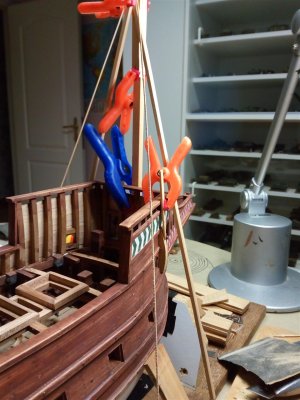
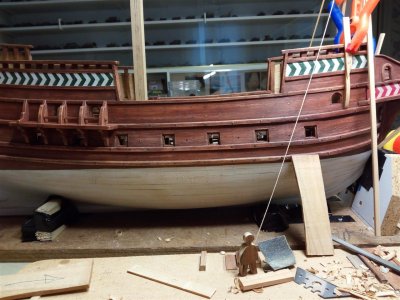
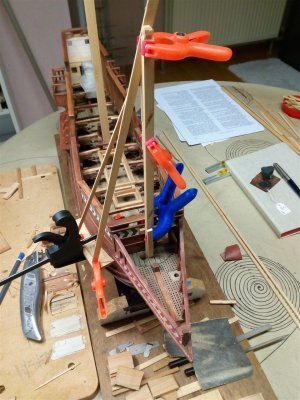
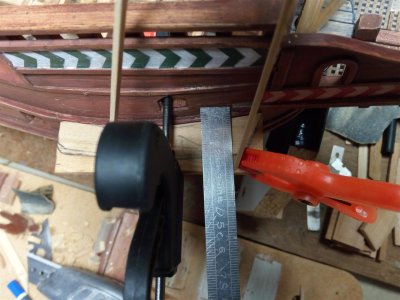
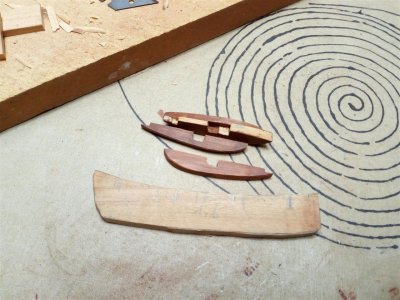
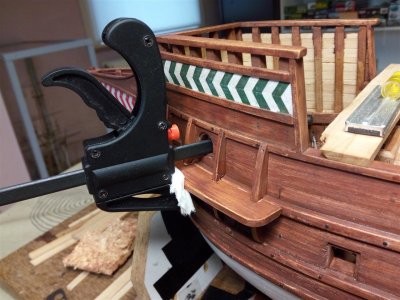
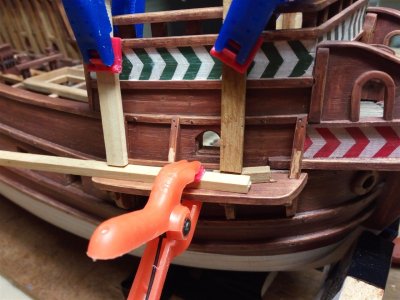
Part 4 .Start of the side walls.
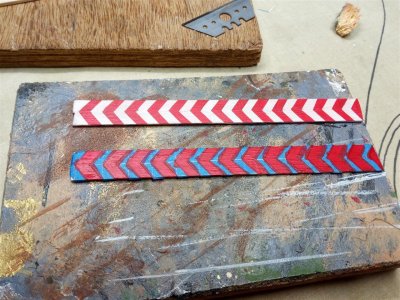
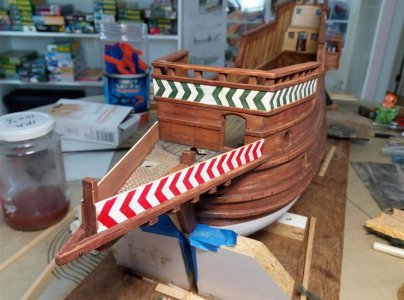
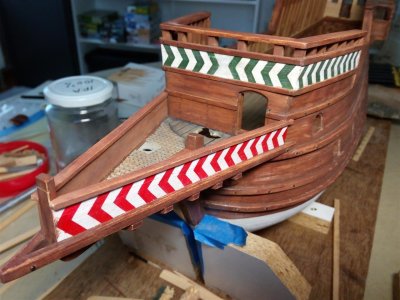
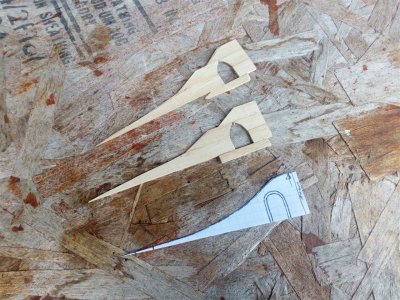
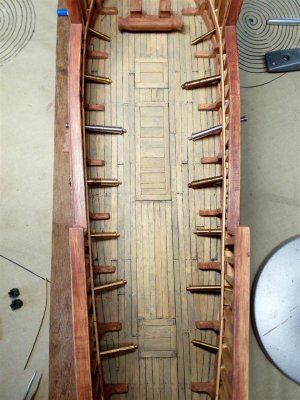
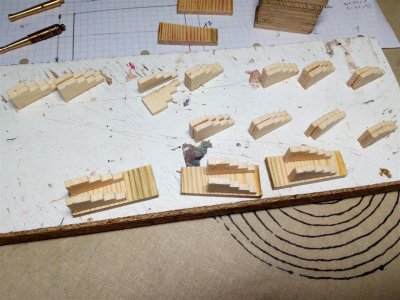
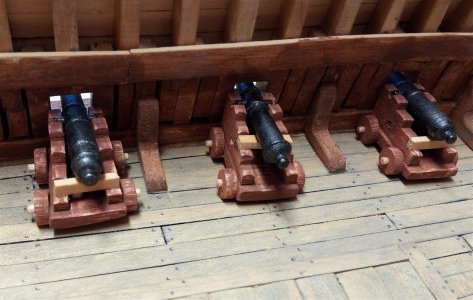
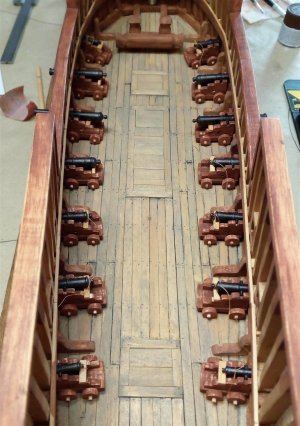
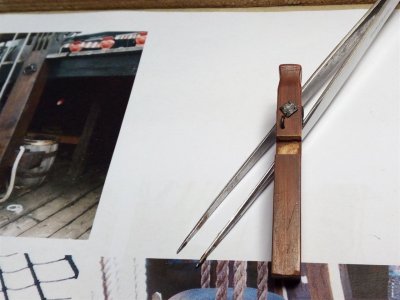
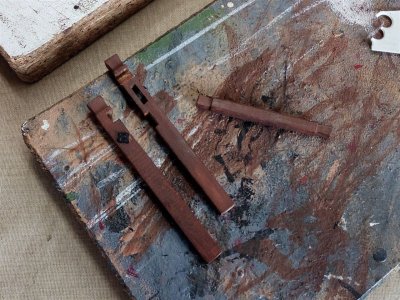
First fit, paint, and then install.
IMG_20180530_201340_1280.jpg

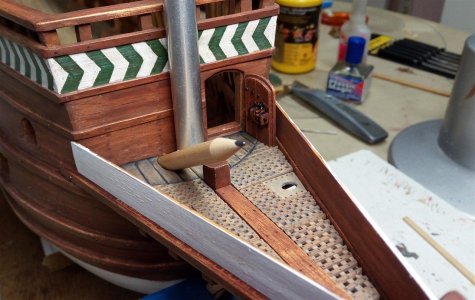
IMG_20180601_190733_1280.jpg

IMG_20180602_135453_1280.jpg

IMG_20180602_151520_1280.jpg
 
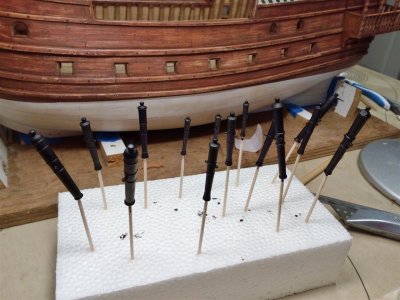
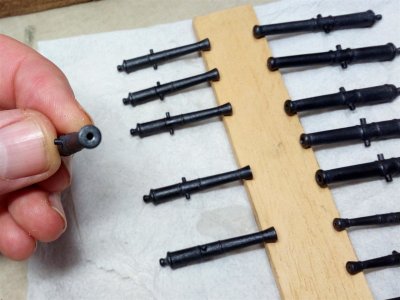
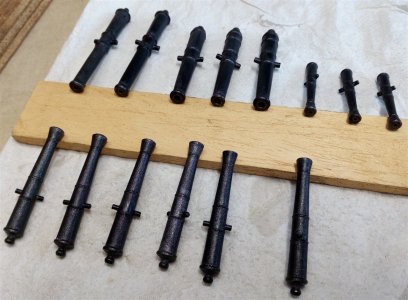
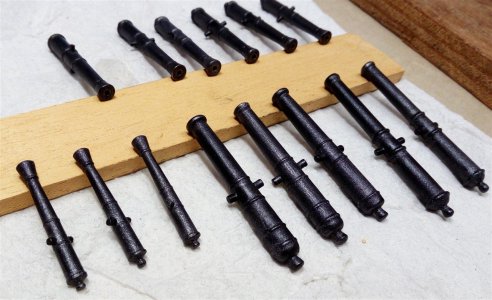
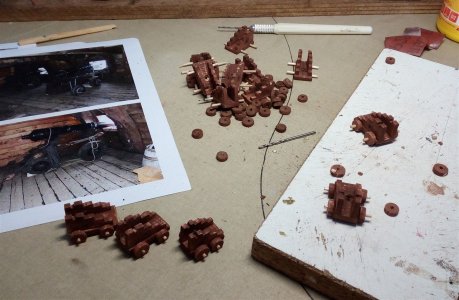
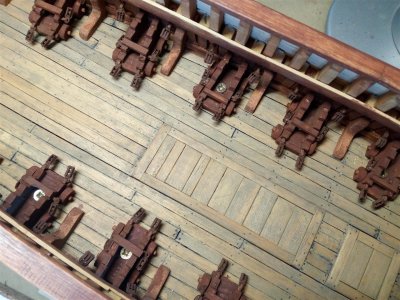
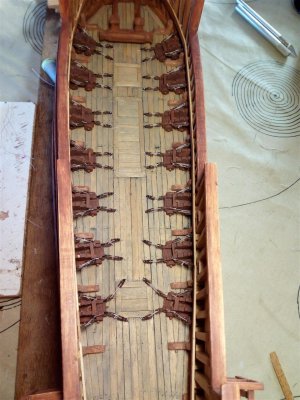
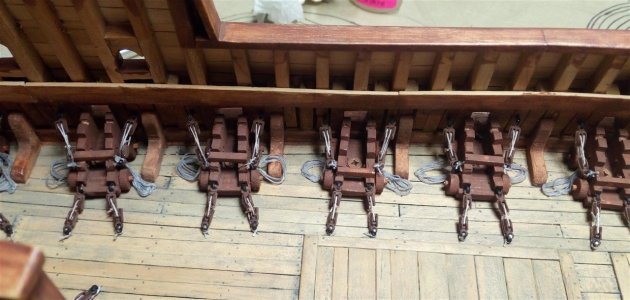
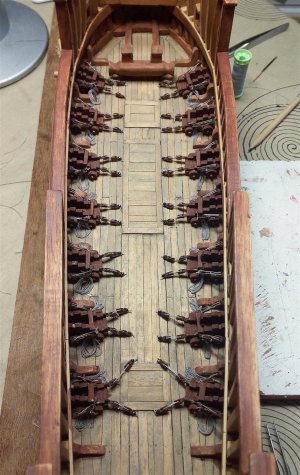
The Cannons, Part 1

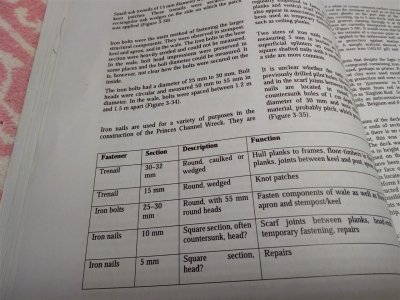
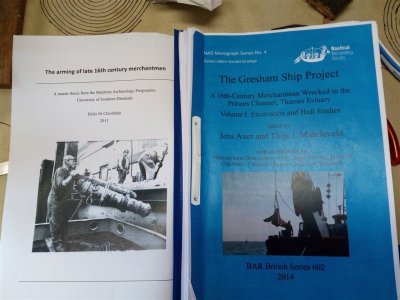
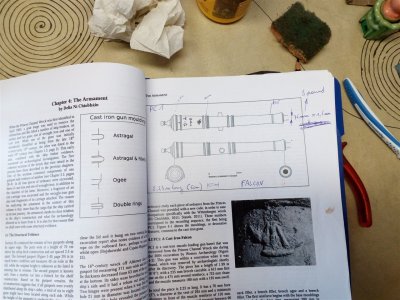
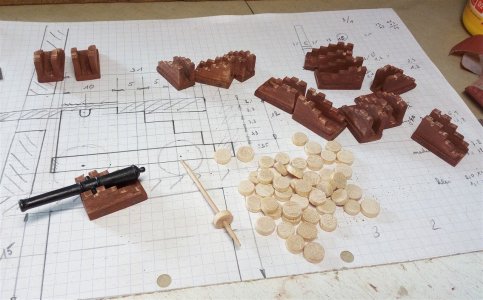
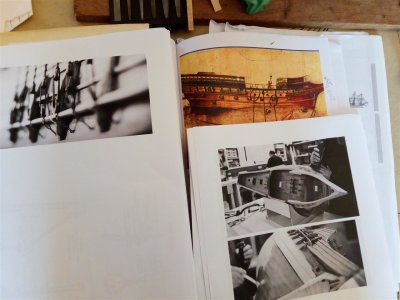
Given that virtually no cannon was identical during this period, they are all slightly different. Most of the information was found here, of which I unfortunately do not have a digital copy of the left document.
IMG_20180616_151816_1280.jpg

IMG_20180616_151840_1280.jpg


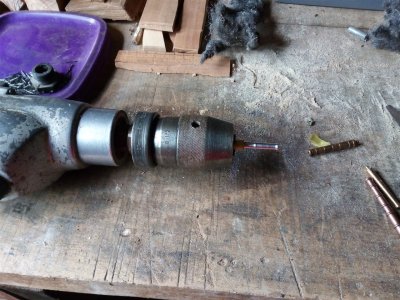
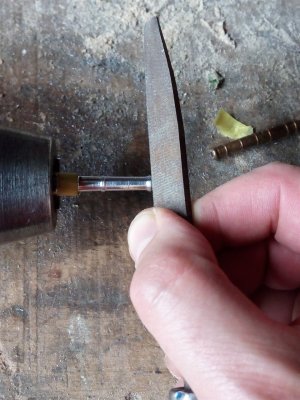
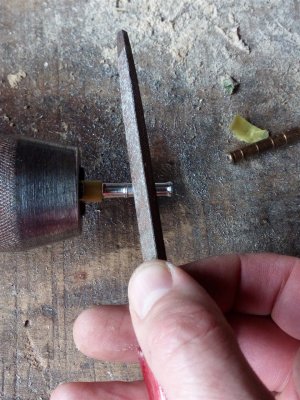
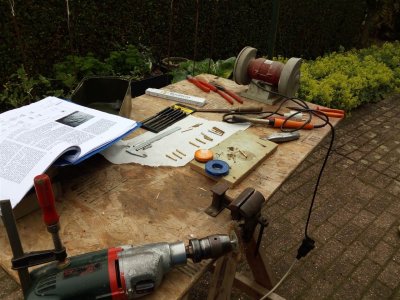
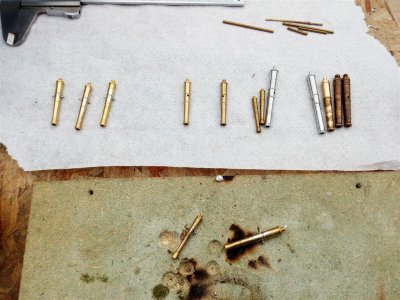
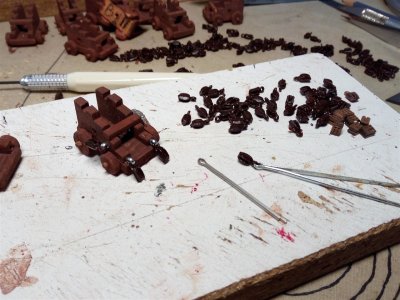
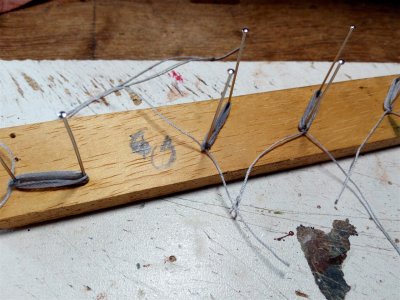
The cannons were purchased from various brands and modified on my "high-tech" lathe.
IMG_20180529_163802_1280.jpg

IMG_20180529_163832_1280.jpg

IMG_20180529_163848_1280.jpg


test setup.
IMG_20180611_194826_1280.jpg


And further finished.
IMG_20180612_140533_1280.jpg

IMG_20180612_140554_1280.jpg


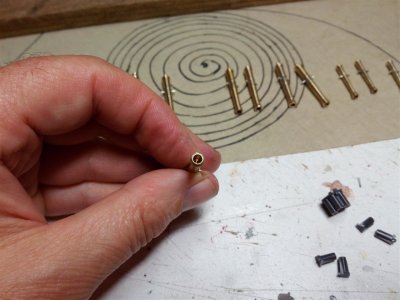
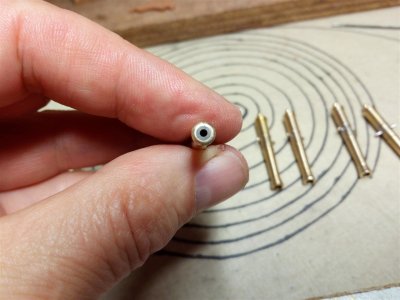
The bore diameter on these cannons is actually too large, which is why it has been modified.
IMG_20180612_184907_1280.jpg

IMG_20180612_185025_1280.jpg
 
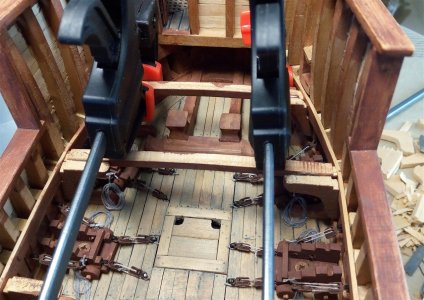
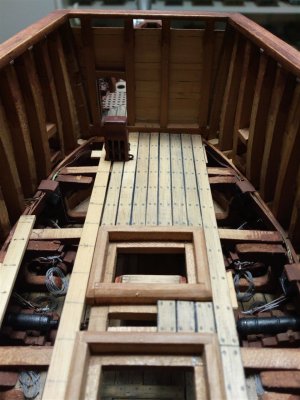
The main deck. Given the number of photos, this will be spread across several steps.

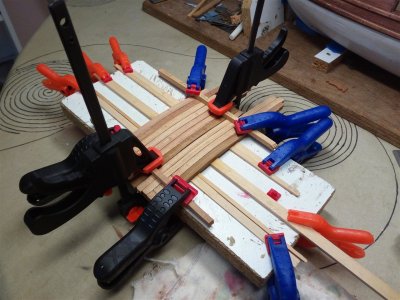
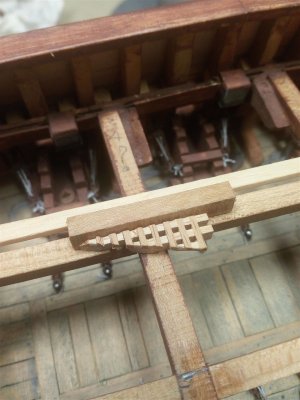
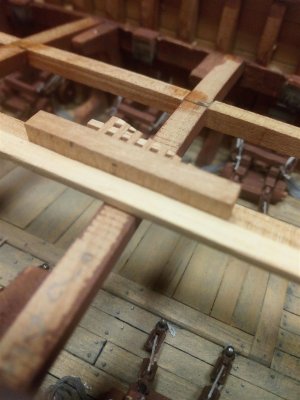
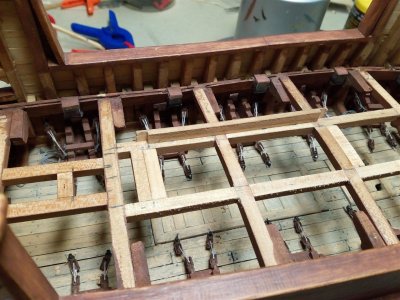
Step 1: the deck beams
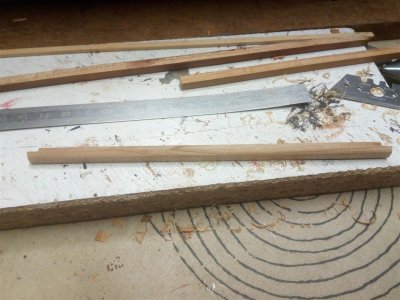
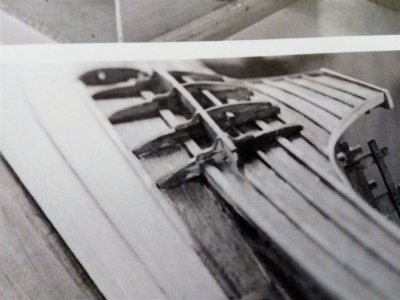
First wet them, bend them, and let them dry.
IMG_20180615_193520_1280.jpg


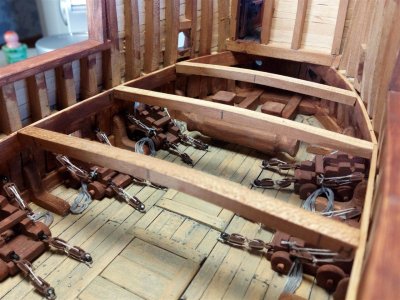
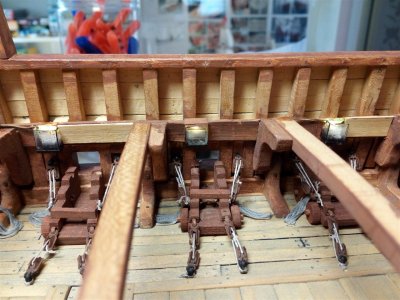
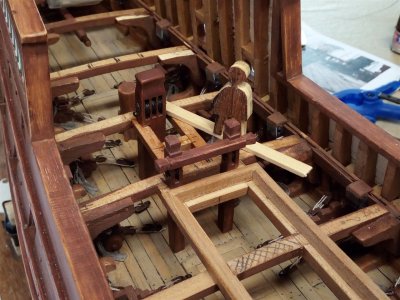
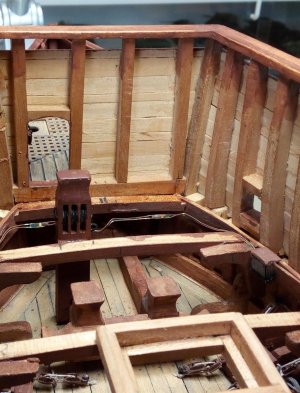
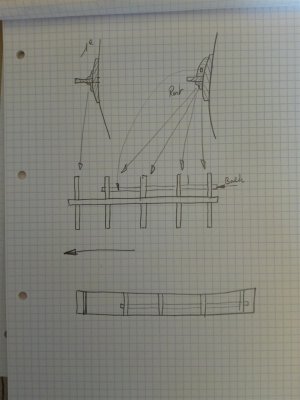
Placing the deck beams
IMG_20180712_190111_1280.jpg

IMG_20180714_122644_1280.jpg


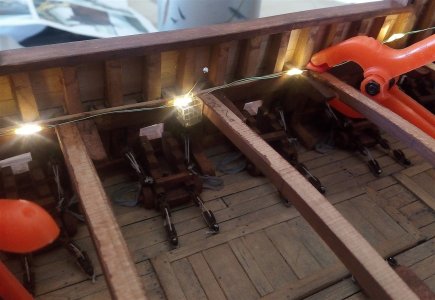
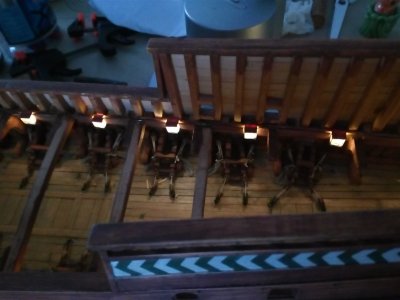
There is also modern led lighting.
IMG_20180721_144646_1280.jpg

IMG_20180730_161830_1280.jpg

IMG_20180731_211538_1280.jpg


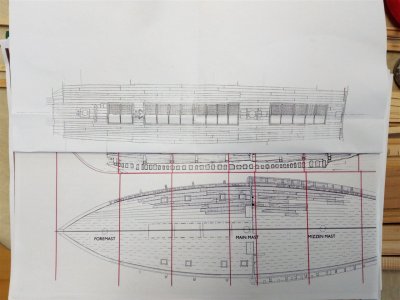
Determining the position of the main mast.
IMG_20180721_143453_1280.jpg


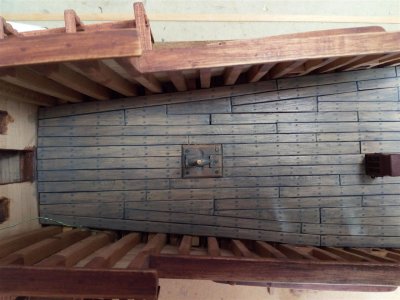
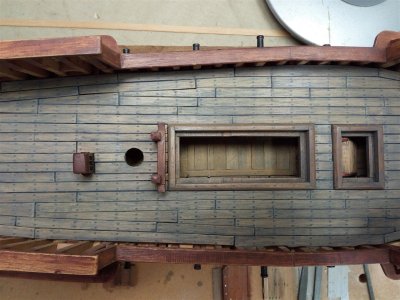
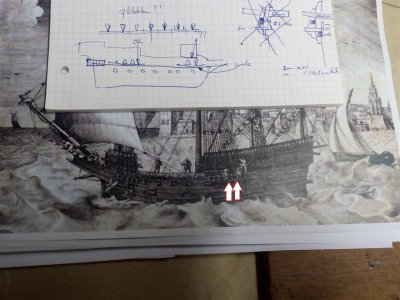
Determining the position of the hatches.
IMG_20180901_154924_1280.jpg

IMG_20180901_155409_1280.jpg

IMG_20180903_183700_1280.jpg
 
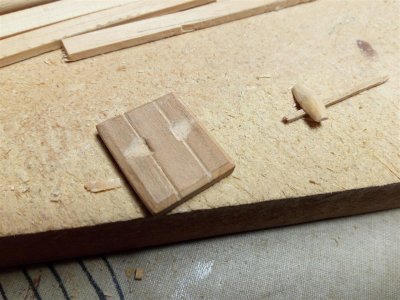
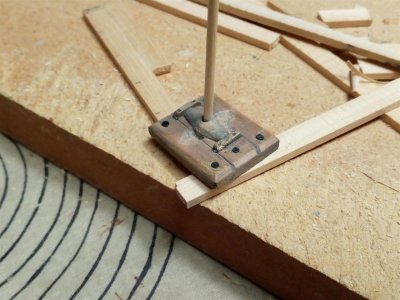
Step 3. Construction of the knight and other attributes (the correct name escapes me)

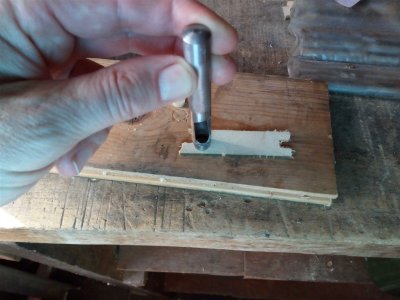
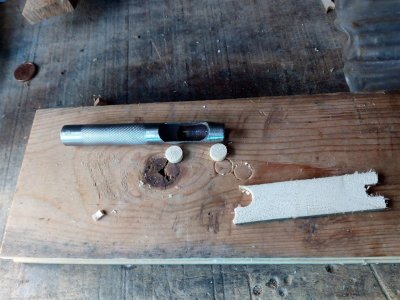
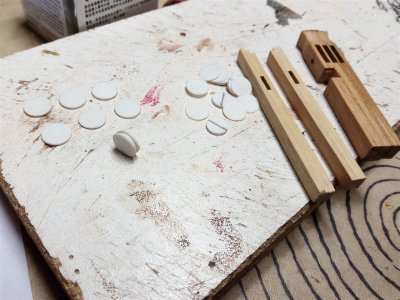
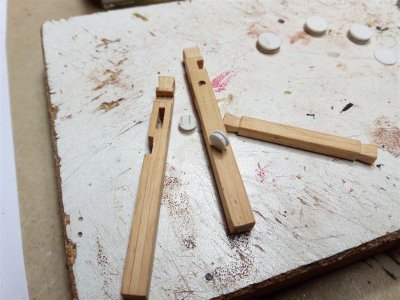
The knight and the "attributes" are constructed from different layers. The discs are made of polystyrene.
IMG_20180924_193056_1280.jpg

IMG_20180928_195940_1280.jpg


Place the discs in the openings
IMG_20180925_184230_1280.jpg


Drill a hole
IMG_20180925_184758_1280.jpg


insert brass pin
IMG_20180925_185605_1280.jpg


finish
IMG_20180925_191056_1280.jpg


and paint
IMG_20180926_183313_1280.jpg

IMG_20180930_104149_1280.jpg


Everything neatly placed
IMG_20181001_165007_1280.jpg

IMG_20181001_165035_1280.jpg
 
Step 4: the planking.
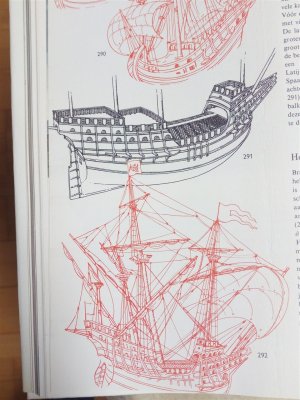
Some 16th-century (San Juan, Mary Rose) and 17th-century (Vasa) examples
IMG_20180318_094001_1280.jpg

IMG_20181222_141719_1280.jpg


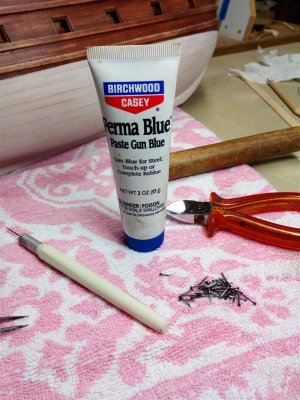
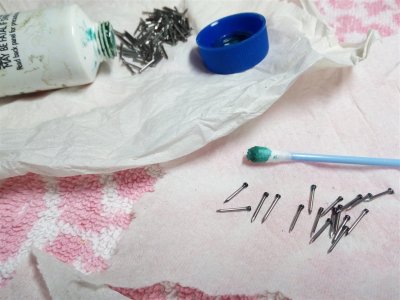
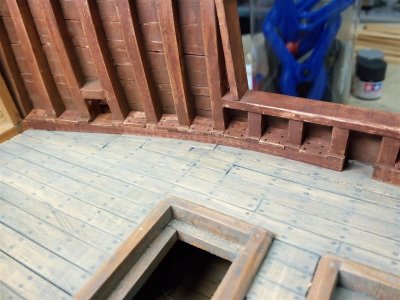
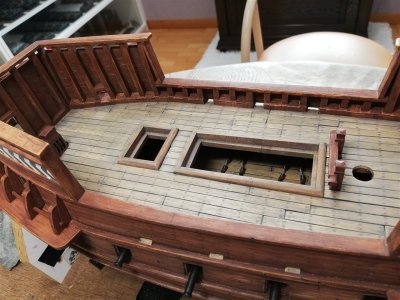
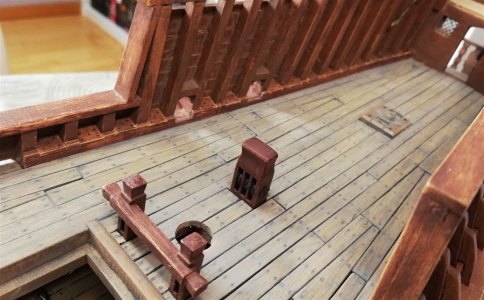
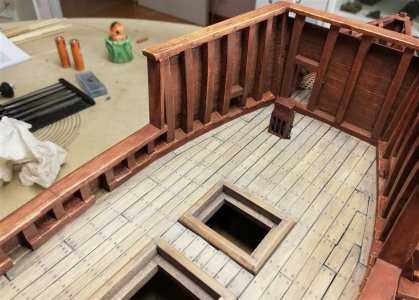
We continue with the ramin wood. "Tree nails" are placed in the plank beforehand. Then lightly painted with heavily diluted grey and polished with Scotchbrite.
IMG_20181217_171355_1280.jpg

IMG_20181218_090617_1280.jpg

IMG_20181221_162708_1280.jpg

IMG_20181223_160029_1280.jpg


The scuppers
IMG_20181224_112814_1280.jpg

IMG_20181224_112839_1280.jpg

IMG_20181221_162621_1280.jpg
 
Back
Top