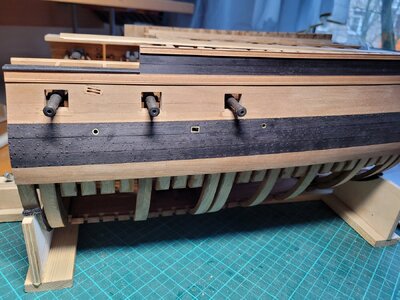
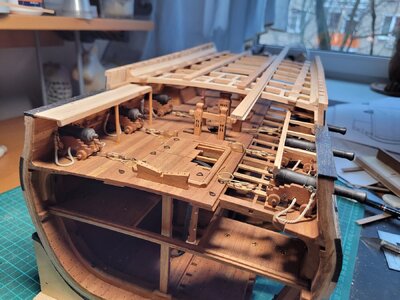
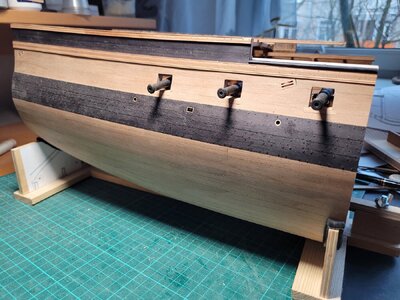
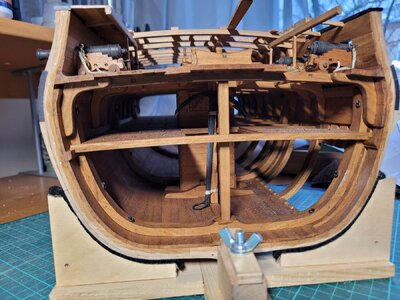
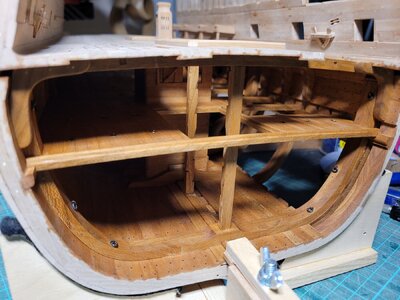
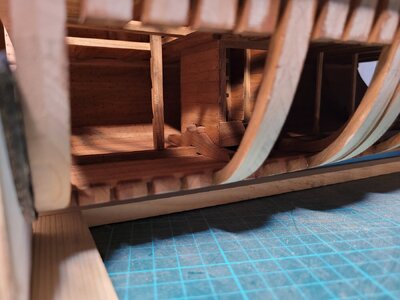
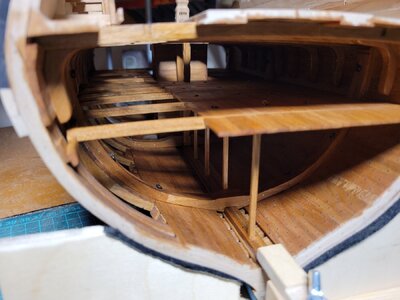
Сечение Le Gros Ventre - section [COMPLETED BUILD]

Joined
Oct 2, 2021
Messages
99
Points
143

Доброго времени суток!
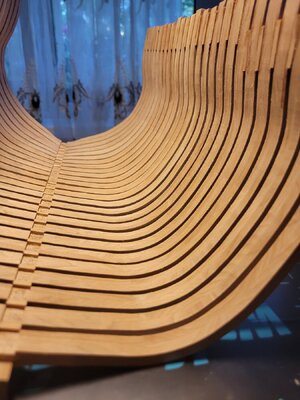
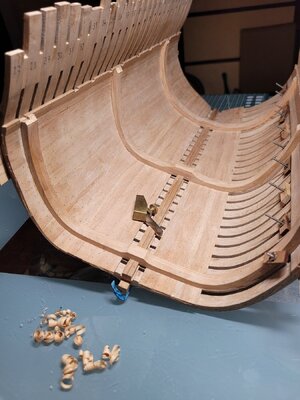
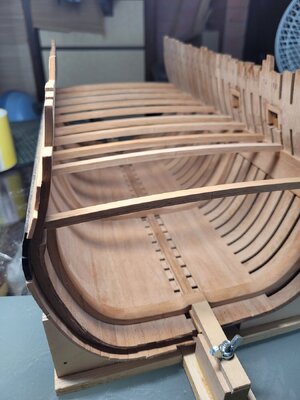
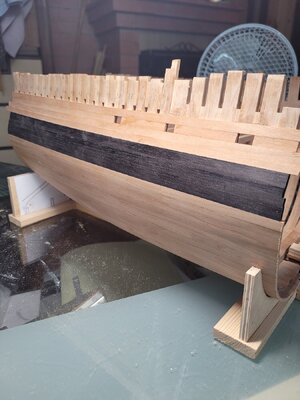
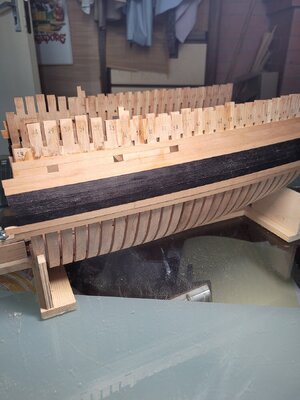
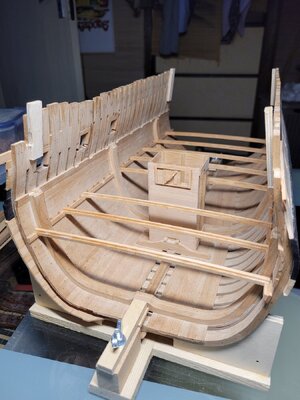
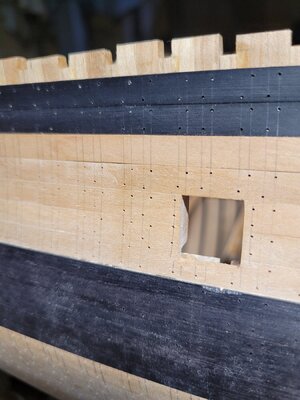
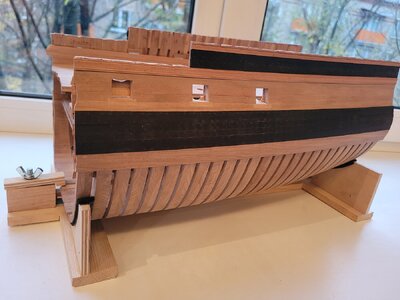
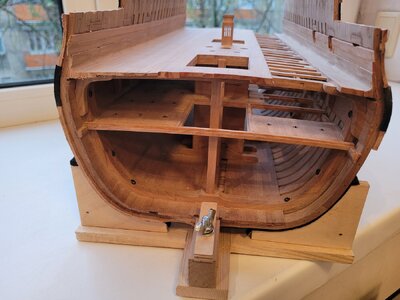
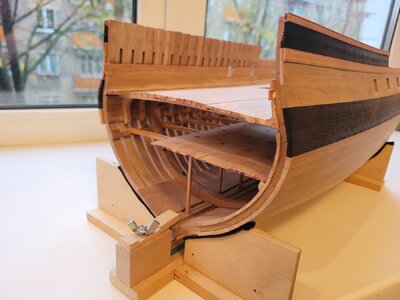
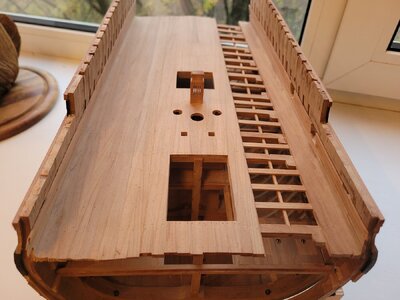
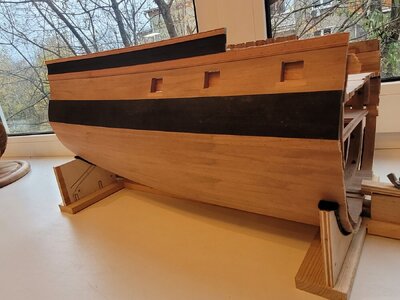
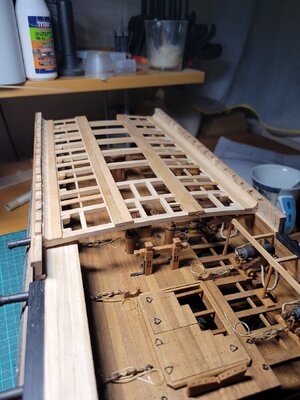
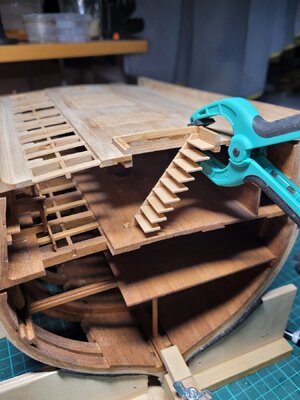
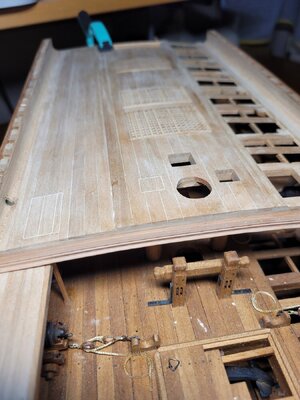
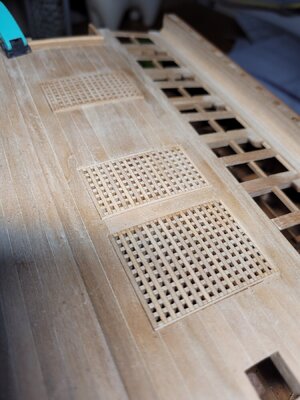
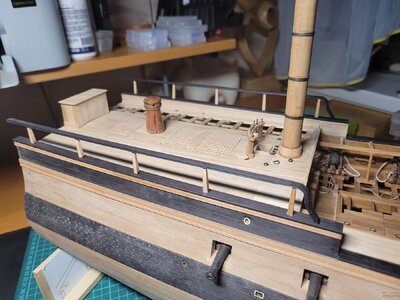
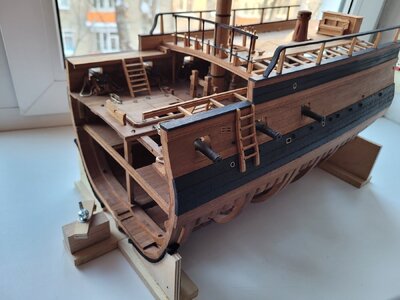
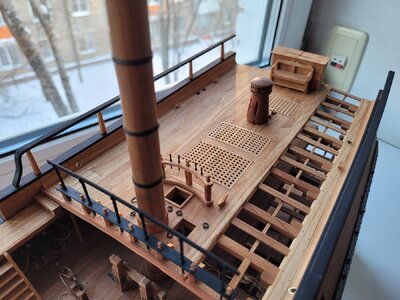
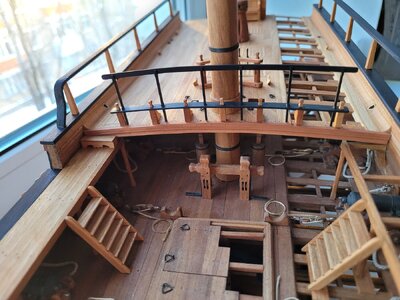
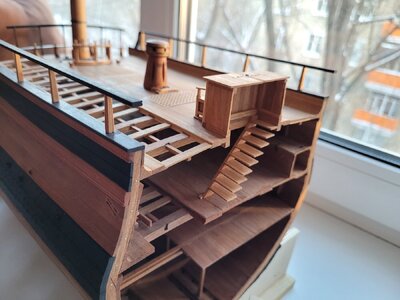
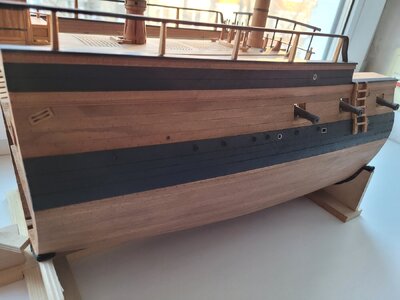
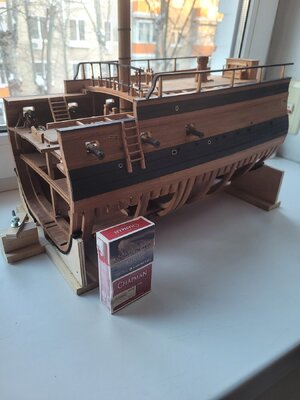
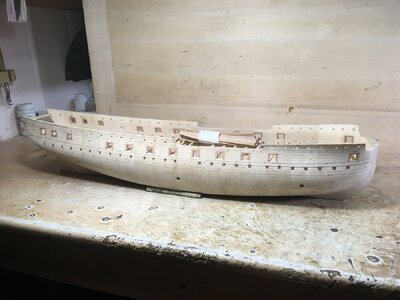
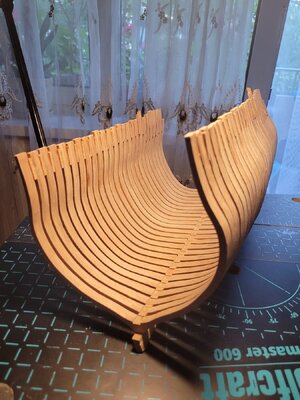
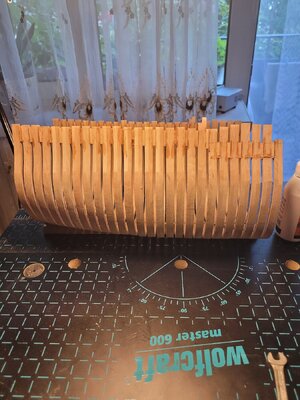
Я новичок в парусном судомоделизме, но люблю работать с деревом. Решил попробовать сделать модель сечения. Материал: вишня, черный граб, немного груши. Ошибок много, но я всего лишь учусь. Не судите строго)))
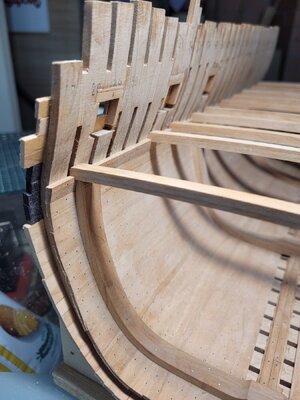
Масштаб произвольный. Чертежи нашел в интернете. Выбрал Gros Ventre потому, что он показался наиболее простым в постройке (как я ошибался). У меня не хватает спектра инструментов и станков, потому пошел по методу упрощения конструктива без существенного ущерба визуальному восприятию.
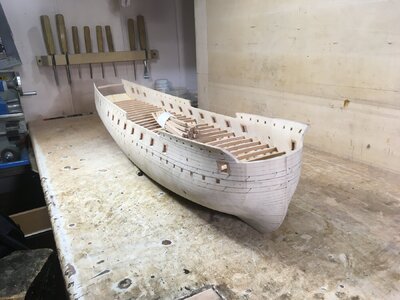
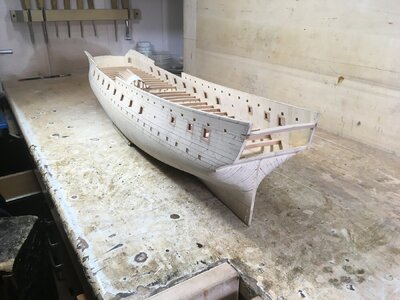
Почитал многочисленные форумы, посвященные постройке адмиралтейских моделей. Для себя выбрал наиболее подходящий способ изготовления шпангоутов. Было много отходов, но я с этим смирился.

Good day!
I'm new to sailboat modeling, but I love working with wood. I decided to try to make a section model. Material: cherry, black hornbeam, a little pear. There are a lot of mistakes, but I'm just learning. Don't judge strictly))) The scale is arbitrary. I found the drawings on the Internet. I chose Gros Ventre because it seemed the easiest to build (how wrong I was). I don’t have enough range of tools and machines, so I followed the method of simplifying the design without significant damage to visual perception. I read numerous forums dedicated to the construction of Admiralty models. I chose the most suitable method for making frames for myself. There was a lot of waste, but I came to terms with it.
20230722_195729.jpg

20230722_195743.jpg

20230722_195756.jpg
 
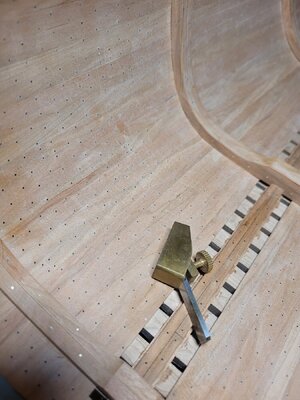
Процесс наполнения не быстрый, но у меня пока достаточно времени. Попробовал сделать гвозди из рыболовной лески 0,5мм. Не понравилось. Блестит, при шлифовке из-за разнородности материалов, плохо полируется.
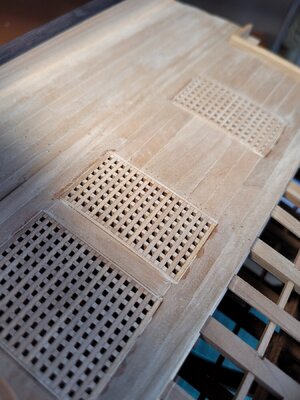
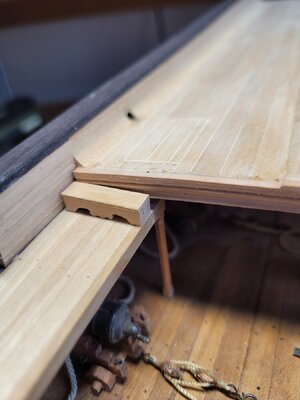
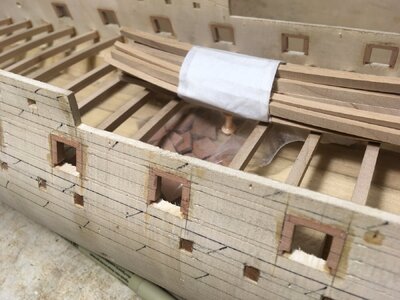
Бимсы, для упрощения, выклеивал из трех слоев реек по шаблону. Понимаю что не правильно, но у меня нет возможности сделать иначе. Крепление "ласточкин хвост" тоже не делал. На мой взгляд не принципиально, если не видно.
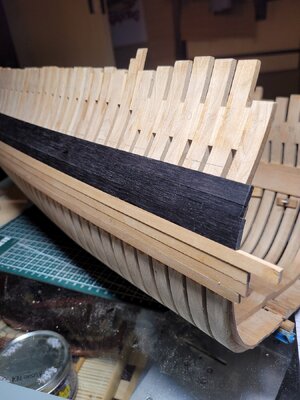
С черным грабом работать понравилось. Прекрасная стабилизированная древесина. Великолепно держит грани при обработке, хорошо полируется, гнется только при замачивании.

The filling process is not fast, but I still have enough time. I tried to make nails from 0.5mm fishing line. Did not like. It shines when polished due to the heterogeneity of materials, and is poorly polished.
To simplify, I glued the beams from three layers of slats according to a template. I understand that it’s not right, but I don’t have the opportunity to do otherwise. I didn't do the dovetail fastening either. In my opinion, it doesn’t matter if it’s not visible.
I liked working with black hornbeam. Excellent stabilized wood. It holds its edges perfectly during processing, polishes well, and bends only when soaked.

20230821_205400.jpg

20230821_205410.jpg

20230821_205427.jpg

20230825_183619.jpg

20230825_183627.jpg

20230825_183636.jpg

20230825_183658.jpg

20230827_185423.jpg

20230827_185430.jpg

20230827_185449.jpg

20230830_194148.jpg
 
Last edited by a moderator:
Не делал пошаговых фотографий. Процесс постройки захватывающий, не до фото).
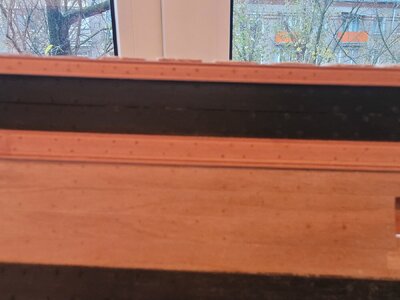
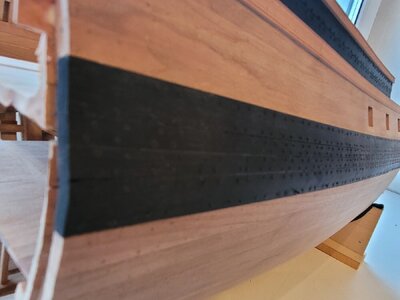
Гвозди делал из груши из граба. Все просто: напилил рейки 1х1мм, нарезал их по длине 40-50мм, зажал в бормашину и прогнал через плашку с резьбой М1. В итоге, получаются круглый заготовки толщиной 0.65мм. Сверлил отверстия после разметки и вклеивал гвозди разведенным клеем для дерева. Гвозди на поясе из черного граба не срезал вровень с рейкой. Пусть торчат как шляпки. Мне так нравится)
Фигурные рейки бортов сделал из груши, выточив циклю из полотна канцелярского ножа.

I didn't take step-by-step photos. The construction process is exciting, no time for photos).
I made the nails from hornbeam pears. It's simple: I sawed 1x1mm slats, cut them to lengths of 40-50mm, clamped them into a drill and drove them through a die with an M1 thread. As a result, round blanks with a thickness of 0.65 mm are obtained. I drilled holes after marking and glued the nails in with diluted wood glue. I did not cut the nails on the black hornbeam belt flush with the lath. Let them stick out like hats. I like it so)
I made the shaped slats of the sides from pear wood, turning a scraper from the canvas of a stationery knife.

20230830_194215.jpg

20231024_083850.jpg

20231024_083900.jpg

20231024_083927.jpg

20231024_083949.jpg

20231024_084746.jpg

20231024_084755.jpg

20231024_084812.jpg
 
Last edited by a moderator:
С этим я помучился))) Переделывал раза три. Сделано при помощи циркулярной пилы и шуруповерта:)

I suffered with this))) I redid it three times. Made using a circular saw and a screwdriver :)

20231118_195123.jpg
 
Last edited by a moderator:
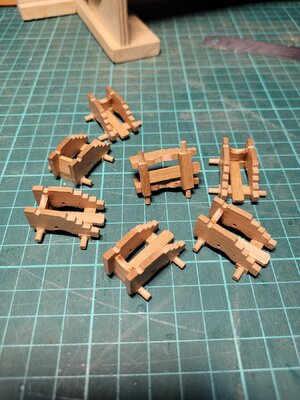
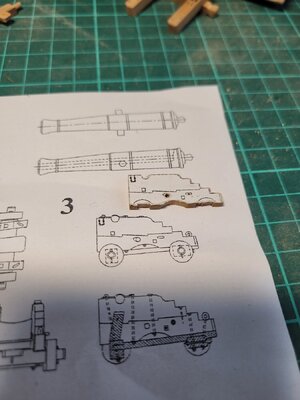
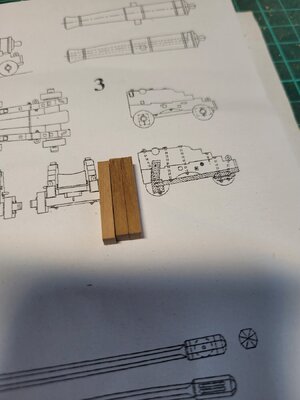
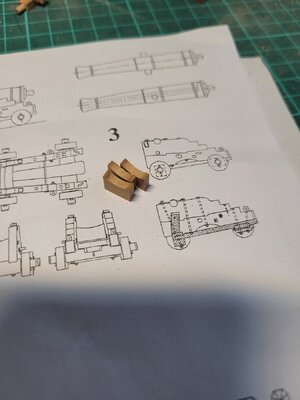
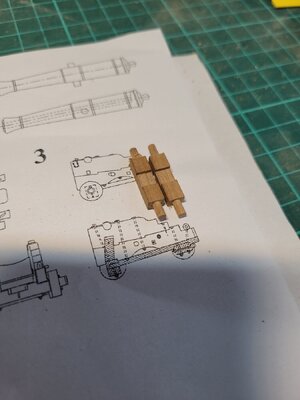
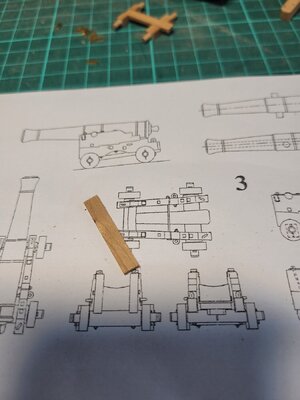
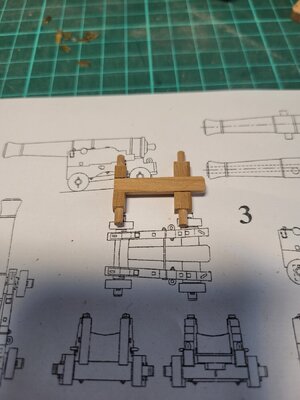
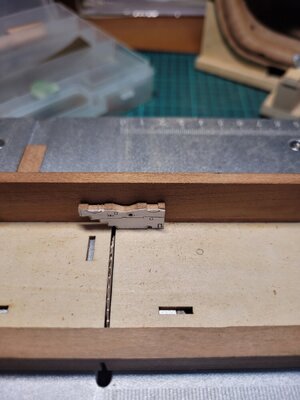
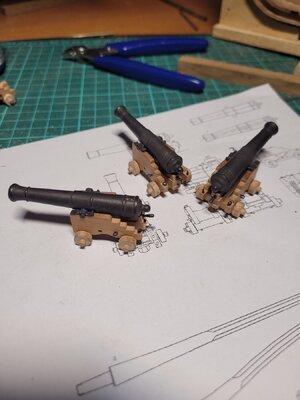
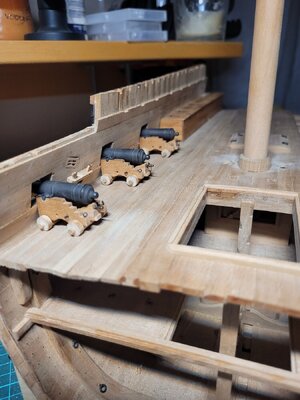
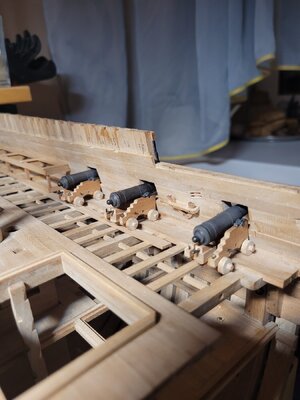
Лафеты пушек сделал немного упрощенно. Моя маленькая циркулярная пила позволяет регулировать высоту пиления. При помощи простого приспособления, напилил нужное количество боковых частей с нужным профилем. Колеса выточил при помощи шуруповерта.
Стволы пушек от Дмитрия Шевелева (великолепный мастер).

I made the gun carriages a little simplified. My small circular saw allows you to adjust the cutting height. Using a simple device, I sawed the required number of side parts with the desired profile. I turned the wheels using a screwdriver.
Gun barrels from Dmitry Shevelev (an excellent craftsman).

20231118_202001.jpg

20231119_115258.jpg

20231119_115334.jpg

20231119_115412.jpg

20231119_115426.jpg

20231119_115504.jpg

20231119_115528.jpg

20231119_115748.jpg

20231129_213205.jpg

20231129_213308.jpg

20231129_213415.jpg

20231129_213507.jpg
 
Last edited by a moderator:
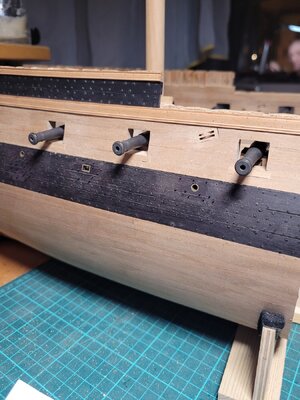
Работы продолжаются. Полную обвязку пушек делать не стал. Уж очень много веревочек выходит)))

Work continues. I did not do a complete tying of the guns. That's a lot of ropes)))

20231223_141038.jpg

20231223_141048.jpg

20231223_141058.jpg

20231223_141121.jpg

20231223_195820.jpg

20240103_213217.jpg

20240103_213245.jpg

20240103_213315.jpg

20240107_125114.jpg

20240107_125130.jpg

20240107_125146.jpg
 
Last edited by a moderator:
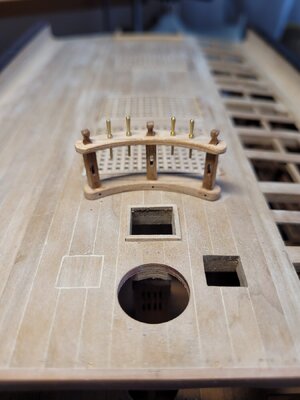
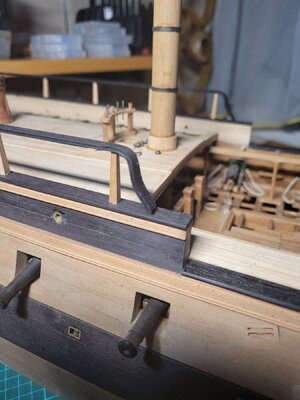
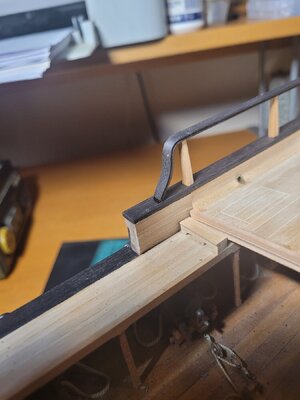
Ограждение тоже упростил. Балясины должны иметь резьбу, но мне не хватает навыков и инструмента ее сделать. Изогнутую часть ограждения, по совету Дмитрия Шевелева, сделал из трех слоев размоченного граба склеенного по шаблону.

I also simplified the fencing. The balusters should have carvings, but I lack the skills and tools to make them. The curved part of the fence, on the advice of Dmitry Shevelev, was made from three layers of soaked hornbeam glued together according to a template.

20240113_080725.jpg

20240113_080747.jpg

20240113_080822.jpg

20240113_080902.jpg
 
Last edited by a moderator:
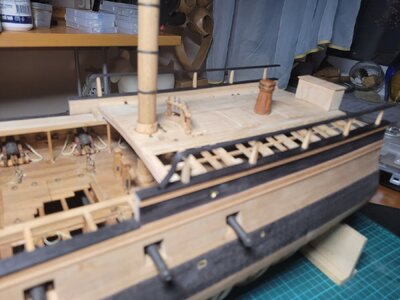
Пока все вот так. Покрыто маслом. Когда изготовлю руслени и юферсы, покрою битумным лаком что б слегка состарить. Хотя... Вишня сама по себе сильно темнеет со временем.
Процесс занял 7 месяцев почти ежедневной работы по 3-5 часов. Ушла доска вишни почти 2м. Очень материалозатратное дело. Мало того, что достаточно много отходов, так еще и в силу характеристики древесины приходится много отбраковывать (смоляные карманы). Пожалуй, за полноценную адмиралтейскую модель я не возьмусь. Но есть и плюсы. Изобретение различных приспособлений что б облегчить работу при минимуме инструментов, поиск не стандартный и не очевидных решений.

So far everything is like this. Covered with oil. When I make the ribs and deadeyes, I will coat them with bitumen varnish to make them slightly aged. Although... Cherry itself darkens greatly over time.
The process took 7 months of almost daily work for 3-5 hours. The cherry board was almost 2m long. A very material-intensive business. Not only is there quite a lot of waste, but also due to the characteristics of the wood, a lot has to be discarded (resin pockets). I probably won’t take on a full-fledged Admiralty model. But there are also advantages. The invention of various devices to make work easier with a minimum of tools, the search for non-standard and non-obvious solutions.

20240121_153712.jpg

20240121_153717.jpg

20240121_153721.jpg

20240121_153731.jpg

20240121_153742.jpg

20240121_155718.jpg
 
Last edited by a moderator:
Amazing - especially when you say, that this is your first ship model you build.
Very Very good work

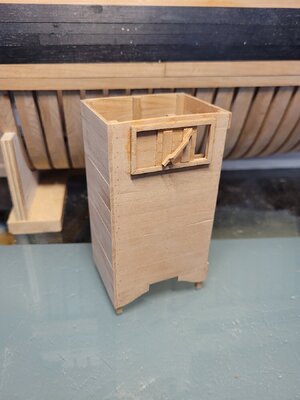
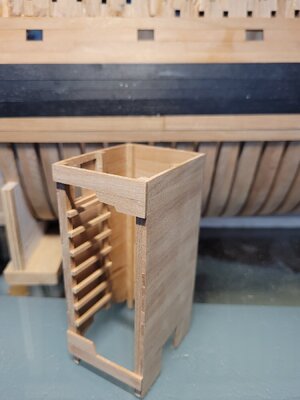
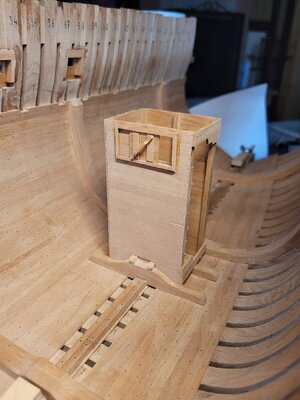
BTW: very good idea to cut the section exactly half of the stairs / ladder - it is a very interesting view
 
Amazing - especially when you say, that this is your first ship model you build.
Very Very good work

BTW: very good idea to cut the section exactly half of the stairs / ladder - it is a very interesting view
Когда то давно, я пробовал делать, но так и не смог довести до конца модель из набора. А сейчас, я сильно болен и у меня появилось время заняться. Только с наборами связываться не хочу. Они навязывают готовые решения, упрощенный вид и неподходящие материалы. Думаю, все со временем приходят к тому, что начинают постройку с нуля. Теперь я имею оригинальные чертежи Gros Ventr и планирую построить модель в масштабе 1:48 с помощью Дмитрия Шевелева. Приоткрою завесу тайны)))

Once upon a time, I tried to do it, but I was never able to complete the model from the kit. And now, I’m very sick and I have time to get busy. I just don’t want to deal with kits. They impose ready-made solutions, simplified looks and inappropriate materials. I think everyone eventually comes to the point where they start building from scratch. I now have the original drawings of the Gros Ventr and plan to build a 1:48 scale model with the help of Dmitry Shevelev. I'll lift the veil of secrecy)))
02D18293-7F19-4D0A-AEC3-D07836FAC78E.jpeg

468CD4C1-C0E9-4FCA-968C-68CDD8079AD4.jpeg

1473CC9D-A3C6-4E9E-A7A5-399F3C720683.jpeg

F886C5FC-83FD-48A1-A101-6A8DC203067A.jpeg
 
Last edited by a moderator:
Gros Ventr и планирую построить модель в масштабе 1:48 с помощью Дмитрия Шевелева. Приоткрою завесу тайны)))
Дима Вам сделал корпус? Угадал?

Dima made the case for you? Did you guess right?
 
Last edited by a moderator:
Когда то давно, я пробовал делать, но так и не смог довести до конца модель из набора. А сейчас, я сильно болен и у меня появилось время заняться. Только с наборами связываться не хочу. Они навязывают готовые решения, упрощенный вид и неподходящие материалы. Думаю, все со временем приходят к тому, что начинают постройку с нуля. Теперь я имею оригинальные чертежи Gros Ventr и планирую построить модель в масштабе 1:48 с помощью Дмитрия Шевелева. Приоткрою завесу тайны)))

Once upon a time, I tried to do it, but I was never able to complete the model from the kit. And now, I’m very sick and I have time to get busy. I just don’t want to deal with kits. They impose ready-made solutions, simplified looks and inappropriate materials. I think everyone eventually comes to the point where they start building from scratch. I now have the original drawings of the Gros Ventr and plan to build a 1:48 scale model with the help of Dmitry Shevelev. I'll lift the veil of secrecy)))
View attachment 423321

View attachment 423322

View attachment 423323

View attachment 423324
Many thanks for sharing with us the treenailing method you do - very interesting
Hope to see a building log of your actual project - looking like a beautiful frigate?
 
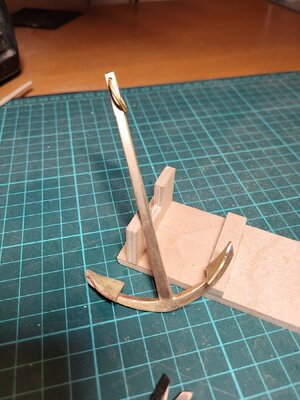
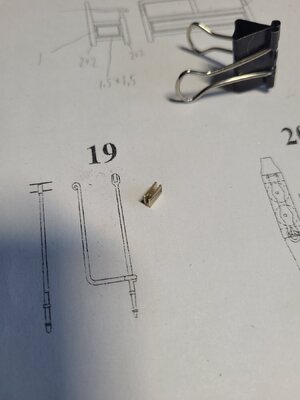
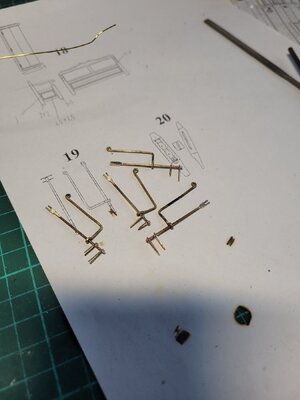
Не знаю как правильно называется эта конструкция. Назову ограждением.
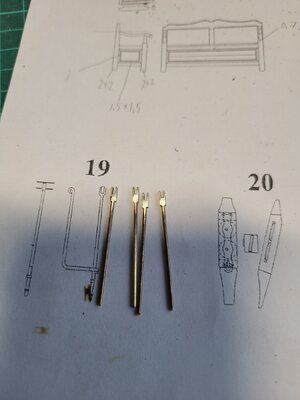
Спаял вместе четыре заготовки из латуни и проточил пазы с двух сторон. Один паз для перил, второй для стойки. За тем нагрел паяльников готовый бутерброд и получил 4 абсолютно одинаковые детали. Большего количества мне не требуется по условиям модели.
Впаял стойки.
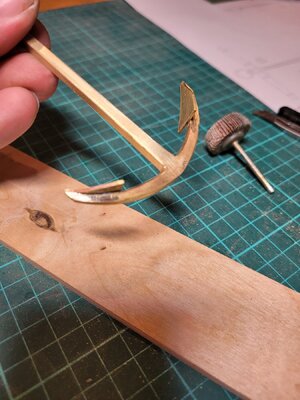
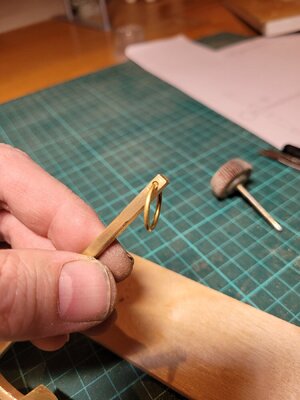
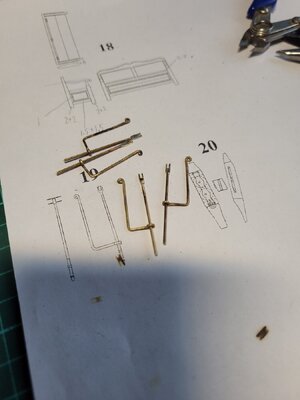
Что бы согнуть колечки на концах, нагрел латунь на огне зажигалки. Она стала мягкой и податливой. Грел именно ту часть, что требовалось согнуть, что бы остальная деталь оставалась жесткой.
Припаял усики для крепления к борту модели.
Пока чернить и ставить не буду. Детали достаточно слабые и легко погнуть или отломать.


I don’t know what this design is called correctly. I'll call it a fence.
I soldered together four brass blanks and machined grooves on both sides. One groove is for the railing, the other is for the post. Then I heated the finished sandwich with soldering irons and got 4 absolutely identical parts. I don’t need more according to the terms of the model.
Soldered the racks.
To bend the rings at the ends, I heated the brass over the fire of a lighter. She became soft and pliable. He warmed exactly the part that needed to be bent so that the rest of the part would remain rigid.
I soldered antennae for attaching to the side of the model.
I won’t paint or install it for now. The parts are quite weak and easy to bend or break.

20240124_123447.jpg

20240124_125534.jpg

20240124_134824.jpg

20240124_142908.jpg
 
Back
Top