G’day Viewers,
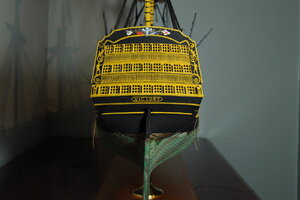
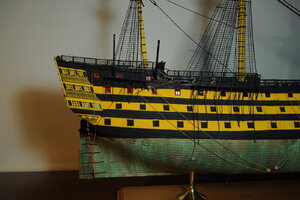
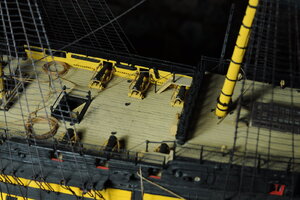
This is not exactly a build blog more a where I got to before stopping work around 1995.
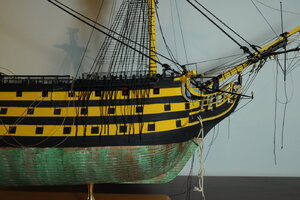
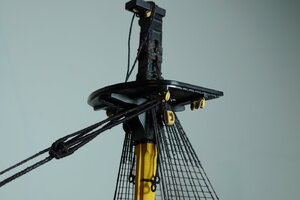
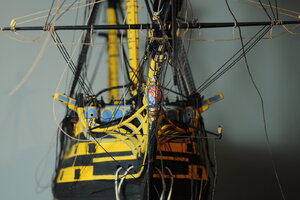
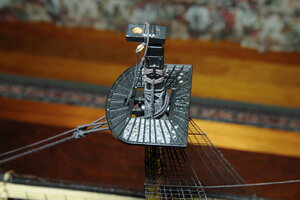
There are a few reasons I stopped working on this model. One main reason, being very disappointed with the way some of my shrouds turned out mainly the first shroud on each lower mast and fore top mast these I had “served”. Serving was done using a fairly crude rig powered by a pistol drill at one end and a free spinning hook at the other. The line to be served being tied to each end and pulled tight, then with the drill turned on, fine cotton wrapped around to simulate serving. The problem being that for the non-driven hook to turn the line had to twist up a lot before it would drive the hook, result being a permanent twist in the finished line. Being a bit stubborn at times I pushed on thinking it would be alright later, well it did not improve subsequently I cracked it and stopped work. The main hold up now is that I am more focussed on scratch building and have not got around to making a rope making machine with a driven tail/rear hook.
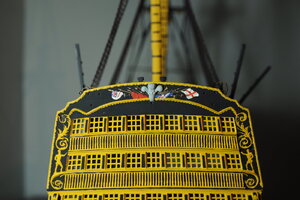
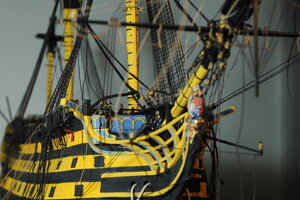
Another problem is the loss of one of the cherubs.
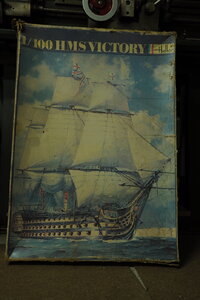
I have had this kit for a very long time, it being bought with paper round money not long after Heller released it, add to that it is still my first sailing ship build, nothing like jumping into the deep end.
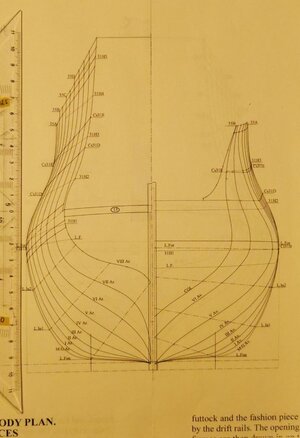
Luckily, the local library had a copy of, The Anatomy of Nelsons Ships, by C. Nepean Longridge, a fantastic book with beautiful drawings, a bit later I got a copy of The 100 Gun ship Victory, in the Anatomy of the ship series and later still The Masting and Rigging of English ships of War, 1625 to 1860, by James Lees.
There were a few disasters along the way with this build, the first that I recall is using far to much glue to glue the lower mizzen mast together it subsequently deforming and bending horribly requiring a lot of work to get it back in shape. Not so much a disaster more a step backwards was re-painting the stripes along the hull.
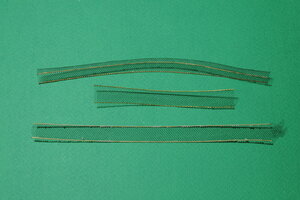
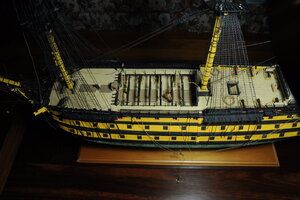
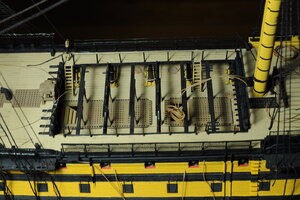
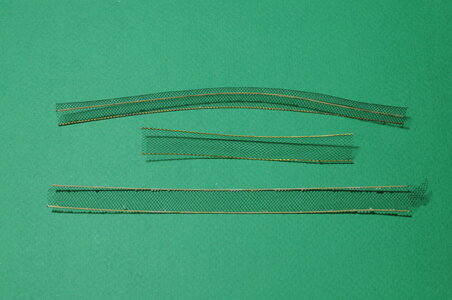
There is no photo etch used in this build, I have made up some parts from scratch. A new Dolphin striker being made of brass and pinned on, some of the more special blocks that are not supplied in the kit, I made of wood I cannot remember their names, they are mounted on some hull to bowsprit lines and lower fore stays for Main and Fore masts. All plastic eye bolts were replaced with wire, eye bolts were made up and fitted in the hull sides for the cannons recoil line. Hammock nets were made of vail material with brass wire glued on, see photo. There are probably other things that I have forgotten for the moment.
There are some mistakes I can see now like the gun port lid line/rope colour. Also the model is not finished, the shrouds are only temporarily tied off as is the lower main and fore stays.
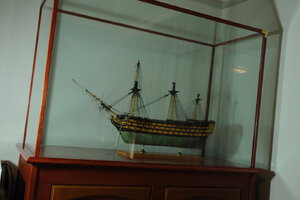
I built a display cabinet for this model in my opinion absolutely necessary to prevent dust and inquisitive cats at bay.
I will be happy to answer any questions if I can.
Cheers,
Stephen.
Last edited:


