1/200 RMS Titanic - Build Log

Good day Steeve,
I see You are busy with making many interesting details but resolution of your foto so small that these details not possible to see clearly at all ... :(
Please post bigger size pictures for better vewing if possible.
All the Best !
Kirill
 
Good day Steeve,
I see You are busy with making many interesting details but resolution of your foto so small that these details not possible to see clearly at all ... :(
Please post bigger size pictures for better vewing if possible.
All the Best !
Kirill
Hey Krill,

Thanks for the feedback mate. I will make my future uploads in a higher resolution; may replace the originals as well when I get a moment.

Cheers,
Steve
 
here is a link to Shapeways 3D printed parts for the 1/200 Trumpeter Titanic.


After months of not doing any work on my model due to moving house and other matters, I have finally started work on it again.

Beau.
 
Last edited:
here is a link to Shapeways 3D printed parts for the 1/200 Trumpeter Titanic.


After months of not doing any work on my model due to moving house and other matters, I have finally started work on it again.

Beau.
Hi Beau,
Thanks for the link mate. I've been eying some of their products. Have you picked up any for your model?
Good luck launching back in; do you have a build log?
Cheers,
Steve
 
@Wedgie01 I got the B and C deck bulkheads, Steam whistles, Bilge Keels, and Bench assembly formers for the KA and the Trumpeter benches. There were a bunch of other things available, but I decided had enough... With the KA set and these, there should be enough for this beautiful ship!

Edited to add: I'll post pictures of the parts on my thread when I go on nights next week, just don't have enough time on dayshift!
Hey Winnie,
So far I've settled on the steam whistles, the Bench and Deck Chair assembly formers for the KA and possibly the pieces for the Cafe Parisian.
Look forward to seeing the photos. My KA kit left the UK today, so now I play the waiting game. :)
Cheers,
Steve
 
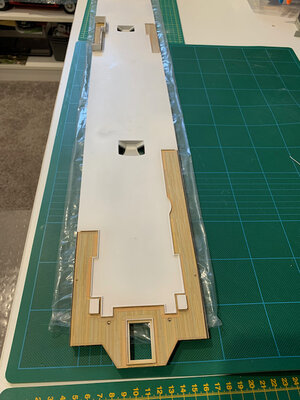
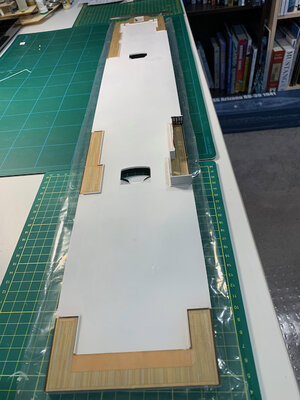
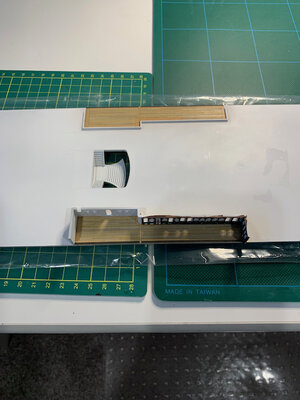
So there are at least 3 separate versions of the deck, are you using the KA specific deck?

Also be careful as there are multiple deck items needing removal before you can use the KA set, but I'll leave that to you!

Also, Check PM's in a moment.
 
So there are at least 3 separate versions of the deck, are you using the KA specific deck?

Also be careful as there are multiple deck items needing removal before you can use the KA set, but I'll leave that to you!

Also, Check PM's in a moment.
Yep, have the KA specific deck sheets. The amount of moulding that needs to be removed from areas such as the forecastle are a good testament to the amount of detail in the upgrade kit. :-) Cheers.
 
1st Dabble with an Interior:

Despite the fact they will be largely invisible once the ship is complete, I am determined to try and represent at least some of the interior areas. My first attempt has been on the port side Private Promenade. Rather than just print out a drawing or photo of the area, I decided to try and replicate, as best as my skills would allow, using Evergreen plastics.

Using small diameter lengths of rod, I created as closely as the scale would permit, the wooden divisions, doors and window frames.

View attachment 243648

I'm not. rivet counter, and am not going for total accuracy, just something to see through the windows that is a representation of what the areas may have looked like based on drawings, pictures, etc.

I then painted it up, electing to use some of the colourised images of the Olympic promenades and do the lower panels in a green. This photo is after the initial coats of white, brown and green and the Trumpeter PE provided window frames went in. Still some touching up to be done after the initial paint drys thoroughly and probably once I get a new script for my glasses, as I think my eyesight has deteriorated since I started this. :)

View attachment 243649

I plan to do both promenades, the Cafe Parisian, a couple of the dining areas and possible the entrance areas around the fore and aft staircases.

Keen to hear any thoughts the SoS community may have on the effort so far, good and/or bad. :)
OMG - Steve,

I've only just seen this......
What FREAKING AWESOME work this is!!!!

Cheers
Dave
 
Hi Dave,

Thanks for the compliment mate. You never quite see your own work as anything other than average, os nice to hear I may have scored here. :)

Cheers,
Steve
 
Be sure to make proper inventory of all parts. I found a couple parts short shot, one vent casing and a binnacle. The vent casing I'll just use Trumpeter parts, but I got new deck bits from a guy on facebook, that was proper. You'll probably see one binnacle missing one of the two Port/Starboard balls...

Have fun! it's a lovely set!
Thanks mate. I did do a full inventory and it looks like I got everything accounted for. Quite impressed with the quantity and quality. Amazing the detail you can achieve on super small parts with 3D printing. This is my first experience using that type of product.

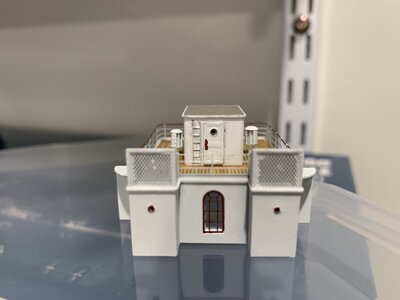
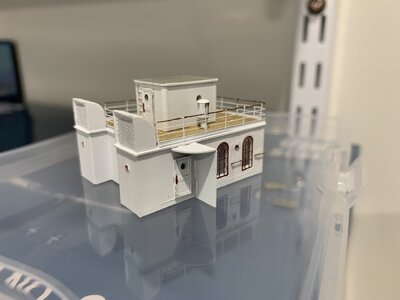
Just finished the 2nd class entrance and elevator housing this afternoon; adding all the PE and bits that is. Just need to paint now.
 
I've noticed that the Vallejo Primer has a tendency to flake and peel on the brass parts, even when you lightly sand and degrease it.
A Tamiya primer is better for this
 
Greetings all. Needed a short hiatus from my build due work pressures, but should be able to get back into it shortly. Have the hull mostly painted, but with some final touch ups to do, and have received all the fibre optics and LEDs to light the hull, so that will be a large upcoming task. Having decided to so some interiors as well, I'll be orderings a bunch of 3D printed furniture, interior columns and such to flesh out some of the visible interior settings.

Will post more photos one the hull painting is completed and work worthy of putting up pics occurs. :)
 
Just to show I have actually been moving forward, I've almost completed the 2nd Class Entrance/Deckhouse. I say 'almost' completed as the close up photos I've taken reveal some areas in dire need of further touch up. :eek: Planning on working some more superstructure now while I await a hobby stand that I can safely finish painting the hull on.

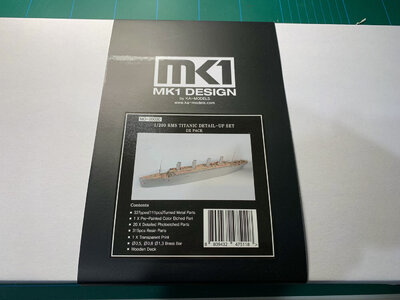
And I also caved and got the Trumpeter/Pontos Detail up Kit (already having the Mk1 kit) as it just happened to be on the shelf in my local Hobby Store this week. I'm so weak, but it has some great extras not included in the Mk1, such as the funnel panelling. Also provides me with a source of spares, as I know, just given the tiny size of so many of the PE and brass parts, that I'll need a spare or two.ROTF

Deck House.jpg 2nd Class Entrance.jpg
 
Last edited:
Back
Top