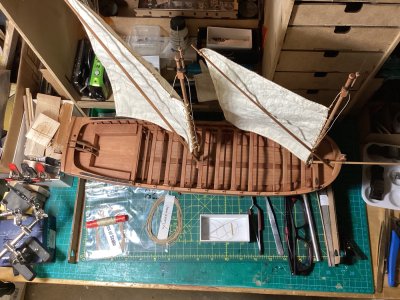
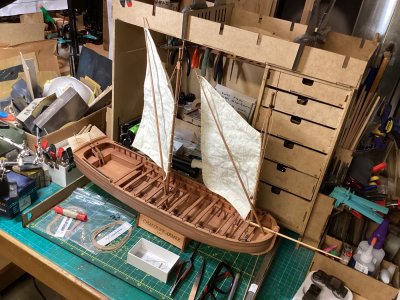
Completed nailing starboard planks 1-6. I had to see what it was gonna look like. The primary sanding is done. It gets a final sanding after I complete the rest of the hull.
I ended up nailing the planks like this …
First drilling all the holes - with each hole being 3mm deep. I taped the drill 3 mm from the tip - so I wouldn't go all the way through. But before beginning the drilling, I pin pricked each hole, so the drill wouldn’t wander.
Then I erased all the penciled in nailing guide lines.
Then I popped the wire into the hole, and flush cut it. Then I popped the wire into the next hole, and flush cut it. 45 min later or so, I had 3mm of wire in every little hole in planks 1-6.
Then I put a tiny bit of CA-, where each nail meets the wood. Used a glue looper for this. Pins work too.
And then the fun part - I sanded all the nails down. And continued sanding the planks - removing any severe high spots. At this stage, I'm using #100 and #150 sandpaper - and some #220 just to make sure I can still remove any #100 grinding marks. When the hull is all nailed up and all the nails are sanded down - it will be finished with #220.
I tried a sanding disk on the end of one of my portable drills - but it took off too much, if I wasn't so very very careful - so I ended up doing the sanding by hand - with blocks, pads and just sandpaper folded up.
I included two pics of the bow - starboard and port. Noting that the starboard stem to planking line is rougher than the port side - it's always like that - because I do the starboard side first - so the port side benefits from what I learned on the starboard side.
And now the pics ...
This is the port side bow - still unnailed.

And the starboard bow, all nailed, and just not as clean as the port ...

Two pics of the stern


And some overall pics ...


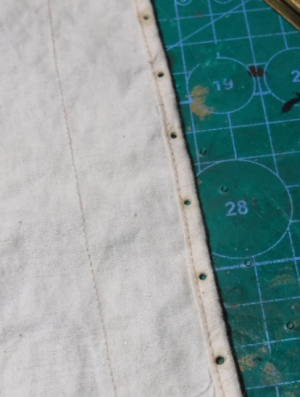
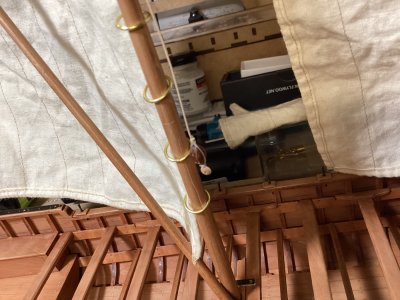
And a couple of closeups - the nails in the wood ... they look good, closeup ...


Likely not gonna post again, until the hull is finished - planked, nailed and lovingly all sanded up.
Last edited: