• Win a Free Custom Engraved Brass Coin!!!
    As a way to introduce our brass coins to the community, we will raffle off a free coin during the month of August. Follow link ABOVE for instructions for entering.

1:24 Pearwood French Longboat from Unicorn Model

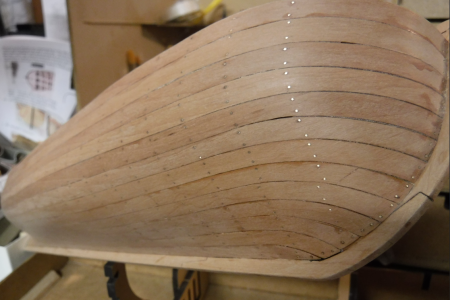
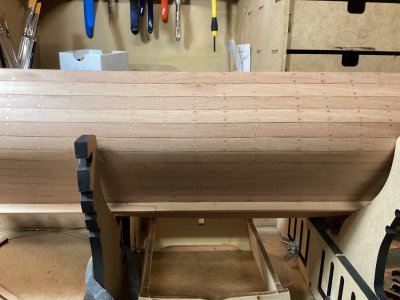
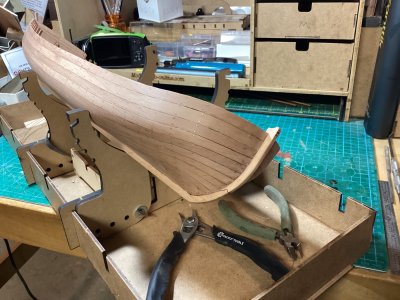
Completed nailing starboard planks 1-6. I had to see what it was gonna look like. The primary sanding is done. It gets a final sanding after I complete the rest of the hull.

I ended up nailing the planks like this …

First drilling all the holes - with each hole being 3mm deep. I taped the drill 3 mm from the tip - so I wouldn't go all the way through. But before beginning the drilling, I pin pricked each hole, so the drill wouldn’t wander.

Then I erased all the penciled in nailing guide lines.

Then I popped the wire into the hole, and flush cut it. Then I popped the wire into the next hole, and flush cut it. 45 min later or so, I had 3mm of wire in every little hole in planks 1-6.

Then I put a tiny bit of CA-, where each nail meets the wood. Used a glue looper for this. Pins work too.

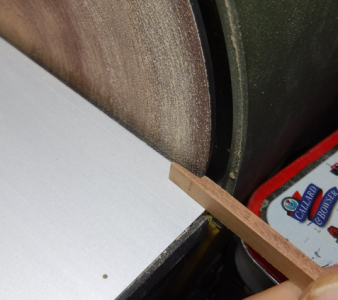
And then the fun part - I sanded all the nails down. And continued sanding the planks - removing any severe high spots. At this stage, I'm using #100 and #150 sandpaper - and some #220 just to make sure I can still remove any #100 grinding marks. When the hull is all nailed up and all the nails are sanded down - it will be finished with #220.

I tried a sanding disk on the end of one of my portable drills - but it took off too much, if I wasn't so very very careful - so I ended up doing the sanding by hand - with blocks, pads and just sandpaper folded up.

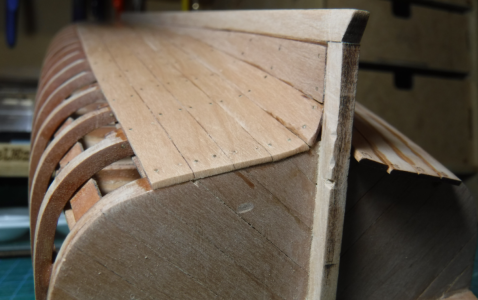
I included two pics of the bow - starboard and port. Noting that the starboard stem to planking line is rougher than the port side - it's always like that - because I do the starboard side first - so the port side benefits from what I learned on the starboard side.

And now the pics ...

This is the port side bow - still unnailed.
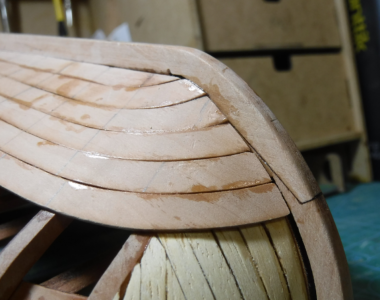
1761419737816.png

And the starboard bow, all nailed, and just not as clean as the port ...
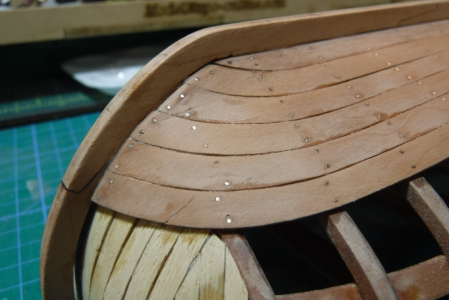
1761419764776.png

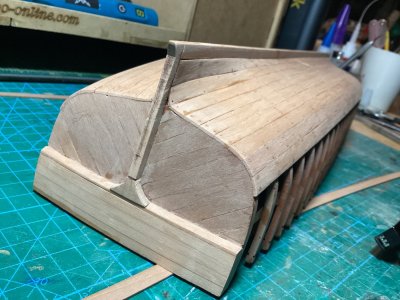
Two pics of the stern
1761419817429.png
1761419798657.png

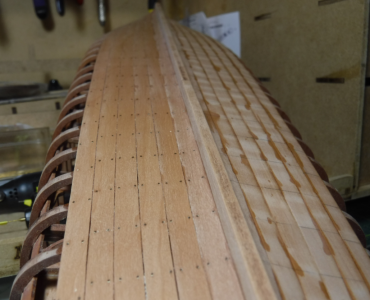
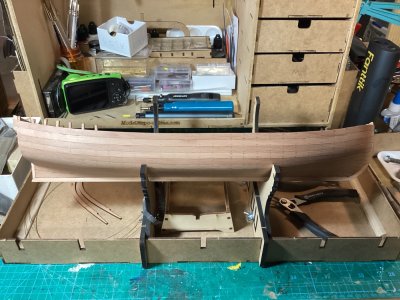
And some overall pics ...
1761419865388.png
1761419875187.png

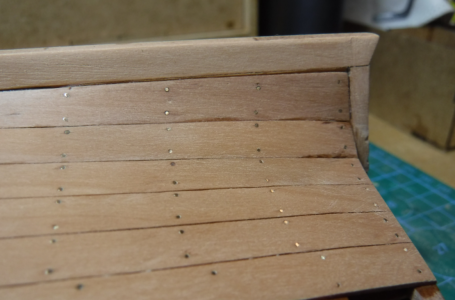
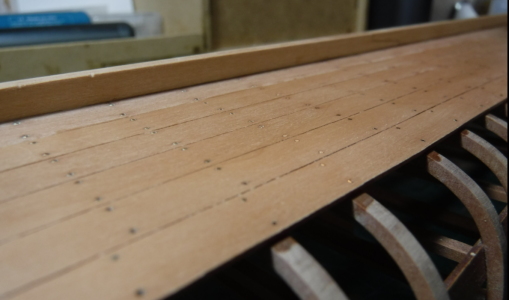
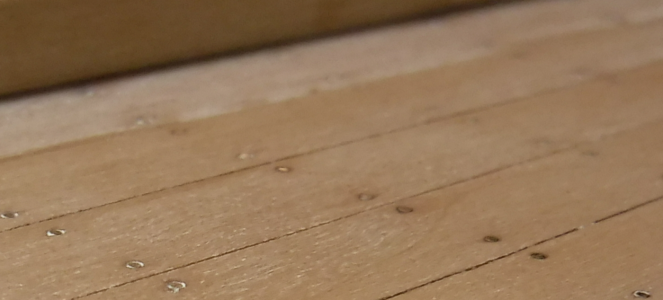
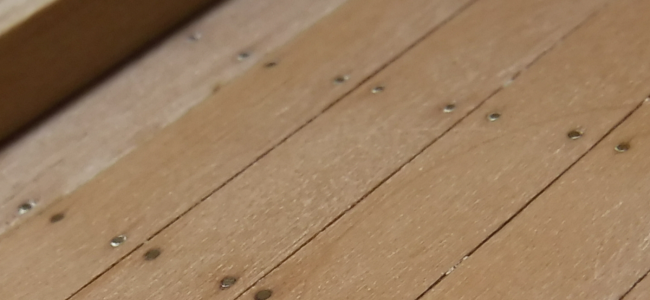
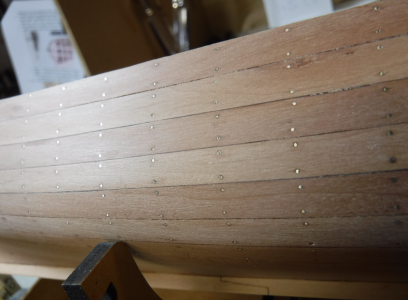
And a couple of closeups - the nails in the wood ... they look good, closeup ...
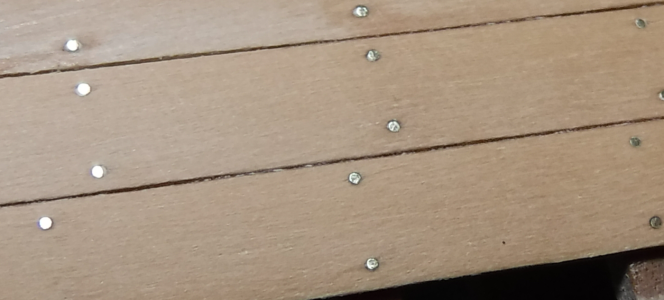
1761419928976.png1761419916484.png
1761419951100.png

Likely not gonna post again, until the hull is finished - planked, nailed and lovingly all sanded up.
 
Last edited:
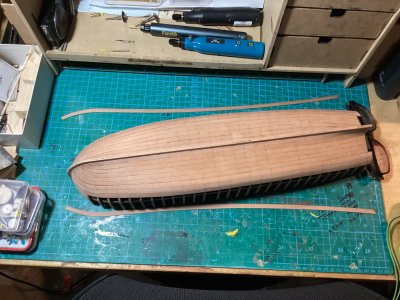
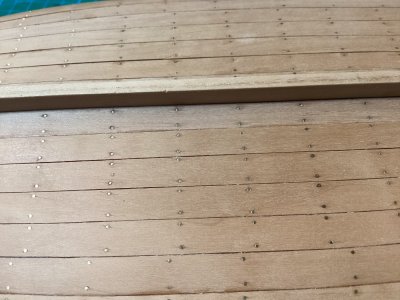
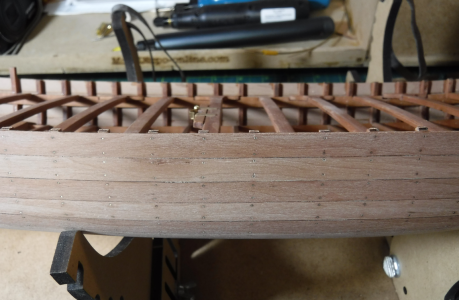
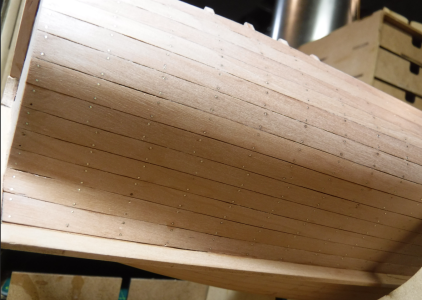
Well, planks #1-9 are nailed on. And sanded down enough I can look at em. Final sanding comes after all planks are nailed on. These pear wood planks are so plyable, with just a dip in the plank trough, and my fingers to work em into position.

Here it is, ready to have planks #10 mounted …
IMG_5742.jpeg

And a closeup…
IMG_5739.jpeg

And finally, not so close …
IMG_5731.jpeg

Sometimes, it reminds me of old hulls I’ve seen … after the paint has been stripped off.

And here’s the stern, after chopping off the extra planking …
IMG_5746.jpeg
I mangled the inside curves, next to the keel. But the planks bent quite nicely over the outside curves.
 
Last edited:
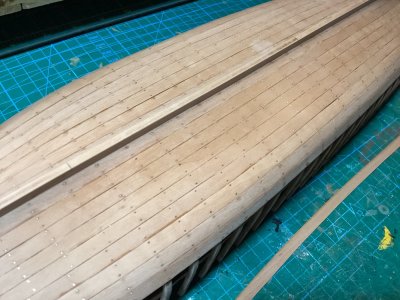
Finished planks 1-13 on starboard side. Nailed. And sanded down pretty good too - but a bit more won't hurt. Especially at the bow.

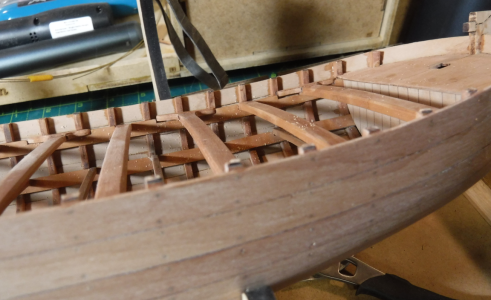
There's one more plank, #14. A short one at the stern, but it goes on after the top rail is installed. Port side is drilled but not yet nailed. Same for the bow decking.

I found that a large file works best for taking down the nails. They have ragged tips, even after being cut flush. And those tips go through sand paper and sanding pads like a brand new puppy goes through your stuff. So I file em down first, then use the normal sanding tools I use on any hull. The file rides on the nail tops - And I stop after they get smooth enough for the more fragile sanding tools - so it never bites into the wood unless I want it to.

All those nails. They look nice. Moreso after the model is stained. However, I think indentations in the wood suffice for nails. Even if painted over, indentations make it look like there are nails under the paint. And they're darker spots on the woodwork, if you only stain it - which also signify nails.

Likely I'll feel better about the nails, after they are all in, and the wood is nicely finished - stained with protective coating.

Or I could go for the weathered look - but this wood is so pretty - I will try making the model as pretty as the wood and the brass nails. Because if I don't like that, I can always weather it later.

Pics of starboard side ...
1762193944666.png
1762193979352.png
1762194004921.png
1762194017106.png
1762194038343.png
1762194122855.png
 
Last edited:
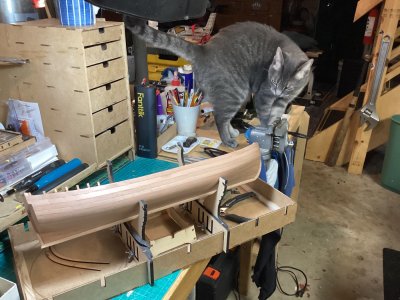
Everything has been nailed now. And, she’s well sanded, ready to have the top rails mounted along with the last plank … the short one covering the last exposed ribs at the stern.
IMG_5756.jpegIMG_5757.jpegIMG_5758.jpeg
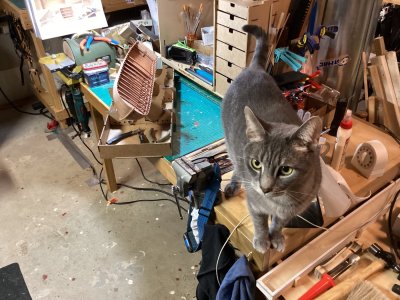
And here I am, playing the kitty card. Oh the shame.
IMG_5773.jpeg
Shameless.
IMG_5772.jpeg
 
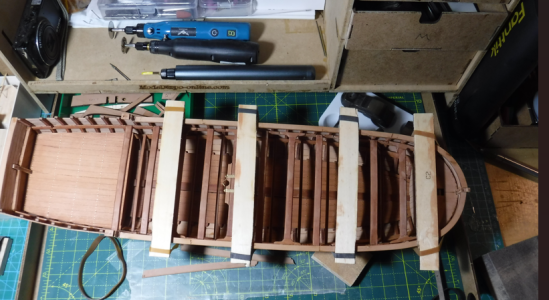
I've got the 2 main top rails dry fit to the hull now.
  • First thing to note, I didn't follow the instructions - which said to glue the curved bow rails to the hull first. Then attach the Z shaped rail conns to the rear of the main rails, then glue the main rails to the hull while also splicing them to the already mounted curved bow rails.
  • No way - not for me.
  • Instead, I spliced the bow and main rail pieces together (with the Z shaped rail conns) before mounting them to the hull. This is to me, easier to work with. And for me, it's also the easier to make the rail line up.
  • So now I've got both top rails rubber banded to the hull - so I can position them perfectly before gluing em.
Here's the pictorial log ...

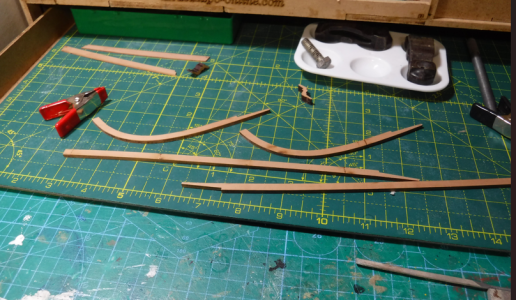
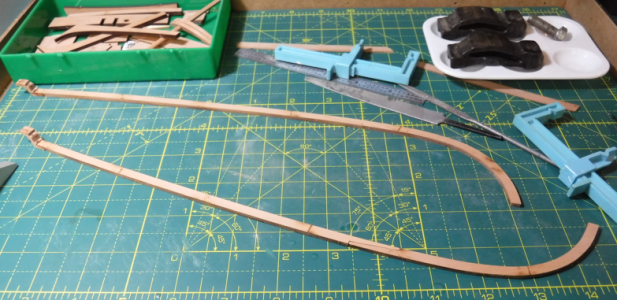
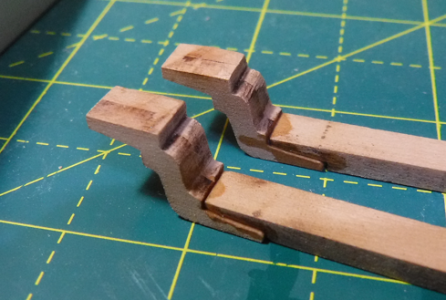
The bits that make up the top rails - curved bow sections with main rails below them. The 2 Z shaped rail connectors that connect the rear top rail to the main rail. And the rear planks in the upper left. The rear top rail (not shown) goes on top of those planks.
1762395249379.png

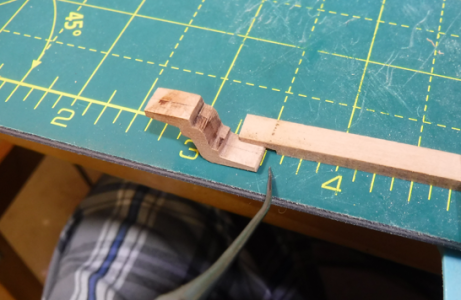
Checking the fit of main rail to the Z shaped rail conn - after scribing and cutting the main rail to fit the Z. That bent gray pointed thing is the scribe.
1762395290244.png

Showing both rails with Z shaped rail connectors attached - and ready to be sanded
1762395377994.png

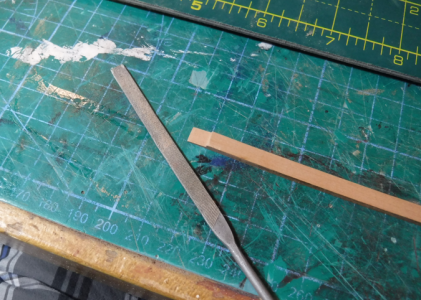
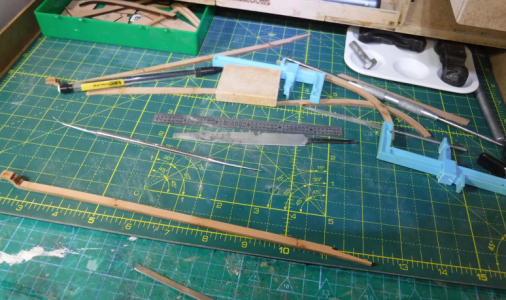
I started the cuts in the main rails with this
1762395428982.png
And finished with this
1762395445591.png

Main rail with Z shaped rail connector attached ready for splicing to a curved bow rail ...
1762395480785.png

Showing the rails spliced and ready for the hull - did some sanding too, knocking the edges down, etc.
1762395553275.png

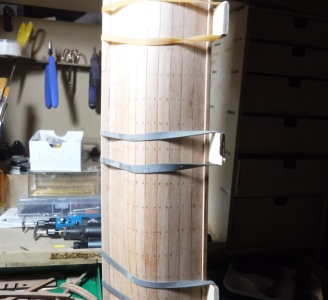
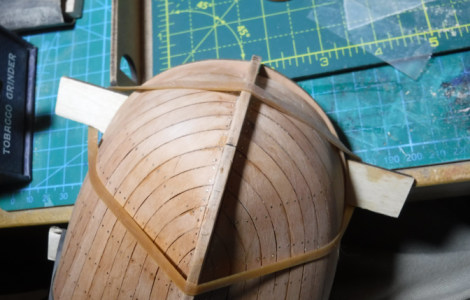
Showing the rails rigged to the hull with pieces of scrap wood from the kit and rubber bands - this lets me get em just right, before gluing em in
1762395613315.png
1762395621890.png
1762395633570.png
I'll glue em on tomorrow.
 
Yes, I believe there was a thread not too long ago about a "cat"astrophy in a garage! ROTF
Good morning. I had a "catastophy" in my yard a few years back when my Victory ended up on the floor with a broken top mast and a very guilty cat.
Tim you have done a fabulous job with your planking. The pears is looking stunning with your sanding. Bravo. Cheers Grant
 
Good morning. I had a "catastophy" in my yard a few years back when my Victory ended up on the floor with a broken top mast and a very guilty cat.
Tim you have done a fabulous job with your planking. The pears is looking stunning with your sanding. Bravo. Cheers Grant
A cat toppled your Victory eh? Ouch. All the work that goes into one of those. (Got a pic?) Geeze. Every once in a while, we get a new cat … and I’m so friggin nervous … they always get into something I’m working on, before they learn the ropes.
And thanks for your gracious comments. Does my heart good.
 
Back
Top