1/30 HMS Royal Caroline Build

Joined
Oct 27, 2018
Messages
300
Points
323

Location
Albany, Oregon
Hello everyone,
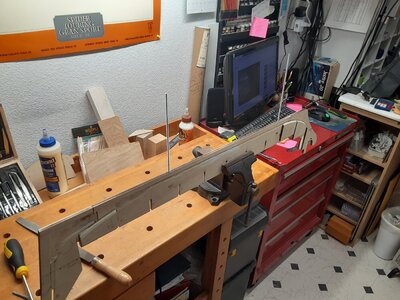
My name is Rick & I have been a model ship builder for approx 45 years. My intent for this build log is to help other builders ( & Future Builders) of this kit with all the Good, Bad & the Ugly nuances that I have come across during the construction . This particular kit is definitely not for the beginner or even the intermediate builder because there are many frustrating aspects of this kit that would leave many of builds put away into ones closet or worse-putting the kit on Ebay!!!!!!! I am not going to non-stop bash this kit, because there are a lot of Great things about the kit as well but I merely want to bring out things that will & can lead one astray and cause a lot of frustration, tears & PAIN (LOL) as some of the other builders , such as Maarten can contest too!!! I have posted just a few pics and I will post many more because I am much farther along then the pictures show. I will attempt to stay in order of chronological build steps and gladly answer any questions some may have. I won't get into to much technique type pictures unless requested because I believe every model ship builder has their own unique build style and I am not one to say your doing something wrong just because you build differently than myself!!!
To me, building a model ship, especially a expensive one such as this, should not be a race against time but rather a chance to slow my hectic life down a notch & enjoy this kit & I like to challenge myself to attempt to create a piece of Art that can be enjoyed by many for years to come!
I will keep my introduction short and from this point on, I will start to post build pics and items used and issues that have come up & look forward to talking to you all--Rick
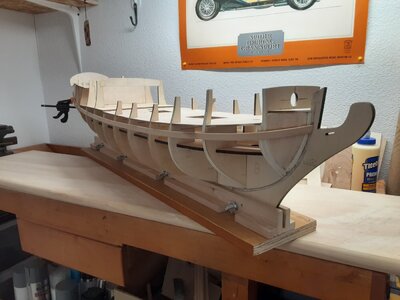
20201130_232922_resized.jpg20201226_221242_resized.jpg20201216_013702_resized (1).jpg20201216_013647_resized.jpg20201226_221422_resized.jpg20210110_190320_resized.jpg20210125_002125_resized.jpg20210221_005418_resized.jpg20210221_005430_resized.jpg20210326_000334_resized.jpg20201216_013728_resized (1).jpg20201229_000925_resized.jpg
 
Hi Rick,
Good to see another build of this great kit. I love to work on it and like you said it is certainly not a beginners kit. But when treated right it builds into one of the most impressive models available in kit form.
Which version of the kit do you have?
 
Hi Rick,
Good to see another build of this great kit. I love to work on it and like you said it is certainly not a beginners kit. But when treated right it builds into one of the most impressive models available in kit form.
Which version of the kit do you have?
Hello Maarten,
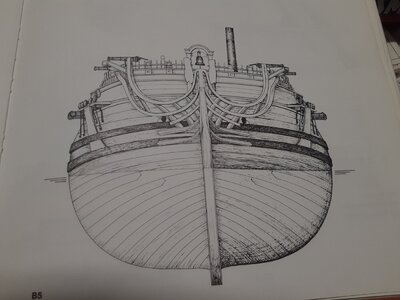
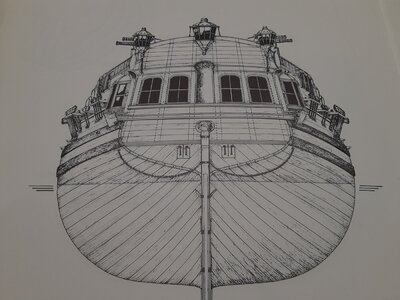
I decided to go with the Pear Wood version since I will be color scheming it to match the original version. In addition to research I have done & documents I have, I will also be using the book -Anatomy of the Ship (AOS) 'The Royal Yacht Caroline 1749" by Sergio Bellabarba & Giorgio Osculati.
As you know, a great reference book everyone should have when building any scale of the Caroline!!!!!
Hi Rick,

Yes the book is a must have but almost impossible to get, luckily I do have it in pdf.
 
The Beginning -----
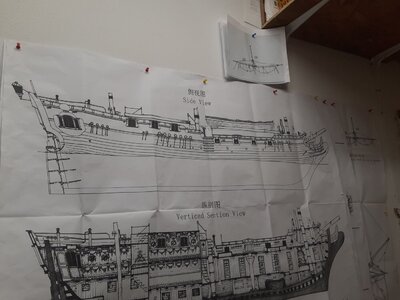
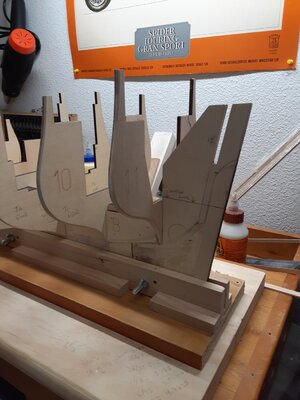
After I received the Kit, I found that the plans were not accurately scaled, mainly the the lower drawing they have marked as "Verticad Section View".
I implore everyone to double check the scale on theirs because it will really mess things up!!!! My particular copy is scaled smaller than 1:30. It almost scales out to 1:35 and Does NOT match up to the drawing above it marked : SIDE VIEW"

20201129_194422.jpg
 
Last edited by a moderator:
The next thing I determined was the Hull & Deck Planking provided was not entirely correct in scale. I am mainly using a copy of the plans I have obtained from the Royal Museum in Greenwich, England & the book- Anatomy of the Ship (AOS) 'The Royal Yacht Caroline 1749" by Sergio Bellabarba & Giorgio Osculati. I have elected to Single Plank this model and because 60% of the model will be covered by paint, carvings, etc., I will be using really nice Basswood of the correct size & thickness. A great example the kit is not correct versus the above aforementioned, there should be at midships & the Stern, 21 Strakes to the Keel from the Upper Wale and 19 Strakes at the Bow with NO steelers used at the Stern. In order to get close as possible to scale, I elected to use 3/32 x 3/8 and 1/8 x 3/8 and 5/64 x 9/32 that I milled down (Converted to Metric) to the correct plank widths. The double planking that the kit provides has way to many Strakes and the wrong width & thickness versus AOS and The Greenwich plans.
I also marked out a rabbit & Bearding line & cut/carved. Makes planking much easier!!!! I have elected not to do any modification at the stern galley. If you want to see a great modification to the stern galley, I highly recommend you go & check out the fine work Maarten is/has done on his 1:30 RC!!!!!
CAUTION 1:30 RC BUILDERS!!!!!!!!!!!
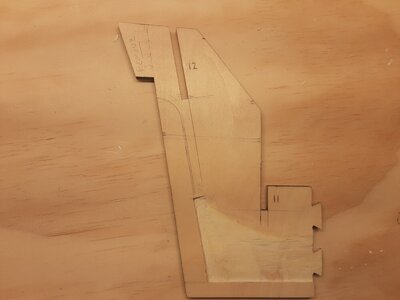
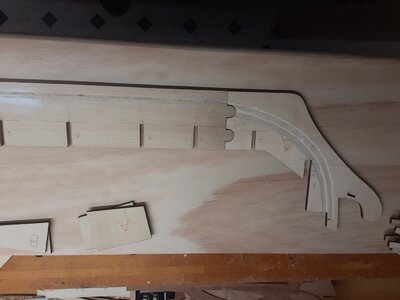
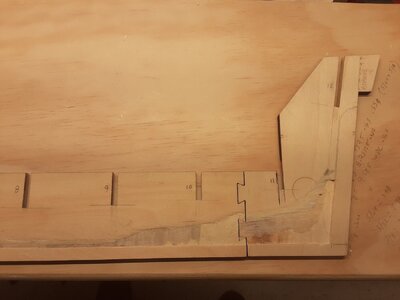
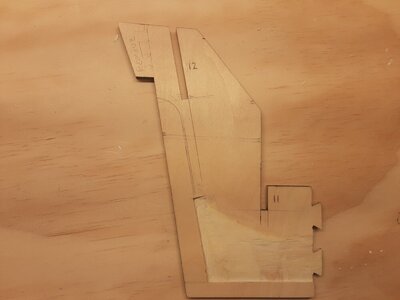
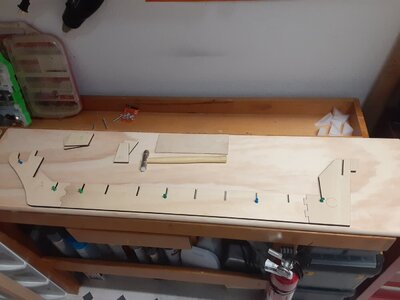
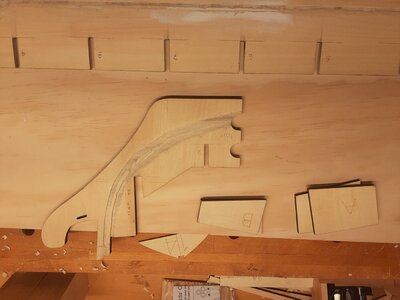
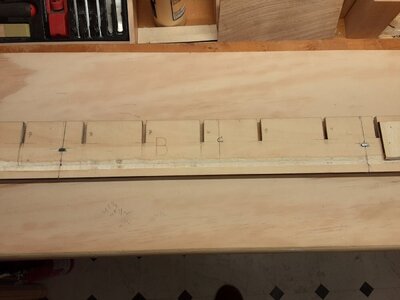
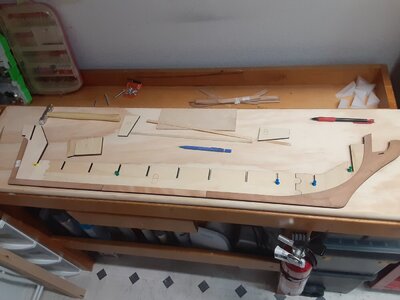
One issue I ran into is the 3 Keel parts, the entire edge where they laser cut, apparently the laser head was misaligned because all 3 sections were cut at a slight angle!!!20210521_212823.jpg20210521_212832.jpg20201216_013702_resized.jpg20201130_222418_resized.jpg20201216_013815_resized (1).jpg20201228_221735_resized.jpg20201229_000913_resized.jpg
 
Last edited by a moderator:
I will be supplying the negative & positive power for the all the lighting by using the 2 all-thread post that go through the base & pedestals. I used solid wire copper core. Not sure yet if I will go with a 3 volt or a dollhouse 12 volt type set up yet. Honestly, Initially, I wasn't going to wire up any lighting because I am old school and the model will be in a case and no fingers should ever get close enough to cause possible damage by turning on/off some type of switch for lights. Heck, 100 years from now, they may not even have today's light bulbs??????
I didn't think to get any wiring pics but you can catch glimpses of the wiring in upcoming photos.20201228_221658_resized.jpg20201229_000838_resized.jpg20201229_000851_resized.jpg
 
Last edited:
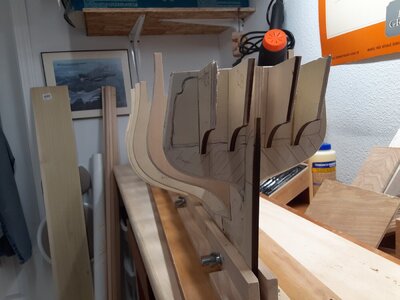
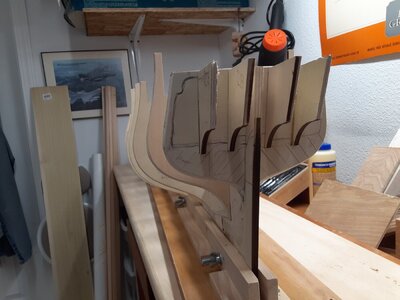
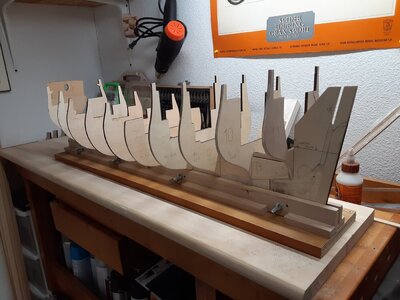
I had no issues with any of the bulkheads. One nice feature the kit provides is at the stern and the bow bulkheads, there is a taper line marked for the taper to be cut!!!!
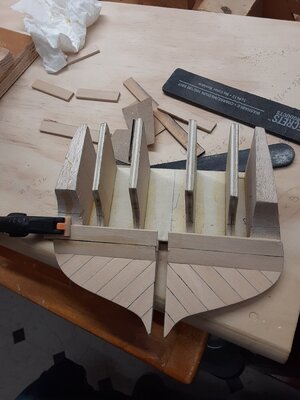
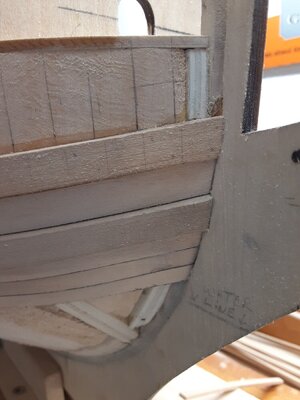
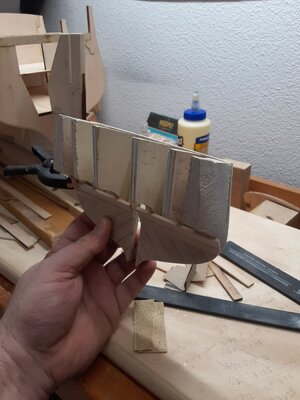
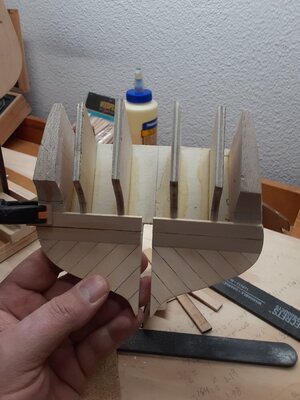
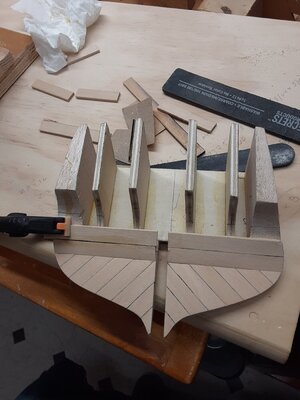
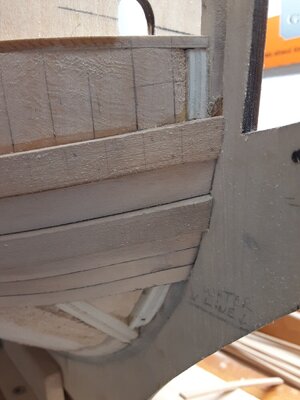
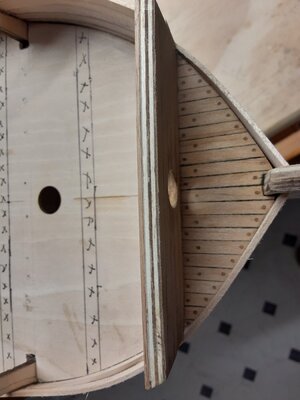
One thing I absolutely didn't like is the kit maker doesn't have the modeler plank the square tuck stern prior to commencing the planking. Ships of this size & time period NEVER were built with stern planking Tuck ends exposed for multiple reasons!!!! I added shaped balsa filler pieces to the Stern Bulkhead sides to give the planks something to rest & be glued onto & proceeded to plank.

20201226_221242_resized (1).jpg20201226_221252_resized.jpg20201226_221422_resized.jpg20210110_190304_resized.jpg20210110_190311_resized.jpg20210110_190320_resized.jpg20210521_212832.jpg
 
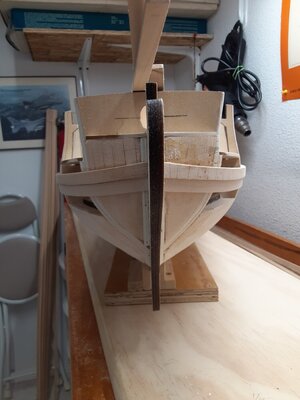
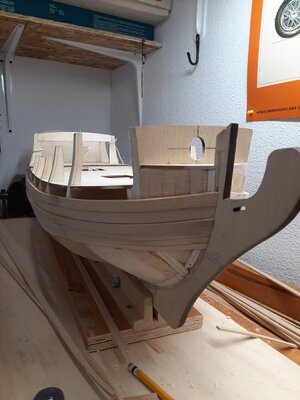
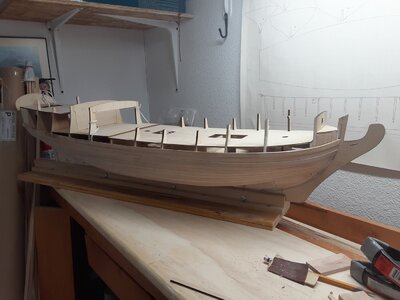
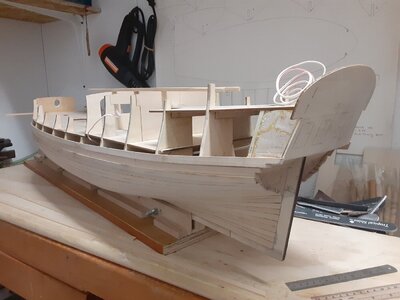
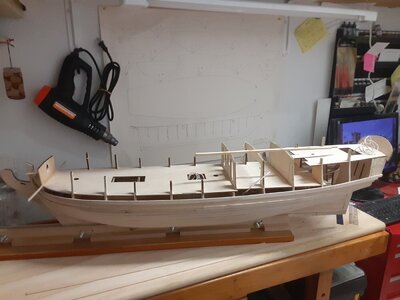
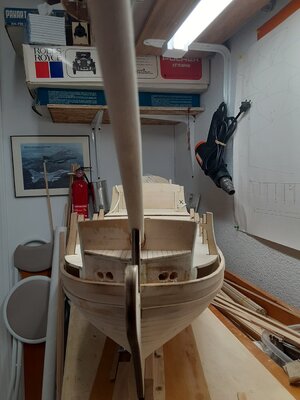
Planking commencing!! The Chinese plans provided are just incorrectly scaled copies from the book -Anatomy of the Ship (AOS) 'The Royal Yacht Caroline 1749" by Sergio Bellabarba & Giorgio Osculati. That being said, there are no actual profile or body plans provided that show planking points, plank thickness, etc. This is a problem from the git go for any one building this straight out of the box or modifying it, like I am. Since I am using basswood of the correct scale plank size & thickness, my 1st challenge was to determine the upper wale location and keeping a nice & natural rake to the run of the Wale Strakes for the entire run to the Stern (No easy task-Ask anyone who has built this kit)!!!!! The 4 Wales are 9.25 mm x 5 mm thick and a joy bending to shape (LOL). I started at the Wales since it was the most critical aspect of the ship build for the proper alignment of the Head and for the Stern.
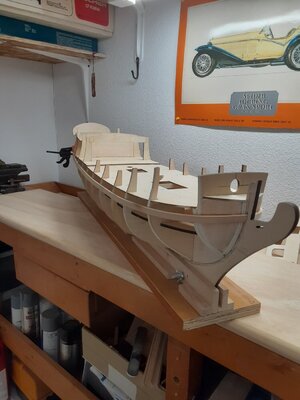
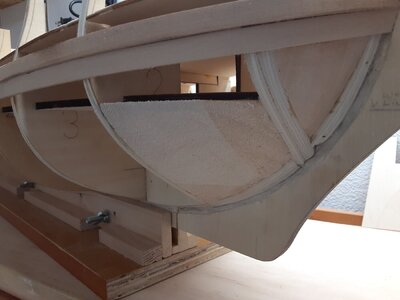
One thing I forgot to mention--- I added Balsa blocks between Bulkheads 1 & 2 because there really is nowhere for planks to be mounted & glued and since I was following the AOS to emulate the planks, I need these put into place. It helped tremendously with the bow planks!!!!!!

20210125_002116_resized.jpg20210125_002125_resized.jpg20210221_005418_resized.jpg20210221_005430 (1).jpg20210221_005442 (1).jpg20210326_000249_resized.jpg
 
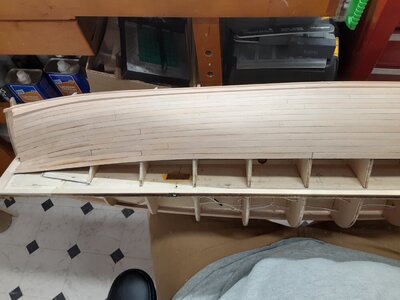
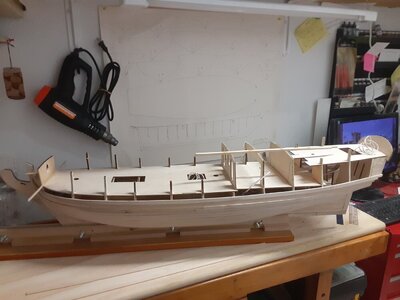
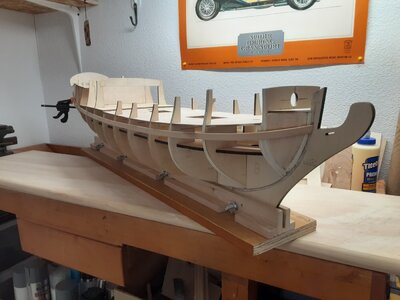
More Planking WIP (Work in Progress). In the one photo, you can see a little of the wiring as I mentioned previously.
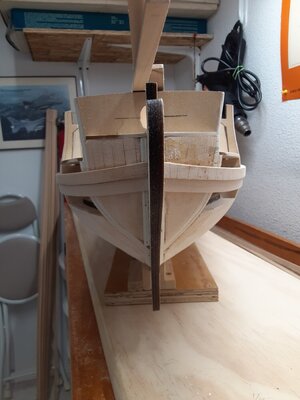
I have learned through the years to be patient & see the big picture because I know after the tree nails are added and then the final Hull Fairing is completed, the Model has a lot more transitions to go through!!!! I mark all of the the planks edges with a permanent black sharpie pen, not so much to emulate plank caulking (works well) but it helps me keep a eye on the run of the planks and insure the Strake is making a natural curve in relation to the Hulls shape.
20210326_000249.jpg20210326_000311.jpg20210326_000334_resized.jpg20210329_005516 (1).jpg20210329_005531 (1).jpg20210403_000256 (1).jpg20210403_000305.jpg20210418_005331.jpg
 
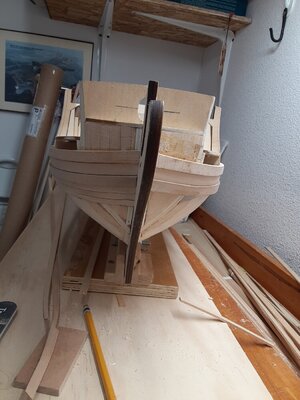
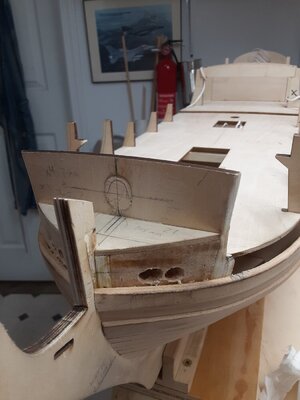
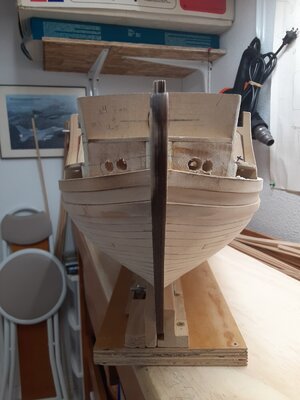
I plugged up the Bowsprit Bulkhead hole because the pre-drilled kit hole is to big and a oval shape????? I re-drilled it and tapered in the correct Bowsprit angle. You can also see the 4 anchor Hawse holes I pre drilled. I did this at this point because it is much easier to get the correct angle and spacing needed. That will help tremendously when I have to make the 4 holes through the Basswood planks because Basswood, even though its technically a hard wood, it is still soft and splits super easy when making large holes end to end on the same plank!!!!

20210427_225511.jpg20210427_233205.jpg20210427_225525.jpg20210429_235053.jpg
 
Back
Top