- Joined
- Dec 20, 2022
- Messages
- 58
- Points
- 58

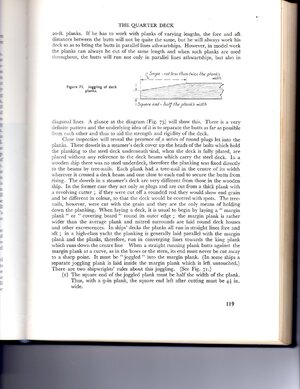
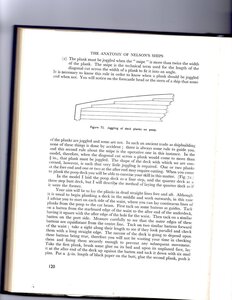
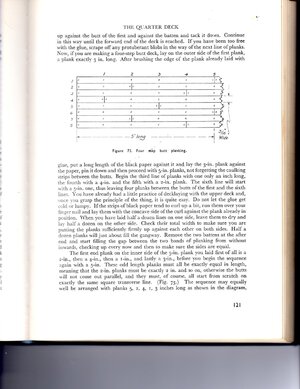
Every ship of the period from 1750 to mid 1800's That I have seen has tapered deck planks. Kit manufacturers supply scored sheets for deck planking because it is simple to apply and cheap to make. The "rule" was that if the end of the plank, where it meets the waterway (or Margin plank) could not be less than half the width of the plank. The "joggling" rules also include the "Sniping" of the plank, which must be at least twice the width of the plank. This is clearly explained on pages 119 and 120 in "The Anatomy of Nelsons Ships" Perhaps I can figure out how to post these pages.
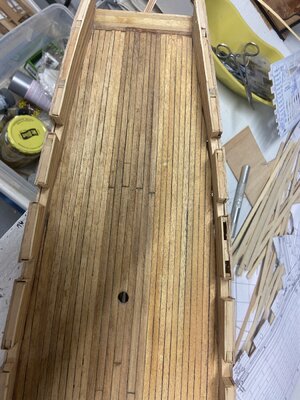
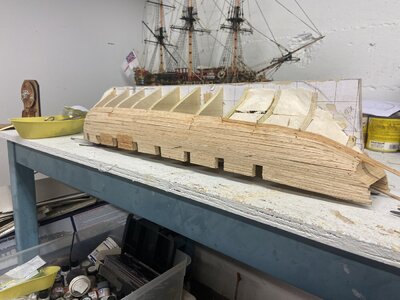
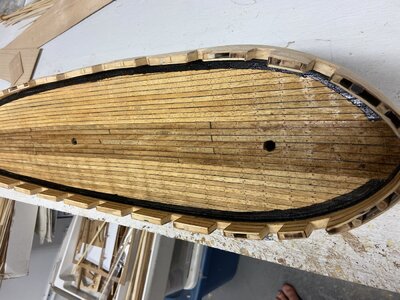
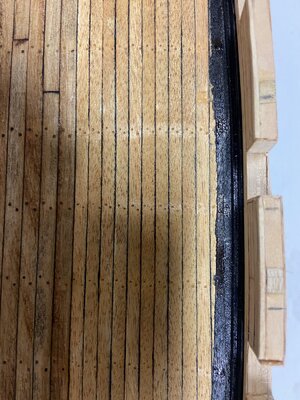
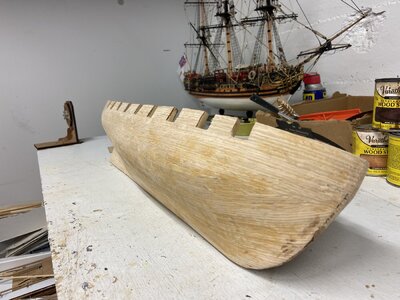
The method I used was to make a jig to duplicate the actual size and curvature of the deck. The quarter deck, forecastle, and gun deck each required a jig. I then made a substrate of 1/32" basswood sheet the exact shape of the deck, and pinned that to the jig. Then, I used 1/32" thick basswood strips for the actual planks. These planks were individually tapered, cut to length ( I used a four step butt plank pattern) and glued to the substrate. I cut strips of dark brown art paper set on edge to simulate the caulking. I used clear Epoxy to glue everything. You can do two rows of planking at a time, then let the epoxy harden. The waterway, or margin board , with the planks properly " Joggled" is the final part to add - again using the art paper for the caulking.
The final part is to trim the paper and glue with a shaving blade and sand the finished deck. I would recommend adding a couple of coats of varnish and a fine sanding.. Remove the deck assembly - the substrate and planks - which is 1/16" thick, and fit to the ship. It may require some sanding around the edges
This takes some time and work, but it produces an authentic looking deck and is worth the extra effort!


