Thanks Allan, I will look at it before I start planking.Look at the four part by Chuck Passaro. Part 1 is below, It is quite helpful regarding the edge bending.
-

Win a Free Custom Engraved Brass Coin!!!
As a way to introduce our brass coins to the community, we will raffle off a free coin during the month of August. Follow link ABOVE for instructions for entering.
-

PRE-ORDER SHIPS IN SCALE TODAY!
The beloved Ships in Scale Magazine is back and charting a new course for 2026!
Discover new skills, new techniques, and new inspirations in every issue.
NOTE THAT OUR FIRST ISSUE WILL BE JAN/FEB 2026
You are using an out of date browser. It may not display this or other websites correctly.
You should upgrade or use an alternative browser.
You should upgrade or use an alternative browser.
Allan, I did a search for a planking fan and found the following post:the breadth of each strake needs to be determined and most find that lining off and marking the frames using tick strips is both easy and accurate.
Thread 'Planking Fan'
https://shipsofscale.com/sosforums/threads/planking-fan.8497/
This thread is also where I found the beginners guide to planking. Lots of good information on this site. I will use the planking fan to determine the taper I need on the planks. Then mark the frames with measurements.
Thanks for your help.
A planking fan is a great tool, but there is a lot more to it when it comes to spiling or edge bending the planks with heat. The video is a big help as is the article by David Antscherl on spiling planks. Some use a combination of both. It is available in several places but the following should work. https://www.sdshipmodelersguild.org/documents/presentations/APrimerOnPlanking.pdf Another good video is
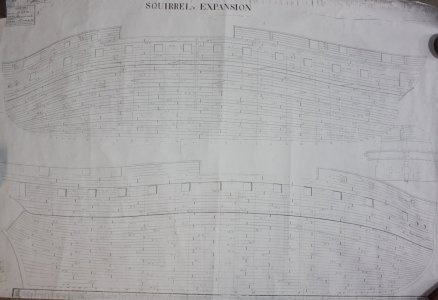
I prefer a hot air gun to an iron, but both work. Look at some planking expansion drawings pm the RMG Collections site and you will see that they were never straight pieces of wood nor were they the same breadth their entire length. An example is below. It shows the internal planking on top and the external below. Your boat will be simpler, but this will give you an idea of how strake strips of stock are not useful unless modified properly. Some of the latest kits coming out have spiled planks instead of strip stock which saves a lot of work.
Allan
Allan

Last edited:
Allan, thanks for all the great information. I have watched the 5 videos and read through the article you mentioned. I am using the heat gun because I already had one and it works great. In one of Chuck’s videos he mentioned using CA glue for planking, so I ordered some. I feel confident that my first attempt at planking will go well, armed with the knowledge you have provided.The video is a big help as is the article by David Antscherl on spiling planks.
In wooden ship building only one thing is true: If it’s not taking time, you’re not getting it right.Started fairing my hull today, using the laser char as a sanding guide.
View attachment 547567
I used a stainless steel measuring cup and a heat gun to bend a plank to check the fit at the bow.
View attachment 547568
View attachment 547569
View attachment 547570
Checking the fit and sanding more.
View attachment 547571
View attachment 547572
Worked about an hour today, happy with my progress. I can see this will take some time to get it right.
I am learning patience on this project and when I am finished, the time taken to get it right will show,In wooden ship building only one thing is true: If it’s not taking time, you’re not getting it right.
Today I started planning my planking layout, then I glued the transom on. I used the top 2 planks as a guide to help center the transom on the keel. Once the glue is dry I will need to fair the transom. I marked the position of the top 2 planks on the bulkhead as a guide for gluing.
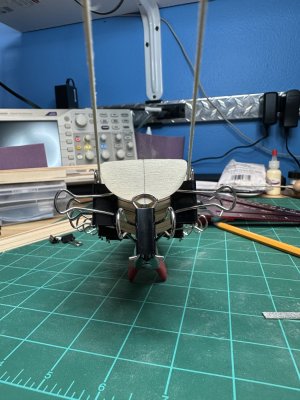
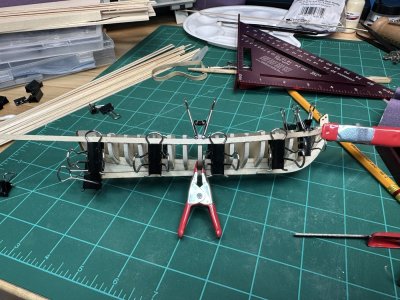
Tomorrow I will fair the transom and glue the first 2 planks, then the 2 garboard planks. Then I will layout a plan for the rest of the planks. Slow and steady wins the race.


Tomorrow I will fair the transom and glue the first 2 planks, then the 2 garboard planks. Then I will layout a plan for the rest of the planks. Slow and steady wins the race.
"Slow and steady wins the race."Today I started planning my planking layout, then I glued the transom on. I used the top 2 planks as a guide to help center the transom on the keel. Once the glue is dry I will need to fair the transom. I marked the position of the top 2 planks on the bulkhead as a guide for gluing.
View attachment 548016
View attachment 548017
Tomorrow I will fair the transom and glue the first 2 planks, then the 2 garboard planks. Then I will layout a plan for the rest of the planks. Slow and steady wins the race.
You are definitely on track to win this race!
Rob
Thanks RobYou are definitely on track to win this race!
Today I faired the transom and installed the 2 sheer planks and the 2 garboard planks.
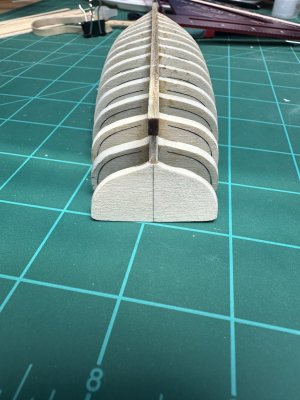
Transom fairing done.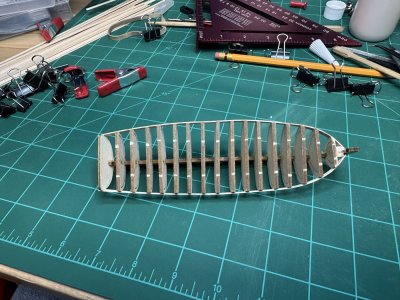
Top 2 planks done.
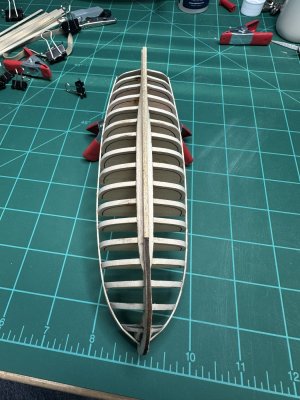
Garboard planks done. I promise the keel is straight, after looking at the picture I thought it was twisted but it’s just the char, it was sanded off in some spots when I was fairing the hull.
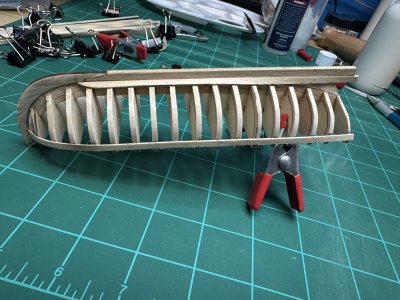
Side view of the garboard plank.
The hard part of planking is over, now to finish the rest.

Transom fairing done.

Top 2 planks done.

Garboard planks done. I promise the keel is straight, after looking at the picture I thought it was twisted but it’s just the char, it was sanded off in some spots when I was fairing the hull.

Side view of the garboard plank.
The hard part of planking is over, now to finish the rest.
In the last photo the garboard strake looks like it is a bit blunt. It seems like the next plank is going to have to make a rather abrupt turn to lay flat. Might just be a trick of perspective because it looks more gradual in the preceding photo.Today I faired the transom and installed the 2 sheer planks and the 2 garboard planks.
View attachment 548202
Transom fairing done. View attachment 548203
Top 2 planks done.
View attachment 548204
Garboard planks done. I promise the keel is straight, after looking at the picture I thought it was twisted but it’s just the char, it was sanded off in some spots when I was fairing the hull.
View attachment 548205
Side view of the garboard plank.
The hard part of planking is over, now to finish the rest.
Yes, it’s the angle of the picture. I thought long and hard about how to make the garboard planks. I looked at lots of pictures from other builds and in the end I followed the instructions and plans, they were written by Chuck Passaro. I watched his videos on planking and I trust his work. I studied the pictures of his build of this kit to make sure I understand the layout of the planks. I will take my time and mark the placement of all the planks on the bulkheads before adding more planks.In the last photo the garboard strake looks like it is a bit blunt. It seems like the next plank is going to have to make a rather abrupt turn to lay flat. Might just be a trick of perspective because it looks more gradual in the preceding photo.
What's the scope for?Welcome to my build log! This is my first wooden ship kit. I finally cleared my workbench so I can get started.
View attachment 547238
The kit comes with a basic set of tools, paint and glue. I chose to use Elmer’s carpenters glue. I also bought some other tools and supplies.
View attachment 547239
I attached my build plans to my computer monitor which is on an arm mounted to my bench.
View attachment 547240
I also bought a notebook to journal my build and keep track of the time I spend on my build.
View attachment 547241
I started off by checking the parts list and making sure everything was in good condition. Next, I started on the keel, I dry fitted everything, created a rabbet and glued it all together.
View attachment 547242
View attachment 547243
Next, I dry fitted all the bulkheads. I decided to start gluing the bow bulkhead, it attaches to the stem and it was easier to square first.
View attachment 547244
View attachment 547245
View attachment 547246
I clamped everything to a small pocket square while the glue sets.
So far I’m off to a good start.
One of my hobbies is Vintage Fender Tube Amp repair, not much use on a wooden boat. I have too many hobbies.What's the scope for?
This morning I built a plank bending jig. Several planks bend edgewise at the bow.
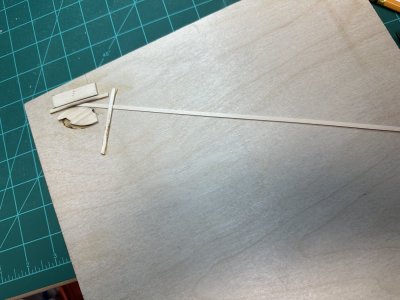
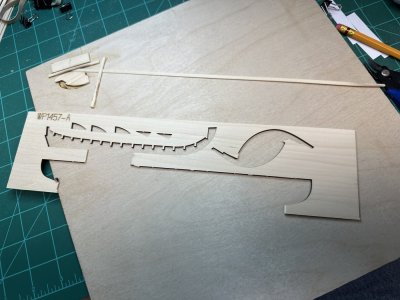
I cut out some scrap pieces and glued them to a piece of plywood. I used spare planks to hold the plank from twisting when bending. It got me close but I finished bending the planks while clamped in place.
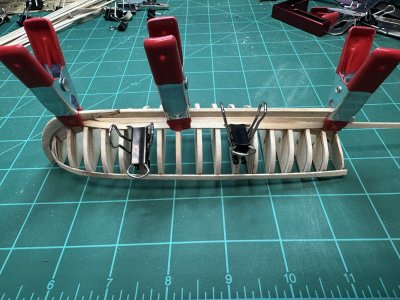
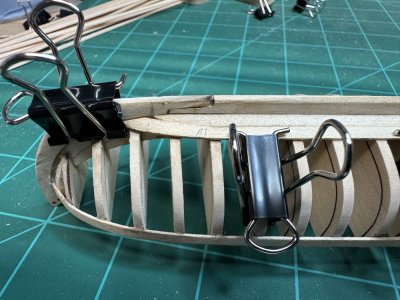
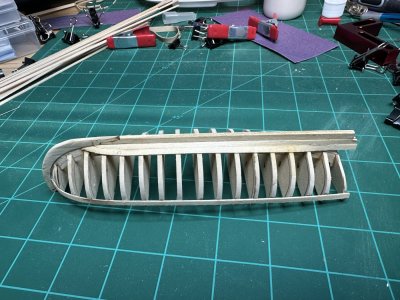
Once I was happy with the fit I glued it in place.
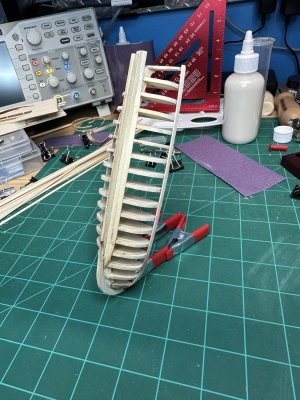
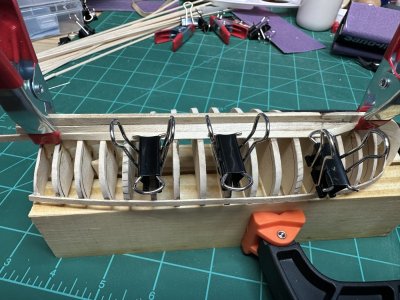
I have the port side about ready to glue.
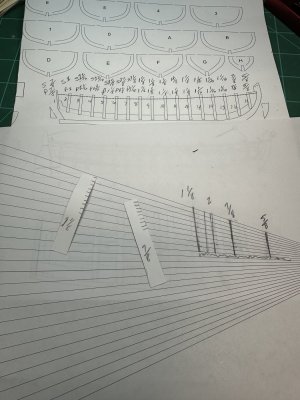
I also started mapping the taper of the planks. Marking the bulkheads at such a small scale got messy fast. Time for a break


I cut out some scrap pieces and glued them to a piece of plywood. I used spare planks to hold the plank from twisting when bending. It got me close but I finished bending the planks while clamped in place.


Once I was happy with the fit I glued it in place.


I have the port side about ready to glue.

I also started mapping the taper of the planks. Marking the bulkheads at such a small scale got messy fast. Time for a break
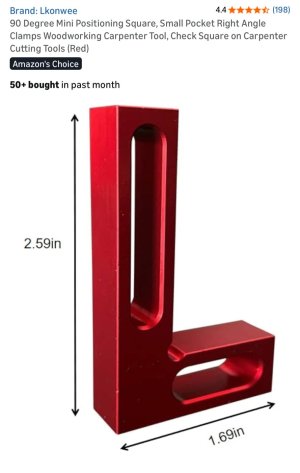
Very well done. By the way, the little square you are using to correctly align bulkhead and keel seems very useful. Where did you find it?It was a good first day, all the bulkheads are glued in place and I added the front bow fillers. I will let the glue set overnight before fairing the hull.
View attachment 547315
View attachment 547316
View attachment 547317
View attachment 547318
In the above picture, I drew a line on the keel at the bottom of the bulkhead notches so I could see when the bulkheads were pushed down to the bottom. The bottom of the notch is about the same position as the laser cutout on the bulkhead.
View attachment 547319
View attachment 547320
With all the bulkheads in place I verified the alignment, not bad for my first build.
Total build time at this point is 2 hours and 35 minutes, not including time for the glue to dry.
One day in and I’m hooked!!
- Joined
- Oct 1, 2023
- Messages
- 2,001
- Points
- 488

An excellent set of tools and techniques.Started fairing my hull today, using the laser char as a sanding guide.
View attachment 547567
I used a stainless steel measuring cup and a heat gun to bend a plank to check the fit at the bow.
View attachment 547568
View attachment 547569
View attachment 547570
Checking the fit and sanding more.
View attachment 547571
View attachment 547572
Worked about an hour today, happy with my progress. I can see this will take some time to get it right.
I don't know what you've been building prior to this kit but you surely come equipped with know how. I'll be following this build.
Happy modeling


