
- Home
- Forums
- Ships of Scale Build Logs
- Super Detailing Static Models / Other Genres
- Historical Trailways, Guns, Aircraft, and Cars
You are using an out of date browser. It may not display this or other websites correctly.
You should upgrade or use an alternative browser.
You should upgrade or use an alternative browser.
1930 Bentley Blower by Aifix 1/12 build log
- Thread starter François
- Start date
- Watchers 34
-
- Tags
- 1930 airfix bentley blower

I love your work - having so much ideas, how to bash this kit
Thank you pugwash and uwek.
Like I said in my last post, I'm just about ready to install the engine but I've hid a catch-22. I can't install the engine before finalizing the hose/tubing/wire routing, but I can't finalize the routing before installing the bulkhead assy, but I can't install the bulkhead before installing the ingene... see my dilemma? So I figured out an assembly sequence that permits me to get everything in place. It's tenions and complicated but doable. But first, I have to finish wiring the dashboard. Here I hit another snag. To do this wiring, I need to install the dashboard on the bulkhead assy but if I do this, I won't be able to eventually install the body because the dashboard is to wide. On the real car that's the way it's done but for some reason, I can't. It's probably due to the fact that I based my bodywork on the kit's body that might not be 100% accurate. So the solution I came up with is to print a dashboard back plate that is narrower so the body will fit and that has holes in the back to receive the different wires. The finished dashboard will be installed only once the body is in place. I might even glue the board to the body, that way I could remove the body to better show the details. Here are some pictures.
Dashboard on bulkhead assy (real car). You can see the ton of wires and hoses.

My bulkhead assy with a fraction of wires and hoses.

The almost completed 3d model of the dashboard, the board will be made from aluminium. I'll try to replicate the swirl patterns on the front face. The bezels, switchs and knobs will be 3d printed.

The body doesn't fit if the dashboard is already in place.

Back plate solution, the body will fit over ity

Back plate in place, you can see the small holes to receive wires.

I made new higher candles to be able to flip the car once the engine and bulkhead are in place.

here are some more pictures of the fuel line snd fuel pump install.


Like I said in my last post, I'm just about ready to install the engine but I've hid a catch-22. I can't install the engine before finalizing the hose/tubing/wire routing, but I can't finalize the routing before installing the bulkhead assy, but I can't install the bulkhead before installing the ingene... see my dilemma? So I figured out an assembly sequence that permits me to get everything in place. It's tenions and complicated but doable. But first, I have to finish wiring the dashboard. Here I hit another snag. To do this wiring, I need to install the dashboard on the bulkhead assy but if I do this, I won't be able to eventually install the body because the dashboard is to wide. On the real car that's the way it's done but for some reason, I can't. It's probably due to the fact that I based my bodywork on the kit's body that might not be 100% accurate. So the solution I came up with is to print a dashboard back plate that is narrower so the body will fit and that has holes in the back to receive the different wires. The finished dashboard will be installed only once the body is in place. I might even glue the board to the body, that way I could remove the body to better show the details. Here are some pictures.
Dashboard on bulkhead assy (real car). You can see the ton of wires and hoses.
My bulkhead assy with a fraction of wires and hoses.
The almost completed 3d model of the dashboard, the board will be made from aluminium. I'll try to replicate the swirl patterns on the front face. The bezels, switchs and knobs will be 3d printed.
The body doesn't fit if the dashboard is already in place.
Back plate solution, the body will fit over ity
Back plate in place, you can see the small holes to receive wires.
I made new higher candles to be able to flip the car once the engine and bulkhead are in place.
here are some more pictures of the fuel line snd fuel pump install.
- Joined
- Apr 21, 2018
- Messages
- 506
- Points
- 268

This is the last thing you want to hear, Francois.
An unwritten rule/law in any modelling project, especially a plastic kit, is to do a dry fit of all major assemblies before painting etc....just to highlight the dilemma you now have.
This is common practice when restoring old vehicles.
Having followed this build and been amazed by your skills and ingenuity, I have no doubt your plan is a PLAN!
Like any vehicle of this complexity it is always a shame the completed bodywork will hide much of what you have done.
Back in the day, motorcars such as Bentley's, Rolls Royces were delivered to a customers chosen coach builders, where the body work was finally fitted.
To me it's an obvious extension to your methods to complete this iteration without the body, thus leaving all your clever work for all to see.
Then build a version of a completed motorcar.
Just saying.

As pugwash said, you kinda backed yourself in a corner but it looks like you have a good plan to do your workaround. My other main hobby is hot rods. My current car is a replica '31 Ford Roadster. After putting a couple simpler cars together without doing a trial fitup before this one, completely assembled the car together except for wiring then "blew" it apart again to correct the dozen or so different manufacturer's interpretation of parts.
I.m completely astounded by your planning and skills building this model
I.m completely astounded by your planning and skills building this model
Thanks,
Finding solutions on how to get out of said corner is a big part of the fun and satisfaction I get from model building. Most often, the solution will give me more at the end, a bit like my dashboard problem. If all goes to plan, onces completed, I'll be able to remove the coachwork to show the innards and still have all the dashboard wiring in place. I forsee many more even darker corners up ahead that I will share as the arise.
Finding solutions on how to get out of said corner is a big part of the fun and satisfaction I get from model building. Most often, the solution will give me more at the end, a bit like my dashboard problem. If all goes to plan, onces completed, I'll be able to remove the coachwork to show the innards and still have all the dashboard wiring in place. I forsee many more even darker corners up ahead that I will share as the arise.

You continue to amaze me ! Absolutely stunning !
Alot was done today.
-All wiring and plumping of the bulkhead assy is complete
View attachment 20231122_090355.mp4


-the engine and bulkhead assy are installed, and when connected to a battery, the engine turns along with the drive shaft differentiel and rear wheels


-speedo drive housing installed on transmission and wired to dash,


-inclined floor board (the one just in front of the pedal) installed.

Here sre some then and now comparison shots
1930

2023

1930
2023

And here's a link to my build album

-All wiring and plumping of the bulkhead assy is complete
View attachment 20231122_090355.mp4
-the engine and bulkhead assy are installed, and when connected to a battery, the engine turns along with the drive shaft differentiel and rear wheels
-speedo drive housing installed on transmission and wired to dash,
-inclined floor board (the one just in front of the pedal) installed.
Here sre some then and now comparison shots
1930
2023
1930
2023
And here's a link to my build album
- Joined
- Jul 26, 2013
- Messages
- 380
- Points
- 158

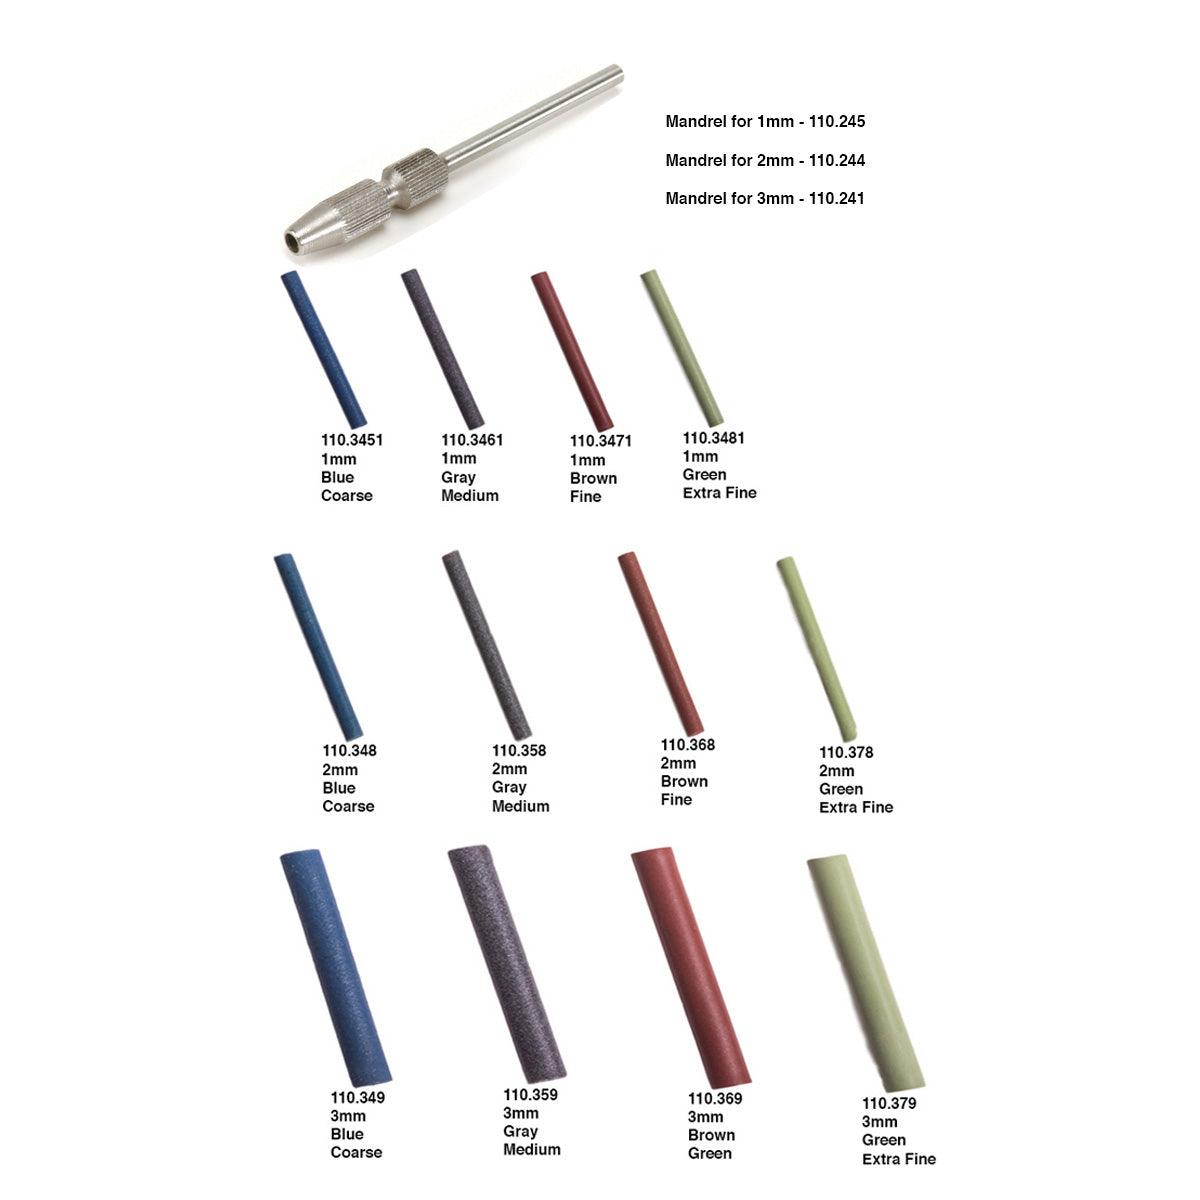
For the engine turned dash, you could make it the same way as the original- Jewelers use polishing rods down to 1mm diameter, chuck one into your drill press and use a milling vise to move the work as you create the pattern. Results could be spectacular!
 www.ottofrei.com
 www.cratex.com
Ottotech by EVE Germany Flexacrylic Polishing Rods
Ottotech Flexacrylic is made by EVE of Germany. Polishing compounds are suspended in an acrylic based material that is flexible and long lasting. These Flex Polishers are ideal for reaching into hard to get to areas. They mount directly in specially designed mandrels which are available...
www.ottofrei.com
Engine Turning Rods & Sticks | CRATEX Abrasives
Buy CRATEX sticks for engine turning at fantastic prices. Choose cross-section, grit texture and quantity and we process your order same day. FREE delivery for $149+ orders.
www.cratex.com
Absolutely fantastic.
Thank you all.
Peppleworm, the challenge with the engine turned dash will be to keep it to scale. I guesstimate the full scale turning tool dia to be somewhere between 1/2" to 3/4", so scaled down would be 0.04" to 0.062". Not sure what I could use as a tool but I will definatly look at what jewellers use.

Peppleworm, the challenge with the engine turned dash will be to keep it to scale. I guesstimate the full scale turning tool dia to be somewhere between 1/2" to 3/4", so scaled down would be 0.04" to 0.062". Not sure what I could use as a tool but I will definatly look at what jewellers use.
I few more details were done today.
Hooked up the steering
View attachment 20231123_120637.mp4
Attached the gas pedal to throttle linkage
View attachment 20231123_112600.mp4
Added the blower manifold copper oil line

Added the starter ground cable

Hooked up the steering
View attachment 20231123_120637.mp4
Attached the gas pedal to throttle linkage
View attachment 20231123_112600.mp4
Added the blower manifold copper oil line
Added the starter ground cable
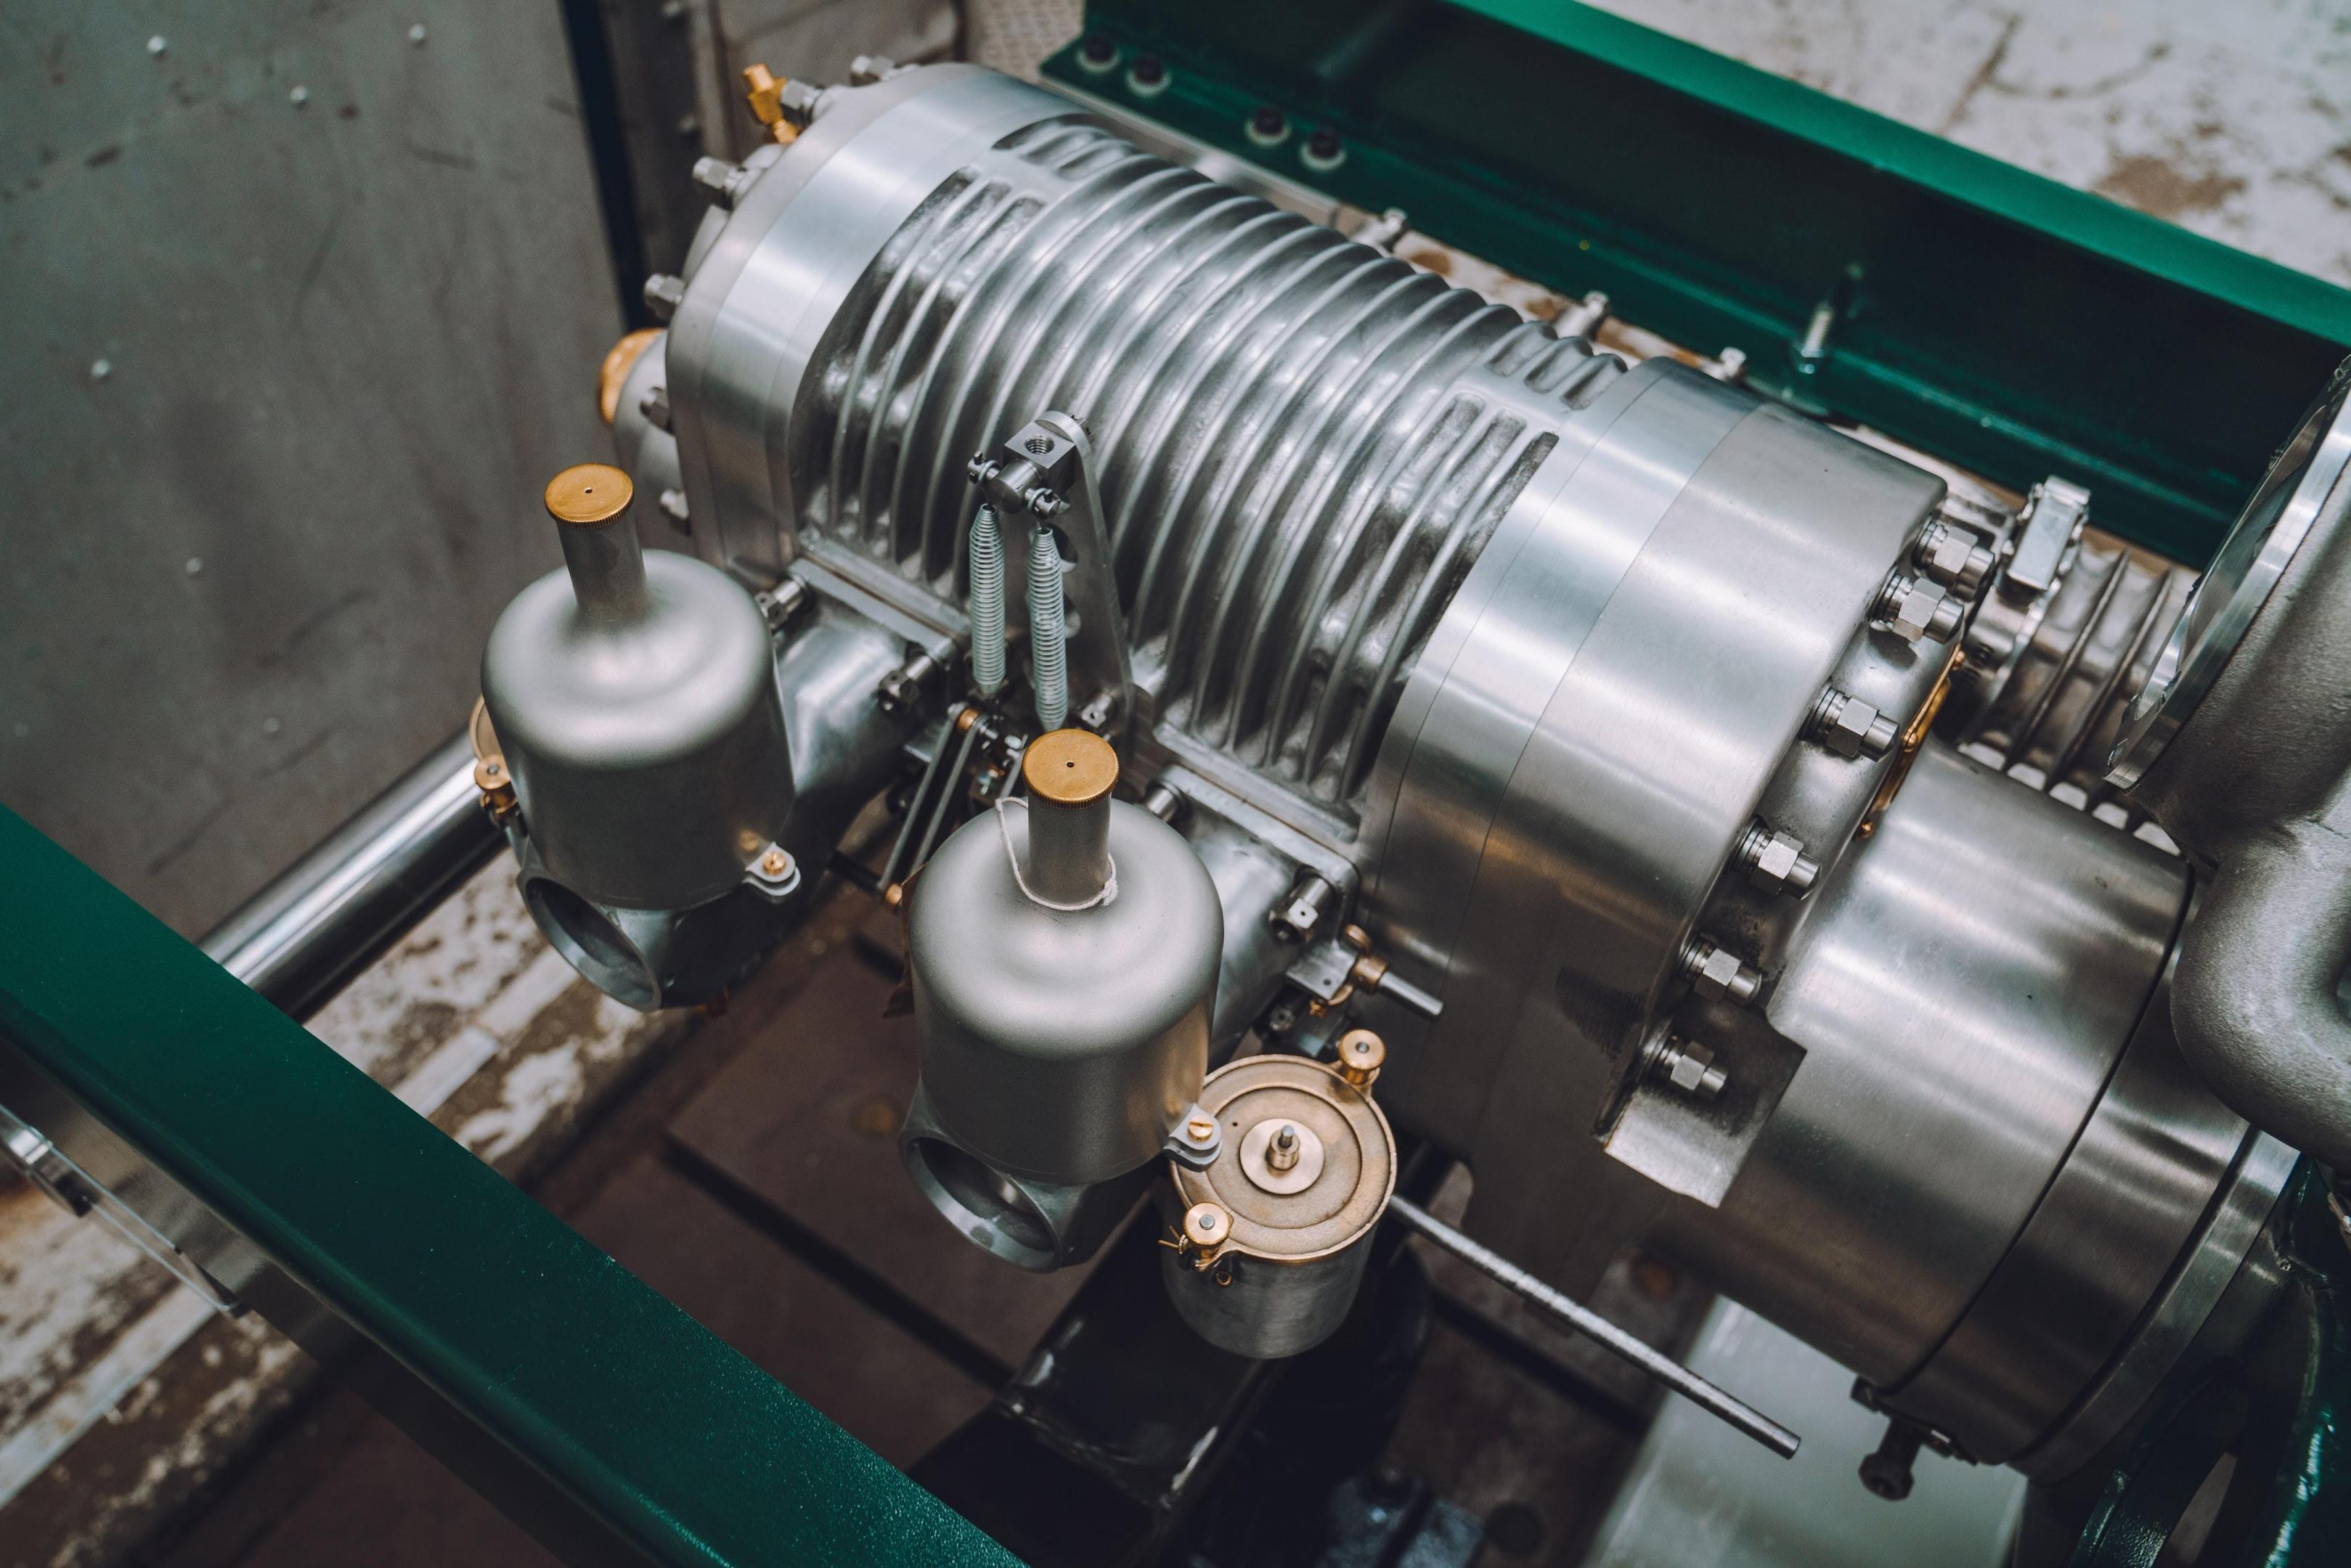
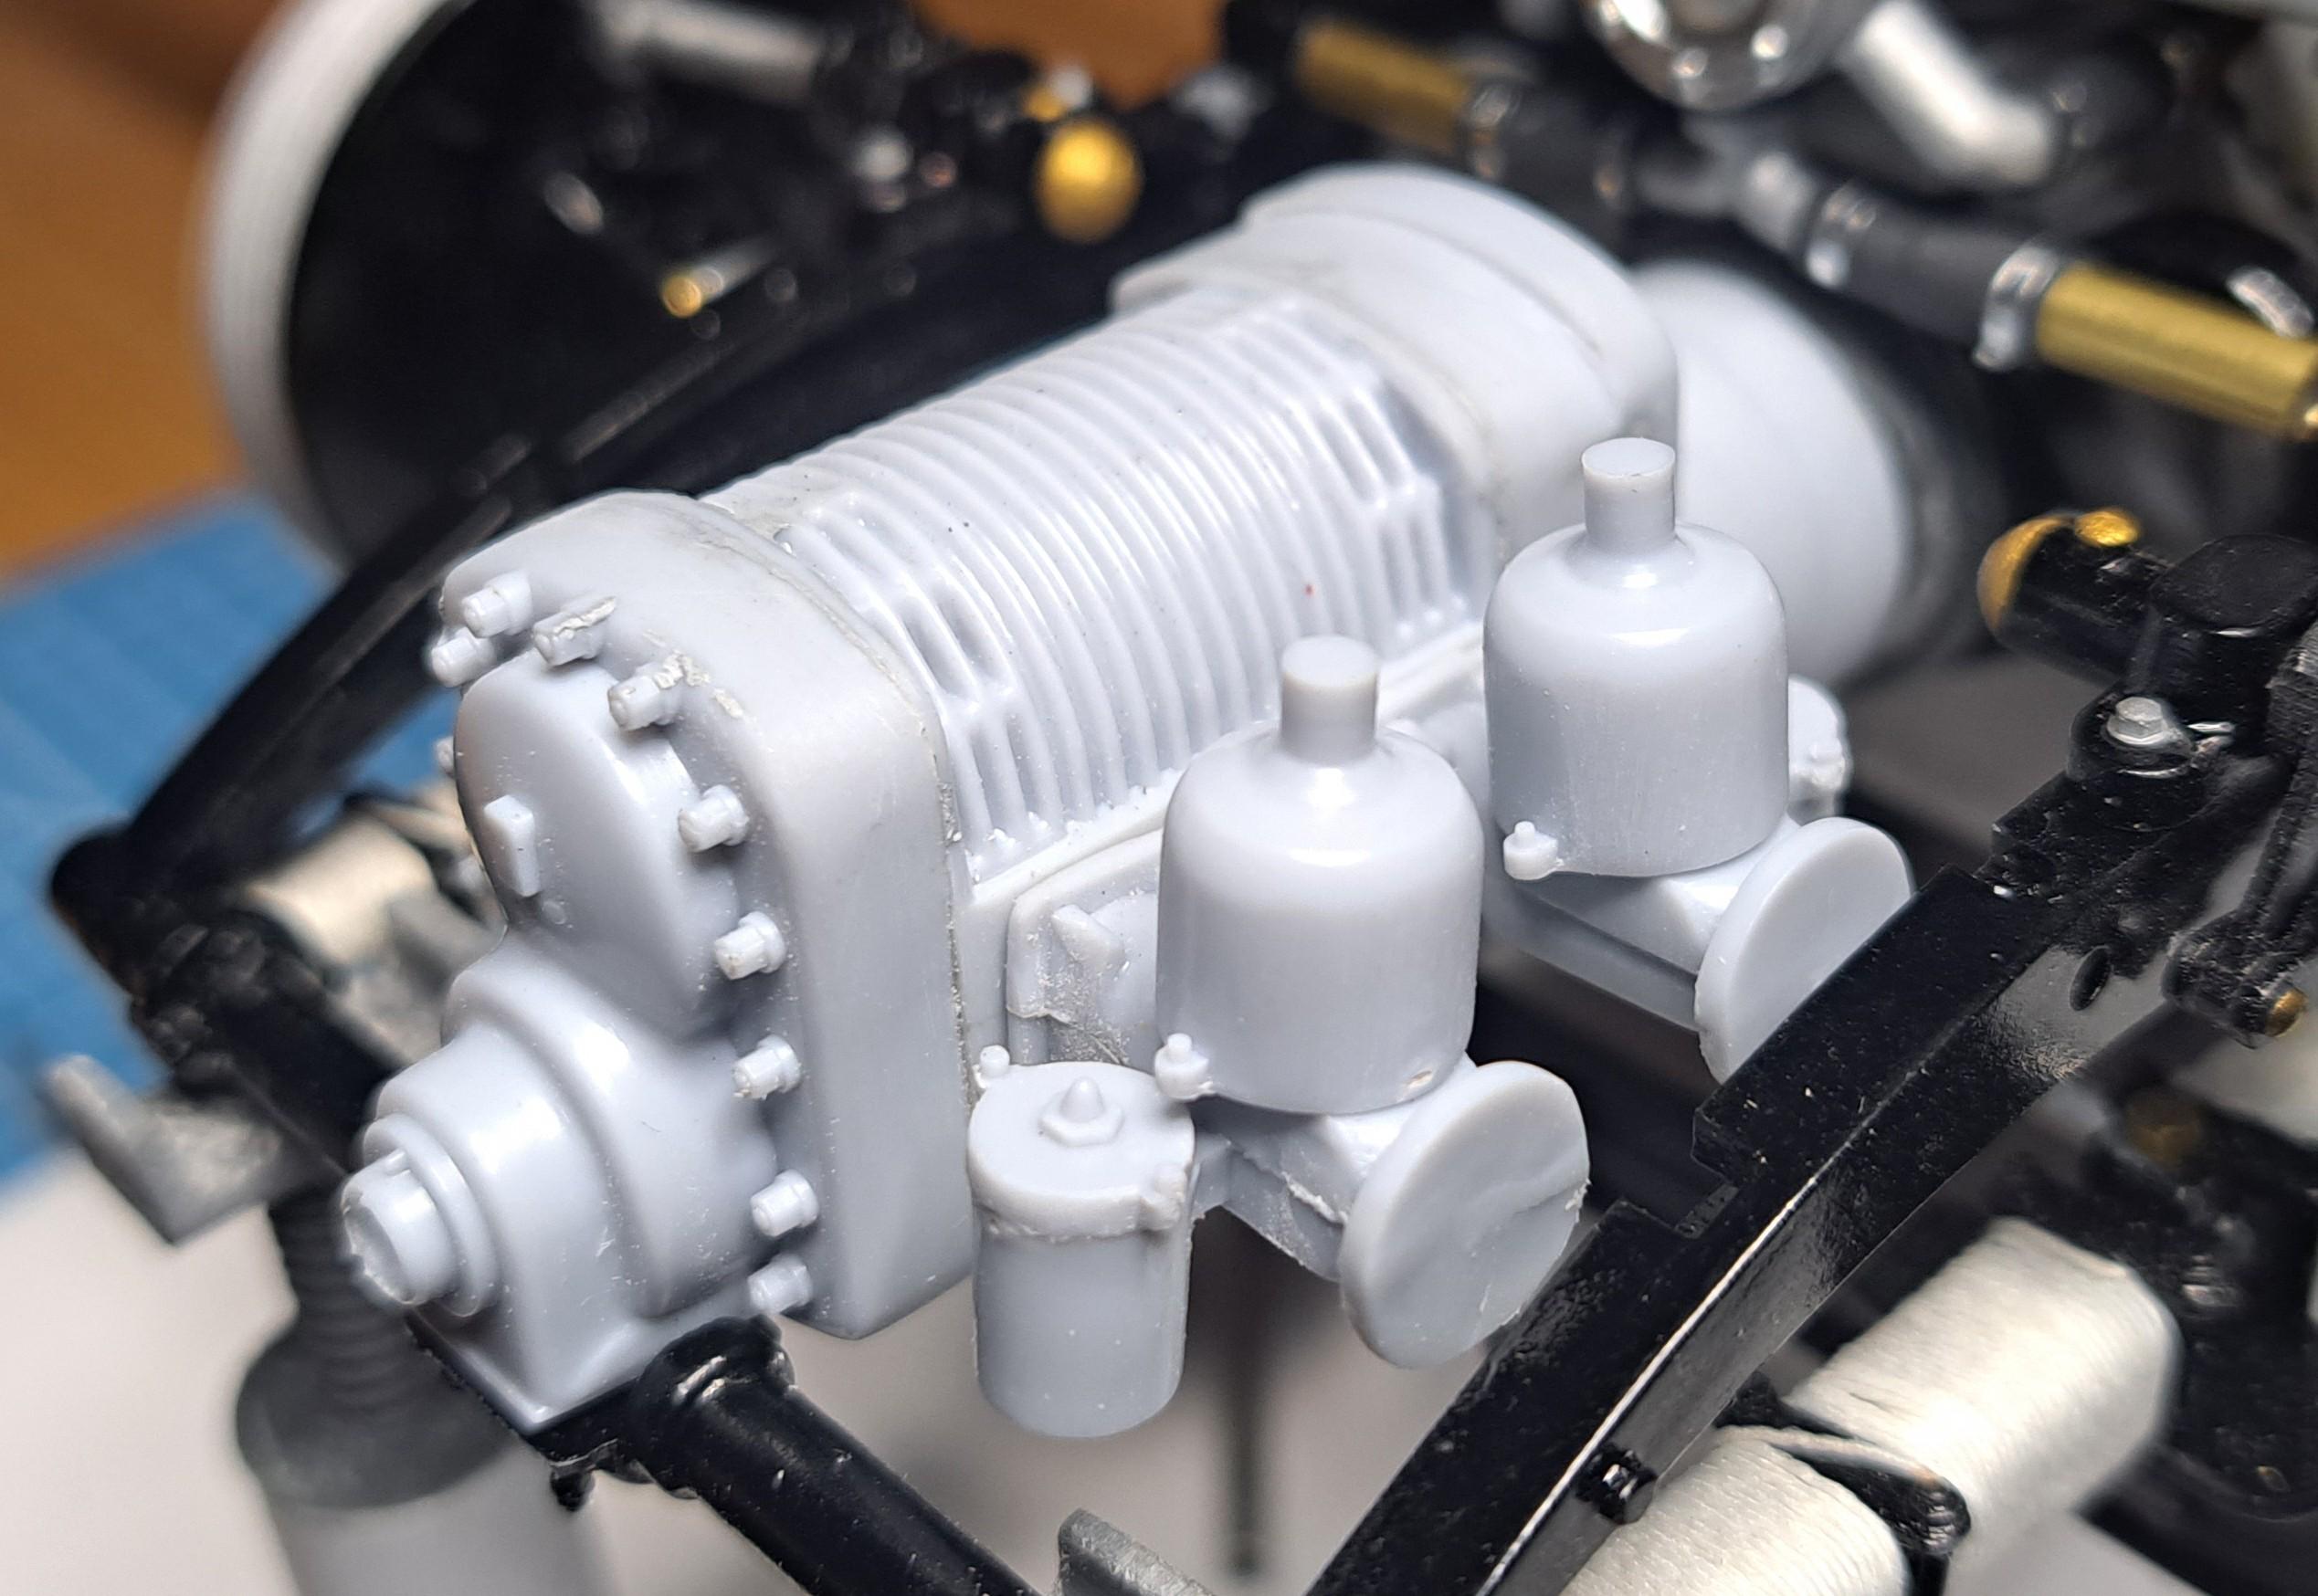
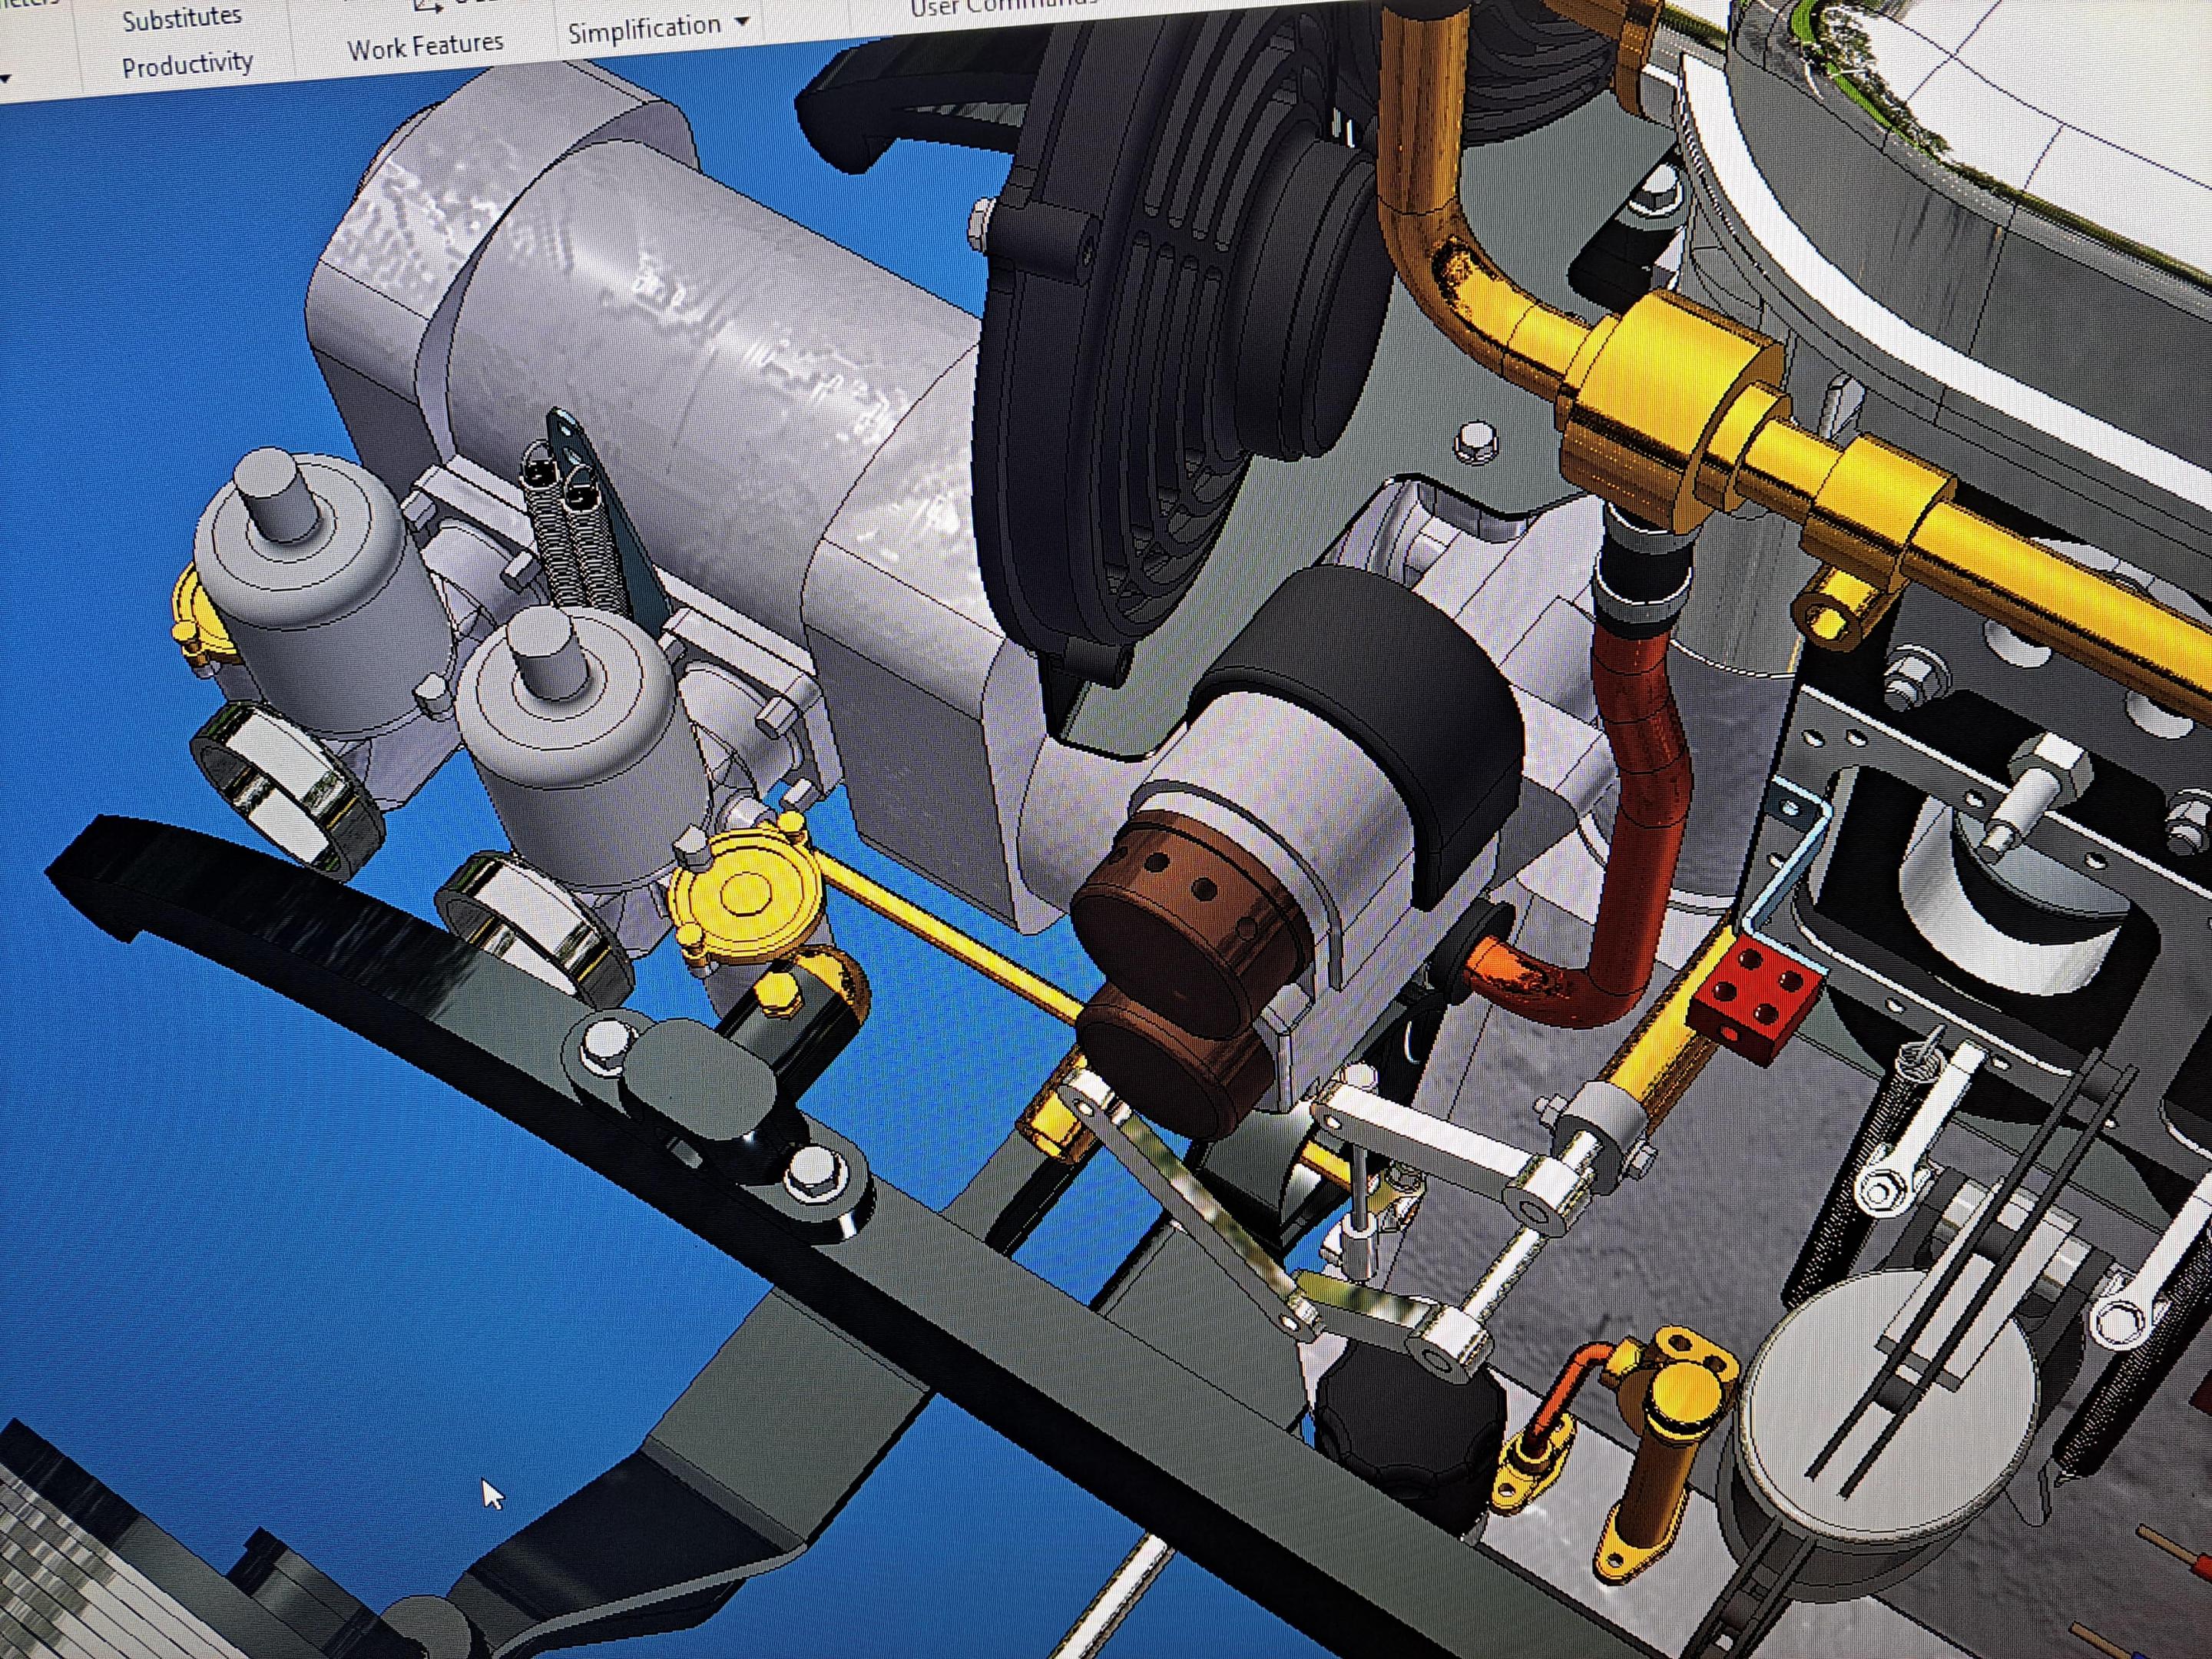
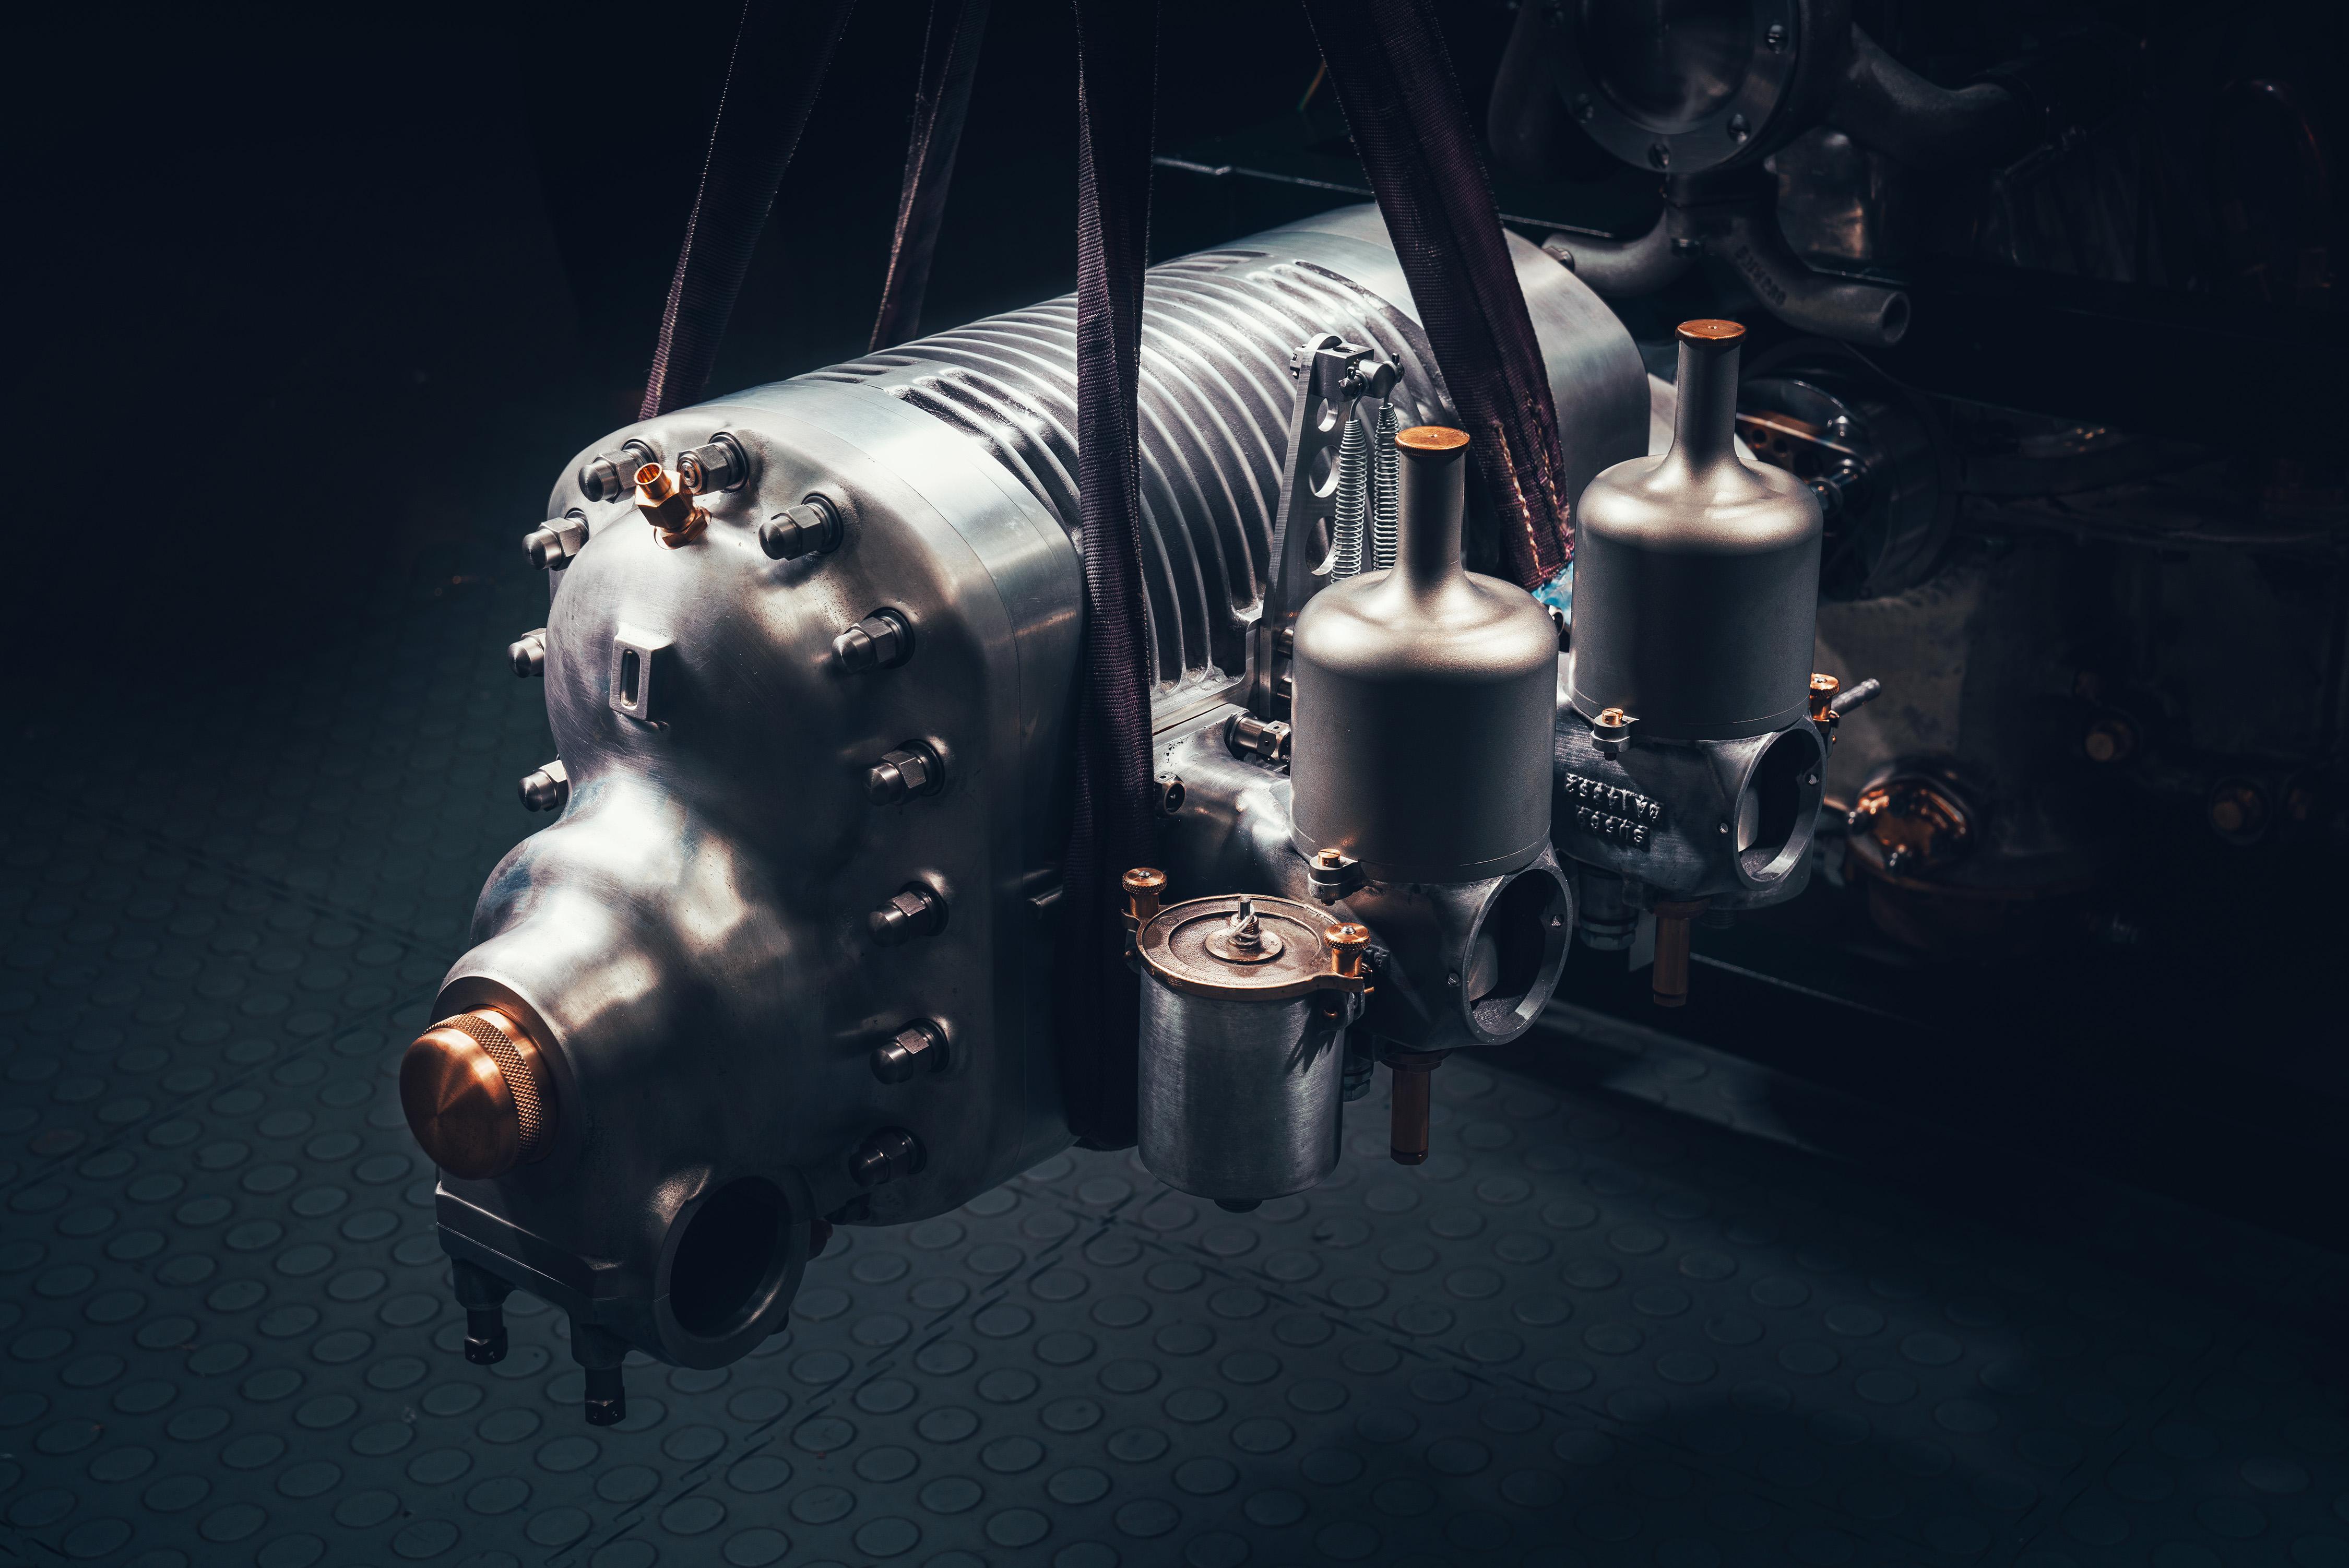
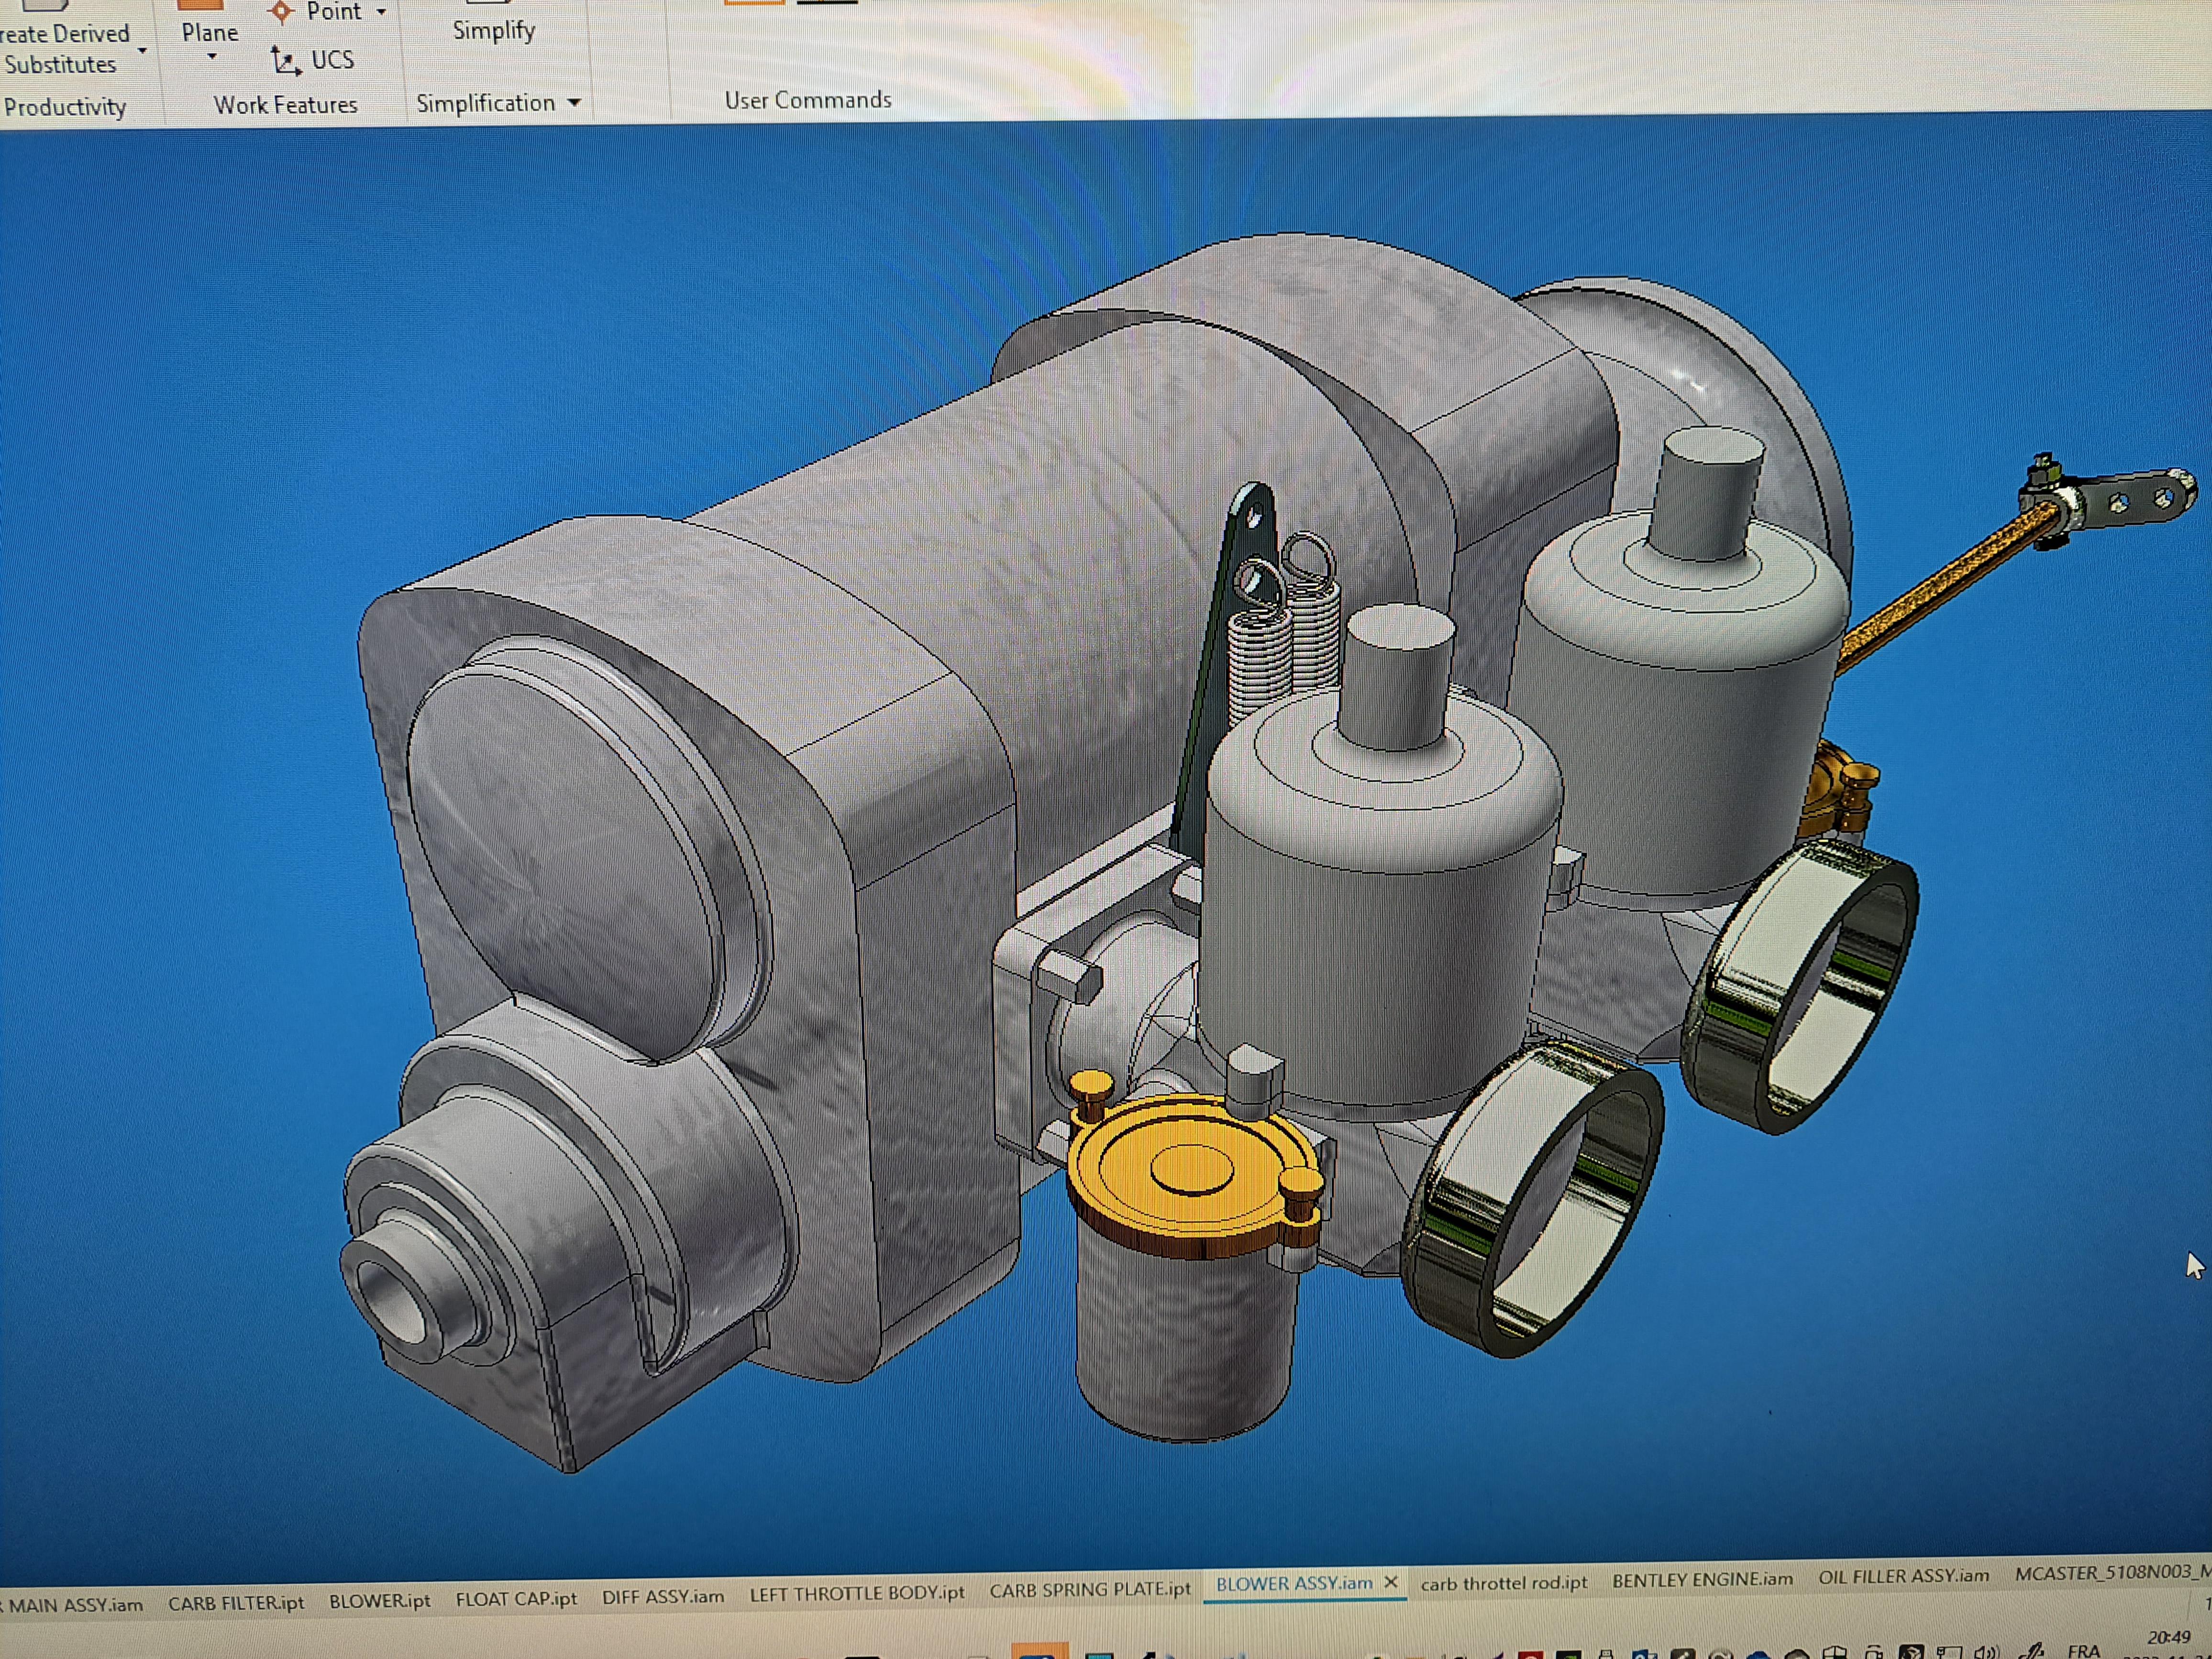
Only did a bit of cad work today. I decided it was time to tackle the blower unit and carburators.
The blower itself is ok, adding some nuts and bolts plus a few fittings for oil connections will bring it to par. The problem is with the carburators. I'll have to print the throttle bodies and the float chambers. The damper pots should be ok. I'll add a throttle shaft with a few levers and springs and spring mounting plate. Again, if all goes to plan, the throttle shaft should rotate by depressing the gas pedal.
Here the real deal

The kit's carburators
And my 3d model

Hallo @FrançoisHello, I recently purchase an Airfix 1/12 scale Bentley Blower. I'm starting this log not because I'm starting the build, that's many months away but because I wanted to talk a bit about the ground work I'm doing and the route I intend to take. This is an old model dating back to the 70's. Airfix keeps moulding the kits using the same mold and keeps selling them. It's a very popular kit and has been done in a multitune of way, from the plain 'follow the plan' way to some major work of art with major scratch built add-ons. I started to research a bit on what had been done and fell on a Topgear article that explained how in 2020, Bentley decided to fabricate 12 brand new 'old' Bentley Blower using the original 1930's plans. They spared no expense and did a fabulous job. But what caught my eye were pictures of the body work. Like may cars of that era, the body was made of wood but unlike many others who's wood frame was then covered in sheet metal, the Bentley was covered with a material called Rexine. A flexible and water-resistant manmade material. Cheap back then, but very expensive today.
On Bentley build I found, the builders will, depending on their skills, either simply paint the plastic body, texture paint it or cover it with a fabric. I intend to go one step further by scratch buiding a wooden frame and then covering it with a fabric to be determined. So the first step was to 3d model the body using the Airfix plastic parts for dimensional references but also the pictures of the new 'old' Bentley I found. The operative word here is 'intend', I have no clue as to what kind of result I'll get but if worst comes to worst, I'll still have the plastic body to work with. Here a picture of one build in particular that is simply mind blowing and that I will be using as a reference along with some pictures of an actuel wooden Bentley frame and finally my 3d model whitch is not 100% complet).View attachment 372986
Mind blowing buildView attachment 338544
Actual wooden frameView attachment 338538View attachment 338540
My 3d model
View attachment 338542View attachment 338543
So it's a start. You might not hear from this log for a while since I've got a few other projects I wish to do first.
Thanks
we wish you all the BEST and a HAPPY BIRTHDAY

Enjoy your special day
")
Wish you a happy birthday and all the best!
Happy birthday !
Happy Birthday, wishing you the best!
Thank you all, the big 60 today!!
I've been very busy at other things this week. Didn't even touch the new printer yet. But I did take a few hours here and there to 3d model the head lights and horns. The stock head light outter buckets are ok, they will do nicely. Same goes for the inside bucket ( they will need new chrome) and the lens. The protection grill will have to be redone. The mounting brackets and horn will also be new.
This is the kit's horn.

My modeled front end

the ref car's front end

The head light mounting bracket

A tool I printed to form the bracket

A full view of my 3d model to date

Same view of ref car

This is the kit's horn.
My modeled front end
the ref car's front end
The head light mounting bracket
A tool I printed to form the bracket
A full view of my 3d model to date
Same view of ref car