-

Win a Free Custom Engraved Brass Coin!!!
As a way to introduce our brass coins to the community, we will raffle off a free coin during the month of August. Follow link ABOVE for instructions for entering.
-

PRE-ORDER SHIPS IN SCALE TODAY!
The beloved Ships in Scale Magazine is back and charting a new course for 2026!
Discover new skills, new techniques, and new inspirations in every issue.
NOTE THAT OUR FIRST ISSUE WILL BE JAN/FEB 2026
- Home
- Forums
- Ships of Scale Build Logs
- Super Detailing Static Models / Other Genres
- Historical Trailways, Guns, Aircraft, and Cars
You are using an out of date browser. It may not display this or other websites correctly.
You should upgrade or use an alternative browser.
You should upgrade or use an alternative browser.
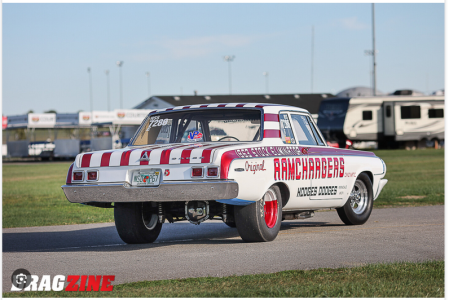
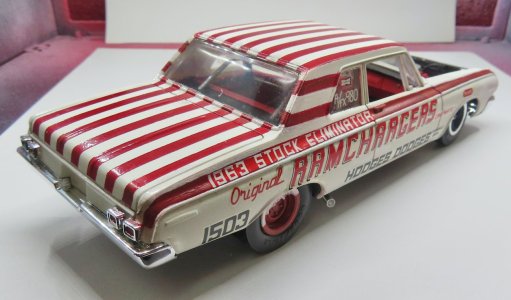
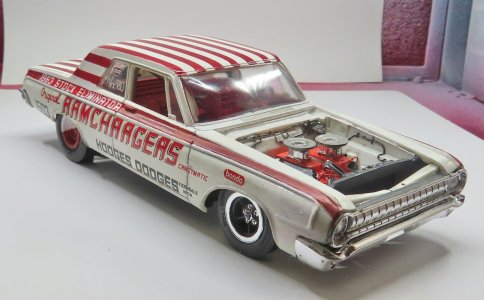
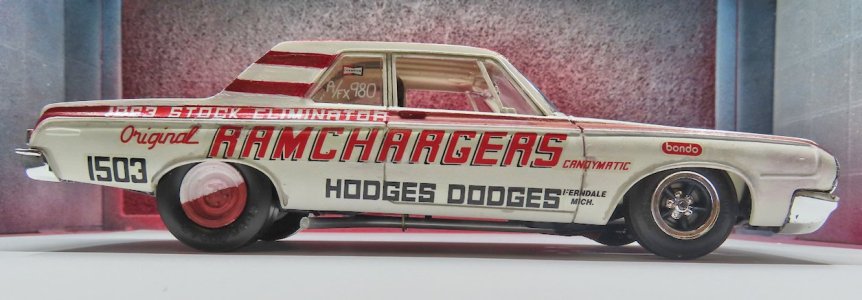
Ah yes, the Ramchargers. Kinda too bad it;s not a '65 with the altered wheelbase - but it is what it is.. Looking forward to the rest of your so far impressive build.
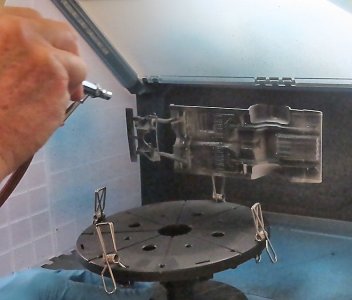
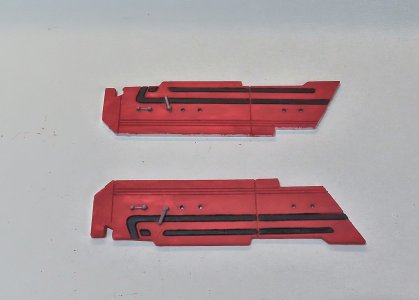
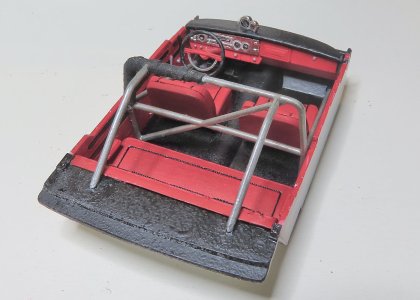
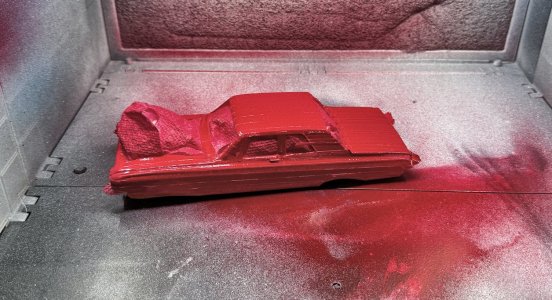
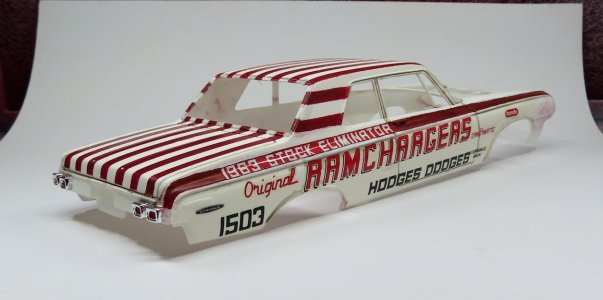
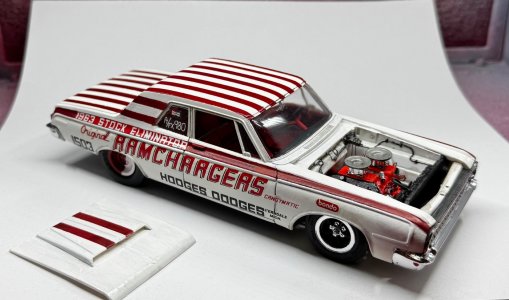
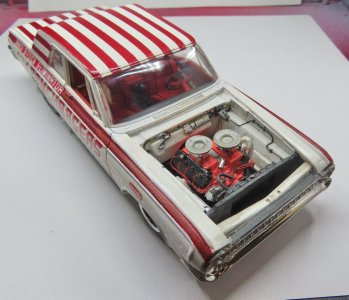
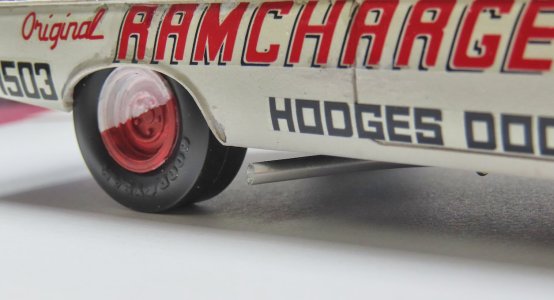
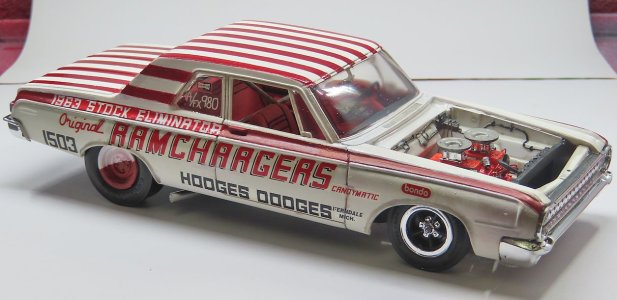
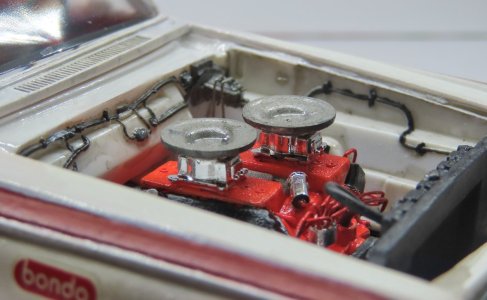
You see the imperfections, Donnie. I see a very nice very representative paint-job.Well, this is as good as I can get it. The camera don't lie either - I can see many paint imperfections, but lets just say that it has been in a few races and has a worn effect. Next are the wheels and body-chassis marriage.
Regards, Peter
- Joined
- Nov 21, 2016
- Messages
- 74
- Points
- 78

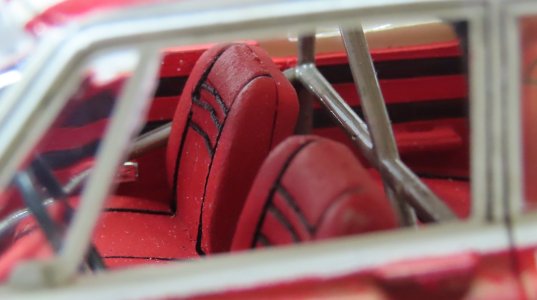
In the early days of racing there wasn't much 'graphic design', "You Run What You brung." The emphasis was on making your car go faster than the other guy's. And if you were successful, then you could afford to make the car pretty. Ramchargers was one of the first forays using of graphics to get noticed at the track and performance and winning racing afforded them the luxury of graphic paintjobs. Like the old wooden ships on this sight, the hard part was getting them to float, then the captain could spend time at sea directing the crew to make the ship aesthetically pleasing. Like my old post on here about America's Cup racing, that came later and served as bragging rights over which boat and crew was faster. Back when I was a kid, I assembled models of dream cars on a budget, all I had was what was in the box. Donnie, your work on this old racecar is above and beyond what I was able to do. Overall, you've done this old car proud! The patina is what's important for the period the real car was constructed. Your attention to detail on all your builds is far beyond that of most builders. Again, as a kid, my number one goal was to get the glue off my fingers. 
Awesome looking vehicle Donnie.
This article is just another example of why I enjoy being a member of this group. I am, and will always be a model ship builder at heart, but have always enjoyed seeing the detailed work of other members on this site. Thanks Donnie.
Jim
Jim
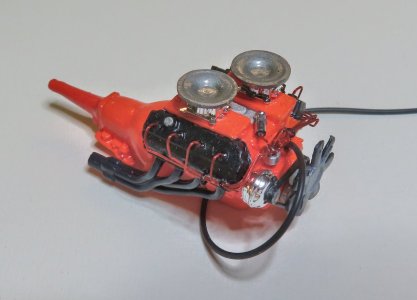
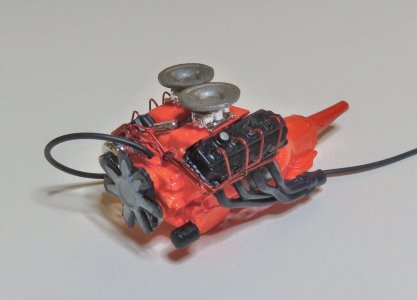
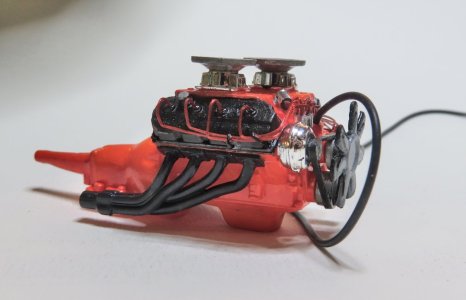
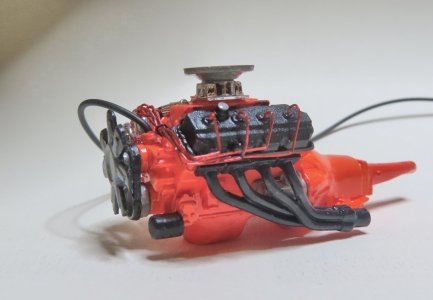
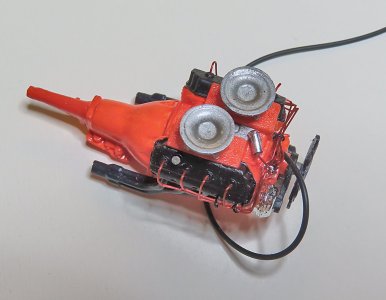
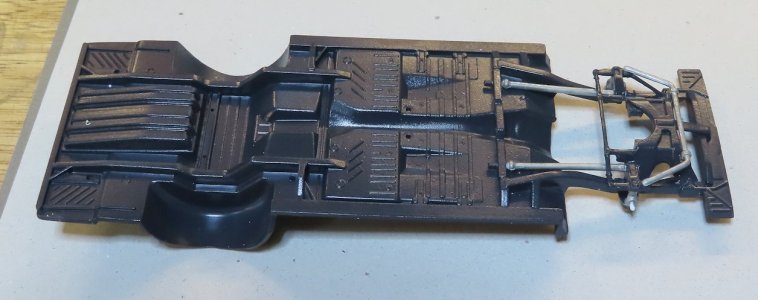
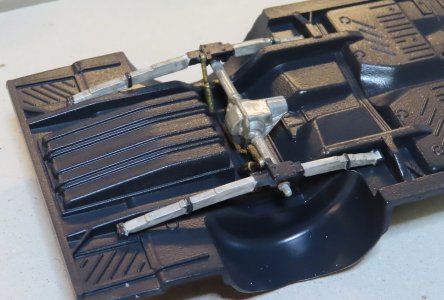
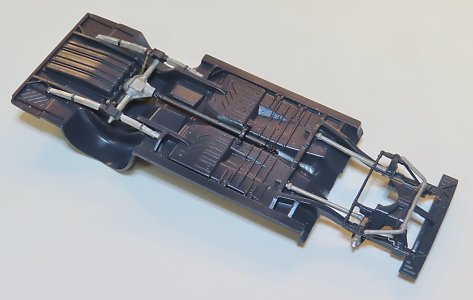
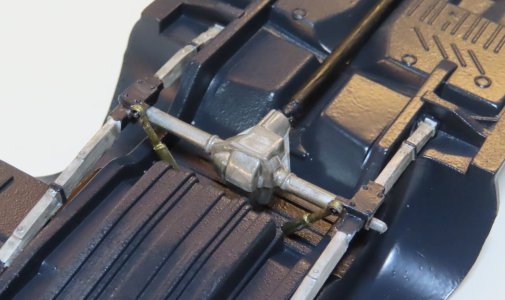
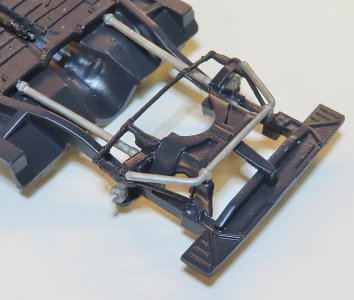
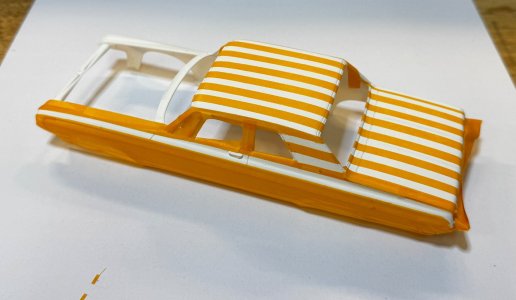
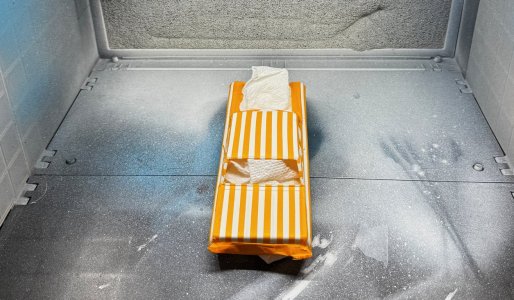
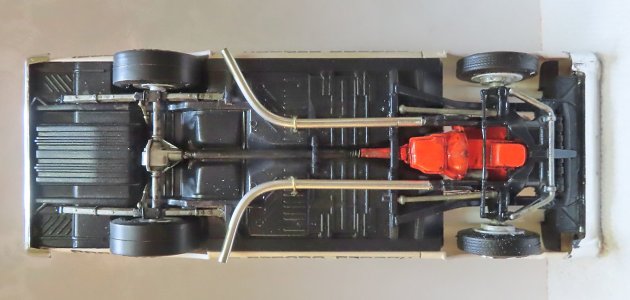
Thank you all for following. This model started out fairly easy and somehow got more tedious and difficult especially when trying to fit the body to the chassis. Then the decals keep coming off and having to reapply. I need to experiment with some spare parts to see how the gloss sealer is going to work. I would not want that to melt all that work. I went ahead and fabricated my own exhaust.
Enjoy !
I can lay this one to rest I think.
Enjoy !
I can lay this one to rest I think.


