• Ships of Scale has incorportated an extra level of security when you log In. Please follow on-screen prompts to acknowledge that you are not a robot via a "Check Box" or a "Pictorial Check Box Puzzle". This is needed due to higher level of AI Activity Security.
  • SUBSCRIBE TO SHIPS IN SCALE TODAY!

    The beloved Ships in Scale Magazine is back and charting a new course for 2026!
    Discover new skills, new techniques, and new inspirations in every issue.

    NOTE THAT OUR NEXT ISSUE WILL BE July/August 2026
  • Win a Free Custom Engraved Brass Coin!!!
    As a way to introduce our brass coins to the community, we will raffle off a free coin during the month of August. Follow link ABOVE for instructions for entering.

1966 Aurora Wanderer Whaler

Joined
Sep 18, 2022
Messages
323
Points
168

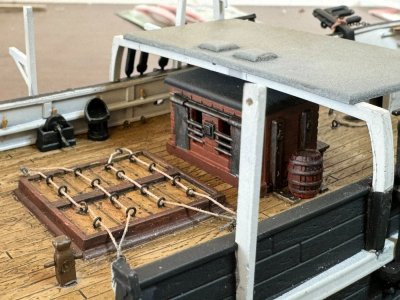
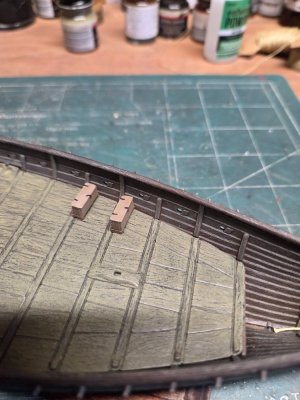
Just sort of a teaser, but my next model on the bench is from 1966 Aurora, going to smell fishy........ I do need some help on what the correct way would be rigging the main hatch - the model instructions seem weird. Aside from the eyebolts being out of scale, the way they batten down just seems loose - if that make any sense, would anyone have any historical pice of the Wanderer's deck layout? (Photo is another modelers work off the 'net, not mine).

main hatch wanderer.jpg
 
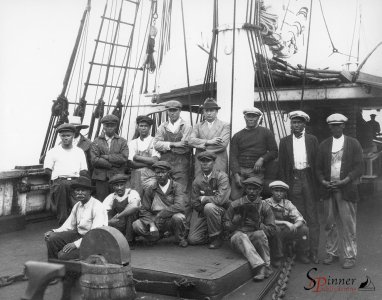
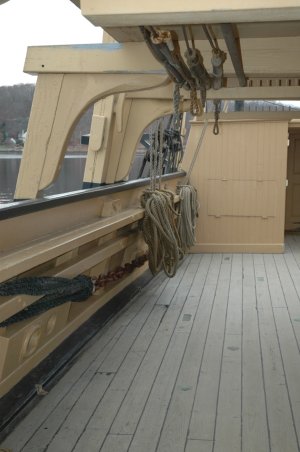
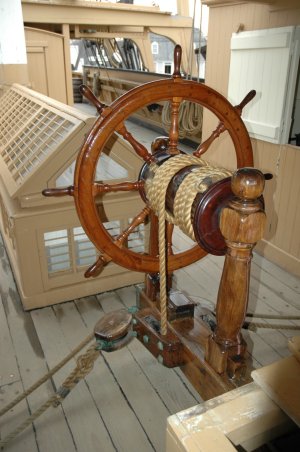
Been digging deep in the 'net tonight and I found these old pics of the Wanderer deck hatch. So, I think I have something to go on when I change the deck. from what I can tell the board spanned the hatch without the center ‘board’. Also noticed that the Ratlines were straight rods/slats, no ratlines on the shrouds.

h1.jpg

h2.png
 
AJ Fisher sells a Wanderer kit. There’s an add for it in the current Nautical Research Journal. Maybe they’ll sell you a set of drawings that will be better than those that came with the plastic kit.

www.ajfisher.com

Roger
 
Starting any older model of historical significance does require a bit of homework, while I gather together the reference material, I started with this book to her of her building and history.

wanderer book.png
 
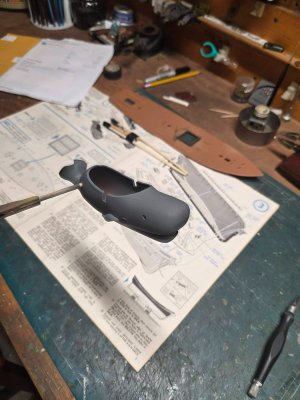
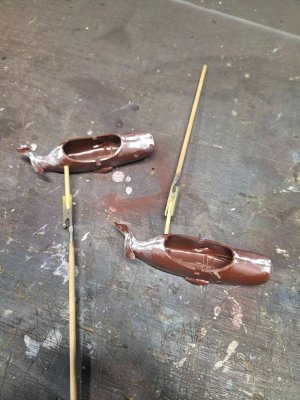
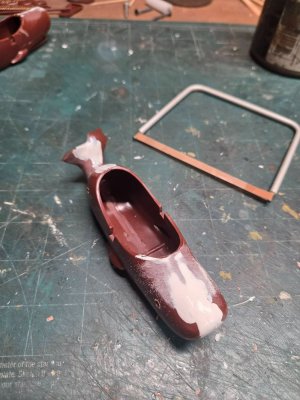
Capt. There Be Whales Here! - The base for the Wanderer Whaler model is designed so the hull sits on the backs of 2 Sperm Whales, rather neat. Filling and sanding the seams so the 2 parts won't show any line. I'm probably going to mark up the head of the whale (fights with orcas and other creatures) all whales have these type scars. The color is Testors Euro Gray - this bottle is 21+ yrs old. They no longer make this brand, so I'm really judicial in its use., I'm going to give them a wash down in a black wash as well. I'd paint the underside a lighter gray (anal-i-ness has it limits) but they will be screwed to the base and it won't be seen

756436710_10234079394952997_9186053243810647913_n.jpg

757480373_10234079397313056_5905998855156370471_n.jpg

758016692_10234079399513111_1323292809959926615_n.jpg
 
The whale cradle is pretty neat.
Yes, it is, it's similar to those dolphins you can buy for other ship models. I'll try to get the wood base set up this weekend; I will have 2 screw in each whale to secure them to the base and that way I need not worry about the hull moving.
 
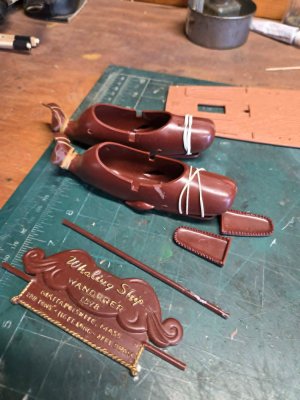
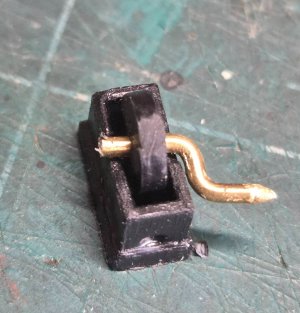
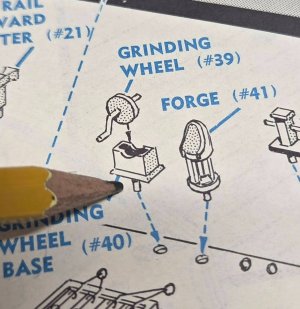
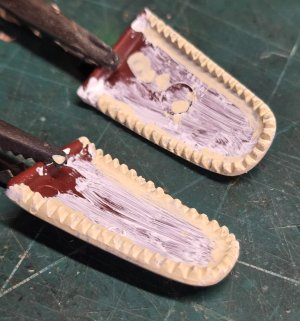
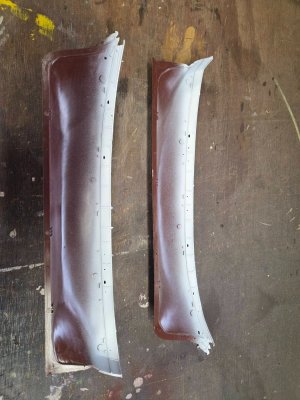
Not a whole lot done this evening, just working on pieces parts. The grinding wheel handle broke off so I had to remake another. When working with plastic that is literally 60 years old, the plastic tends to dry out (degas) and turn brittle a bit, this kit has held up very well for its age. I did a base coat in white on the whale's lower teeth followed by Floquil antique white. these will get an off yellow wash to detail, even though you had to look to see them, but what the heck. Applied a base coat of white to the bulwarks, this will get a second coat in 48hrs. after these dry well.

1.jpg

2.jpg

3.jpg

4.jpg

5.jpg

6.jpg

7.jpg
 
I'm going to replace the grinding wheel stone's handle; I used too big a diameter of wire.
 
Last edited:
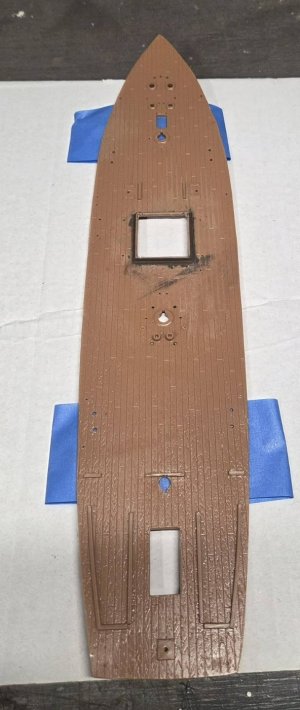
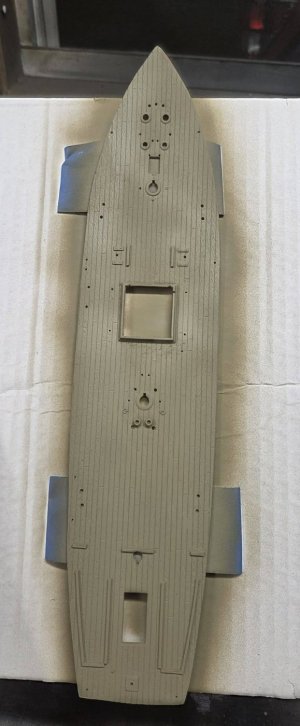
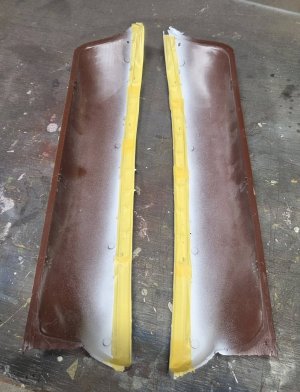
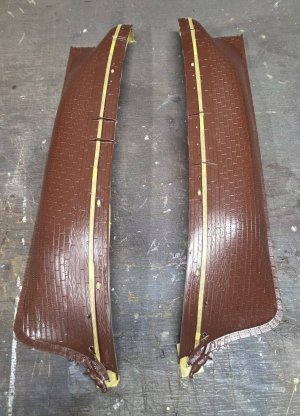
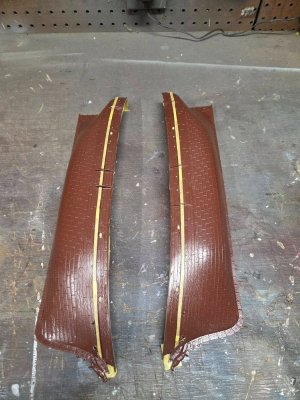
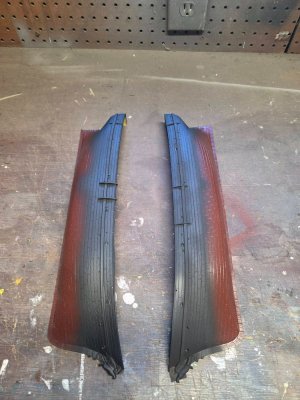
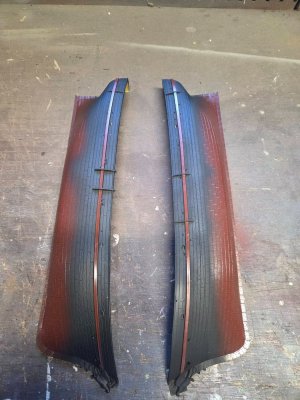
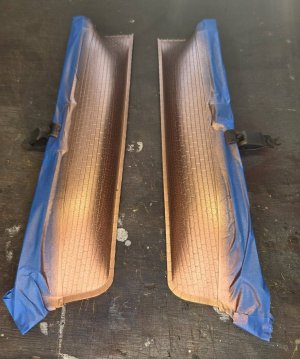
finally had some time to play with the model tonight, been a bust week. I got the deck base coat down (Testors Israeli Amour Sand) this is darker than the US Armor Sand. Because the deck detail is recessed, I won't be able to use my standard black base coat with tan topcoat, so the deck will receive a heavy amount of wash. the photos of the real board show near a dark grey but it hard to tell from old black and white pictures. The upper hull was flat black with a white stripe running the from the bow to the stern. According to everything I've read, the figurehead of the eagle was also painted flat black. The inner bulwarks are white but will be grimy as hell. I'll paint the white stripe after the black is applied, I masked it off so it would not get bleed through. The copper plate will be a base coat of Floquil copper with streaks of Floquil Lt. green and Antique white, then washed down with turpentine to blends. This is a technique I learn maybe 30 years ago from a booklet from Kalmbach.

a.jpg

b.jpg

c.jpg

d.jpg
 
Got the upper hull painted and according to the reference book I bought, the Eagle was black like the hull, I checked a few sources - seems strange but it is what it is. I filled in some voids on parts, even though you prob. won't see them - this type of stuff makes me a be anal.

768205744_10234200737906495_7126413528520377784_n.jpg

771795565_10234200739226528_4763223412712443290_n.jpg

762715429_10234200744186652_4251356143346052803_n.jpg

767001878_10234200744666664_4368625999546315069_n.jpg

768145175_10234200745786692_7274163008254937225_n.jpg

768592452_10234200746426708_6234759223243130963_n.jpg
 
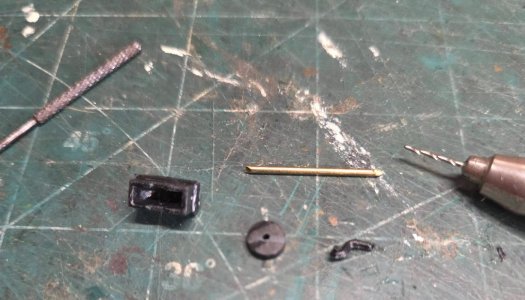
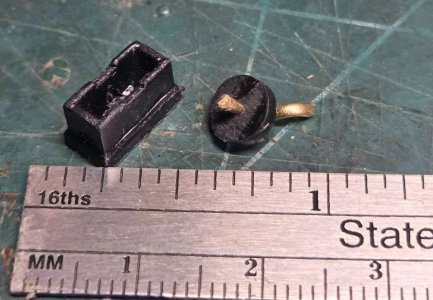
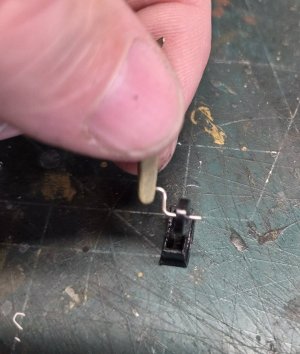
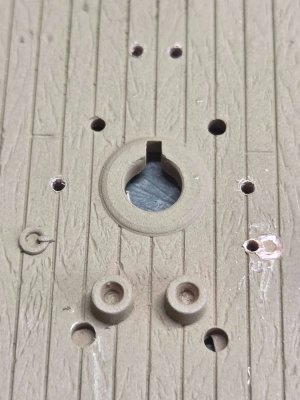
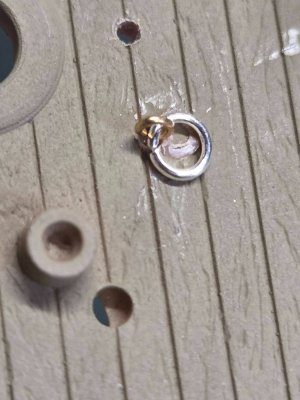
Spent some of the day trimming and prepping parts. I drilled out all the holes for the plastic eyebolts; I always replace with metal for strength. At the main mast they have two engraved/molded eyebolt and rings, I will replace with metal, I made the mockup today.
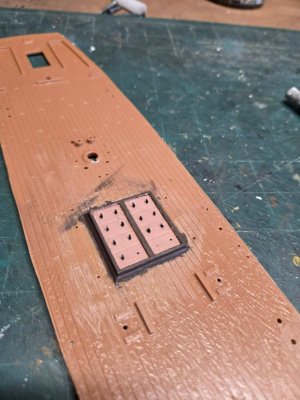
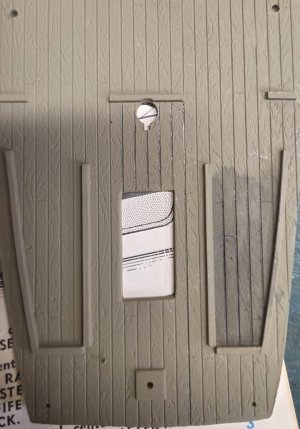
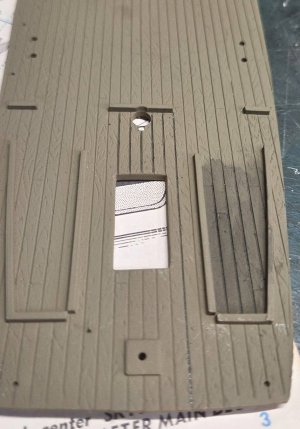
Where the aft cabins go is a section of planked deck that you will not see once the cabins are installed, so I tested a wash to see how it will look, 1st pic is once cost, 2nd is two coats the I used a mechanical pencil to 'caulk' the planks.

d1.jpg

d2.jpg

r1.jpg

r2.jpg
 
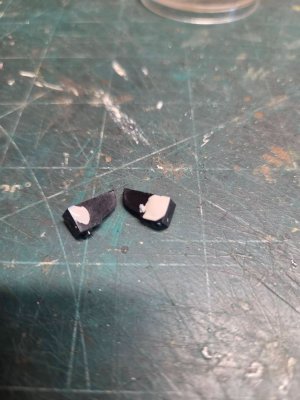
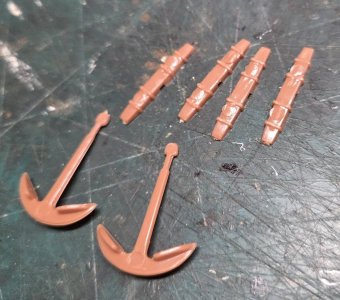
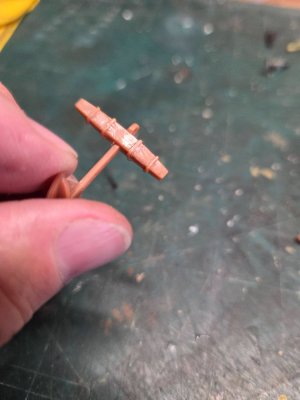
Working of sub-assemblies and other details. The ships anchors were a right proper mess, with more flash than normal for older kits, took about 30 minutes per anchor to sand and scrape off the flash and mold punch marks. Once the stocks dry, I'll need to go back over them to trim and apply some filler.


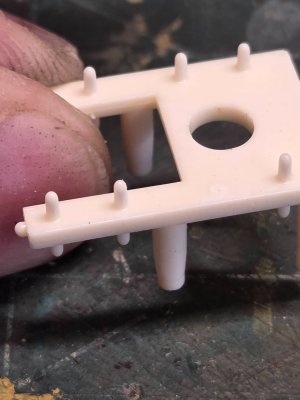
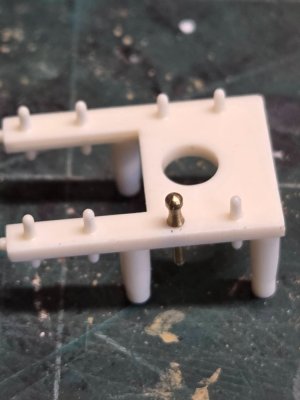
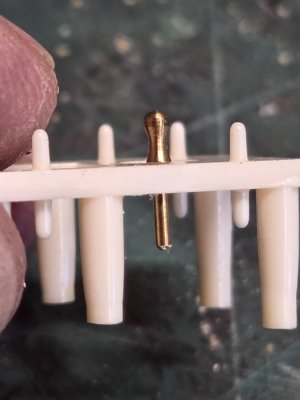
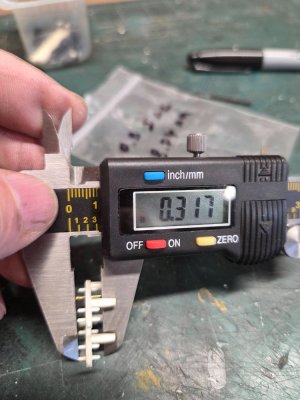
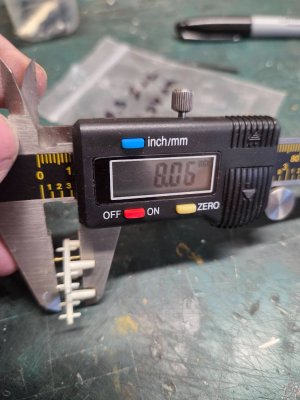
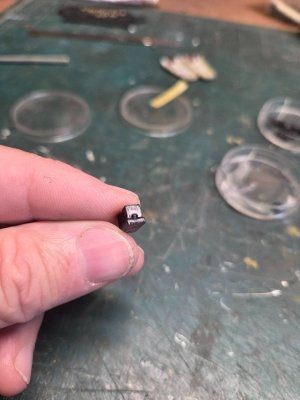
The various belaying pin racks and parts are too plain and brittle to trust, so I drilled one out and replaced with a brass turned pin, all racks pins will be replaced with brass, the size is 1/3" or 8.0mm.


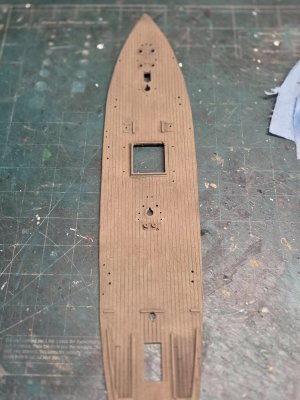
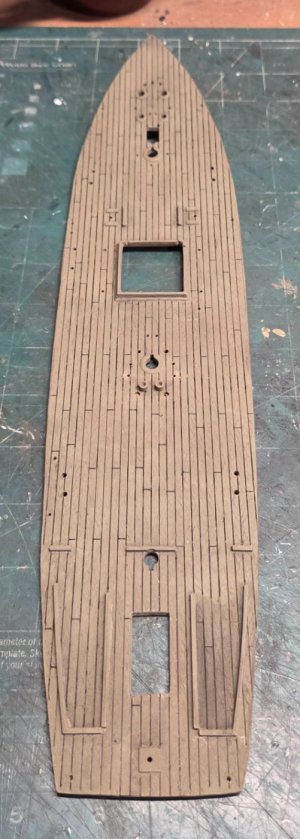
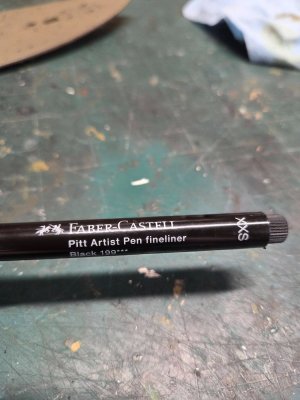
The deck treatment is finished and came out well, the hard part was leaving some areas dirtier than others, because this is a whaler, the deck was fairly stained with oil/fats and filthy, clean as they might the wood deck stays stained. The fine line pen is black India ink 0.3mm tip, if you notice some areas of the caulk are a bit messy, (on purpose) because of the heat of the tryworks, this heated up the caulking tar and caused it to soften and be track outside the seams a bit.


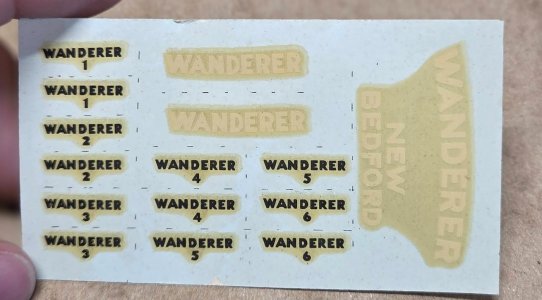
The old and yellowed decals will either be replaced with woodland scenes dry letter transfers, or I will custom order a replacement set from a special decal company called STS Scale decals, which scans your decals and reprints them.
a1.jpg

a2.jpg

bp1.jpg

bp2.jpg

bp3.jpg

bp4.jpg

bp5.jpg

d1.jpg

d2.jpg

d3.jpg

decals.jpg
 
Thank you for posting, have several plastic kits to try these techniques.
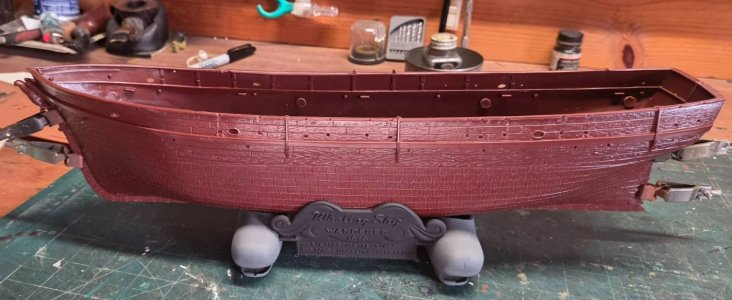
Have a good one, Rich
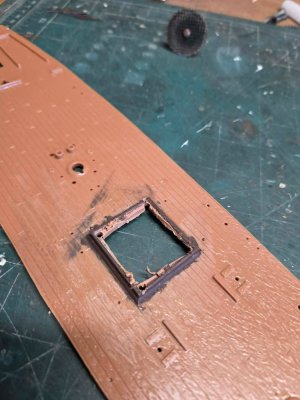
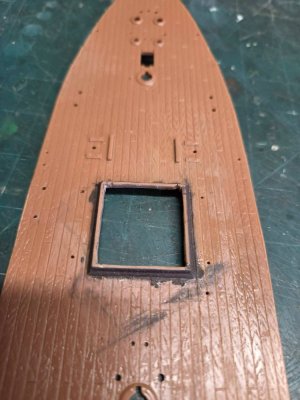
Rich, because this deck detail is 'recessed' I could not use my normal two-tone technique like I've done many a times on other models, that is a light base coat of flat black and a topcoat of tan, then sand off the tan to show the black 'grain' like the attached Viking' deck picture. I could only wash down the Wanderer deck. I still will need to trim and dry brush a few shaded of "tar/pitch around the base of the main hatch and aft cabin, I'm trying to do research on that now, the tar/pitch was used as a sealant at the base of the cabin and hatched to keep the water out.

B4.jpg
 
Back
Top