
-

SUBSCRIBE TO SHIPS IN SCALE TODAY!
The beloved Ships in Scale Magazine is back and charting a new course for 2026!
Discover new skills, new techniques, and new inspirations in every issue.
NOTE THAT OUR NEXT ISSUE WILL BE July/August 2026 -

Win a Free Custom Engraved Brass Coin!!!
As a way to introduce our brass coins to the community, we will raffle off a free coin during the month of August. Follow link ABOVE for instructions for entering.


You are using an out of date browser. It may not display this or other websites correctly.
You should upgrade or use an alternative browser.
You should upgrade or use an alternative browser.

- Joined
- Sep 18, 2022
- Messages
- 333
- Points
- 168

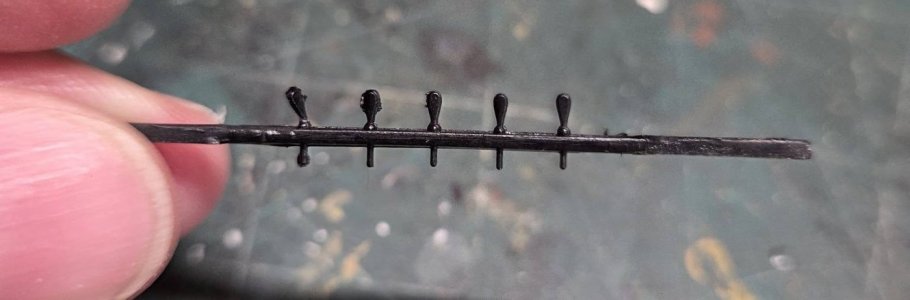
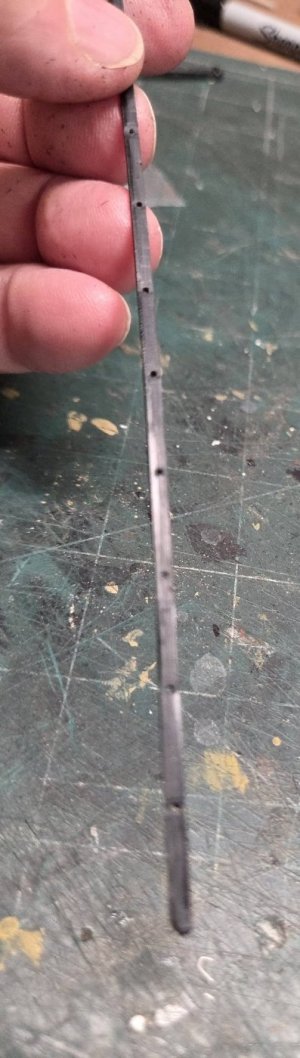
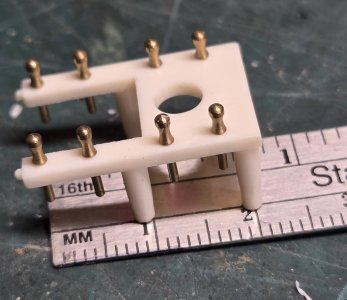
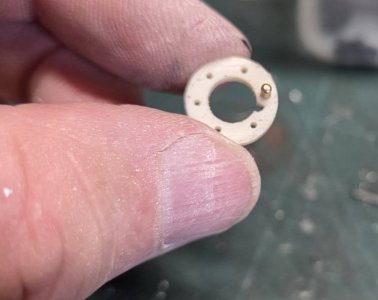
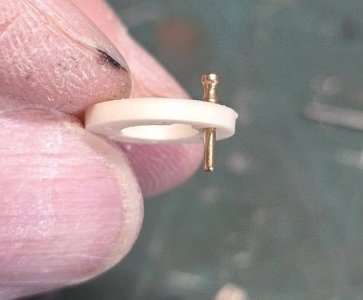
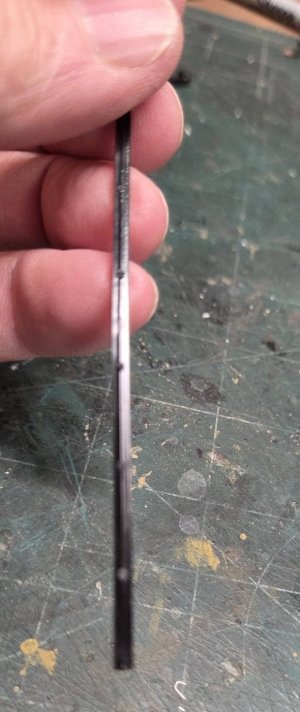
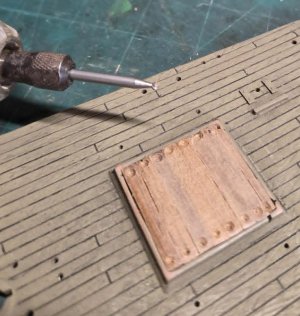
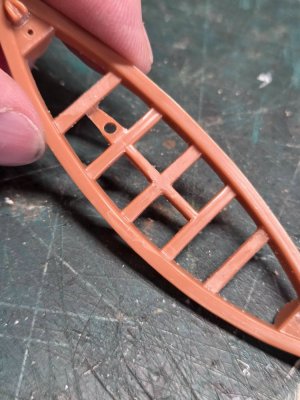
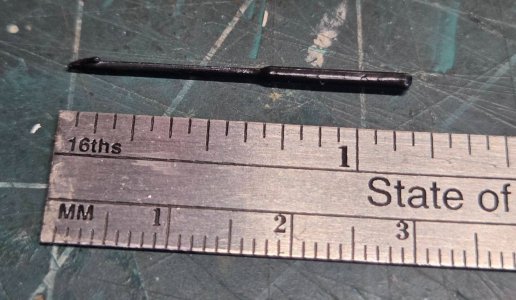
Because the Wanderer Whaler Kit was originally molded/pressed way back in 1966, most of the plastic is dried out (degassed - the volatiles have evaporated out of the plastic) making it brittle and easy to break parts off. The belaying pins on various racks really can't be trusted not to break off once I start the rigging. So, I removed the thin mis-molded pins, I drilled out the same spot and will place brass pins in their place.
- Joined
- Sep 18, 2022
- Messages
- 333
- Points
- 168
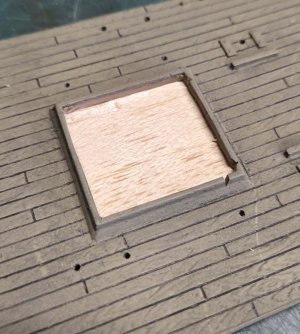
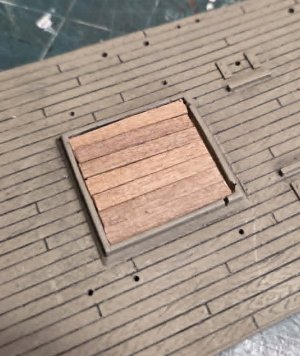
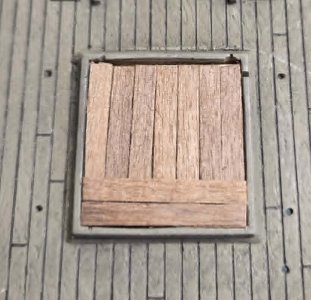
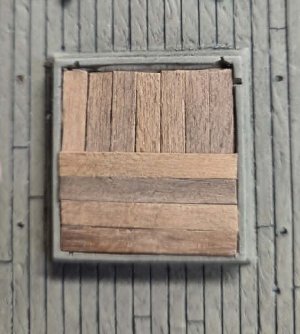
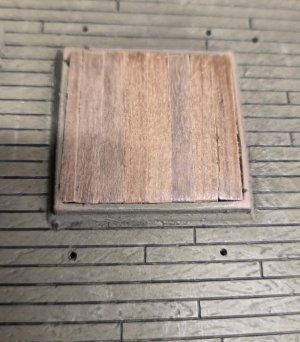
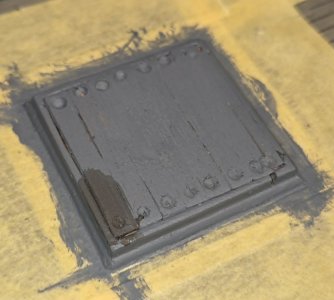
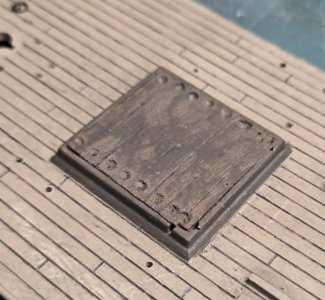
Got a few more hours in today, I worked on the main hatch and got it as close as possible to the real ship board, certainly better than what it came with. I'm trying to see if I can put metal rods in the holes. I first painted it with Testors Euro Grey, but it did not look dark enough, I let dry and them airbrushed Possy S Oily Black, that's the shade I think looks best. I'll let dry for a day or so and give a second coat of the Polly S.

- Joined
- Sep 18, 2022
- Messages
- 333
- Points
- 168
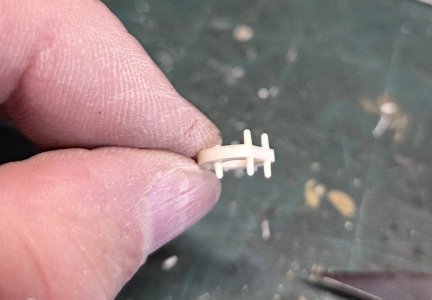
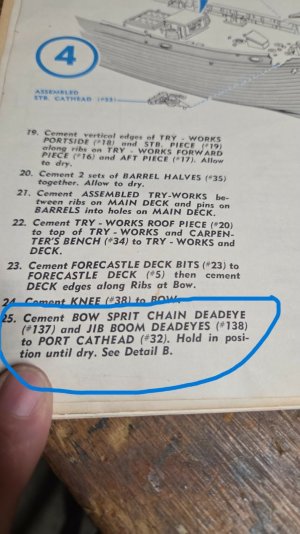
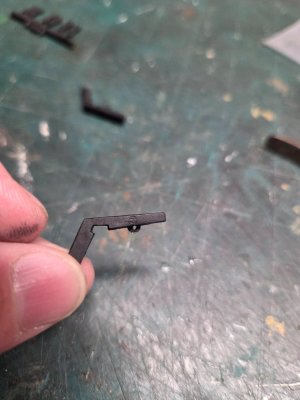
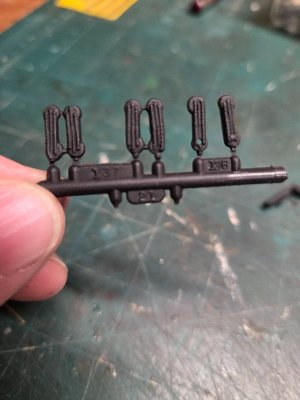
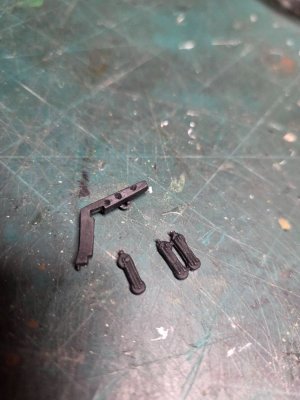
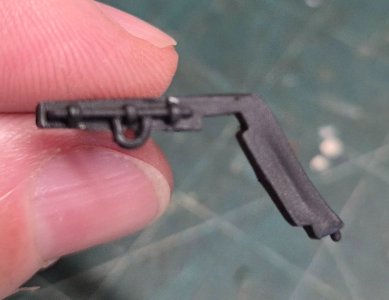
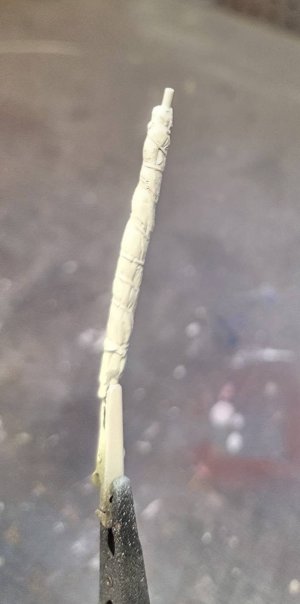
Working on the cathead assembly, man back in the day, kids had it rough. The cathead does not come with any guide pin hole so they wanted kid to hold the parts together while the glue dried, (they never had acc glue) back in the day, can you imagine kids sitting still long enough to let plastic model cement set up....
I drilled out a few holes and used acc to fix the parts together I'll be careful when I setup the bowsprit rigging. I'll repaint and weather before setting in place.
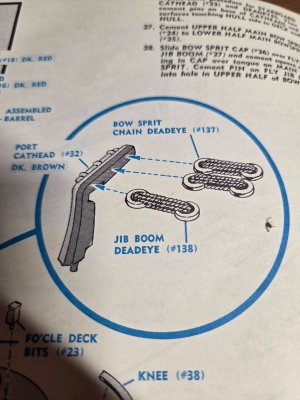
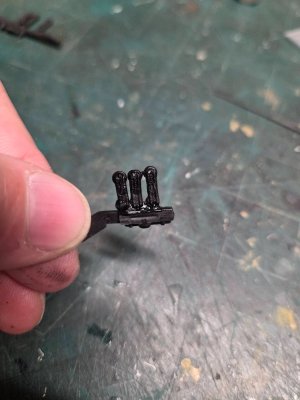
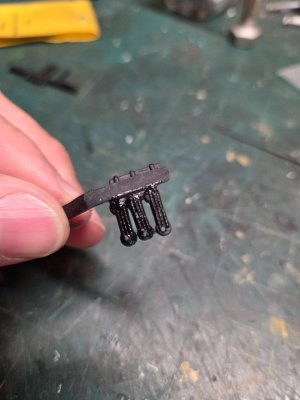
I drilled out a few holes and used acc to fix the parts together I'll be careful when I setup the bowsprit rigging. I'll repaint and weather before setting in place.
- Joined
- Sep 18, 2022
- Messages
- 333
- Points
- 168
The Tryworks.
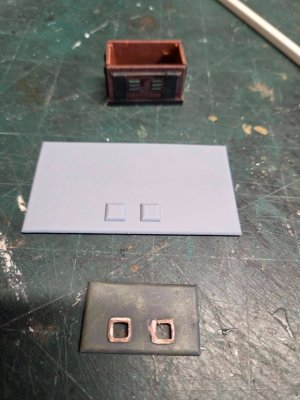
From the past week or so I did a deep dive into the tryworks on a few whalers. All whalers had them to render and melt the oil from the fat. Some times the tryworks was built enroute to the whaling grounds. There are a few photos surviving from the Wanders that show the tryworks. The model has the tryworks a bit plain, above the 2 kettles was a removable cover/roof section which 2 vent stacks were used to vent the heat and smoke up and away from the workers. The vent traveled through the upper roof as well.
What I wanted to replicate was these vent stacks to give the try works a bit more detail. I cut away the first covers vent bumps and sanded smooth, then cut an appropriately sized square tubing from my plastic stock and carefully cut away and resized the holes so that the square tubing would fit with a little play. I still need to cut and removed the upper roof sections where the stacks go through.
Because you can see into the tryworks, I had to create a “stop-base” for the stacks so you would not see them from the doors on the front and this gave me a base to also glue on as well. I wish could have created and shown the kettles, but it was just too much in such a small area.
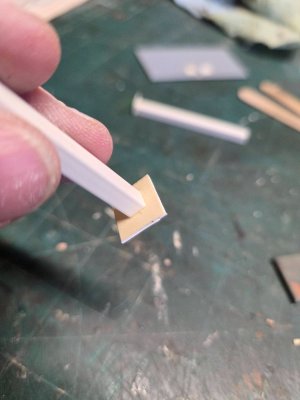
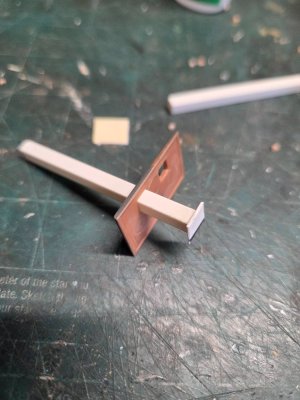
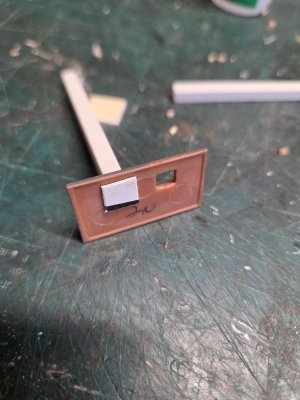
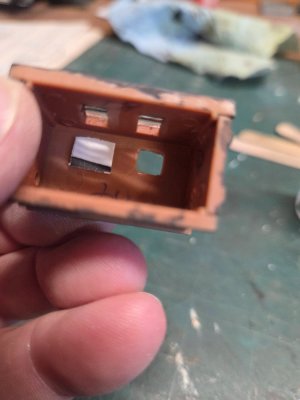
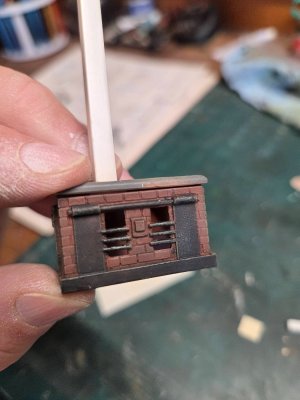
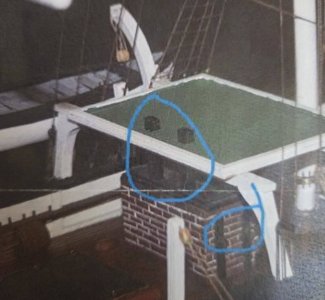
From the past week or so I did a deep dive into the tryworks on a few whalers. All whalers had them to render and melt the oil from the fat. Some times the tryworks was built enroute to the whaling grounds. There are a few photos surviving from the Wanders that show the tryworks. The model has the tryworks a bit plain, above the 2 kettles was a removable cover/roof section which 2 vent stacks were used to vent the heat and smoke up and away from the workers. The vent traveled through the upper roof as well.
What I wanted to replicate was these vent stacks to give the try works a bit more detail. I cut away the first covers vent bumps and sanded smooth, then cut an appropriately sized square tubing from my plastic stock and carefully cut away and resized the holes so that the square tubing would fit with a little play. I still need to cut and removed the upper roof sections where the stacks go through.
Because you can see into the tryworks, I had to create a “stop-base” for the stacks so you would not see them from the doors on the front and this gave me a base to also glue on as well. I wish could have created and shown the kettles, but it was just too much in such a small area.
Last edited:
- Joined
- Sep 18, 2022
- Messages
- 333
- Points
- 168
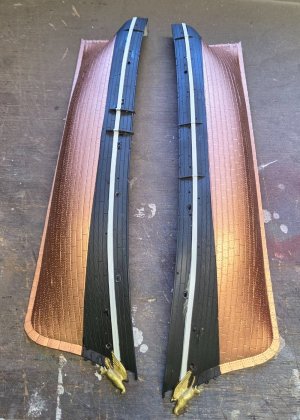
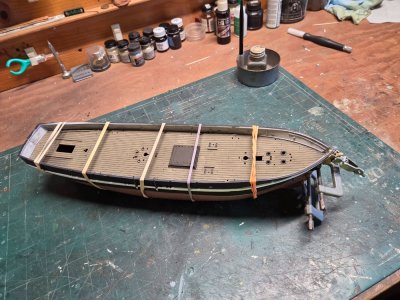
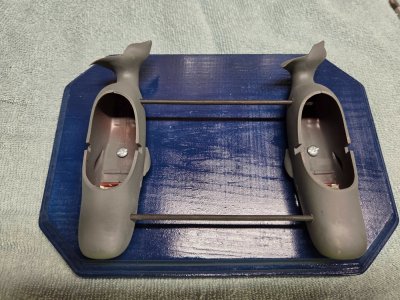
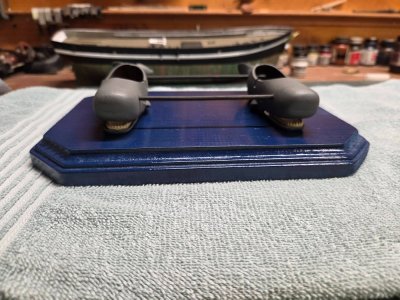
Finally got the base painting completed for the Aurora Wanderer Whaler, with this model I'll need to step the deck in, THEN glue the halves together because of the deep contour of the bulwarks. no way to fit in place after the hull is together. So I'll need to be a bit careful once assembled, she is going to be heavily weathered so a little wash hides a lot
 .
.
- Joined
- Sep 18, 2022
- Messages
- 333
- Points
- 168
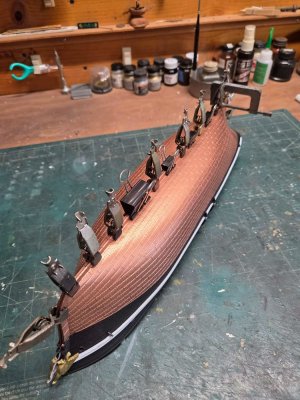
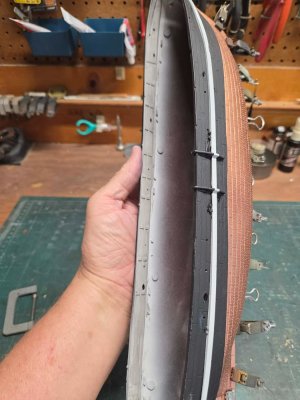
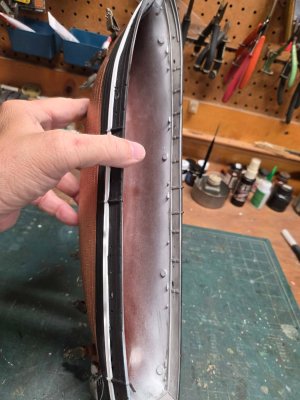
Got the bulwarks grimed in and the lower hull glued and drying. Once I place the deck in, I'll glue the bow and stern closed, but I need to leave it loose to fit the deck and the contour of the hull will not let you fit the deck if you glue the hull filly together.
- Joined
- Sep 18, 2022
- Messages
- 333
- Points
- 168
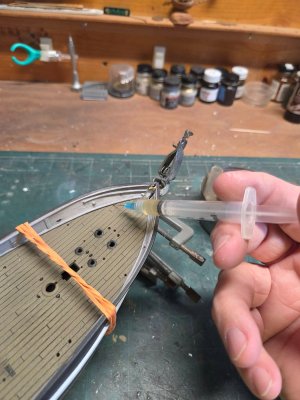
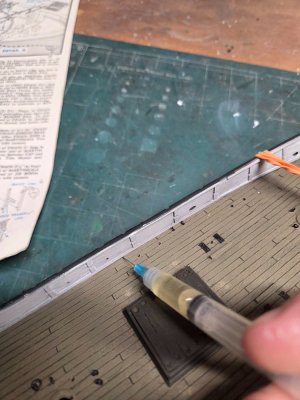
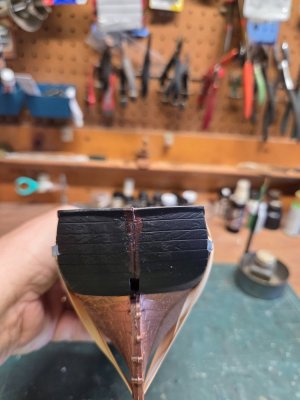
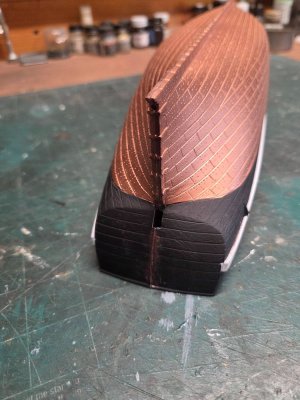
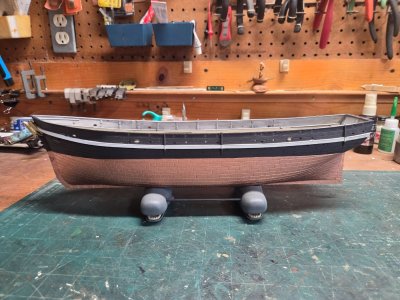
I must have 5 pounds of clamping pressure on the bow stem in order to get it set right. I've used testors tube cement followed by liquid cement to enforce the glue into the voids. For the deck I use a small gauge needle to carefully put glue along the seam where the deck meets the hull. This will dry for 48 hours before I remove the clamps and rubber bands. The stern met together nicely, I won't have must work to hide the seam.
- Joined
- Sep 18, 2022
- Messages
- 333
- Points
- 168
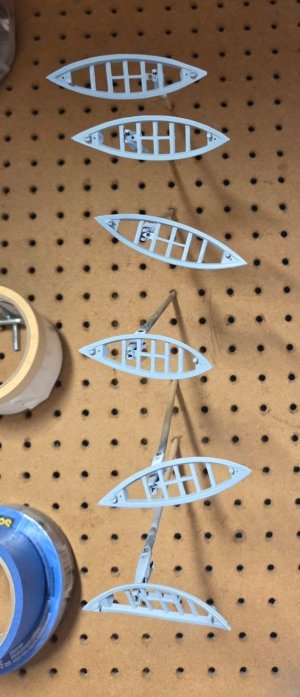
I've been working on the whaleboats, all the live long day...... parts prep and painting, life of a modeler.
The main color of the boats will be white, the upper seats and frames, I'm still researching what color did the Wanderer may have used. Not a whole lot written on these. Each boat is numbered with the matching seats frames, why I don't know because they are all the same shape. Two of the boats will be stowed upside down amidship on the racks, the rest will be outboard on the rails ready to launch. The oars will be white.
The sail for each boat is Testors flat sand which will be washed with a slight darker shade to shadow and detail. The rope line for each will be painted armor sand.
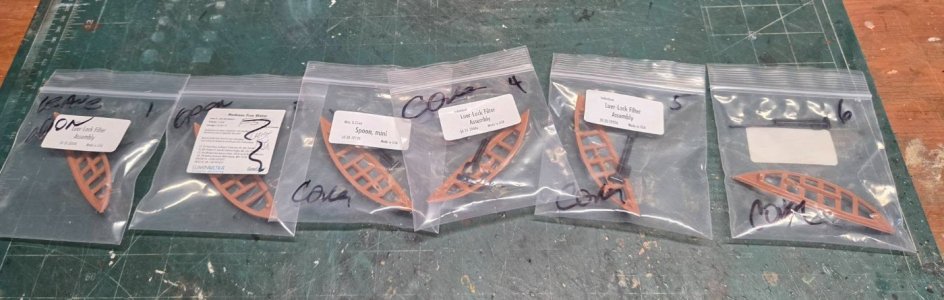
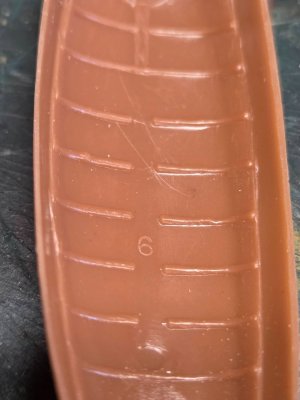
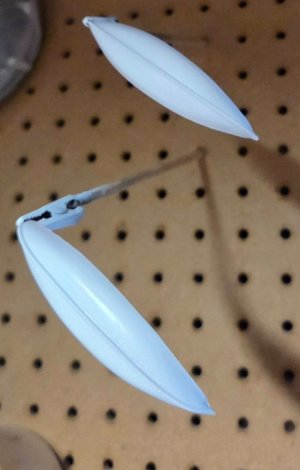
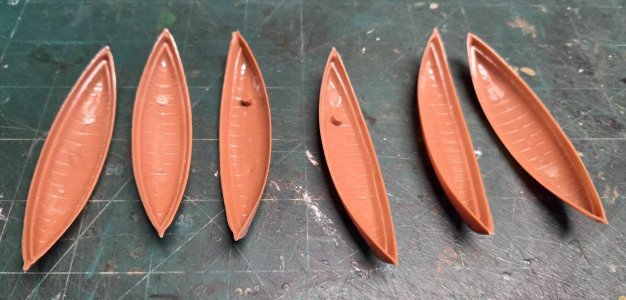
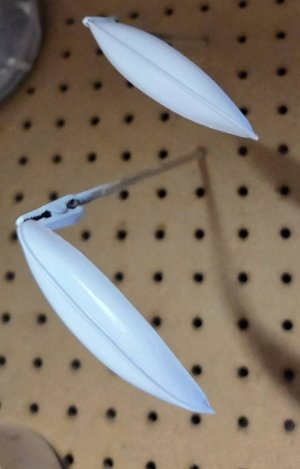
The main color of the boats will be white, the upper seats and frames, I'm still researching what color did the Wanderer may have used. Not a whole lot written on these. Each boat is numbered with the matching seats frames, why I don't know because they are all the same shape. Two of the boats will be stowed upside down amidship on the racks, the rest will be outboard on the rails ready to launch. The oars will be white.
The sail for each boat is Testors flat sand which will be washed with a slight darker shade to shadow and detail. The rope line for each will be painted armor sand.
- Joined
- Sep 18, 2022
- Messages
- 333
- Points
- 168
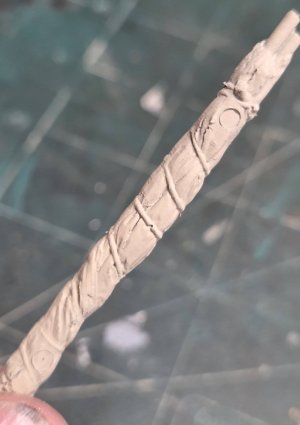
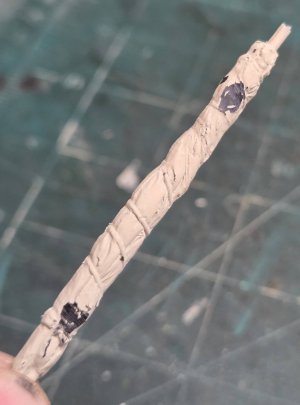
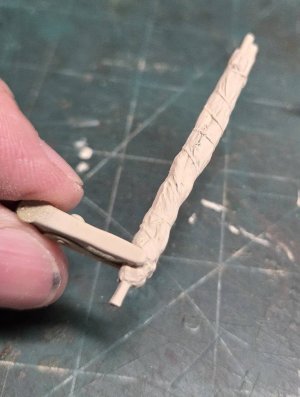
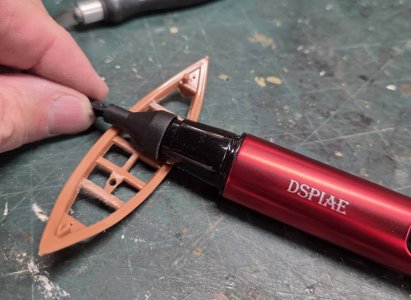
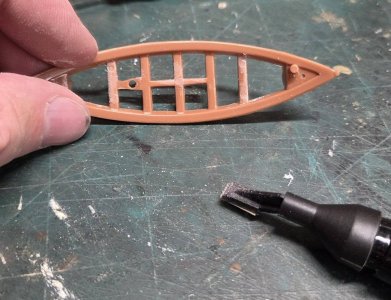
Removing the injection punch marks on the whaleboat sail and benches, the micro sander really comes in handy, I'm using 180 grit paper, I've only used it once before, works well. After the sails were retouched up, someone reminded me of what it looked like with the clip.....
- Joined
- Sep 18, 2022
- Messages
- 333
- Points
- 168
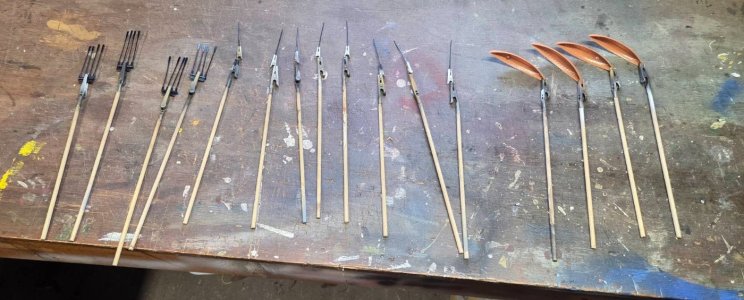
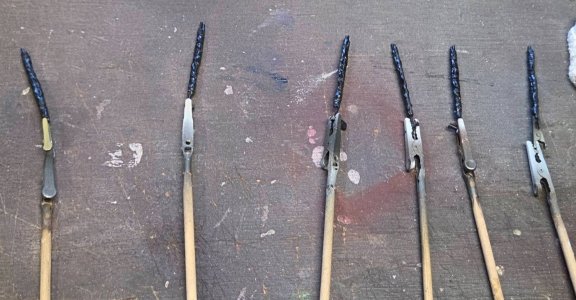
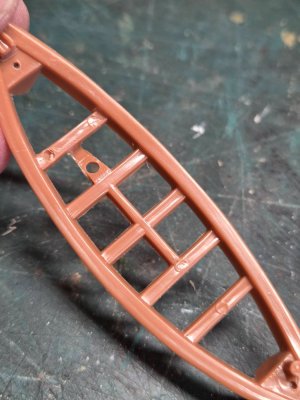
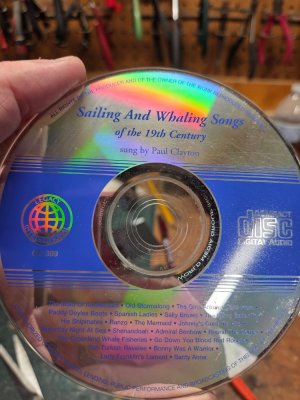
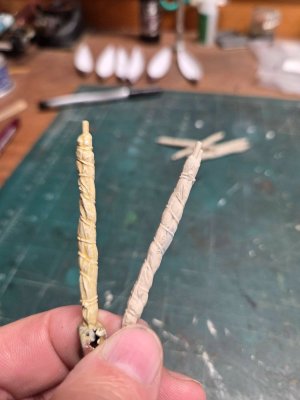
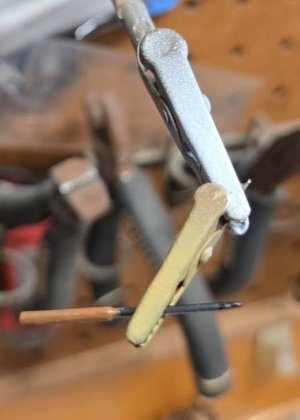
Finished up the seats and gave the sails a primary wash down, working on the Harpoons, seams removed, and wood stock painted. The sails will get another light grey wash and a dry brush with white to "Bleach them". I put on some Mood Music as well.
- Joined
- Sep 18, 2022
- Messages
- 333
- Points
- 168
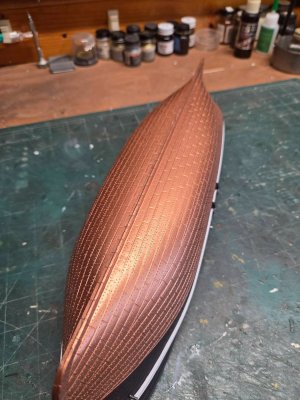
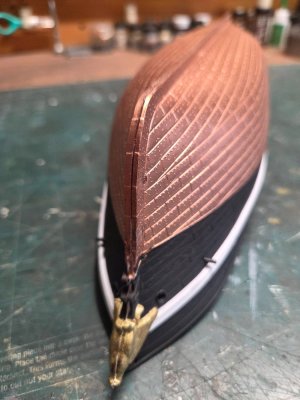
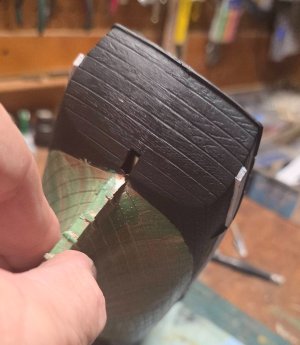
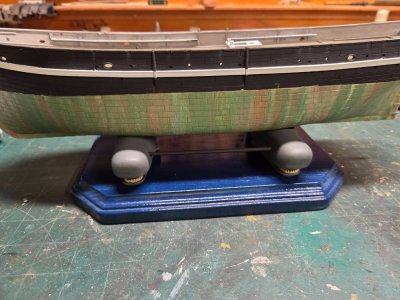
On all copper cad sailing ships, the copper corrodes naturally due to the saltwater environment, the effect that is use on plastic model is one I've used for over 30 years.
Base coat Floquil Copper, then brushing down from the water line I paint over the copper with a #2 watercolor brush using Floquil Antique White, then while the white is still wet, I brush over the same areas with Floquil Lt. Green, then brush over that with distilled turpentine, this blends the colors and once dry it will lose the sheen. I'll seal with Acrylic Future floor wax to seal it.
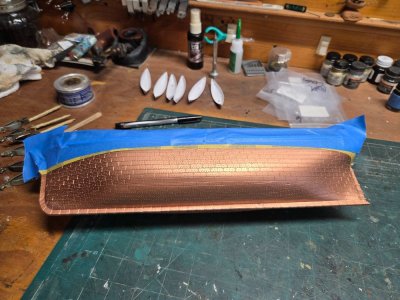
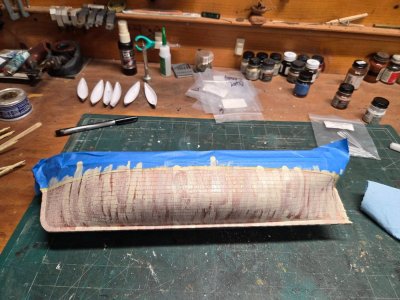
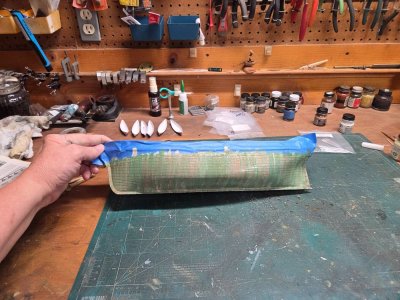
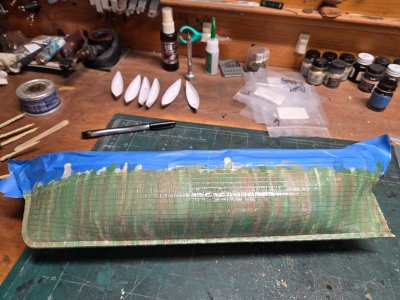
Base coat Floquil Copper, then brushing down from the water line I paint over the copper with a #2 watercolor brush using Floquil Antique White, then while the white is still wet, I brush over the same areas with Floquil Lt. Green, then brush over that with distilled turpentine, this blends the colors and once dry it will lose the sheen. I'll seal with Acrylic Future floor wax to seal it.


Definitely like the result and the music selection! 
One song was missed, although!
One song was missed, although!
- Joined
- Sep 18, 2022
- Messages
- 333
- Points
- 168
I have several seasongs and Chanties cd, I have that song as well, One Cd I have I can only play when the grans are aways, Oscar Brant X-Rated Sea Chanties - is a hoot.Definitely like the result and the music selection!
One song was missed, although!
- Joined
- Sep 18, 2022
- Messages
- 333
- Points
- 168
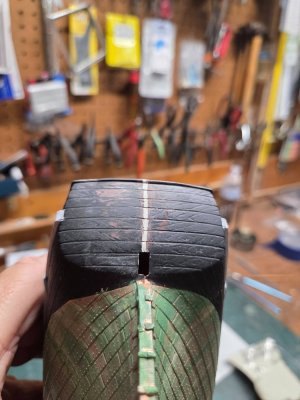
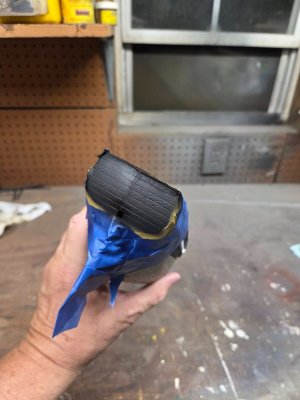
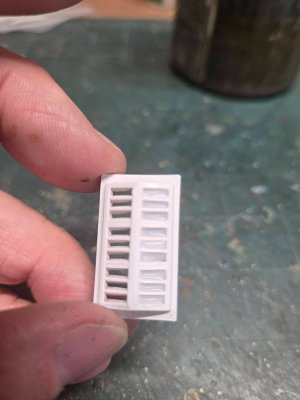
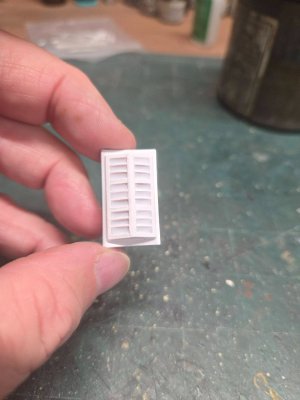
Finished off the stern woodgrain detail, she’ll also have her name and city on the stern, so it will be even better, I added diluted white glue to the skylight, once it dries it will look like glass windowpanes. . First deck fittings in place, belaying racks will get fitted tomorrow and the top rail will be repainted in black.


Perchance this is a helpfull source for ideas on the deck: 
Best wishes from Berlin Card Yard
Best wishes from Berlin Card Yard