Follow along with the video below to see how to install our site as a web app on your home screen.
Note: This feature may not be available in some browsers.
Ships of Scale has incorportated an extra level of security when you log In. Please follow
on-screen prompts to acknowledge that you are not a robot via a "Check Box" or a "Pictorial Check Box Puzzle". This is needed due
to higher level of AI Activity Security.
The beloved Ships in Scale Magazine is back and charting a new course for 2026!
Discover new skills, new techniques, and new inspirations in every issue.
NOTE THAT OUR NEXT ISSUE WILL BE July/August 2026
Win a Free Custom Engraved Brass Coin!!!
As a way to introduce our brass coins to the community, we will raffle off a free coin during the month
of August. Follow link ABOVE for instructions for entering.
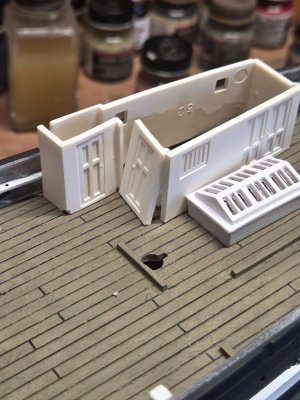
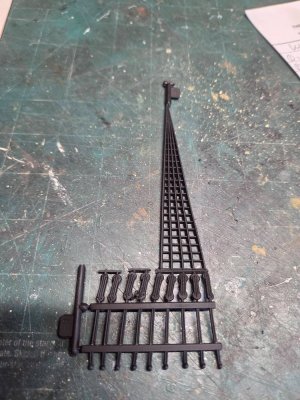
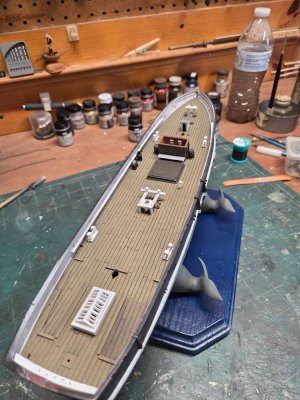
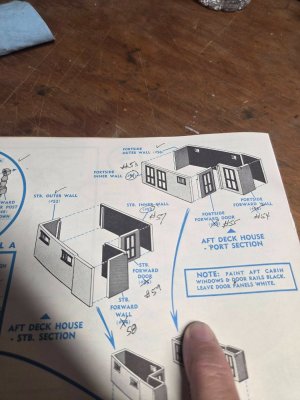
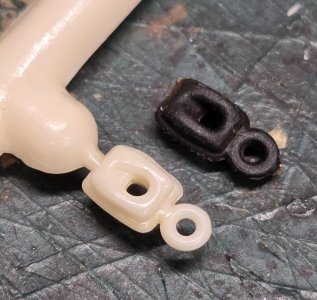
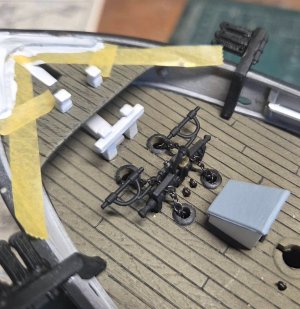
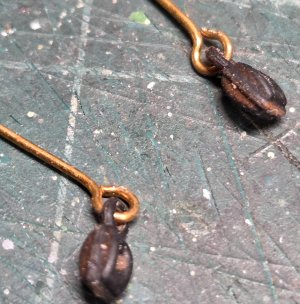
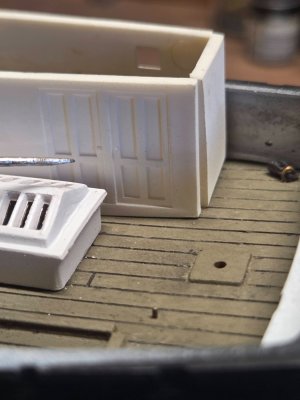
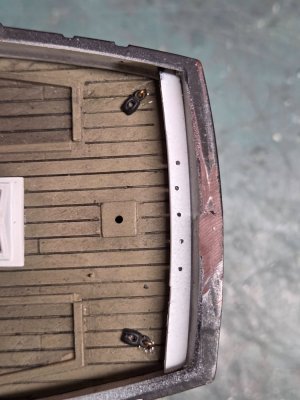
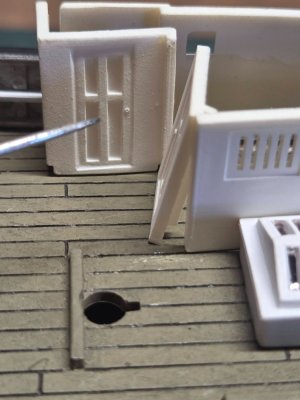
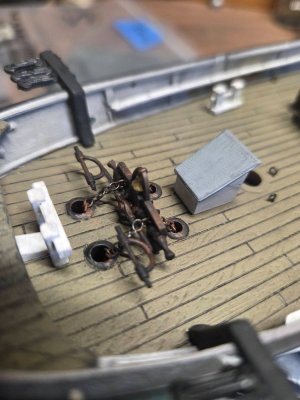
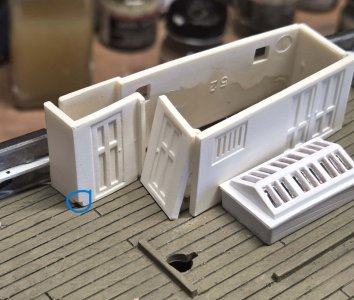
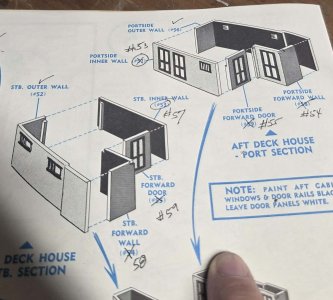
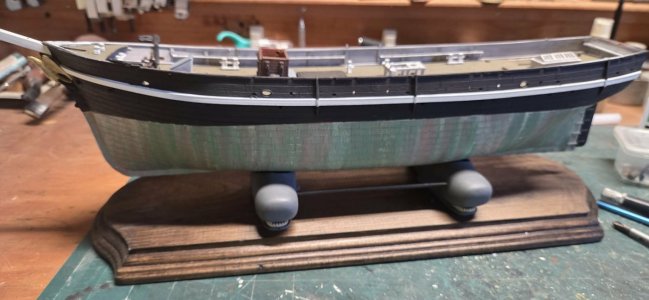
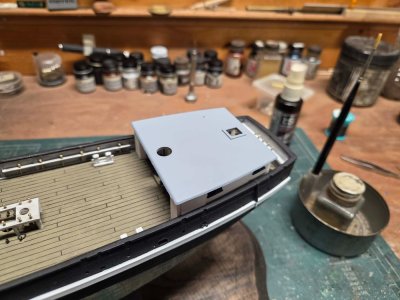
In test fitting the aft cabin I discovered that the instructions as written with the part numbers are backward. What the clue was is the position of the windows and door frames. If you look at the doors, the cross braced are in two different locations (higher than others), so I had to switch sides on the parts. Door framing is lower and some higher. The bow foredeck and windlass are in and detailed. When possible, I try to attach the eyelets to the pulleys without tying, neater that way. The pulleys/blocks that came in the kit (white ones) are near identical to the Revell Models versions, so I use those as they give me more choices and style. I'll use the plastic deadeyes and chainplates but will hand rig the shrouds as the preformed plastic one are WAY out of scale.
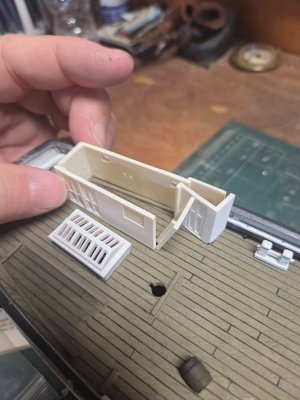
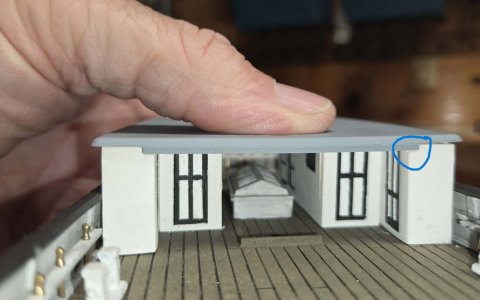
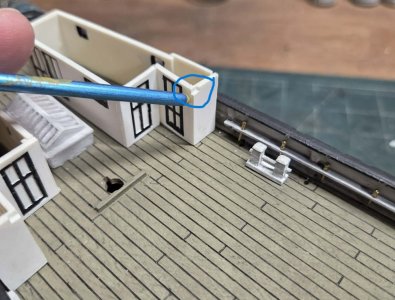
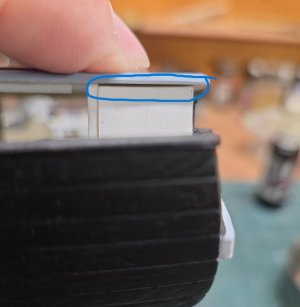
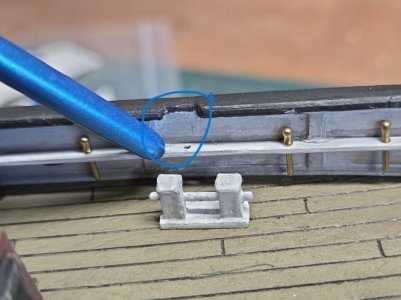
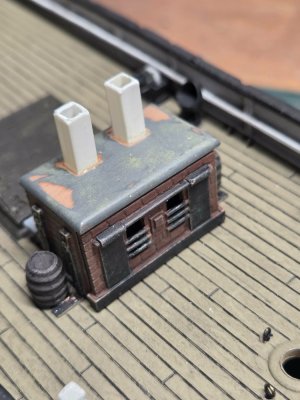
The instruction are really messed up, the aft cabin numbers are incorrect (flipped), this is WHY I’ve learned to pre-test or dry fit parts. Also note the door framing, the cross-brace framing are all molded alike but in having to swap part, it makes the doors look upside down. I wonder who worked on this mold, maybe they were half blind or drunk? The 2 notches at the top from fit the roof panel perfect, you have to swap the two door parts. The colors are striking because of the white-black combo, it will look much better when weathered and dirtied, I have a few seems I need to sand (will use the micro-sander for sure because of the tight spaces) and fill, but this will be a major part to knock out. The mizzen mast goes through the roof panel, and I need to allow for the various rigging lines to pass as well to be secured to the pin rail that circles the lower mast. The instructions cover this but not very well. I’ll need to use a thin piece of styrene to fill the gap on the aft cabin where the roof meets the wall. On the port pin-rail, I’ll have to leave the belaying pin out as the forward davit will set right where a belaying pin was to go.
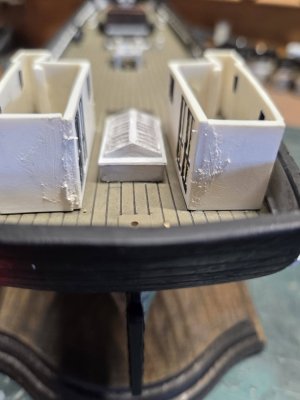
I got some bench time thus morning on the aft cabins, gave the primary sand down on the corners, using my micro DSPIAE sander, then filled with Tamiya thin white putty, will re-sand tomorrow, touch up the white, then wash the walls down to dirty them up a bit.