- Joined
- Apr 10, 2020
- Messages
- 154
- Points
- 213

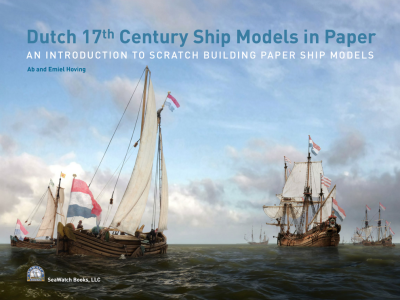
I recently came into possession of Ab Hoving’s wonderful book titled “Schepen van papier” with the subtitle “Een inleiding tot het maken van papieren scheepsmodellen.”
Ab has published something about this method on SoS already. See:https://shipsofscale.com/sosforums/threads/ever-considered-to-scratch-build-from-card.4676/
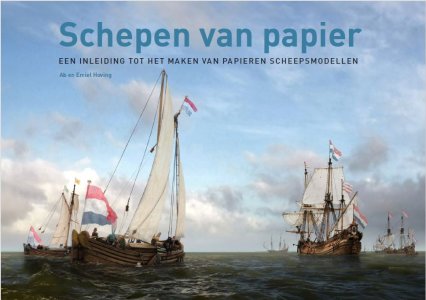
This book is illustrated with photos of some of Ab’s stunning models, placed in lifelike settings by his son Emiel—as everyone had the chance to admire at the recent exhibition at the Maritime Museum in Amsterdam.
In addition, in this book Ab provides an introduction and step-by-step guide on how to build a model using this method.
It’s an approach that didn’t immediately appeal to me at first, but given the level of detail, I’d still like to give it a try—if only so I can later say with confidence, “It’s not for me.” Though there’s a risk it might turn out to be a fun way to build after all.
We’ll see.
The book provides a detailed description of how to build a narrow-hulled ship—or a wide-hulled ship if you make it a bit larger.
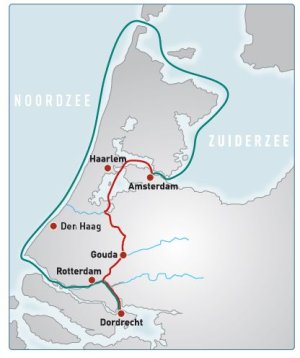
These ships were used to transport goods from Amsterdam to Dordrecht. This could be done via two routes: the inland route or the outer route. The inland route ran through Gouda, where ships had to pass through a lock that was 4.68 m wide. Ships that could fit through that lock were called narrow ships, and wider ships were therefore wide ships.
These ships were practically identical in construction; only the size differed.
I’ve chosen to build a narrow ship. As described in Ab’s book.
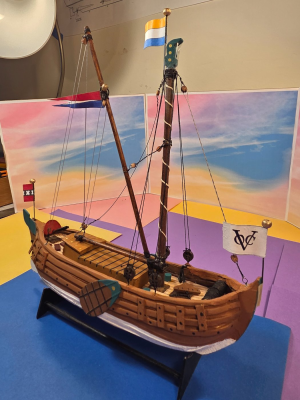
And it should look like this:
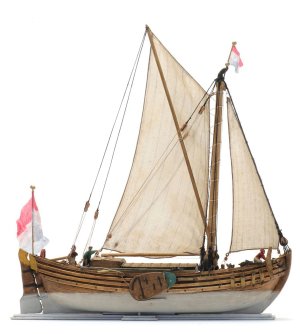
It’s not a large model—only 22 cm across the stern—and it’s on a 1:77 scale.
I hesitated for a long time about whether to start it, because I’m already working on three other projects, so this will be the fourth. In terms of priority, though, this project is at the bottom of the list. Only when I can’t continue with one of the other projects for a while or have to wait for something can I work on this model—maybe sticking a piece of paper somewhere or cutting something out.
So don’t expect rapid progress.
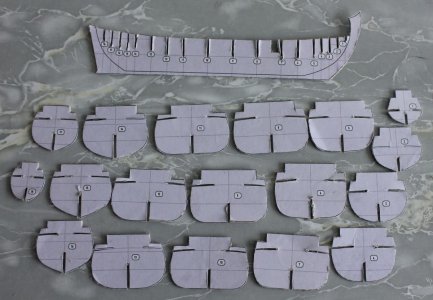
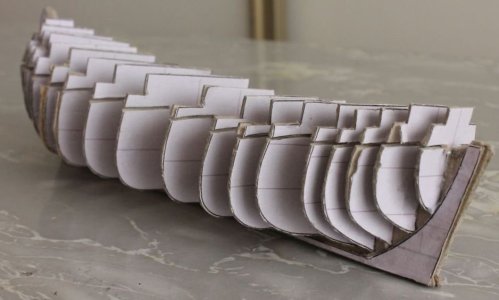
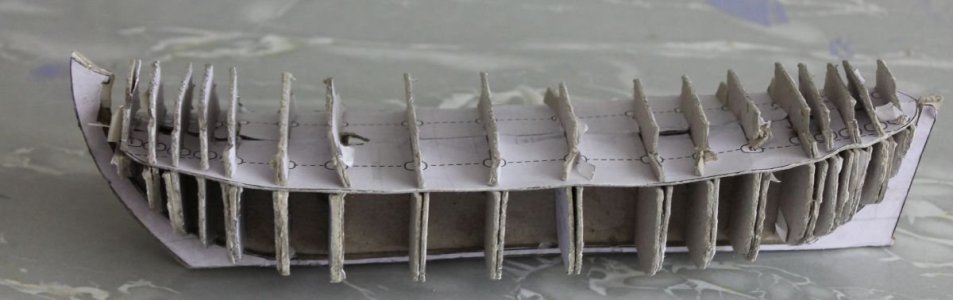
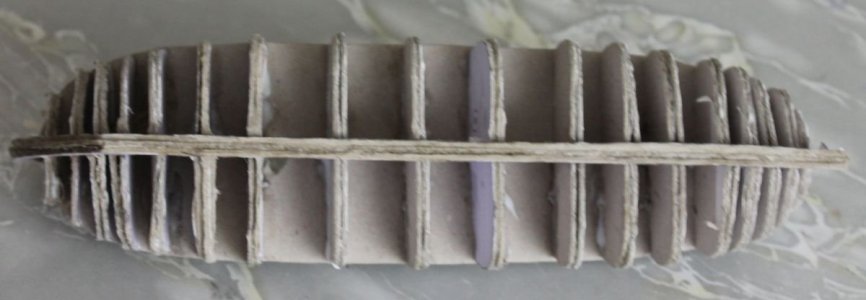
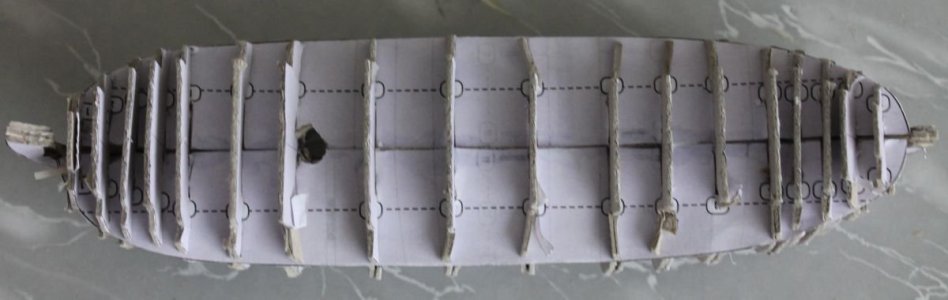
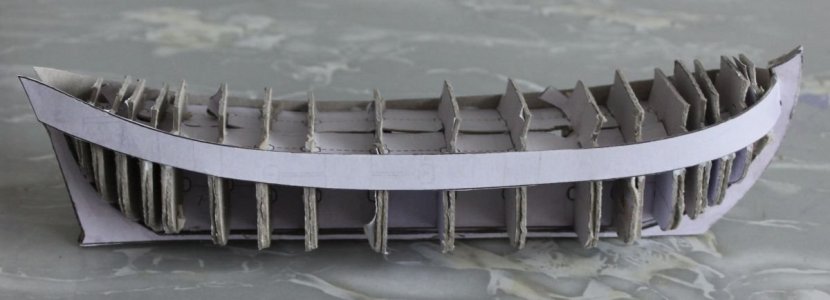
It starts, like many building projects, with a false keel and a number of transverse frames. I cut these out and glued them onto a piece of 1.3 mm thick cardboard.
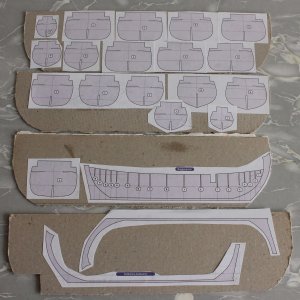
The bottom two strips are intended to thicken the false keel, creating a rebate between the frames and the false keel so that the skin covering will fit into it later.
That’s it for now.
To be continued.
Translated with DeepL.com (free version)
Ab has published something about this method on SoS already. See:https://shipsofscale.com/sosforums/threads/ever-considered-to-scratch-build-from-card.4676/
This book is illustrated with photos of some of Ab’s stunning models, placed in lifelike settings by his son Emiel—as everyone had the chance to admire at the recent exhibition at the Maritime Museum in Amsterdam.
In addition, in this book Ab provides an introduction and step-by-step guide on how to build a model using this method.
It’s an approach that didn’t immediately appeal to me at first, but given the level of detail, I’d still like to give it a try—if only so I can later say with confidence, “It’s not for me.” Though there’s a risk it might turn out to be a fun way to build after all.
We’ll see.
The book provides a detailed description of how to build a narrow-hulled ship—or a wide-hulled ship if you make it a bit larger.
These ships were used to transport goods from Amsterdam to Dordrecht. This could be done via two routes: the inland route or the outer route. The inland route ran through Gouda, where ships had to pass through a lock that was 4.68 m wide. Ships that could fit through that lock were called narrow ships, and wider ships were therefore wide ships.
These ships were practically identical in construction; only the size differed.
I’ve chosen to build a narrow ship. As described in Ab’s book.
And it should look like this:
It’s not a large model—only 22 cm across the stern—and it’s on a 1:77 scale.
I hesitated for a long time about whether to start it, because I’m already working on three other projects, so this will be the fourth. In terms of priority, though, this project is at the bottom of the list. Only when I can’t continue with one of the other projects for a while or have to wait for something can I work on this model—maybe sticking a piece of paper somewhere or cutting something out.
So don’t expect rapid progress.
It starts, like many building projects, with a false keel and a number of transverse frames. I cut these out and glued them onto a piece of 1.3 mm thick cardboard.
The bottom two strips are intended to thicken the false keel, creating a rebate between the frames and the false keel so that the skin covering will fit into it later.
That’s it for now.
To be continued.
Translated with DeepL.com (free version)