Hi All,
At the age of 75years, and being aware of deteriorating vision and other faculties, and having been involved with model ship building seriously for only a bit over one year, I have decided to have a go at making a scratch build model ship.
As you can see from my recently compiled list of other models below, I have made quite a few cannons, machines, and tools, and a lot of unlisted furniture, and building constructions, but my experience with wooden model ships is very limited.
So, I might be over ambitious tackling a scratch build of a 74 gun ship. But I have been encouraged to do so by a more experienced model ship building friend (SOS "chestcutter"), and other local modelers. I am yet to decide exactly which 74, but at present the decision lies between HMS Bellerophon, and the plans of Jean Boudriot's un-named French 74.
One aspect of a ship scratch build is the sawing, thicknessing and finishing of hull planks and decking planks. I have a good thicknesser and buzzer, but a sanding thicknesser appeared to be necessary in order to have available planks with thicknesses in the 0.5-2mm range.
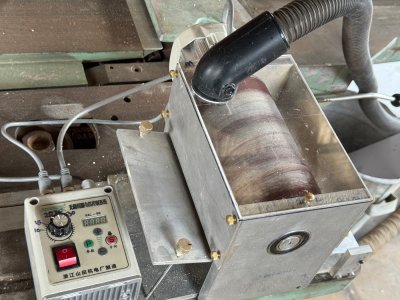
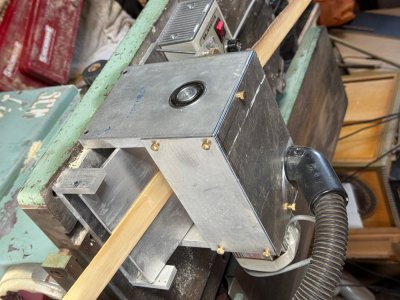
I looked at all of the Google Images of modelers drum sanding thicknessers, as well as those in SOS. With my experience in metal working I decided to make the machine in metal, specifically aluminium. The finished machine is in the photos.
Initially I planned to incorporate powered feed rollers and I showed some plans to my model engineering club. As well as multiple photographs of other peoples machines. One older member suggested that I use a simpler design, so that is what I did.
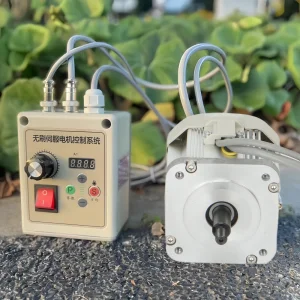
Most ship modelers drum sanders are in the power range of about 150 watts, but I actually chose a 750 watt AC servo motor (almost 1 HP), thinking that the extra power and size might be useful for furniture making projects as well. The motor and controller was purchased on Ebay Au, for $AUD160, and included a speed and direction controller, soft start, and all connectors, plug, RPM display in a very neat package. (see photo). All other materials in the build came from my workshop supplies, including sheet and bar aluminium, bearings, all thread and fasteners. So the total cost for me was $AUD160, plus 3 or 4 workshop sessions of 4-6 hours each.
I do have plans to change the height settings with a more elegant solution than the pair of M4 thumb scews.
The photos show the finished machine. I will add plans to this post if there are any requests.
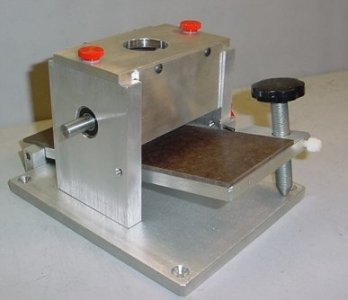
photo 1 was the inspiration for my machine. With thanks and compliments to the designer of that machine.
photo 2 is the motor and controller.
photo 3 is my almost finished version. Note the acrylic top
photo 4 is thicknessing a 44mm wide piece of Tasmanian Huon pine. The 1hp motor copes with ease, but the 240grit paper is too fine for thicknessing. At that stage I had not installed the transparent top.
photo 5 is a duplicate. I cant see how to delete it.
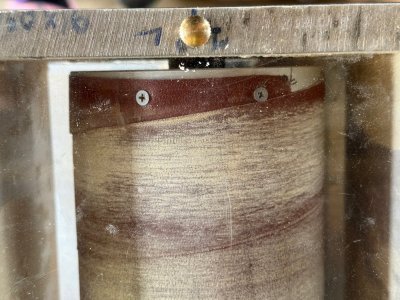
photo 6 shows the countersunk screws which hold the strip sandpaper ends. The method seems to work well.
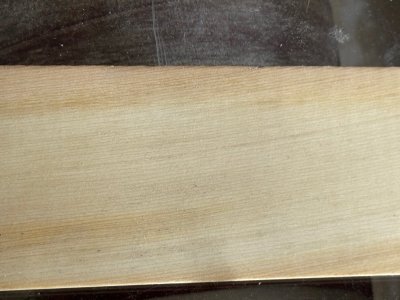
photo 7 is a closeup of the finished surface. Pretty good!


