Adventure galley

this project is an example of designing as you go, there are no instructions and really no plans just a sort of, kind of, this is what it might of looked like based on scant historical references.

for all you would be model builders

in my years as a commercial artist and designer I was asked "how do you come up with these ideas?" simple you see the finished piece first and spend countless hours figuring out how to do it.
what you have to keep in mind is this

to move ahead sometimes you have to start over so letting go of a mistake is the way no matter how long it took you to make it.
 
Dave,
I'm following this build very closely, because I want to scratch build the Adventure Galley too. I was very happy to see that someone as experienced as you was doing a build log for this project. Since this will also be my first scratch build, I know that I will learn a lot from following you. Please update us if you've made any further progress.
 
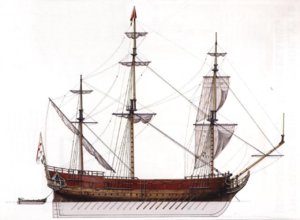
this painting shows the Adventure galley with a cut down profile the flare at the bow was cut away and the quarter deck was reconfigured. This makes sense because the Charles Galley was a naval vessel and built to show off with higher stern and a flare at the bow. The Adventure could very well be based on the same hull lines or even a rebuild of Charles Galley. Keeping in mind the Adventure Galley was a privateer and built for performance more than looks. So speed was a consideration more than looks so less weight more speed. I read someplace ship captain would order the crew to remove some or all of the heavy carvings to make the ship lighter and more maneuverable, so the Adventure Galley could very well be a cut down faster version of the Charles galley.

adventure2.jpg

taking the original Charles Galley profile

caprail lines.jpg

and cutting it down so the profile looks more like the painting. it does not show it here but the stern and carvings will be at the height of the railing you can see that in the painting.

caprail lines new.jpg
 
Last edited:
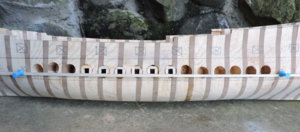
before I cut down the profile I wanted to get the row ports and gun ports all laid out.

I wanted the row ports open so you can look into them. I came up with the idea to drill out the hull behind the ports and then frame them in, seeing you can not really drill a square hole.

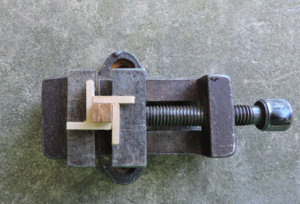
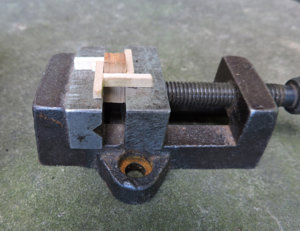
to begin I used a piece of square stock the size of the port and used it as a template to make the frame. This was to make sure all the ports were the same size


rp1.jpg

rp2.jpg

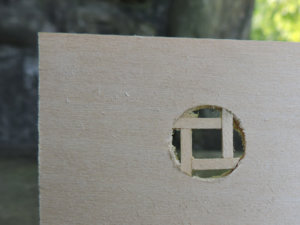
now I drilled a hole in a sheet of wood to test how the frames will fit. the open space around the frame will be covered with hull planking.

rp3.jpg
 
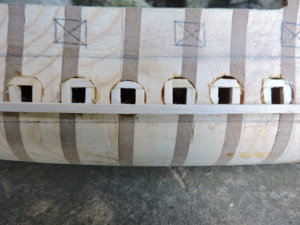
satisfied with the idea working I drilled the hull. Each port was marked out from the template so I found center and punched a started hole in the center of each port. The holes are larger than the row port itself and there is enough wiggle room with the frames to adjust it in the hole allowing for alinement.


rp4.jpg

using a plank I put push pins in at the location of the bottom of the ports

rp5.jpg

i wanted to make sure the row ports will follow a clean sweep to match the planking.

rp6.jpg


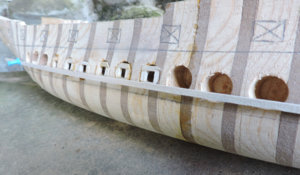
final results worked just as I planned it, i now have a row of ports open in the back and following the sheer of the hull.
boy i love it when an idea works.

\rp7.jpg
 
Last edited:
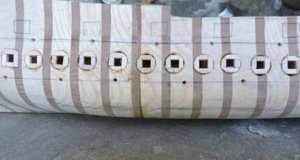
the upper and lower pencil lines you see on the hull are the location of the wales. The wales do have a different sweep than the row of ports. In the center of the hull the wale will be below the ports but as the wale reaches the bow and stern it will sweep upwards almost touching the bottom sill of the ports.
The belt of planking at the row ports will set the sheer up to the cap rails.
Then planking will begin at the keel and work up to the shutter plank just below the lower wale.
 
what the heck! whats with the holes?

DSCN2141.jpg

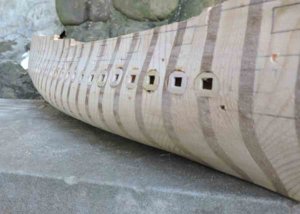
well the frames for the row ports were not all setting flush with the surface of the hull plus the side of the hull have a curved shape to it. I needed to give the hull a final sanding and even out the row port frames. I thought hum if i sand the hull i will loose my lines for the 2 wales. The hull is going to be planked over so the planking will cover anything on the hull. So i drilled a series of holes along the wale lines so when i sand the hull i will still have the location of the wales. After sanding the frames sit flush with the hull and the ends of the planking will sit right on the frames with no gap.

DSCN2144.jpg

this now completes the hull and it is on to the next step of setting the wales.
 
Dave, any progress with the build? I’m finishing another project and would like to get started on this. I’m very interested to see how you have progressed.
 
ok like some doctor making the rounds from project to project I am back on the Adventure galley.

what I will be doing now is setting the main wales, this gives me the sweep of the upper planking so first I set the wale below the row ports at mid ship

wale1.jpg

then I take the end and let it bend and take its natural sweep to the bow.

wale2.jpg

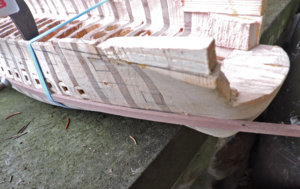
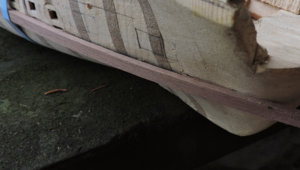
looking closer notice the gap between the wale nd the side of the hull

wale3.jpg

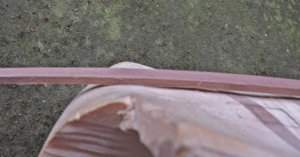
take another look from the top down, that gap can either be filled in with a wood filler or fix the hull.

wale4.jpg

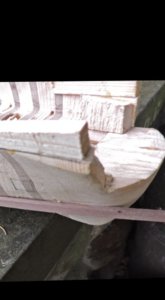
the real problem is a hump right at the bow where the hull curves to the stem.
Many model builders skip this part of the planking process which is called "dubbing" in real ship building and it is a process of knocking down areas of a frame or hull where the planking does not lay flat. by using a plank you first bend it along a hull to check for high and low spots, then fix them before you start planking. In this case the wale will break every time at this high spot. Looking to the right if the wale was glued flat to the hull then it will have to curve up to the high spot and then take a sharp bend to the stem. So the first step in setting the wales is to make sure they will actually set flat and bend from stem to stern. Before i try to bend the wale first i will refine the shape of the bow area.


wale5.jpg
 
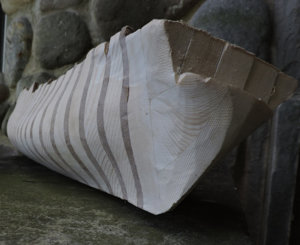
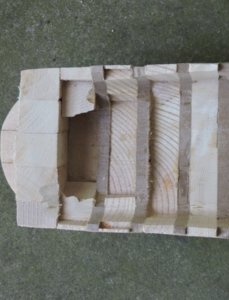
when I first built and shaped the hull I was not sure exactly what I wanted to do with the bow section and fore deck. Then I changes the shape of the bow because there was this pronounced flare of the hull at the top section. I cut down the hull a little and reworked the flare at the bow. In doing so I just eliminated the solid forward bulkhead. There was really no reason other than I just never replaced it when I redid the bow. My plan now is to just frame in the forward bulkhead.
 
Back
Top