Greetings all. This is way long past-due log of Part 2 of 3 series: Accesories\Uspscale mini kits of naval guns. To those of you who came directly to this post, please follow the below link to get familiar with our discussion about aftermarket naval gun mini kits.
PART 2
In the first part, we have an overview, kinda of an open box of mini kits available at our disposal if we would like to upscale the look of the naval guns: their barrels, carriages, and small PE parts to those who would like to present the gun with tiny details. So...without further ado, let's begin.
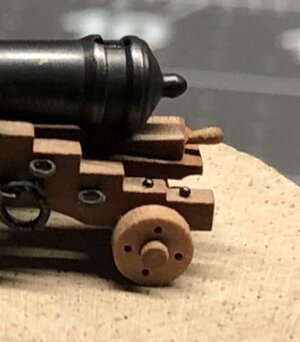
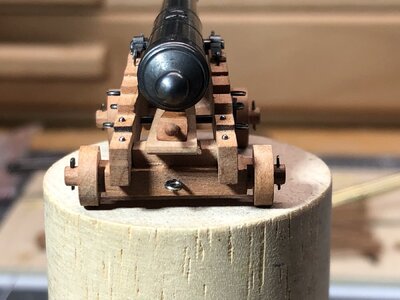
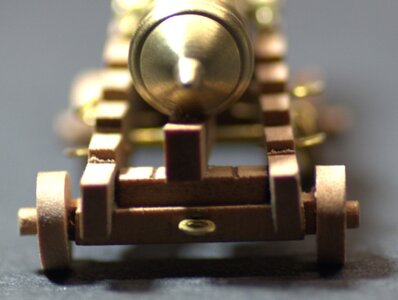
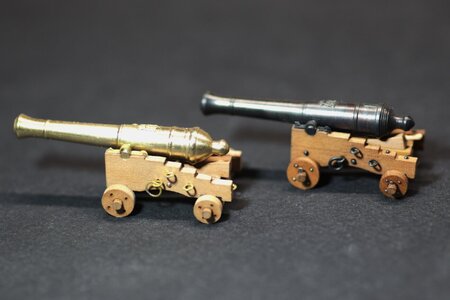
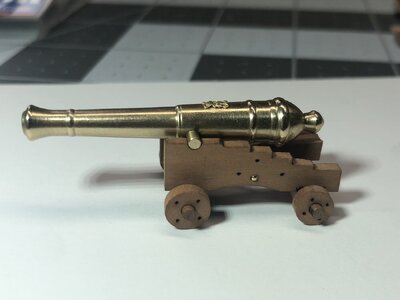
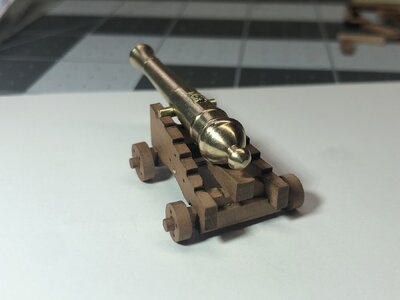
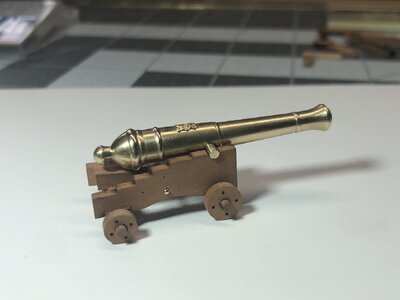
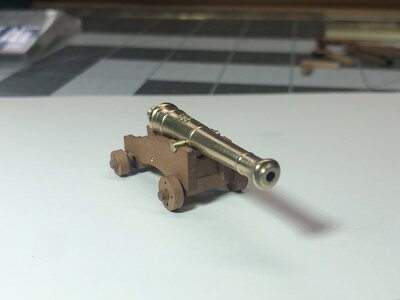
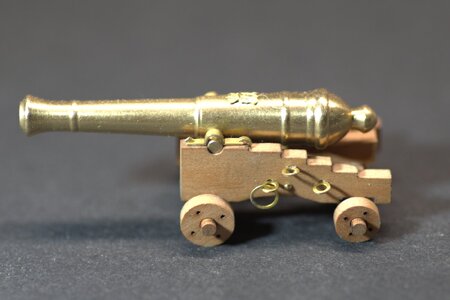
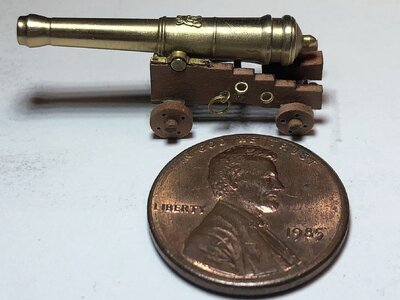
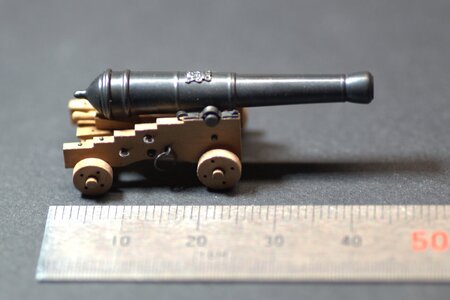
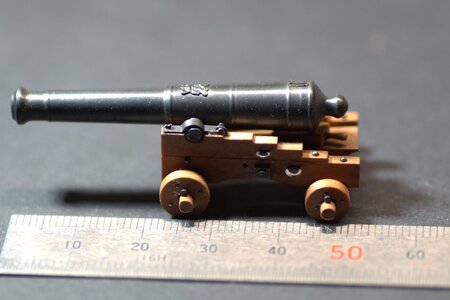
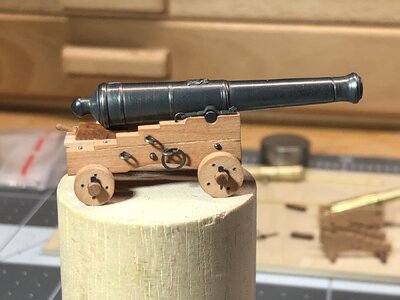
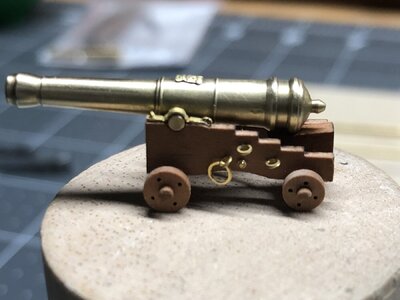
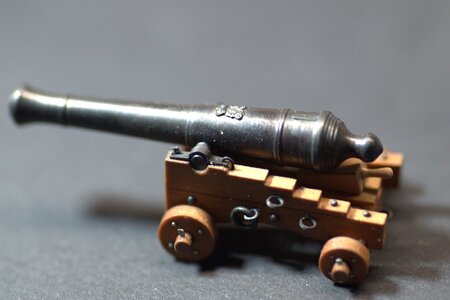
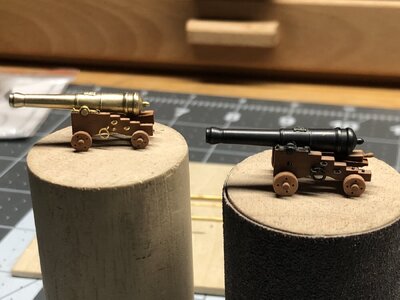
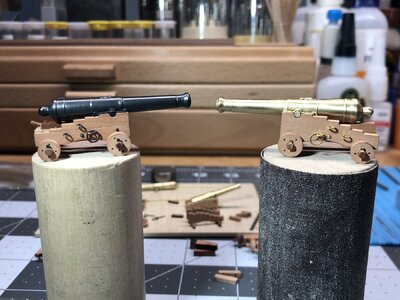
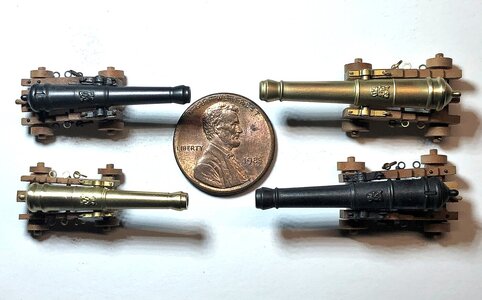
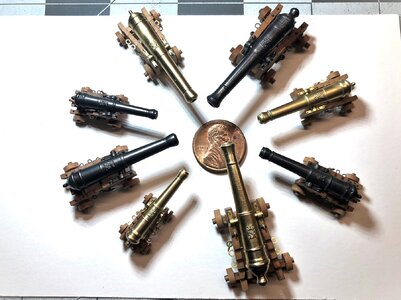
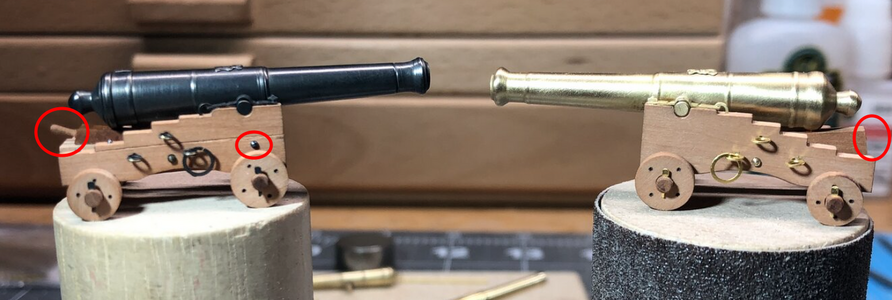
This is our ultimate goal for today's discussion
The carriage
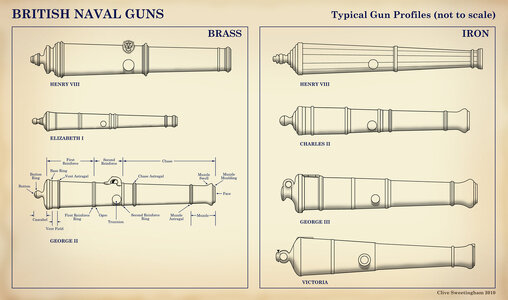
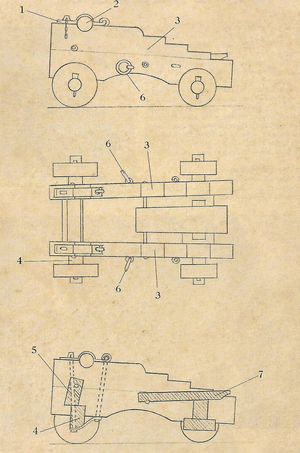
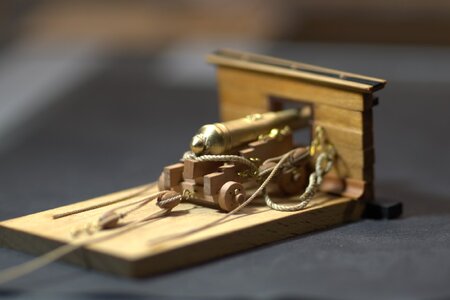
Let's take a look at the typical British naval gun using the image below. We will assemble the carriages so they look similar.
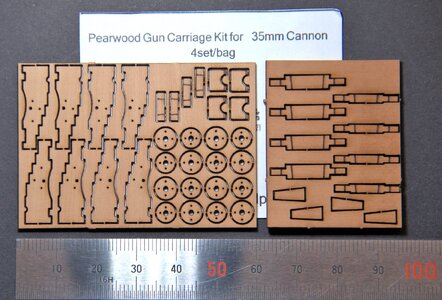
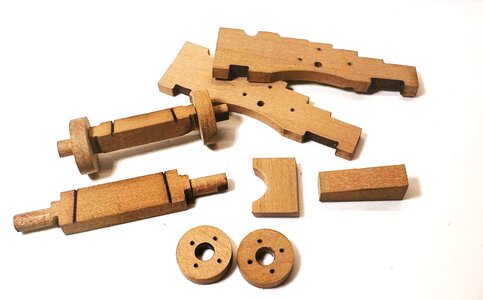
The parts for the carriage are provided in two laser-cut Pearwood sheets. Each kit will have a thinner sheet, that contains parts for left/right marriage sides, all 4 trucks (wheels), transom, and bolster. The thicker sheet will have front and rear axletrees and quoins. Below is the sample for the 35mm barrel.
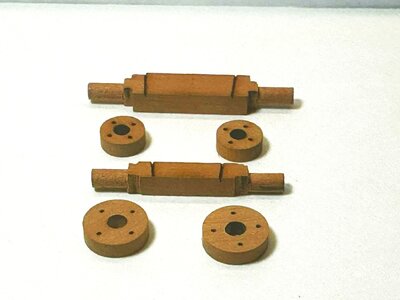
I am removing all the parts to clean the laser char where it is required. Some parts will require shaping before they are assembled. Let's start with both axletrees. For the tracks to fit, the axletree ends require some rounding.
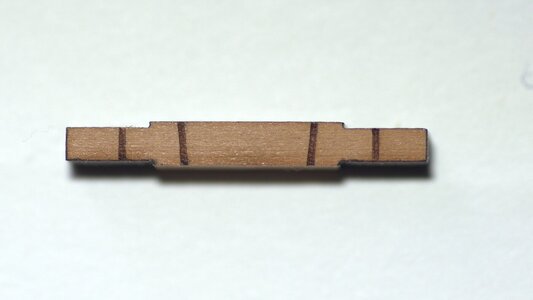
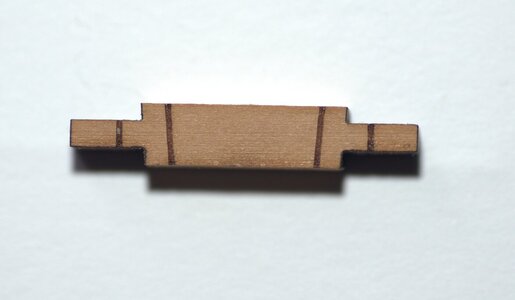
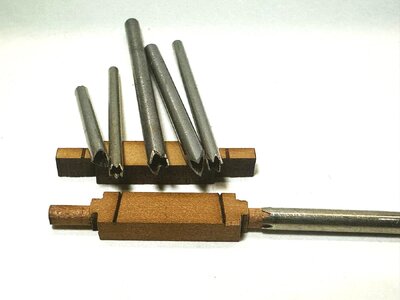
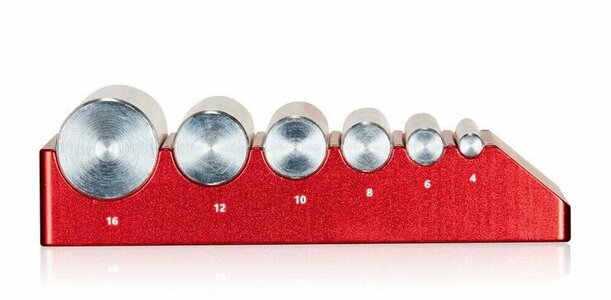
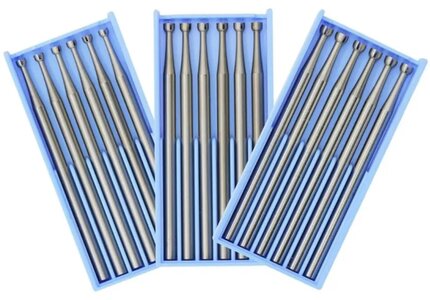
Obviously, you can do it with a flat file and/or hobby knife, I suspect they will look OK, but likely to be uniform. To ease this process, I made a custom tool using different blunt needles. They are typically labeled by gauges where the gauge number, the smaller the inside diameter. (see the image below).
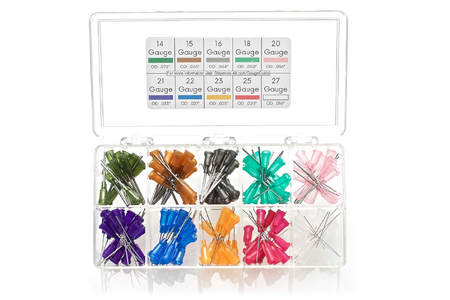
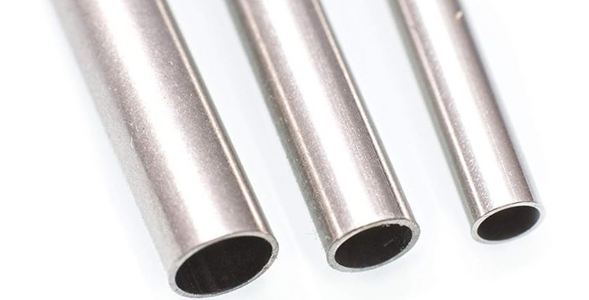
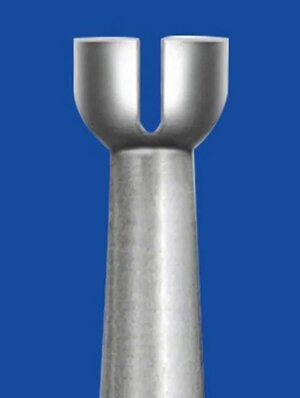
Pick the blunt needle that will make the dowel the same size (or close enough) as your inside diameter on the truck. To make the tool, you will need a triangle needle jewelry file and make 4 cuts like in the image below. Don't worry if they do not even, they should only cut the wood. Here on the image various tool sizes for different axletrees. The tool is better used in the drill press but with some try and error, you can do it in your favorite rotary tool on slow speed.
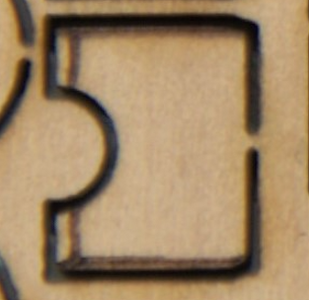
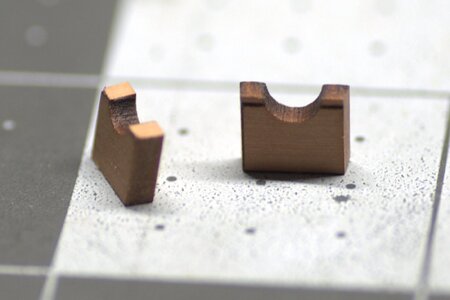
The next step is to prepare the transom. Because the carriages' sides are not parallel to each other, each side on the transom required shaping. There is a laser mark as the guide to help you remove only the necessary amount.
Alright, all parts are preshaped where necessary and ready to be assembled to make a carriage. YAY!
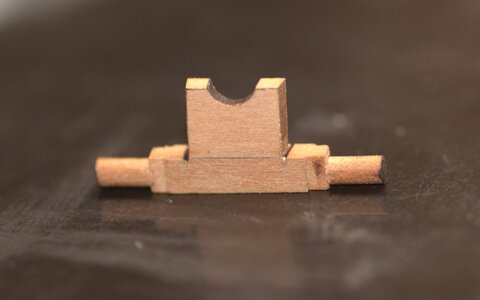
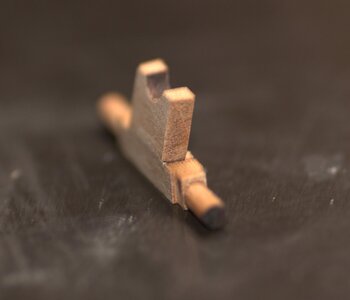
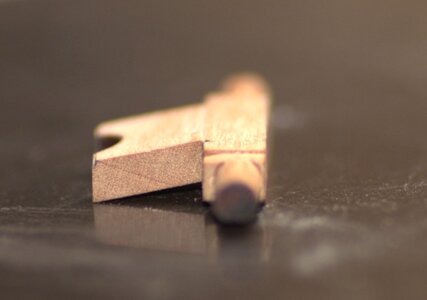
I start with the transom, it will be glued to the front axletree. Please note the two laser marks., you will glue the transom between those lines like so on the images below. You may click on the individual image to see a larger view.
Moving ON, time to glue the carriages' side pannels. Each carriage has notches to accept the front and rear axletrees, also there are laser marks on the axletrees to position the sides. Glue everything together including bolster. NOTE: you will have to shape the bolster so it will fit between the carriage's sides.
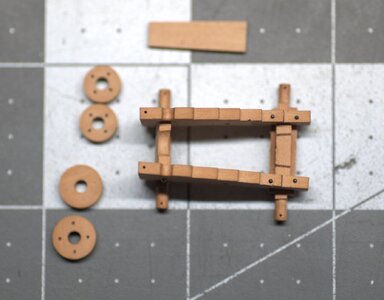
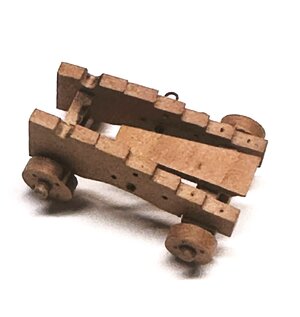
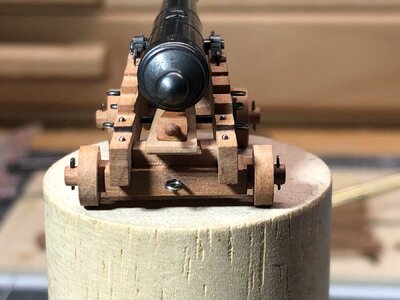
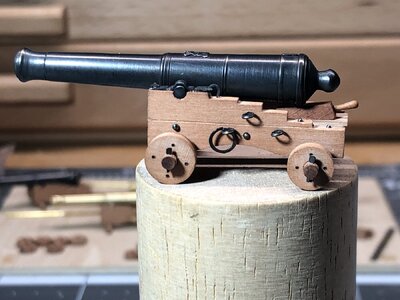
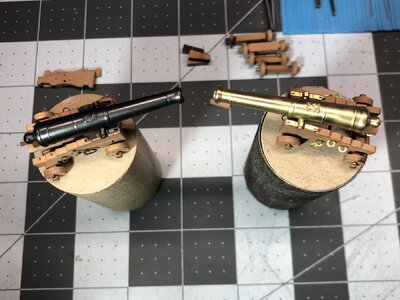
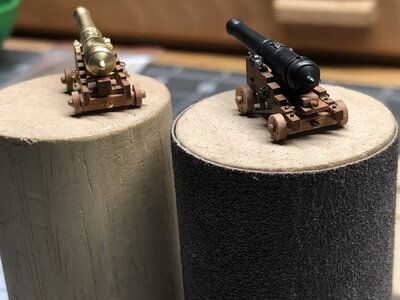
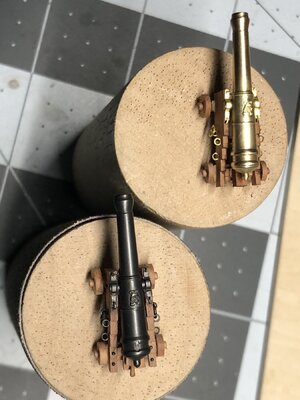
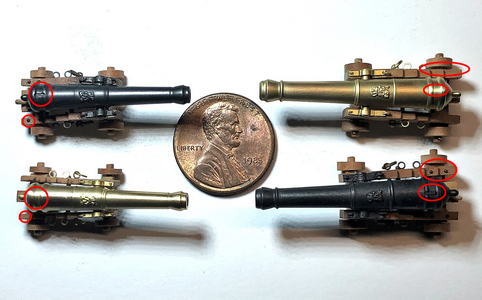
The last step is to glue the quoin and the stoolbed (one simplified unit), but this will require a gun barrel so we can properly manage the angle. Believe me or not, but that's it for the carriage itself. At this point, it should look similar to the images below.
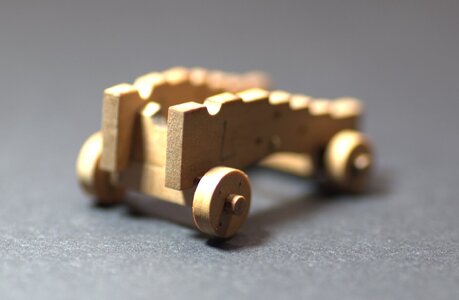
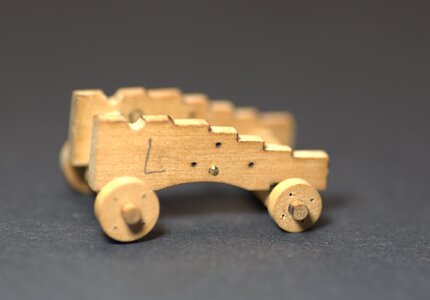
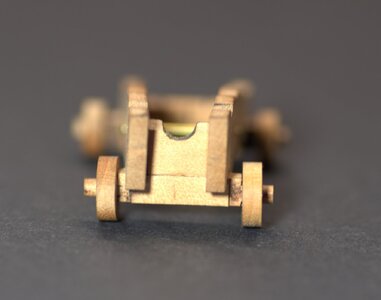
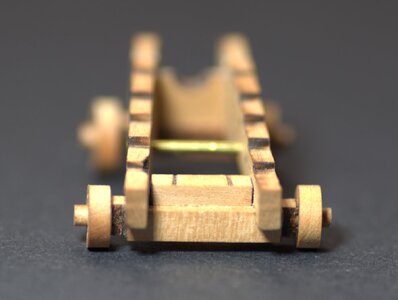
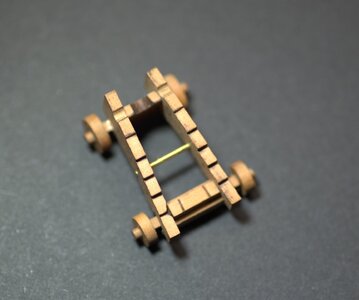
In my images, I use parts from different kit sizes, as I assembled them all. You may find slight differences between the images.
Working with gun barrels.
Assembling the carriage was fun, wasn't it? The carriage does look great and I must admit - all parts fit nicely! If you intend to upscale only kit carriages, your mission is accomplished. However, if you want to replace the naval gun with upgraded barrels, then continue reading.
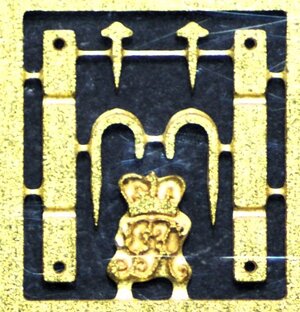
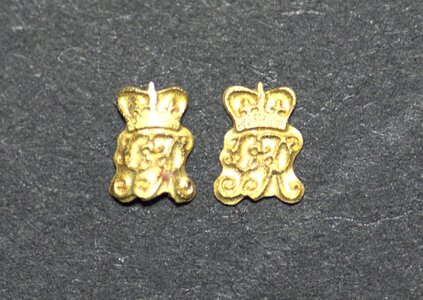
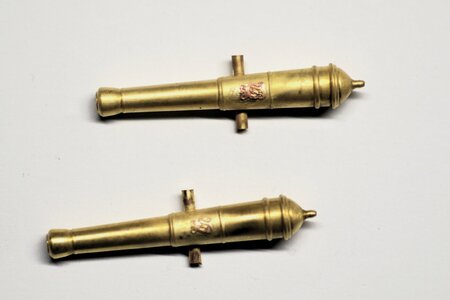
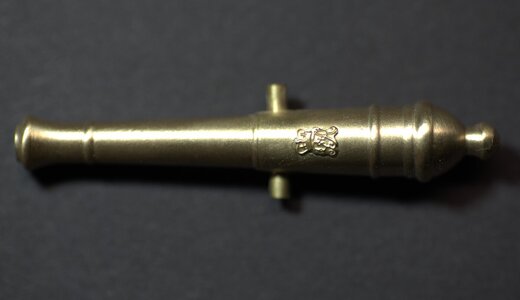
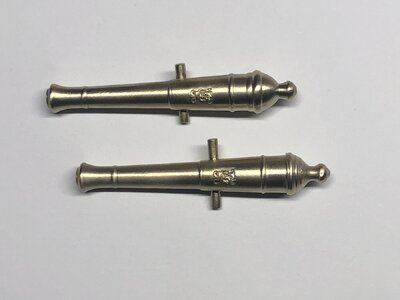
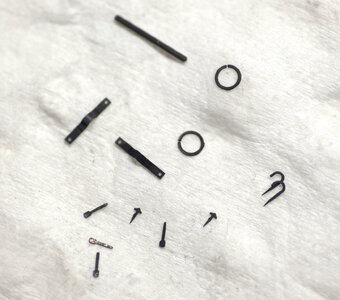
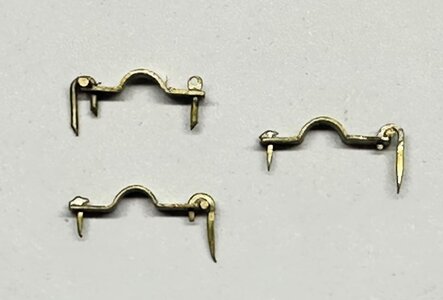
For the most part, they (barrels) don't require much work. From the supplied brass wire I will need to make a trunnion and clean it from oxidation before blackening. However, I recommend purchasing a PE kit, not that the kit contains capsquares, and various hooks/eyebolts for rigging the gun, but it includes the linchpins (at the time of writing only for the 50mm kit) and the Royal Emblem. Yeah...you want the royal emblem, for sure. Just so you have an idea of what is the PE kit, check the image below.
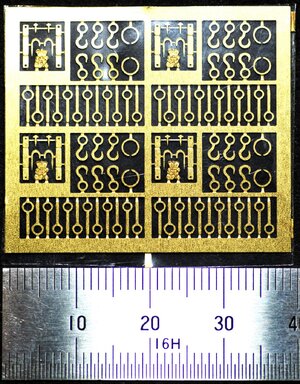
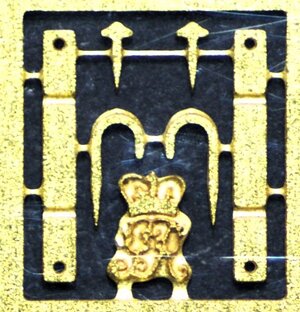
and Royal emblem in the macro image
Back to the barrels. The wire diameter supplied for the trunnion is slightly smaller than the hole. If you don't know how to solder or simply don't want to, you can blacken all the parts separately and glue them together. However, I will be using the butane torch and silver solder paste and solder all parts together before blackening.
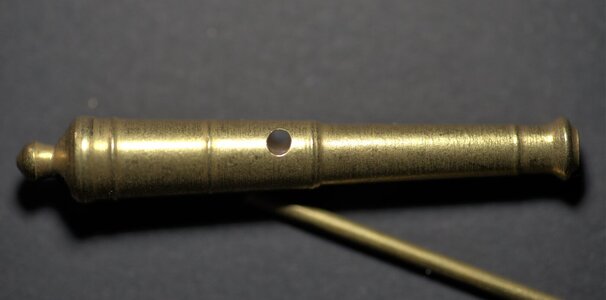
Using the carriage, measure and cut slightly longer wire for trunion, so you have enough for the final shape from both ends. In the middle of the trunnion part make a grove half of the diameter. Put some soldering paste and insert it into the barrel. Remove any excess solder from both ends and... Solder it. Heat the fubsy parts first and spread the heat toward the thinner part of the barrel. You should see the bright solder between the hole and the wire. The job is done! While still hot, dump it into vinegar to remove oxidation.
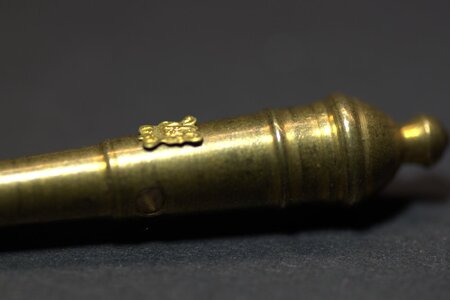
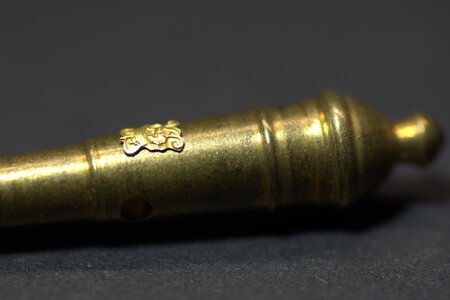
The next task is to solder the Royal Emblem. Oh..oh..we have a slight problem. The emblem is dead flat and will require some round shaping.
Continue on the next post (25 images limit)
Accessories/Upscale Kits - Aftermarket naval guns parts to upscale, Part 1/3
* there is no copyright on any images in this review Let's face it...How many of us have been disappointed with the cannons supplied in the kits? Personally, I found that manufacturers don't pay enough attention to cannon details. Often, the carriages are out of scale and made from cast metal...
shipsofscale.com
PART 2
In the first part, we have an overview, kinda of an open box of mini kits available at our disposal if we would like to upscale the look of the naval guns: their barrels, carriages, and small PE parts to those who would like to present the gun with tiny details. So...without further ado, let's begin.
This is our ultimate goal for today's discussion

The carriage
Let's take a look at the typical British naval gun using the image below. We will assemble the carriages so they look similar.

The parts for the carriage are provided in two laser-cut Pearwood sheets. Each kit will have a thinner sheet, that contains parts for left/right marriage sides, all 4 trucks (wheels), transom, and bolster. The thicker sheet will have front and rear axletrees and quoins. Below is the sample for the 35mm barrel.

I am removing all the parts to clean the laser char where it is required. Some parts will require shaping before they are assembled. Let's start with both axletrees. For the tracks to fit, the axletree ends require some rounding.


Obviously, you can do it with a flat file and/or hobby knife, I suspect they will look OK, but likely to be uniform. To ease this process, I made a custom tool using different blunt needles. They are typically labeled by gauges where the gauge number, the smaller the inside diameter. (see the image below).


Pick the blunt needle that will make the dowel the same size (or close enough) as your inside diameter on the truck. To make the tool, you will need a triangle needle jewelry file and make 4 cuts like in the image below. Don't worry if they do not even, they should only cut the wood. Here on the image various tool sizes for different axletrees. The tool is better used in the drill press but with some try and error, you can do it in your favorite rotary tool on slow speed.


The next step is to prepare the transom. Because the carriages' sides are not parallel to each other, each side on the transom required shaping. There is a laser mark as the guide to help you remove only the necessary amount.


Alright, all parts are preshaped where necessary and ready to be assembled to make a carriage. YAY!

I start with the transom, it will be glued to the front axletree. Please note the two laser marks., you will glue the transom between those lines like so on the images below. You may click on the individual image to see a larger view.


Moving ON, time to glue the carriages' side pannels. Each carriage has notches to accept the front and rear axletrees, also there are laser marks on the axletrees to position the sides. Glue everything together including bolster. NOTE: you will have to shape the bolster so it will fit between the carriage's sides.

The last step is to glue the quoin and the stoolbed (one simplified unit), but this will require a gun barrel so we can properly manage the angle. Believe me or not, but that's it for the carriage itself. At this point, it should look similar to the images below.


In my images, I use parts from different kit sizes, as I assembled them all. You may find slight differences between the images.
Working with gun barrels.
Assembling the carriage was fun, wasn't it? The carriage does look great and I must admit - all parts fit nicely! If you intend to upscale only kit carriages, your mission is accomplished. However, if you want to replace the naval gun with upgraded barrels, then continue reading.
For the most part, they (barrels) don't require much work. From the supplied brass wire I will need to make a trunnion and clean it from oxidation before blackening. However, I recommend purchasing a PE kit, not that the kit contains capsquares, and various hooks/eyebolts for rigging the gun, but it includes the linchpins (at the time of writing only for the 50mm kit) and the Royal Emblem. Yeah...you want the royal emblem, for sure. Just so you have an idea of what is the PE kit, check the image below.

and Royal emblem in the macro image

Back to the barrels. The wire diameter supplied for the trunnion is slightly smaller than the hole. If you don't know how to solder or simply don't want to, you can blacken all the parts separately and glue them together. However, I will be using the butane torch and silver solder paste and solder all parts together before blackening.

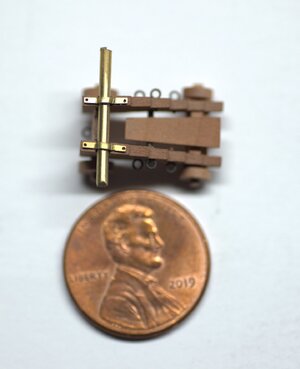
Using the carriage, measure and cut slightly longer wire for trunion, so you have enough for the final shape from both ends. In the middle of the trunnion part make a grove half of the diameter. Put some soldering paste and insert it into the barrel. Remove any excess solder from both ends and... Solder it. Heat the fubsy parts first and spread the heat toward the thinner part of the barrel. You should see the bright solder between the hole and the wire. The job is done! While still hot, dump it into vinegar to remove oxidation.
The next task is to solder the Royal Emblem. Oh..oh..we have a slight problem. The emblem is dead flat and will require some round shaping.

Continue on the next post (25 images limit)




 .
.