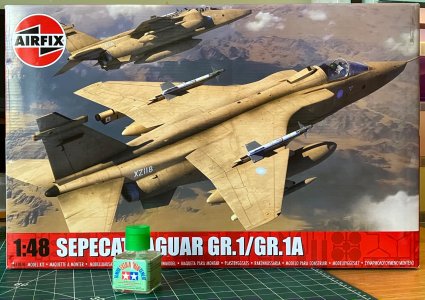
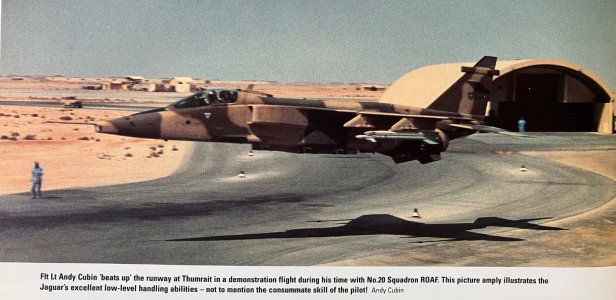
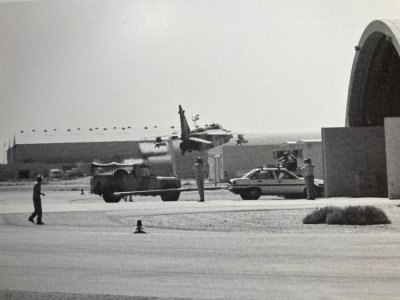
Let’s get that big red box open.
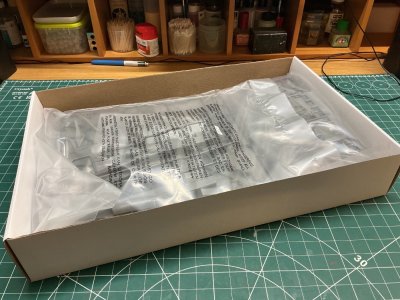
Phew, what a pong! It’s a funny thing about Airfix kits these days - they smell bad when you first open the box. Think of baby sick - a sour milky smell. It fades quickly, or perhaps I just get used to it. Presumably it’s something off-gassing from the plastic and being retained by the plastic bags. I actually did my opening survey last night, say 18 hours ago and it’s still faintly detectable but only if i sniff for it.
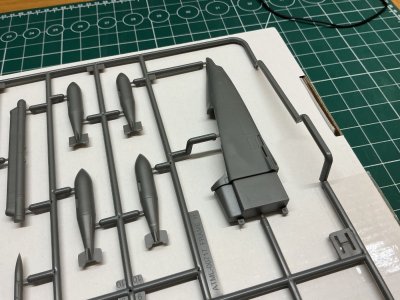
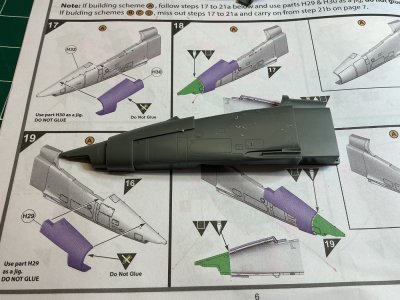
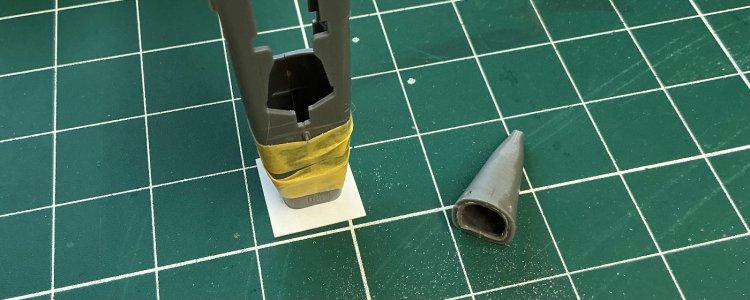
First glimpse of the plastic. They moulded the nose separated from the fuselage. This tells me that there will be a two seater version sooner or later; probably next year.
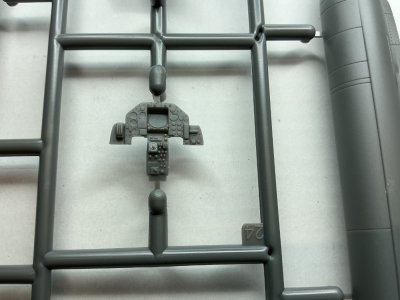
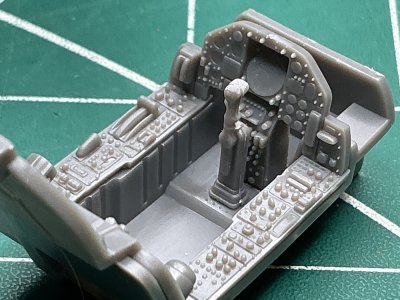
There’s my always favourite component - the inst panel. I used to be an electrical and instrument fitter in the RAF and spent a lot of time with these things. They are also the most fun to paint and really the main point of interest for the viewer of a model. It’s the keystone of the cockpit and that’s where the human interest is - where the meat meets the metal. This one’s quite good enough for me.
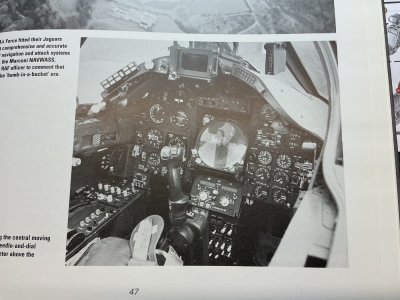
That’s the real thing. I think the Airfix version is close enough for 1:48 scale. My reference book quotes a pilot as saying they the cockpit of this aeroplane was an “ergonomic slum”, important when you are flying fast and low and don’t really want to have to look down to find a switch somewhere close to your ankles. They improved things a lot in the GR1B version.
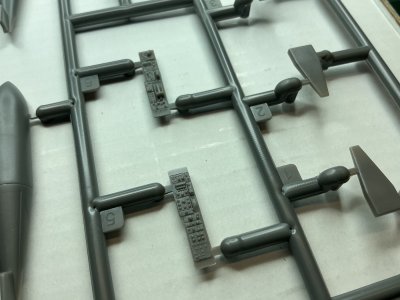
Airfix have moulded the side panels separately from the cockpit tub which will make painting them easier. Not easy, but easier.
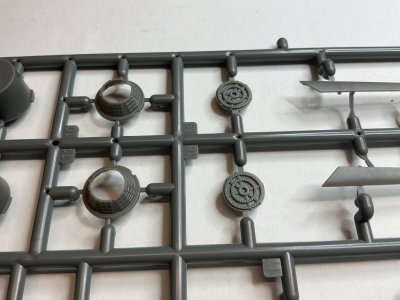
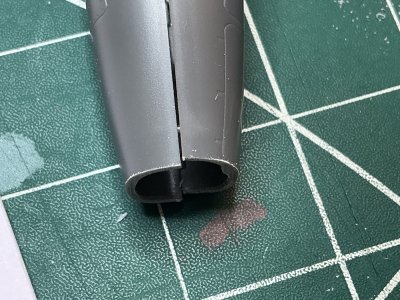
The tailpipes are another area of interest to the aircraft modeller. These are a little thick, a little simple but I must bear in mind that it’s a relatively cheap, almost mass market kit and that resin replacements will be available from half a dozen aftermarket specialists. Personally, I’ll see what I can do with the kit supplied items.
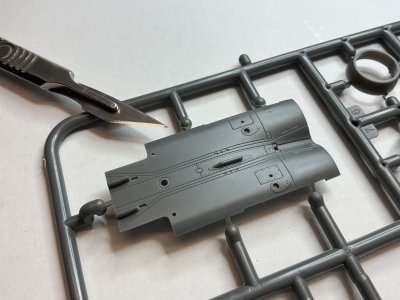
There’s a sample of the surface detail. It’s not as crisp as the more expensive Japanese brands but the panel lines are a lot finer than Airfix kits of ten years back - they are improving all the time. Note that the panel lines and rivets are still hugely over scale - this is a 1000kt capable aircraft and it was smooth.
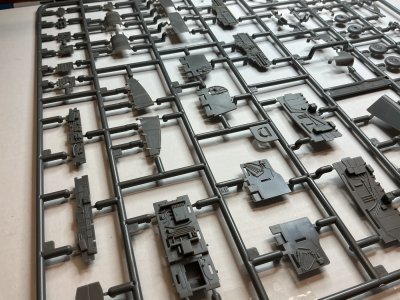
These flat panels with the details are the wheel bays, moulded in pieces. That’s another good thing and will allow me to paint them before assembly. Honest, I need all the help I can get with painting tiny details.
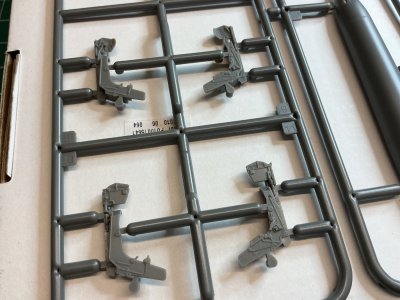
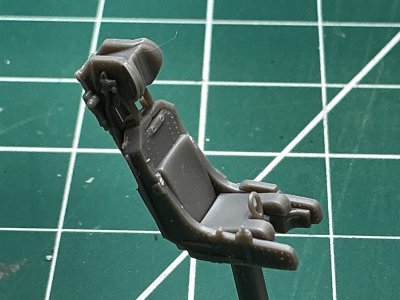
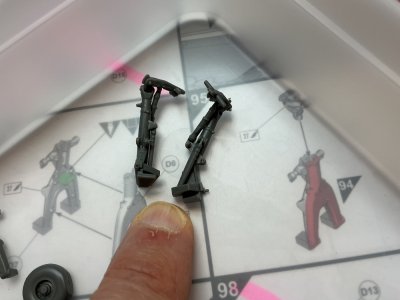
Two ejection seats are included. The GR1 and GR1A had different marks of Martin Baker seats. This is one thing for which I might buy a resin or 3D printed replacement. It’s another focus of interest and the harnesses etc are really complicated to make from scratch.
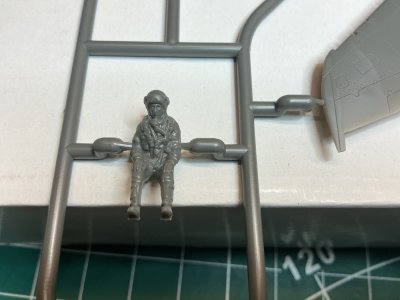
There’s Rodney. I think the moulding is too soft, rounded edges everywhere. It would be very challenging for me to paint that. So I won’t. Personally, I think models look silly with pilots inside, especially with their hands on their thighs like that are posing for a photo of their equipment for a Safety Equipment poster. I would not be surprised to find that such a poster was the source for the design.
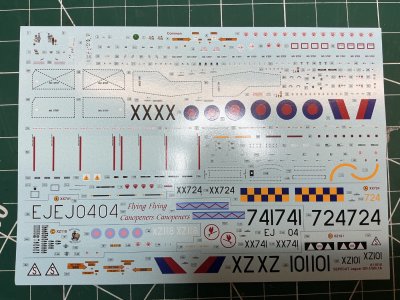
Nice decals. Plenty of stencils and four main schemes - all RAF. Two in grey/green wraparound, one in Gulf War One desert paint and one in grey/green/white which is my fave as its my period and I’ve been to Lossiemouth where it was based in 1974.
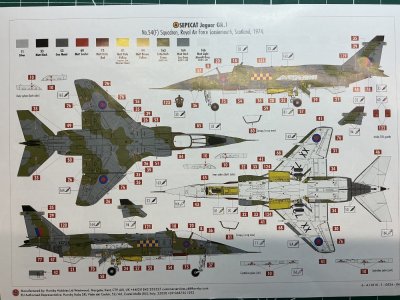
This one. Although I am tempted to over paint the green with white for the famous Norway camouflage, applied temporarily once a year for deployments to Bardufoss.
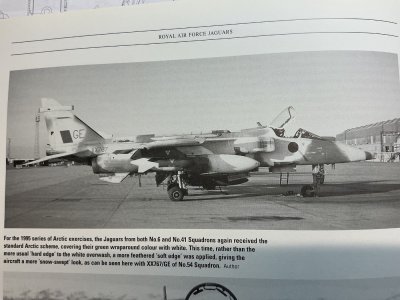
The effect is a little muted in black and white but I always thought it made a pleasant change from green and grey. Also, being soft edged, I wouldn’t have to bother with much masking.
TLDR: It’s ok and I think I can make a decent job of it. I’m a little disappointed with some of the mouldings but if they fit together, I’ll live with it. Pity that Airfix didn’t provide an engine or two or open up the huge avionics bays but the resin aftermarketeers will do it better for those who want it and standard kit buyers save money. Again, I accept the need to make a profit.
I can’t wait to begin


