- Joined
- Oct 19, 2025
- Messages
- 7
- Points
- 8

Hello, I’m beginning a build log for the Occre Albatros that I’ve been working on as my first build.
Originally was not going to do a log but figured I could benefit from some input along the way.
The build log is starting a little late but will keep it regular from here.
Here goes:
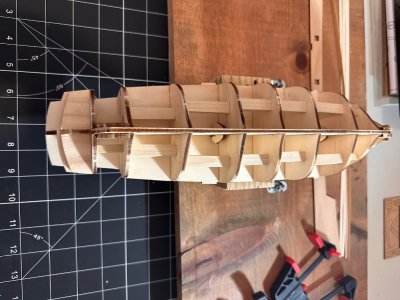
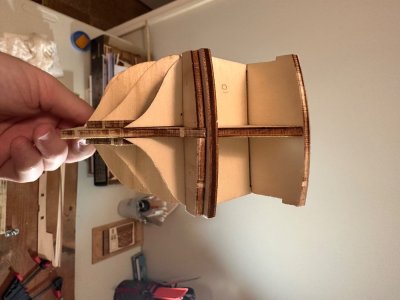
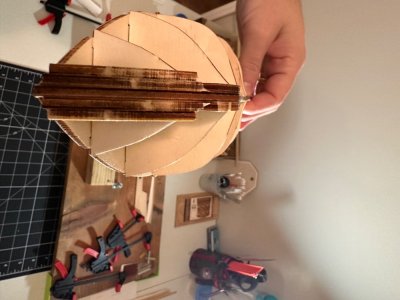
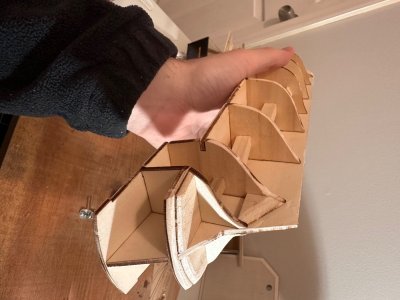
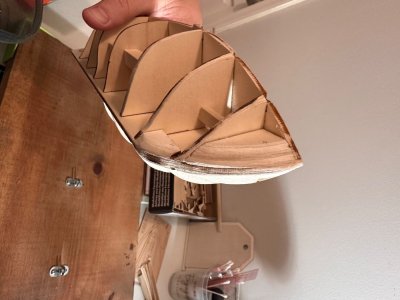
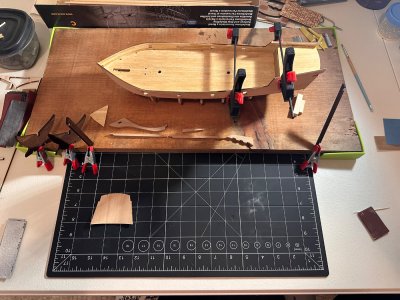
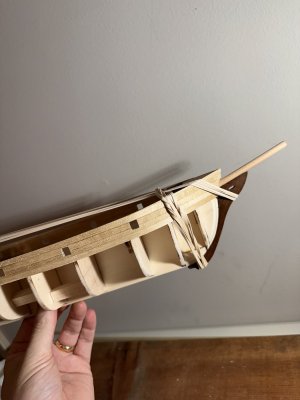
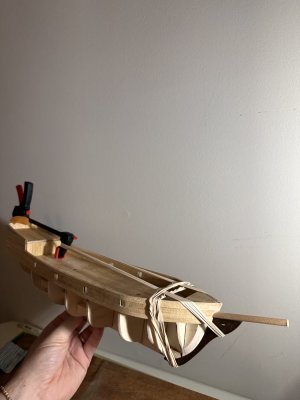
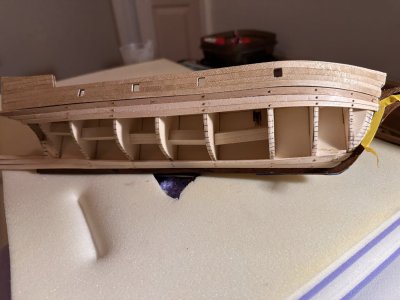
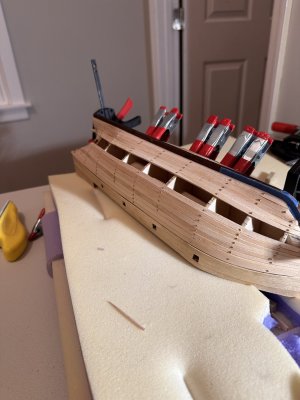
Before glueing the bulkheads to the false keel I knew I would need some sort of jig to hold the ship upright while I worked on it. I wanted to be able to clamp something square on either side of the bulkheads against the false keel to ensure the bulkheads are on square.
I built said jig (you can see in photos) and began dry fitting and gluing bulkheads in place. I used legos clamped snug against the bulkheads on either side of the false keel to hold them squarely as they dried.
Now beginning where I have images.
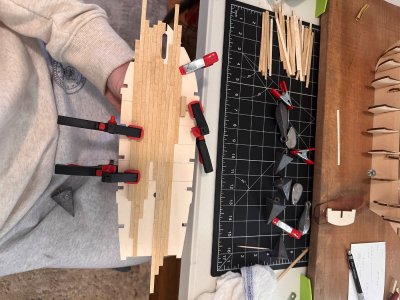
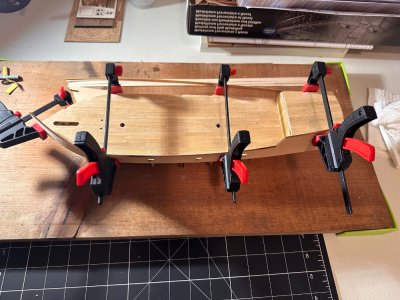
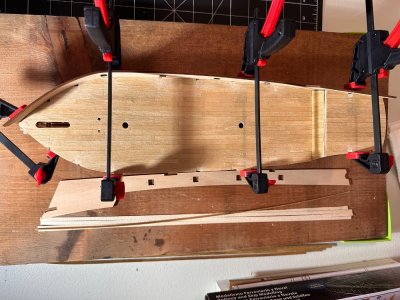
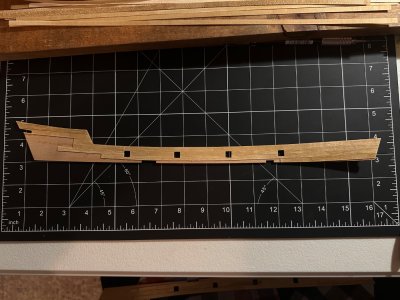
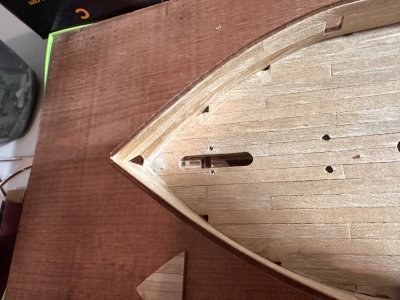
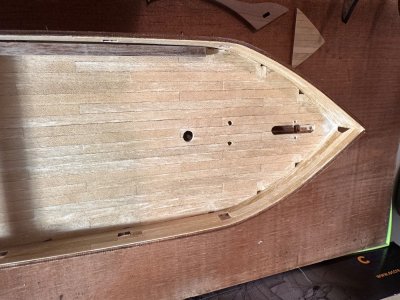
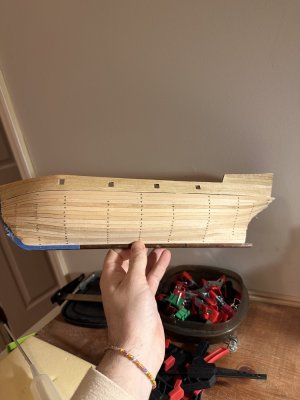
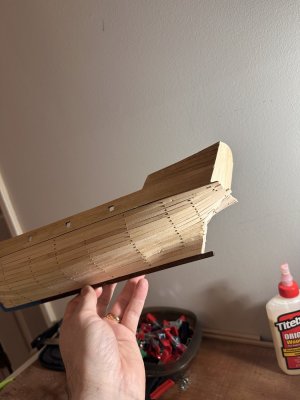
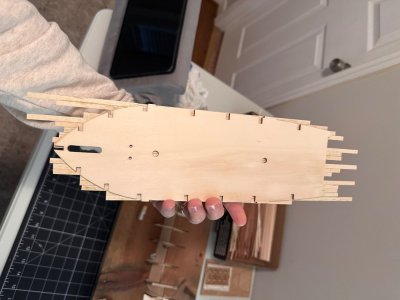
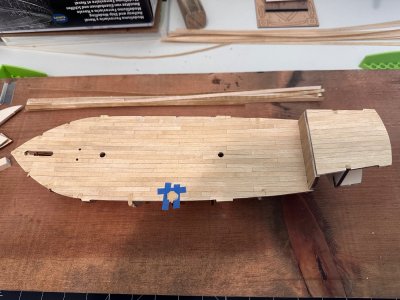
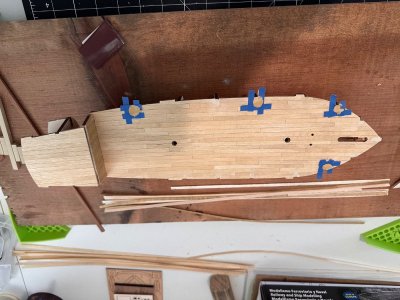
Planking the deck using planks cut to 100 mm and following a 3 butt shift pattern of 1-4-2-3. I pre dyed the planks before cutting them with the Occre walnut dye.
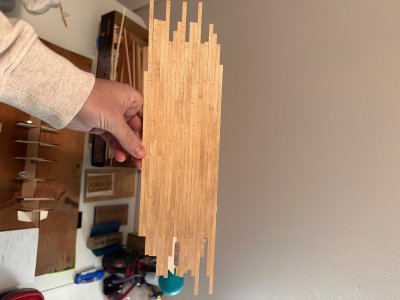
I am still trying to decide if I want to trace between the planks with a pencil to simulate caulking or leave it as is. I think I will probably leave it.
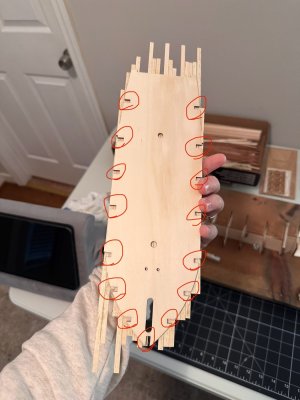
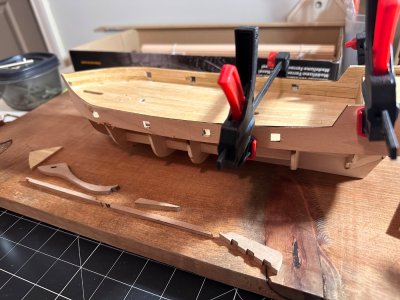
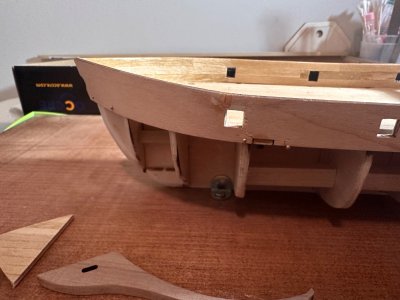
I’d like to note here that I made a grave mistake. The mistake is not pictured here but this is a good image to explain my mistake. When trimming the excess plank from around the deck, I also trimmed the planks from the cutouts in the deck where the tops of the bulkheads will sit. I circled them in red. I didn’t realize my mistake until I glued the deck on and saw the bulkheads showing.
I didn’t realize the planking was supposed to be left to cover the bulkheads here. I assumed the waterway board would cover them. I toyed with leaving my mistake as is or fixing it. I tried to cut tiny pieces of plank to fill the gaps but I couldn’t stand the way it looked. I tried pulling one plank up and replacing it, bad idea.
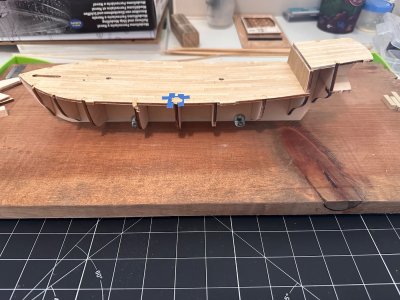
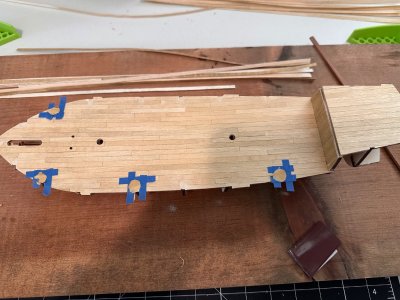
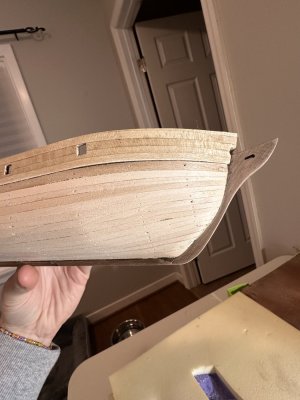
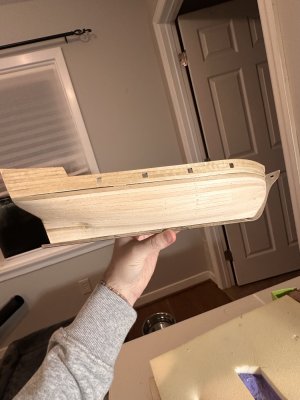
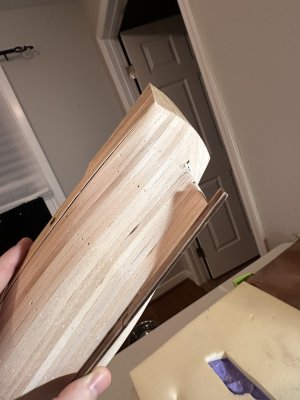
To fix my error I used wood filler that happens to match the color of the dyed planks almost spot on. If you zoom in you can see the spots I’ve done and the spots I’m still working on. It’s the best I got without replacing the planks to cover up the bulkheads.
Originally was not going to do a log but figured I could benefit from some input along the way.
The build log is starting a little late but will keep it regular from here.
Here goes:
Before glueing the bulkheads to the false keel I knew I would need some sort of jig to hold the ship upright while I worked on it. I wanted to be able to clamp something square on either side of the bulkheads against the false keel to ensure the bulkheads are on square.
I built said jig (you can see in photos) and began dry fitting and gluing bulkheads in place. I used legos clamped snug against the bulkheads on either side of the false keel to hold them squarely as they dried.
Now beginning where I have images.

Planking the deck using planks cut to 100 mm and following a 3 butt shift pattern of 1-4-2-3. I pre dyed the planks before cutting them with the Occre walnut dye.

I am still trying to decide if I want to trace between the planks with a pencil to simulate caulking or leave it as is. I think I will probably leave it.

I’d like to note here that I made a grave mistake. The mistake is not pictured here but this is a good image to explain my mistake. When trimming the excess plank from around the deck, I also trimmed the planks from the cutouts in the deck where the tops of the bulkheads will sit. I circled them in red. I didn’t realize my mistake until I glued the deck on and saw the bulkheads showing.
I didn’t realize the planking was supposed to be left to cover the bulkheads here. I assumed the waterway board would cover them. I toyed with leaving my mistake as is or fixing it. I tried to cut tiny pieces of plank to fill the gaps but I couldn’t stand the way it looked. I tried pulling one plank up and replacing it, bad idea.


To fix my error I used wood filler that happens to match the color of the dyed planks almost spot on. If you zoom in you can see the spots I’ve done and the spots I’m still working on. It’s the best I got without replacing the planks to cover up the bulkheads.


Last edited:


