Hi Everyone,
Managed to find several hours in my busy timetable (Raising and doing basic training of a Guide Dog Puppy plus doing some fund raising!).
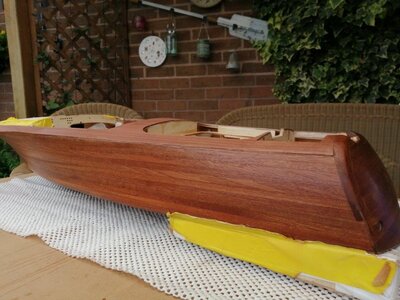
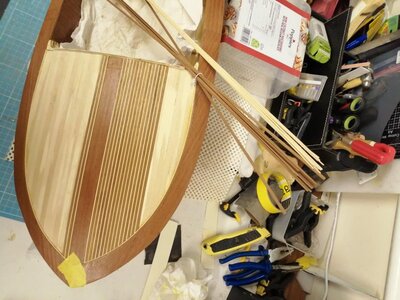
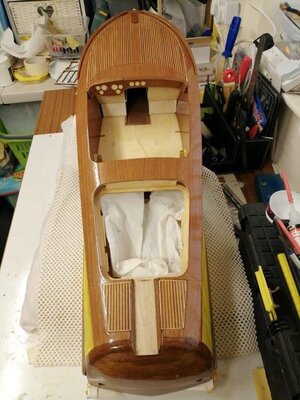
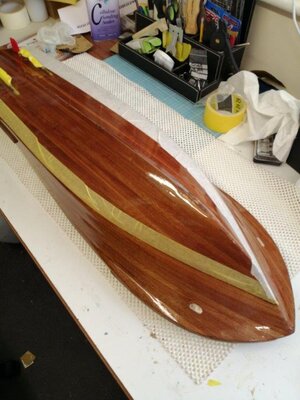
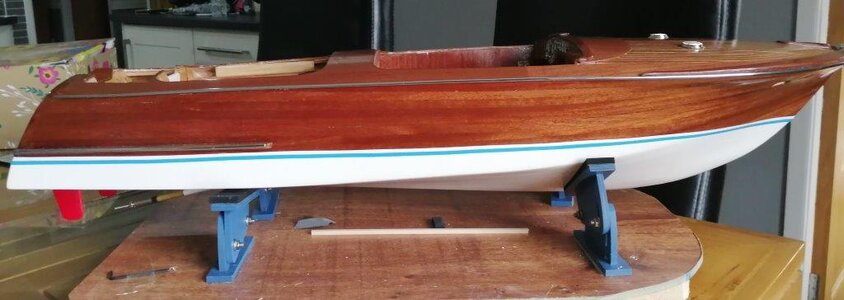
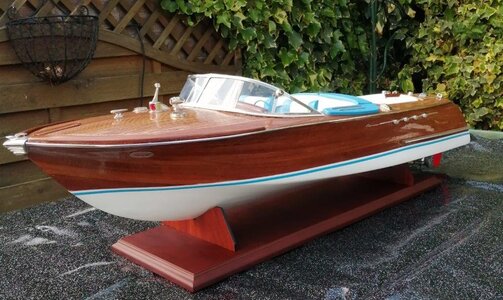
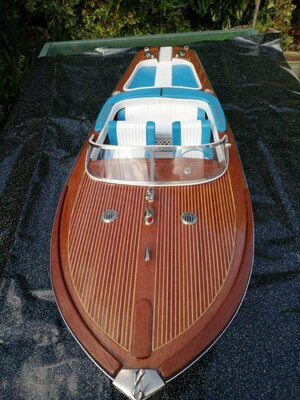
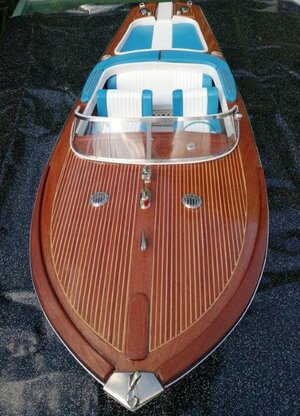
I've finished the 1st layer of the side planking and planked the foredeck. planks.
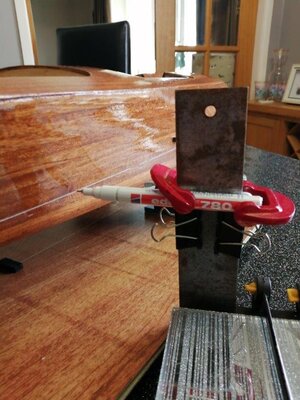
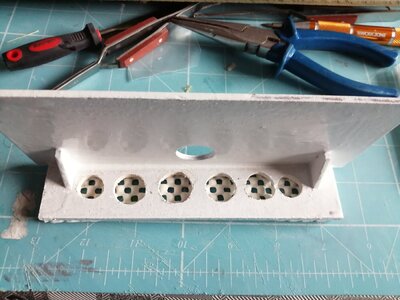
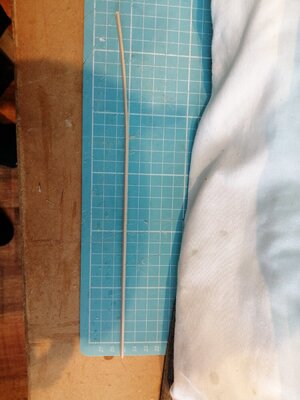
The deck may look level but as you can see from the plank on the grid there is a fair bend.
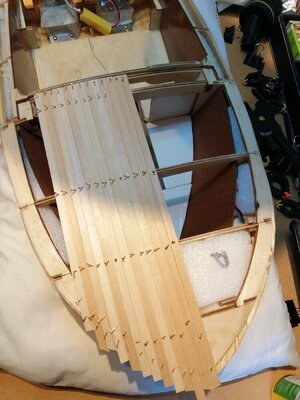
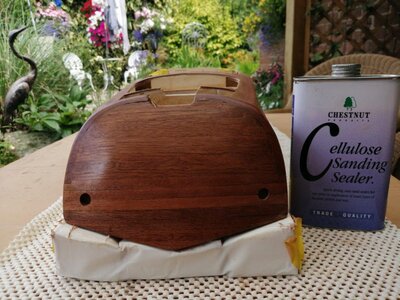
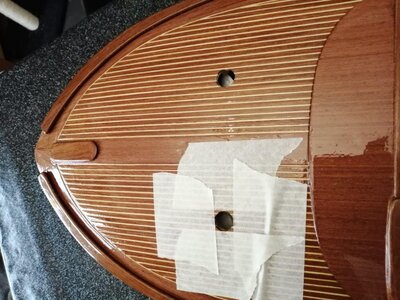
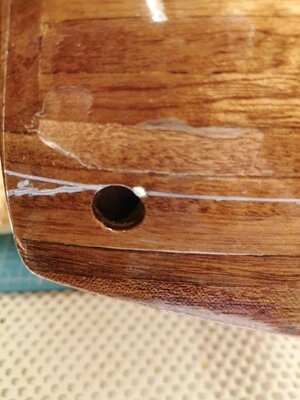
Unlike the instructions I have followed Ken's build blog and decided to plank the stern before gluing the mahogany ends onto the hull. Otherwise trying to fit these planks as a close fit to the mahogany curved piece would be more difficult. Again I will apply the mahogany planks before fitting these curved ends.
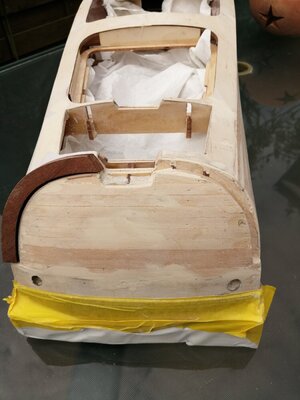
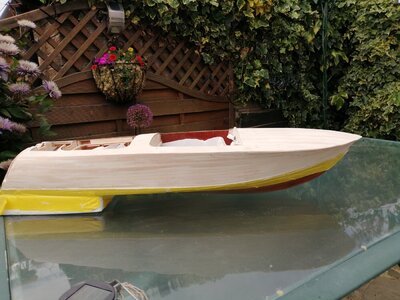
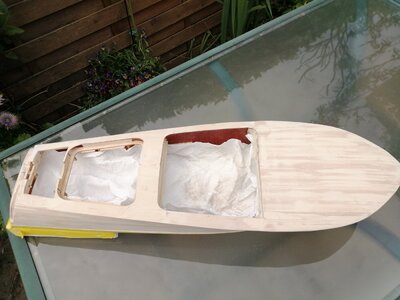
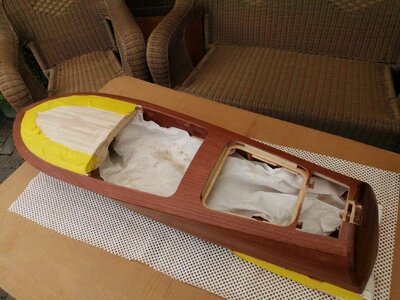
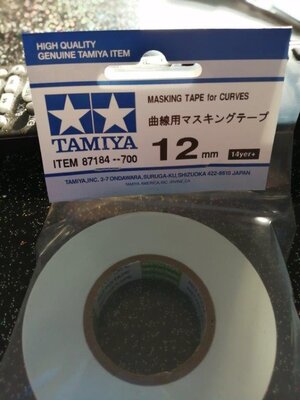
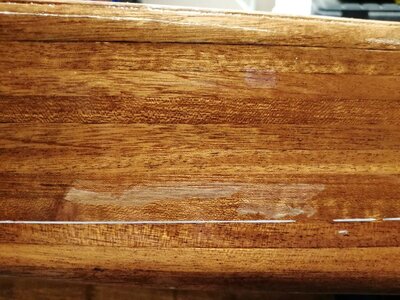
I've used a water based filler OSMO (another of Ken's ideas) thinned down over the hull and then sanded to a reasonably smooth finish before starting the job to finish the mahogany planking of the sides and foredeck. I've tried to keep as much dust out of the hull with paper towel! Before starting the sanding I applied automotive masking tape (thicker) along the raw edge of the existing mahogany planking to protect this during sanding.
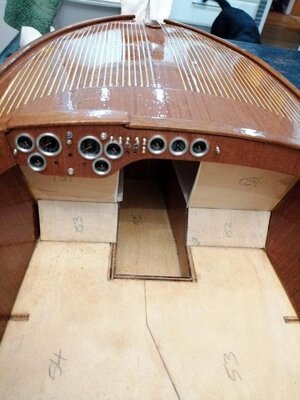
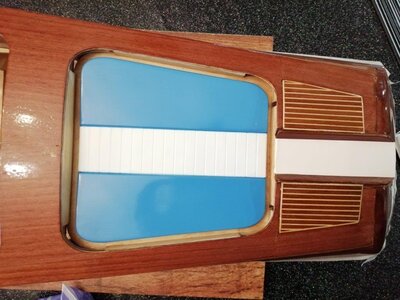
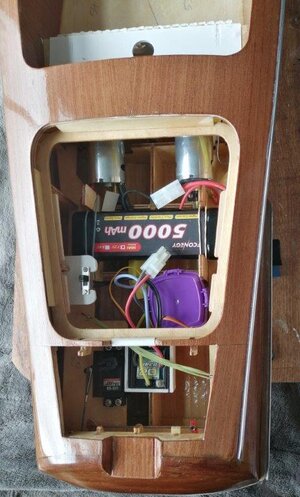
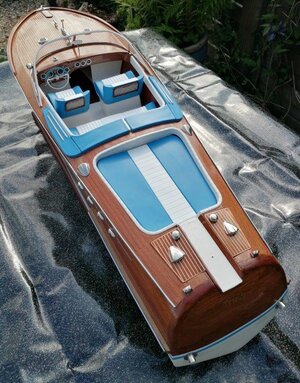
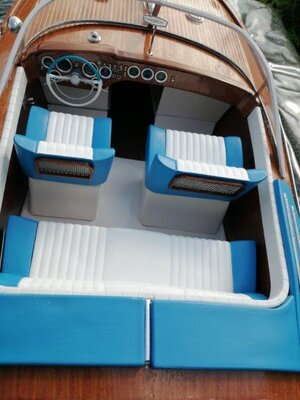
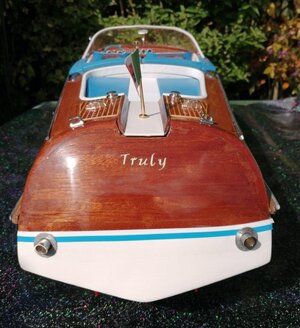
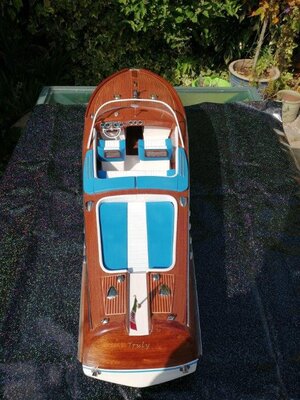
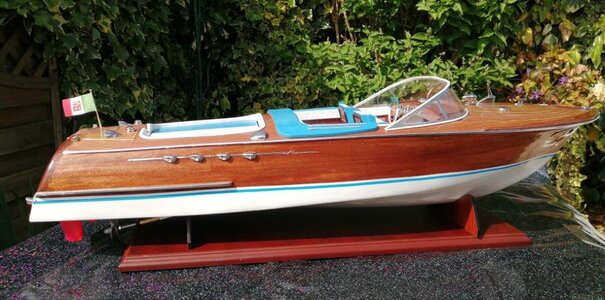
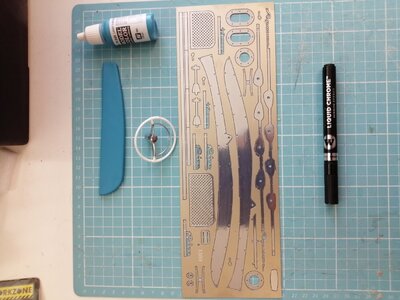
Following a recommendation by another modeller I've painted the metal parts and part of the steering wheel with a chrome pen. The chrome pen is fantastic and far superior to any 'chrome' spray can. Also I tried a few spray cans of car colour for the seat cushions but found the Valero light turquoise was the best colour to use. Because it is water based I've then put a coat of matt varnish over the top to protect it when in the water.
I now need to find a lot of time to do the final mahogany planking so my next instalment will probably be quite some weeks away! Thanks for following my blog. Cheers Duncan
Managed to find several hours in my busy timetable (Raising and doing basic training of a Guide Dog Puppy plus doing some fund raising!).
I've finished the 1st layer of the side planking and planked the foredeck. planks.
The deck may look level but as you can see from the plank on the grid there is a fair bend.


Unlike the instructions I have followed Ken's build blog and decided to plank the stern before gluing the mahogany ends onto the hull. Otherwise trying to fit these planks as a close fit to the mahogany curved piece would be more difficult. Again I will apply the mahogany planks before fitting these curved ends.


I've used a water based filler OSMO (another of Ken's ideas) thinned down over the hull and then sanded to a reasonably smooth finish before starting the job to finish the mahogany planking of the sides and foredeck. I've tried to keep as much dust out of the hull with paper towel! Before starting the sanding I applied automotive masking tape (thicker) along the raw edge of the existing mahogany planking to protect this during sanding.
Following a recommendation by another modeller I've painted the metal parts and part of the steering wheel with a chrome pen. The chrome pen is fantastic and far superior to any 'chrome' spray can. Also I tried a few spray cans of car colour for the seat cushions but found the Valero light turquoise was the best colour to use. Because it is water based I've then put a coat of matt varnish over the top to protect it when in the water.

I now need to find a lot of time to do the final mahogany planking so my next instalment will probably be quite some weeks away! Thanks for following my blog. Cheers Duncan


