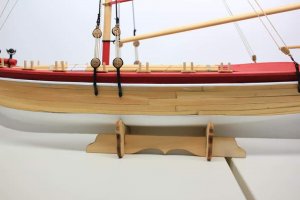
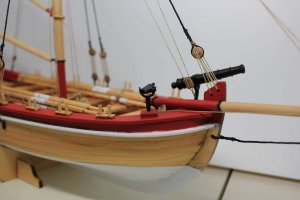
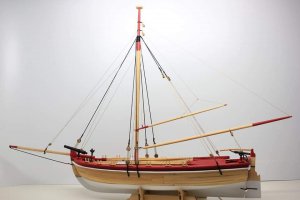
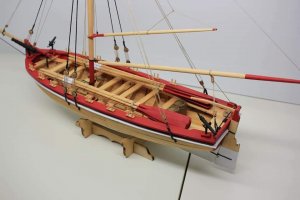
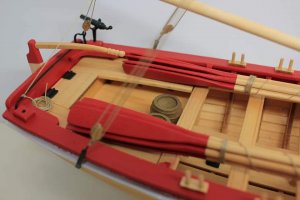
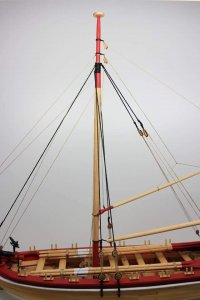
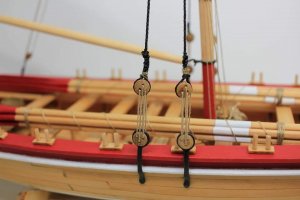
Armed Longboat - Model Shipways 1/24 [COMPLETED BUILD]

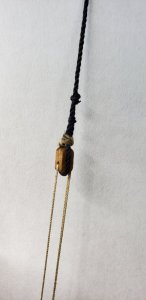
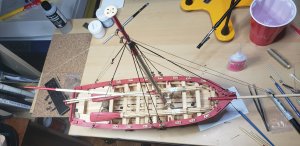
So, with the shroud chain plate lines complete and the forestay line complete it was time to move on to the backstay lines. These two pieces had to be painted and dried which is why there was a wait to do these.
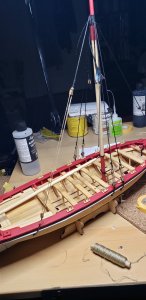
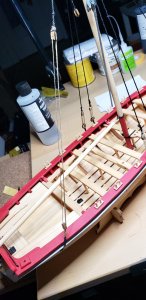
20190205_235912.jpg 20190205_235829.jpg

20190205_235947.jpg

20190205_235936.jpg

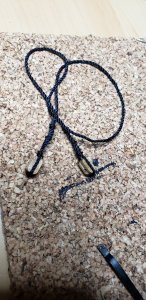
So far I've been able to put one on, this took a little bit more time to put together because there were more lines to tie. First was the line with single blocks on each end.
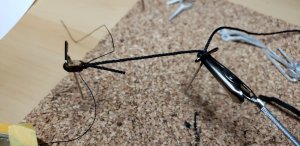
20190205_214619.jpg

20190205_223938.jpg

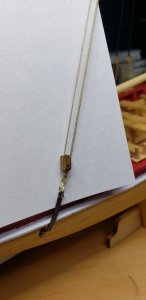
Then a single block needed to have a hook stropped on.
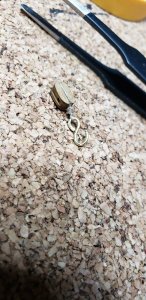
20190205_234304.jpg

Next up is doing the other side, then more lines for the mast I believe. The boom is also just sitting on its hook because I don't want to do all these lines and them potentially get messed up trying to figure out how to get the boom on, so its just waiting.
 
Last edited:
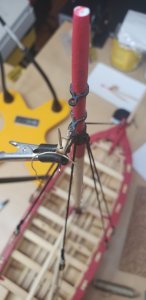
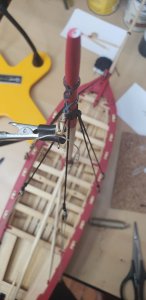
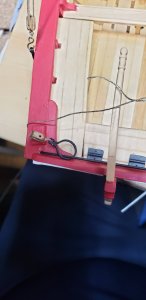
I got a lot done really quickly. I took photos but for the most part it was a lot of clove hitches and seizing, same as before. So I didn't stop to take a photo each time. But there are a couple that I did stop for, for example, attaching the single block to the two mast irons.

20190210_142153.jpg

20190210_142159.jpg

I used one of those extra hand helpers, life safer, I have this one.

The other stop and take a photo I have is attaching the horse traveler. The block was added and it was slipped on the rail. This one was a bit tricky because you aren't supposed to glue it but you don't want it moving too much or it will start damaging paint everywhere.

20190210_175818.jpg

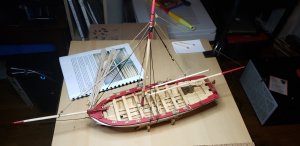
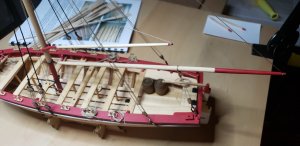
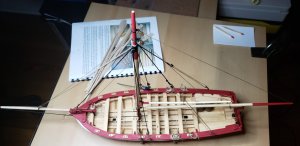
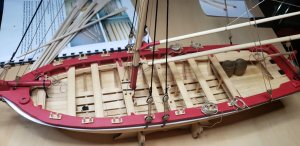
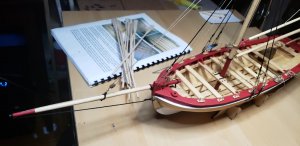
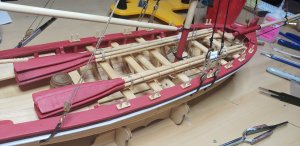
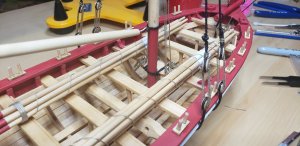
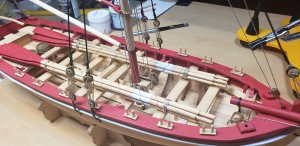
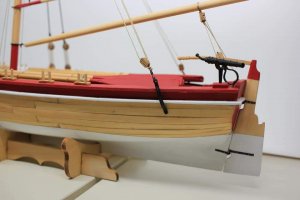
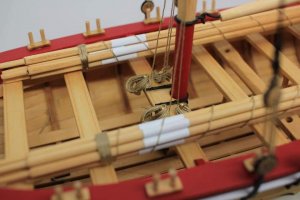
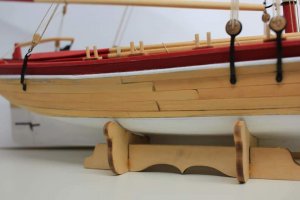
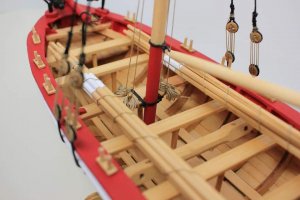
Otherwise I think everything else was pretty straightforward. So here is the longboat with all of the rigging complete (save for the flag line)

20190210_231753.jpg

20190210_231758.jpg

20190210_231817.jpg

20190210_231802.jpg

20190210_231807.jpg

I'm going to do much more detailed shots when it is completely done but in the meantime this is an idea of how the rigging went. I found rigging to be pretty straightforward once I figured out where things were going. I did seize a line to the wrong hook/hole a couple times but I was able to just cut the line to fix it. One thing that is apparent up close that may not come through in the photos is that I used CA glue and not the mix of glue/water. I had watched videos on rigging and they had recommended using CA glue, so I thought I'd try that out the first time. It's hard, too much glue on a seizing and it will run down the mainline and dry that line in a weird shape. I got better with the CA glue as I went but I'm still kind of torn of whether I should using the mix moving forward. There are still some lines to be glued that will definitely be done with the mix so we'll compare.

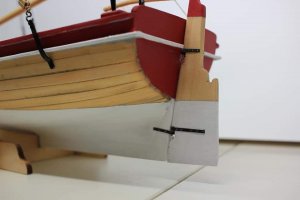
The couple things left to do be done: oars (which you can see in the background, still need to be thinned in the paddles and maybe the handles), the cannons (you know the armed in armed longboat), and a decision needs to be made regarding the decorations on the side of the boat (painting vs. photo etch).

Also I didn't like the bucket/barrels that came with the kit so I bought some upgrades, a couple are seen in the photos just to see what they look like. They need to be painted and probably weathered but they're much better than the one that came with the kit.
 
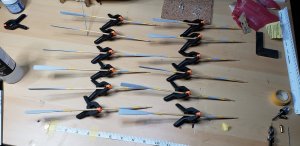
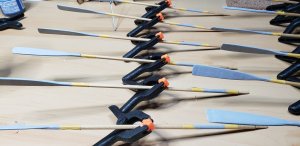
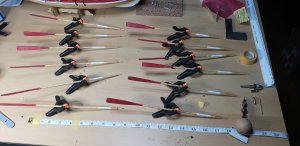
Working on finishing up all the oars. I made a mistake here and might get stuck having to use the ochre paint.

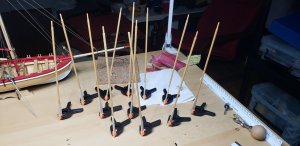
I realized I didn't take any photos of shaping the oars, which wasn't easy. They were originally square and needed to not only be rounded but also thinned at the paddle end substantially. I used to the dremmel to thin down the paddle and try and put some shape in them. I think that went okay but in the end isn't really a noticeable addition. After shaping and sanding only one oar handle broke off, which is probably a win. Next they were treated and stained like the rest of the boat.

20190211_212341.jpg

Next is where I made the mistake, at least according to the instructions. When painting the Mr. Surfacer on I forgot to leave the center of the top handle that had been taped off clear of surfacer. On the instructions it says to paint the whole thing because it is assuming you aren't doing any natural stain, so based on how I've been working I should have only taped off some very thin lines for the white and the rest should have been left the natural stain.

20190212_201328.jpg20190212_201333.jpg

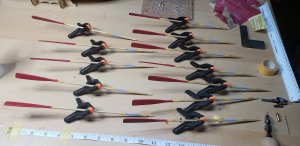
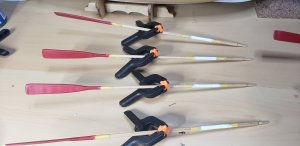
After the stain and surfacer I came to the conclusion that he oars were still too boxy and probably too thick. I think I started to lose patience. From afar I don't think it's too noticeable, so hopefully once they get bundled and place on the boat it will be okay, otherwise there just wont be any oars. Next painted them red and white. Next I have to decide what to do with the white handle atop, I can leave them white which will probably look white or put some more color in there. We'll see.

20190212_223317.jpg20190212_235452.jpg

Once I decide on the color here I'll bundle the oars and see what they look like put together. Really in the last stretch here. May be done by the end of the week.
 

Attachments

  • 20190212_235445.jpg
    20190212_235445.jpg
    157 KB · Views: 15
Last edited:
I took the tape off the oars and I actually liked it with just the white. I had considered putting in some red but there's already so much red I just left it alone.

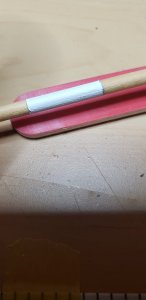
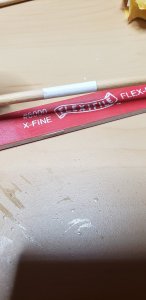
The next part is a little difficult to tell but it happens all the time so I thought I'd show it with the oars. The photo on the left shows what multiple layers of primer/paint look like after the tape is removed. You end up with a ridge. So I took an extra fine sanding stick to area and smooths it right out. It also, as you may be able to see in the photo, can cause some damage to the perfect lines, which I think gives it some extra character.
20190213_221111.jpg 20190213_221200.jpg

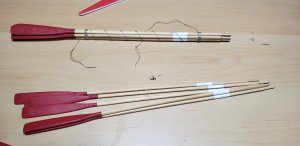
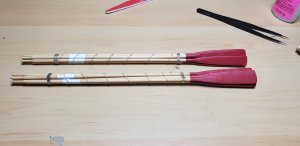
After sanding the white and red sections of the oars it was finally time to bundle them. Turns out there were a couple oars that needed to be bundled at the bottom, the one oar with the broken handle and one oar whose white line seemed to be off from all the rest somehow. I bundled them together and tried to get matching spirals of rope. I think the bundles came together nicely.

20190213_222352.jpg

20190213_223325.jpg

Once bundled they were stowed aboard.

20190213_234206.jpg

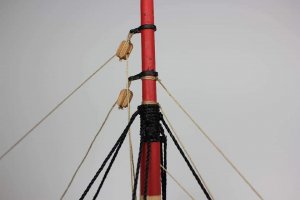
Something else that needed to be done still was putting in the pins at the bottom of the mast and bringing all the lines taut. This was done and the rope ends were bundled and wet to form nicely.

20190213_234210.jpg 20190213_234158.jpg

After forming the rope lines I added in the last bit atop the mast. Did some clean up around the boat in terms of black paint, next I'll do some of the red that needs touch up, I did the white already when I was painting the oars.

20190213_235243.jpg

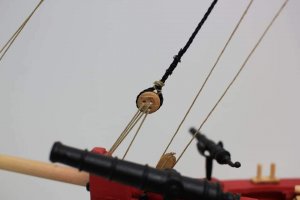
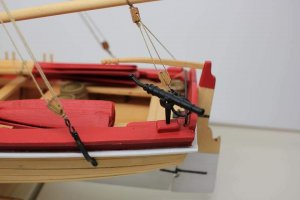
The last thing to do now is put the canons together. Once the canons are installed this boat will be effectively complete.

Oh, on a final note none of the lines are actually glued in place. I'm leaving open the possibility of adding sails later, essentially using this boat as a test case for future ships, so all the lines can be moved and adjusted to add in some sails if I end up going that route. But that wont be for a couple weeks or months so once I add in the cannons this will be done according to the manual.
 
Back
Top