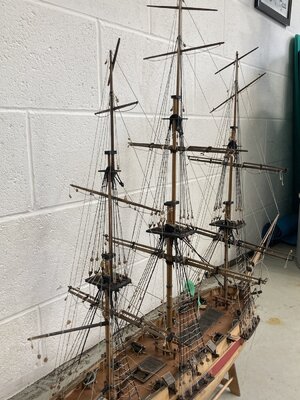
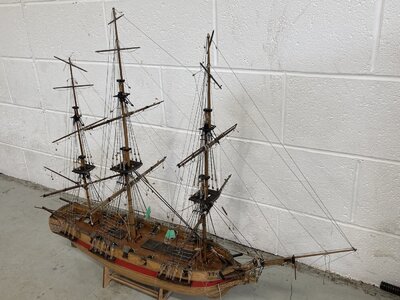
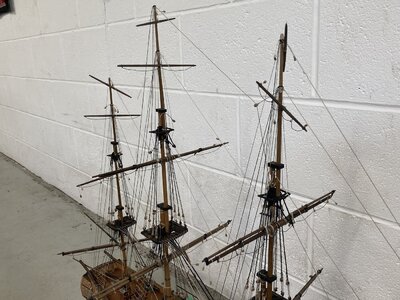
Astrolabe - Mantua 1/50

Some progress to report, if not much to see!
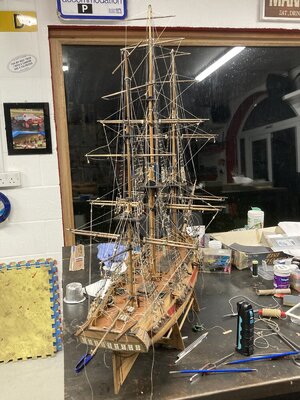
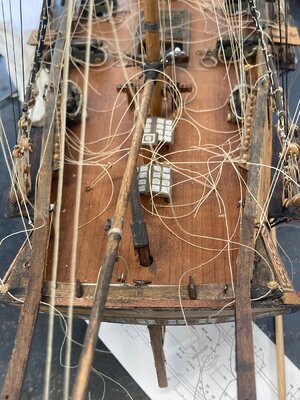
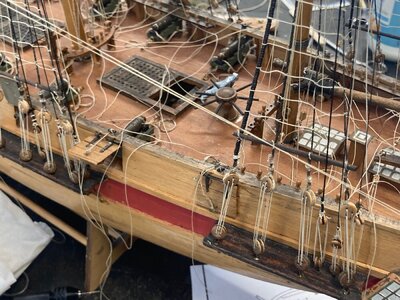
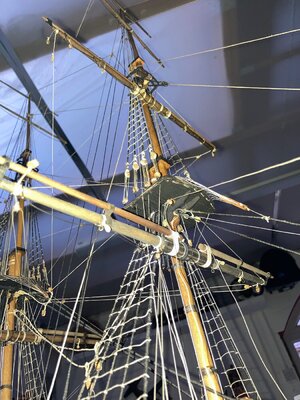
I've completed the standing rigging with the addition of the backstays. Not the 'correct'number - I'm suffering, as I have said before, from complicating the kit plan and simplifying the museum plan. There should be 6 backstays on each side of each mast, the kit shows 3. Unfortunately I prepared my channels as per the kit. Having added the shrouds and ratlines, I cannot retrofit the front pair of backstays, or place all the attachment points where they should be.
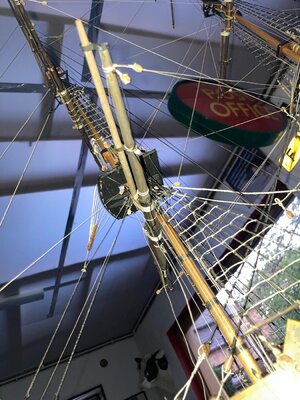
So, finally time to start the running rigging. Again, trying to retro-complicate the rigging is a pain. The fore course yard braces are shown to tie off on the gunwale pin rail, but should go back to a block under the main trees and down to the foot of the mainmast. Fitting double blocks under the trees is a challenge with the shrouds, backstays, ratlines, futtock poles and catharpins in position! Hey Ho!
I'm leaving the spritsail yard and all its rigging, dinghy on its davits and repairing all the gunport covers until last.
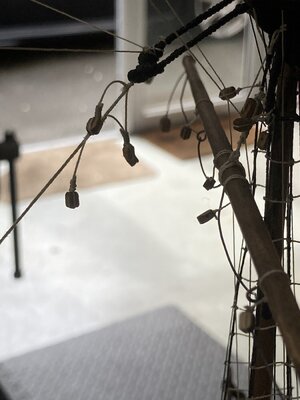
It almost feels as if the end is in sight; which probably means I'm missing something!IMG_8770.jpgIMG_8768.jpgIMG_8766.jpgIMG_8766.jpgIMG_8767.jpg
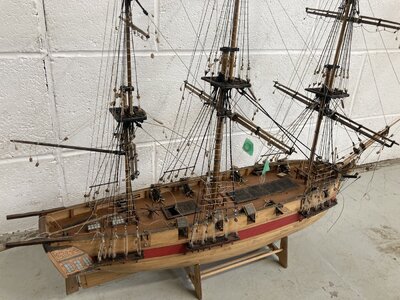
 
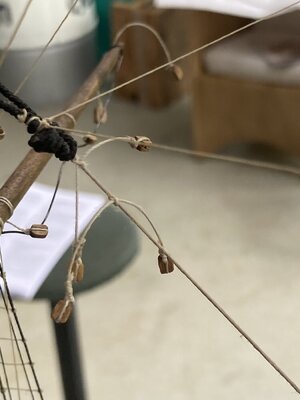
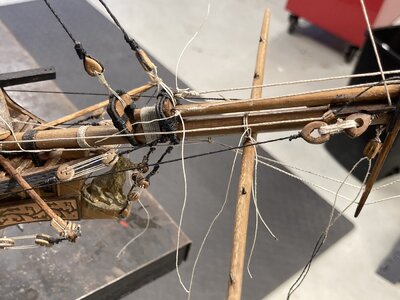
Making good progress with the running rigging now, working bottom to top, front to back. I'm halfway up the mizzen. I'm making things difficult by having to add blocks to mast tops for example, after the standing rigging is in place. It stresses me when I catch or bump into bits of rigging that I've already done (I have big clumsy hands). Learning by trial and error how much tension to put on the threads - no real way of getting someone to describe it is there? I have had to remove quite a few blocks that i had put on the masts and yards as the plans had them in the wrong place - for instance it showed blocks on the yard ends for the lifts,but in reality the lifts stand on the yard, so is a single rope not a double. This evening was attaching blocks to the aft main shrouds for teh mizzen top yard braces, right in behind all teh backstays. Not enough planning (probably normal for a first model) and changing plans adds more grief!
Surplus blocks on the stays to be removed, and only one needed on the ends of the yards for the braces:

IMG_8789.jpg

IMG_8790.jpg

Thinking ahead to the flags / pennants, the clean white ones supplied didn't look right, so they spent a weekend in a cup of tea. They've gone all wonky and the printed bits haven't faded; I think the white surrounds will have to go:

IMG_E8788[1].jpg

I think the end is in sight! I've been making blocks hang convincingly by attaching a tool as a weight then using cyanoacrylate to stiffen the thread in place - seems to work well, but you need the yard lifts in place forst to take the weight.

IMG_8792.jpg
 
Planning. That's the thing I haven't used enough of.
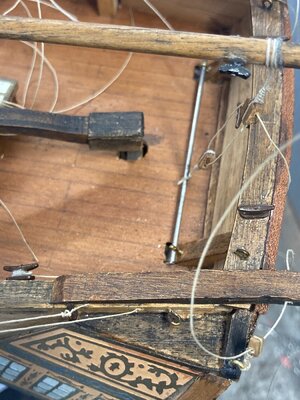
I keep having to change things I've done in the past. Remove erroneous blocks from bits of rigging, replace them with blocks on the underside of the trestles, add more ringbolts at the mast base, that sort of thing. There's a decision to be made when you come to these - do I leave the error in place and hope nobody notices ( not much chance on here I guess!), or have a really tricky time trying to drill and tie in inaccessible places? Mostly I've gone for the latter.

Spritsail yard is now going in. Somehow I'm going to have to drill the bow for the halyard line to go through.

IMG_8814.jpg

Realised the spanker boom sheet was a single item, not a bilateral one, after puzzling about something on the plan that turns out to be a horse for the lower block, so added that. Baffled as to why I put eyebolts on the stern gunwale.

IMG_8804.jpg

Messy. running rigging tails waiting to be finalised on tension and belaying pin position.

IMG_8805.jpgIMG_8806.jpg

Onwards and upwards.
 
That's the running rigging done. I haven't done any sails or sail-related running rigging to keep it simple and within sight of the end.
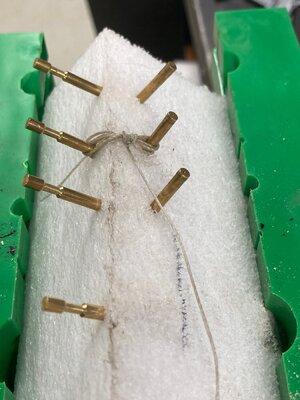
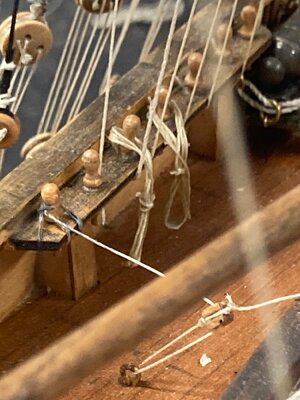
I'm working on a way of making the coils for the belay pins. First efforts I made flat, but they need an angle so they hang off the pin-rack properly. Most recent attempt is nearly there - using a block of foam with pins on advacent sides to form the hanks round, then sousing in PVA/water mix.
IMG_8899 (1).jpg
IMG_8901.jpg

Still a bit of finessing before I actually accept them for installation.

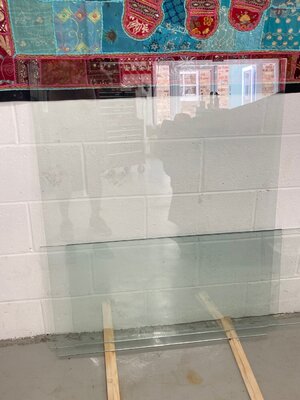
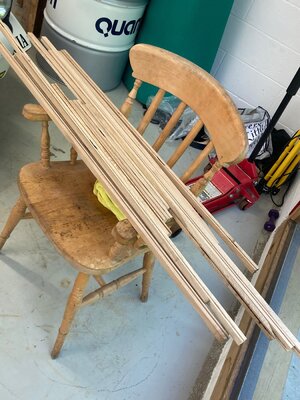
And the next stage has heaved over the horizon with the delivery of the oak mouldings and 4mm glass panes to make the case.

IMG_8974.jpg IMG_8975.jpg
I haven't decided on what the base will be or how the ship is mounted, but I'm attracted to the dry-dock approach. Obviously I haven't been foresighted enough to have pins/holes in the hull or keel for mounting.
Perhaps not as detailed as this by Peter Burton https://shipsofscale.com/sosforums/attachments/img_5800-jpeg.132987/
I couldn't even attempt Bonden's effort, but would love to try. I know I'd fail! https://shipsofscale.com/sosforums/attachments/mv15-jpg.291626/
I can't find the picture of the one I think I'll copy - the keel was sitting on a number of discrete wooden block, with props to keep the ship upright. Pretty much as seen in boatyards world-wide.
 
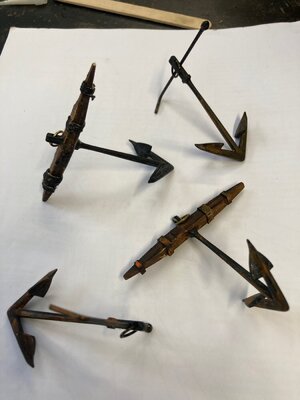
Slow progress; I think i need to get this model finished and move on to something else. Just details such as the anchors to attach, some minor rigging items such as pennants and of course the case to make.
IMG_9221.jpg

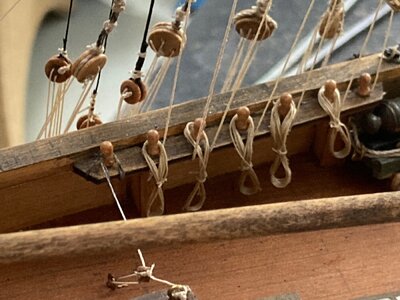
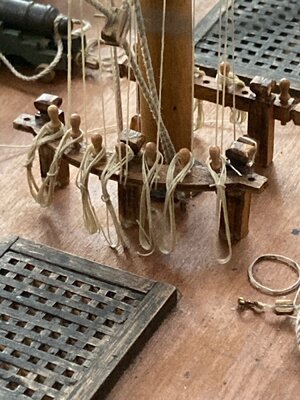
Close up photography isn't kind, is it? I'm getting better at the rope hanks, but still quite a few to do. If I had a lot more, or was starting again, I'd build a better jig for them.
IMG_9218.jpg

IMG_9219.jpg

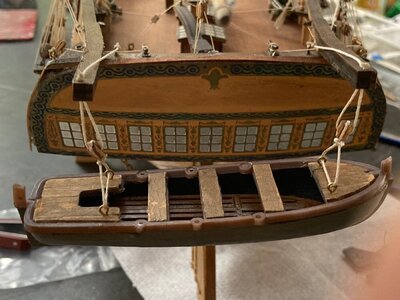
And I've hung the boat on the transom; I'm not so happy with the rigging suspending it, so they might get re-done or some weight added in the boat.IMG_9216.jpg
 
Back
Top