- Joined
- Oct 23, 2018
- Messages
- 1,018
- Points
- 443

Fantastic, extraordinary, outstanding ... I don't know which words describe your build correctly

 |
The beloved Ships in Scale Magazine is back and charting a new course for 2026! Discover new skills, new techniques, and new inspirations in every issue. NOTE THAT OUR NEXT ISSUE WILL BE July/August 2026 |
|
 |
As a way to introduce our brass coins to the community, we will raffle off a free coin during the month of August. Follow link ABOVE for instructions for entering. |
|


Thanks, Christian. Just some time, patience, adjust the plans and on time a re-do, thinking out-of-the box’ etc. etc.Fantastic, extraordinary, outstanding ... I don't know which words describe your build correctly
Thanks, Maarten. I've collected a lot over the past 40 years. You never know.Amazing metal work Peter, and that without any etching involved.
 (Not the opinion of my Admiral
  ) With some new small parts, and then it turns out fine again with old-fashioned craftsmanship.


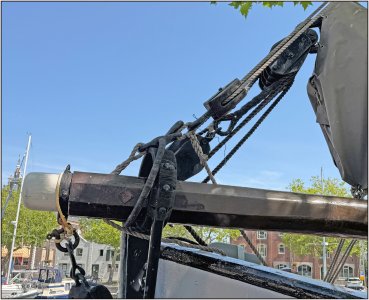
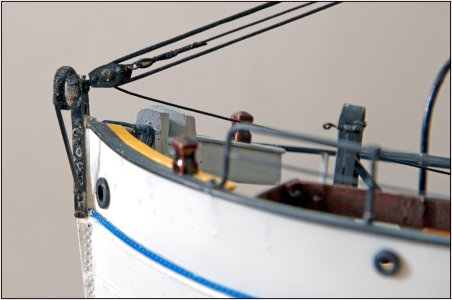
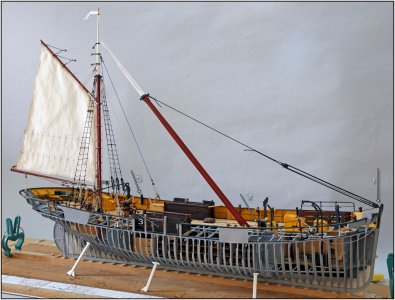
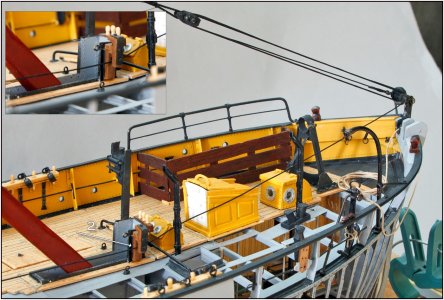
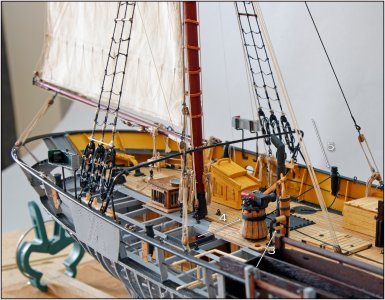
Thanks, Dirk. But ……… please don’t tell the others …..Another one who is trying to fake us with a photo of the original .... no no no sir!
:-D
Thanks, Dean. I must say that I surprise myself also from time to time as well.Excellent craftsmanship Peter. It’s amazing what you fabricate from scratch.
 To solve a brain teaser again.
You are in your element Peter....Thanks, Paul. I have already felt her in her element, also standing at the tiller several times.
View attachment 614556
Hopefully soon sailing on the North Sea as well.
Regards, Peter
True story
That's for sure, Grant. Feeling how she reacts on the small movements of the tiller is amazing. But on tight corners, it is just as hard working.You are in your element Peter....
True story
Thanks for this, Grant.Just WOW and what they all say. Respect Peter.

Thanks, Herman. Also for the likes. Hopefully your flight was not delayed?Wow, i have caught up on your latest additions to your Balder awaiting our return flight home. Exquisite work.
No significant delays, home again. Back to work tomorrow.Thanks, Herman. Also for the likes. Hopefully your flight was not delayed?
Regards, Peter


Thank you very much for this compliments, nice words and spending so much time by reading my build-log, Jimbo.Well… hmmm. Words fail me… WOW indeed! Peter, I just spent the better part of the last week reading through your entire build log. What an epic build - this has got to be one of the most enjoyable scratch-building works I’ve seen in quite some time. Your attention to detail and mastery of the craft is exemplary. Very well done sir, I tip my hat and thank you for sharing this!
Jimbo

You also thanks for this very nice words and compliments, Daniel. And for taking time to go through the posts. I feel privileged to post here and to show some element related to the 1:1 and 1:50 versions.Whew! From the tiniest of rigging elements to hand made realistic looking multiple sheeve metal blocks, all in a scale which projects realism, then add in some of the most beautiful pictures of the countryside just leaves me feeling incredibly fortunate to be part of this SOS forum. Thanks for sharing, Peter.