You also thanks for this nice words and compliments, Jim.I have to admit, I didn't even realize she didn't have an engine! It certainly wasn't because I wasn't paying attention to your build. Quite the opposite, I was so captivated by the model itself and by watching your construction process unfold that I never stopped to think about the propulsion.
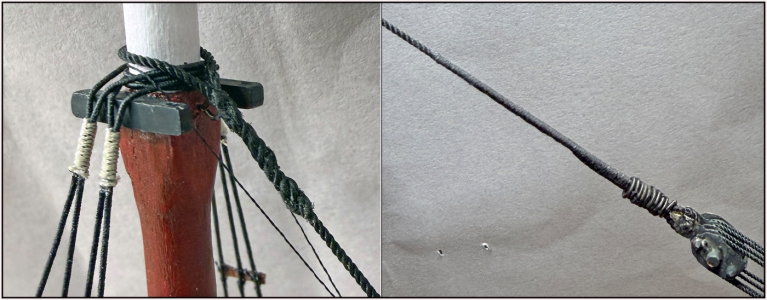
What really held my attention was the incredible level of detail and the way you've captured the character and appearance of the original vessel. Every update revealed another beautifully executed feature, making it feel less like looking at a model and more like seeing the real ship in miniature. That's a real credit to your craftsmanship, Peter. Thanks for teaching us something new about these wonderful old herring luggers, and congratulations on one of the unique builds you share.
 That I managed to keep you ‘on the dark of the moon’ for almost 3 years regarding her propulsion …….
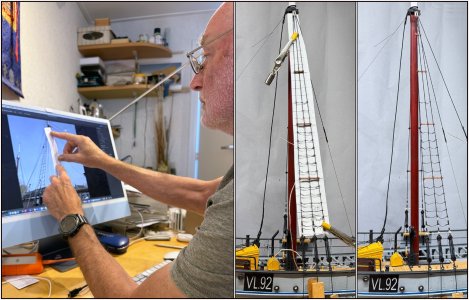
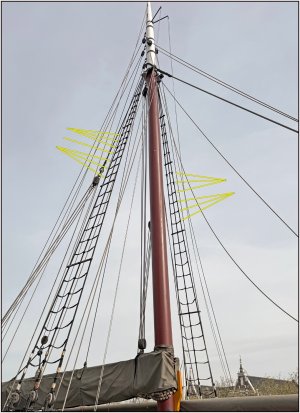
  This quote of yours is very essential: “keep the character and appearance of the original vessel”. I can do this thanks in part to the attentive members here at the SoS, but also to the members of the Balder Foundation. It keeps me sharp until the end.
Regards, Peter
Last edited: