• Ships of Scale has incorportated an extra level of security when you log In. Please follow on-screen prompts to acknowledge that you are not a robot via a "Check Box" or a "Pictorial Check Box Puzzle". This is needed due to higher level of AI Activity Security.
  • SUBSCRIBE TO SHIPS IN SCALE TODAY!

    The beloved Ships in Scale Magazine is back and charting a new course for 2026!
    Discover new skills, new techniques, and new inspirations in every issue.

    NOTE THAT OUR NEXT ISSUE WILL BE July/August 2026
  • Win a Free Custom Engraved Brass Coin!!!
    As a way to introduce our brass coins to the community, we will raffle off a free coin during the month of August. Follow link ABOVE for instructions for entering.

Batavia 1628 (1:72) Kolderstok Build log

The update for week 32-2026.

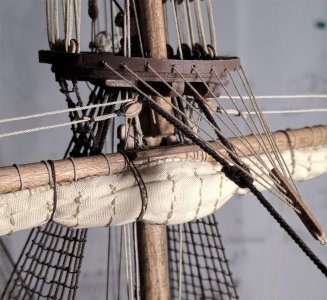
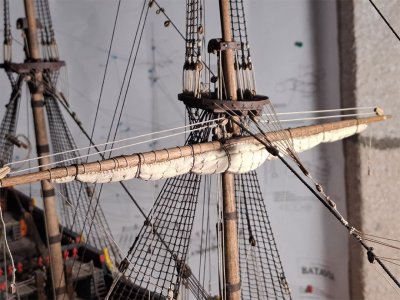
I spent the past week working on the Fore sail. All blocks, fiddle blocks, and the necessary rigging have already been mounted.
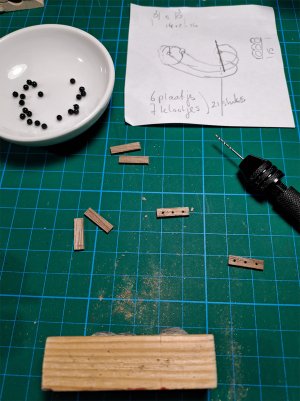
The "truss" also had to be made.

20260809_001.jpg

The sail could be "hoisted" using the brail ropes. Ensure that the bowlines come out neatly between the folds on the outside.

20260809_002.jpg

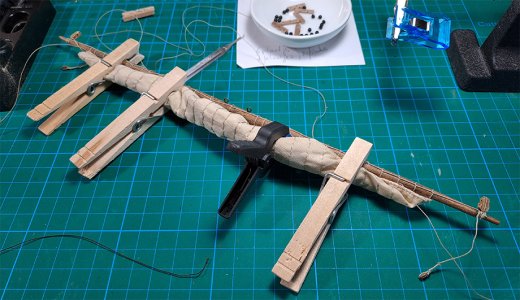
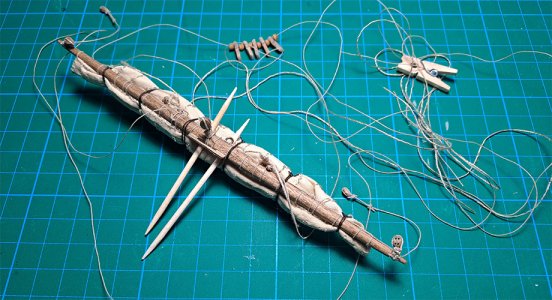
First, let the clew stick out just above the sail. The fore tack and fore sheet will be attached to it later, which will then hang "loose" down to their end point location. Next, set the first of the 2 yard ropes. The second will be added once the yard is hanging.
Inserted the 2 toothpicks between the sail and the yard. This creates some space to thread the rope of the truss, and later for the second yard rope.
Note: ensure sufficient excess length for threading, so that you can later position the truss piece by piece between the ropes already present. The first row has already been attached to the line. And then we are ready to go.

20260809_003.jpg

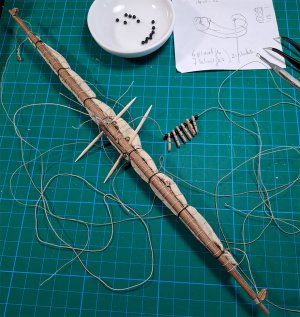
From this moment until the yard "hung" on the clip and the truss was in place, I have no photos. I was too focused on what I was doing to let go.
Sorry. I can say, however, that while lacing, I had "clipped" the lacing line to the stay.

20260809_004.jpg

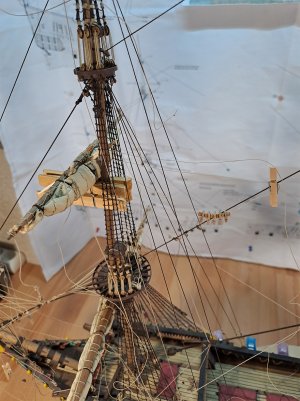
Above, the second turning yard rope is already around the yard. However, it is not yet tensioned with the strand block on the knight. This was tensioned. After that, the line running from the truss to the deck was also tensioned.
Then the lift lines/ropes could be attached and secured to the belaying pin rack behind the foremast.

20260809_005.jpg

20260809_006.jpg

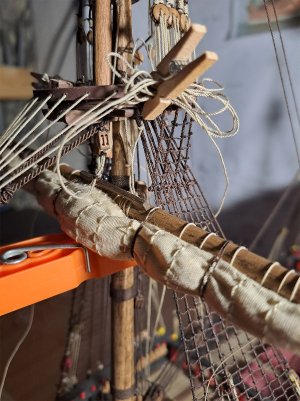
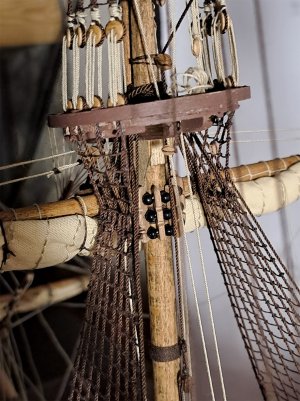
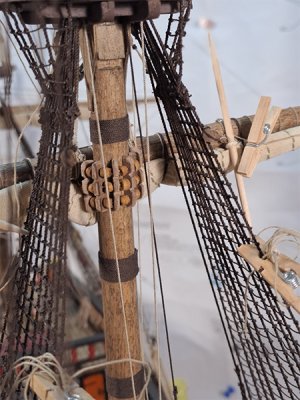
And then the rear side of the fore mast as well, to see the truss.

20260809_007.jpg

All in all, a precision job and I am very pleased with the result.
Next week guide the fore bow lines, place the fore tack lines, the fore sheet lines and the fore bracings and tension them where necessary.
The tack and sheet are also hanging "Loose".
It does get busy with all the ropes and lines. But a beautiful spectacle.
It will come to life, my wife said.

Happy building week to everyone.
 
The update for week 32-2026.

I spent the past week working on the Fore sail. All blocks, fiddle blocks, and the necessary rigging have already been mounted.
The "truss" also had to be made.

View attachment 625283

The sail could be "hoisted" using the brail ropes. Ensure that the bowlines come out neatly between the folds on the outside.

View attachment 625284

First, let the clew stick out just above the sail. The fore tack and fore sheet will be attached to it later, which will then hang "loose" down to their end point location. Next, set the first of the 2 yard ropes. The second will be added once the yard is hanging.
Inserted the 2 toothpicks between the sail and the yard. This creates some space to thread the rope of the truss, and later for the second yard rope.
Note: ensure sufficient excess length for threading, so that you can later position the truss piece by piece between the ropes already present. The first row has already been attached to the line. And then we are ready to go.

View attachment 625285

From this moment until the yard "hung" on the clip and the truss was in place, I have no photos. I was too focused on what I was doing to let go.
Sorry. I can say, however, that while lacing, I had "clipped" the lacing line to the stay.

View attachment 625286

Above, the second turning yard rope is already around the yard. However, it is not yet tensioned with the strand block on the knight. This was tensioned. After that, the line running from the truss to the deck was also tensioned.
Then the lift lines/ropes could be attached and secured to the belaying pin rack behind the foremast.

View attachment 625287

View attachment 625288

And then the rear side of the fore mast as well, to see the truss.

View attachment 625289

All in all, a precision job and I am very pleased with the result.
Next week guide the fore bow lines, place the fore tack lines, the fore sheet lines and the fore bracings and tension them where necessary.
The tack and sheet are also hanging "Loose".
It does get busy with all the ropes and lines. But a beautiful spectacle.
It will come to life, my wife said.

Happy building week to everyone.
It needs ‘some fiddling’ to get everything in place. Nicely done, Clemens.
Regards, Peter
 
The update for week 33 - 2026.

Thanks for the likes and comments. It's always nice to see.
Last week, my wife also sorted out the last 2 sails on the mizzenmast. And with that, they are all finished.
I also mounted the mainsail on the yard.

20260816_001.jpg

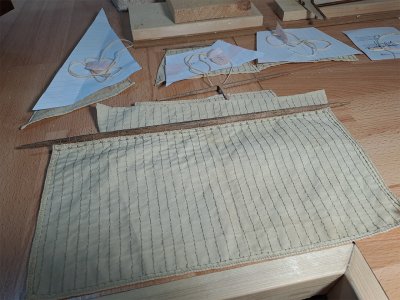
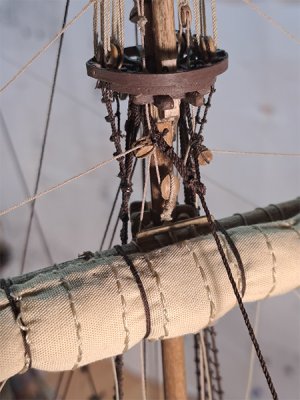
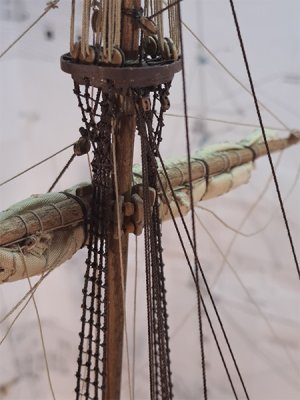
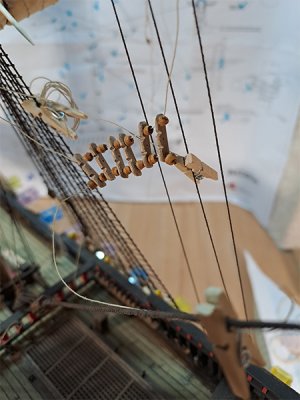
The Fore topsail is ready to be installed. All blocks, ropes, and lines have been mounted. Also the block for hanging the yard and the first row of the truss. Naturally, again with plenty of excess length. And I have used different "pearls" for this. The black pearls have been replaced with a "earthenware brown" variety.
It is wood.

20260816_002.jpg

Here again, the truss was secured to the stay with a clip to make lacing easier.
2 Clips were attached to the mast to lay the sail on, and all the ropes were aligned a bit in the right direction.

20260816_003.jpg

This is quite a long/high sail. It also turned out a little thicker in the middle than desired, but hey, we'll do with it.
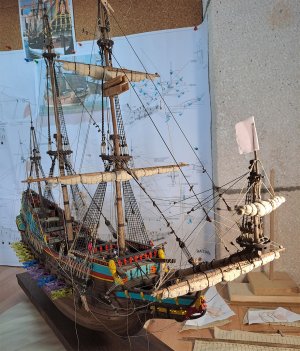
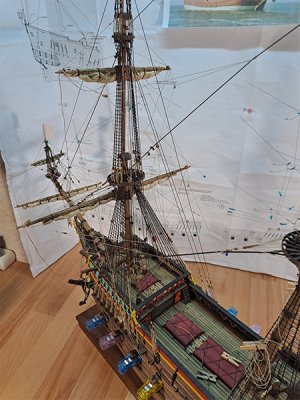
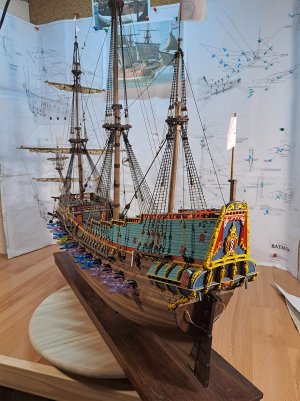
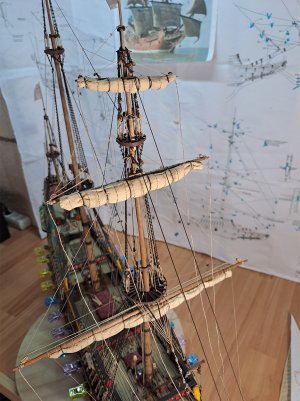
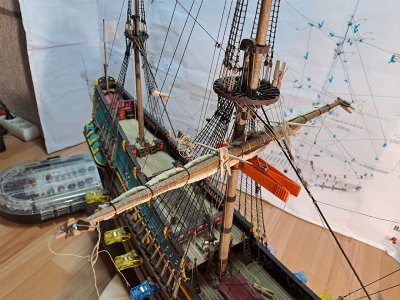
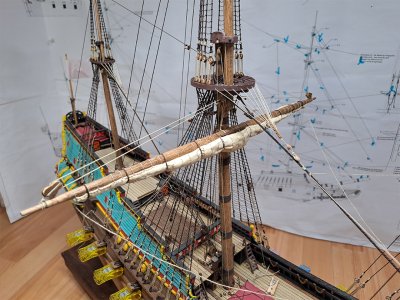
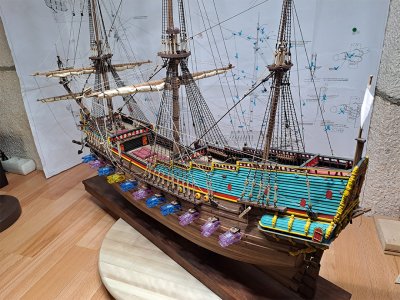
With another overview of the entire ship. I will probably do that every week now from a different perspective.

20260816_004.jpg

Continuing with the Fore topsail and For topgallant sail this coming week.

Have a great building week everyone.
 
If it helps... on my furled sails I made them about two-thirds of their correct length. This made the furling look less full...

Of course that means I can never unfurl them...
That's the point Paul. I make every sail so that it can be unfurl. All the lines and ropes are in place to do that and to hold them in place.
So my grand children can do that if they want. ;)
Maybe I have to put more tension on the big sails so they will look smaller. We will see.
But, thanks for the idea.
 
The update for week 34 - 2026.

Thanks again this week for the likes and comments.
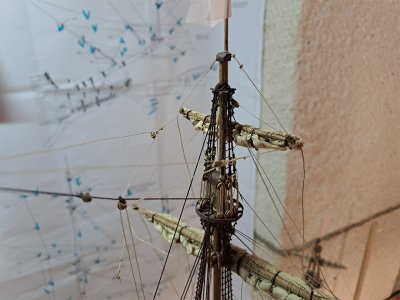
I spent the past week working on the Fore topsail and preparing the Fore topgallant sail. Small sail, with lots of blocks and lines.
Little commentary this time, but the photos speak for themselves again. (I hope) ;)

20260823_001.jpg 20260823_002.jpg

And 2x detail front and back with new "pearls".
20260823_004.jpg 20260823_003.jpg

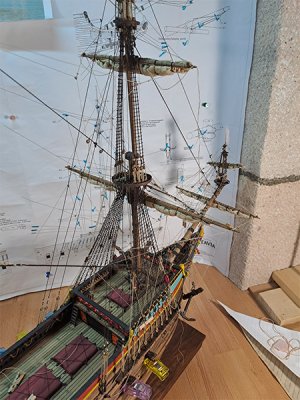
And as promised, another complete overview. Now from a diagonal rear view on port side.
20260823_005.jpg

Next week it is the turn of the Fore topgallant sail.

So see you next week and have fun again, everyone.
 
The update for week 35 - 2026.

Thanks again for the thumbs up. I spent the past week working on the Fore topgallant sail and preparing the Mainsail.

20260830_001.jpg

20260830_002.jpg

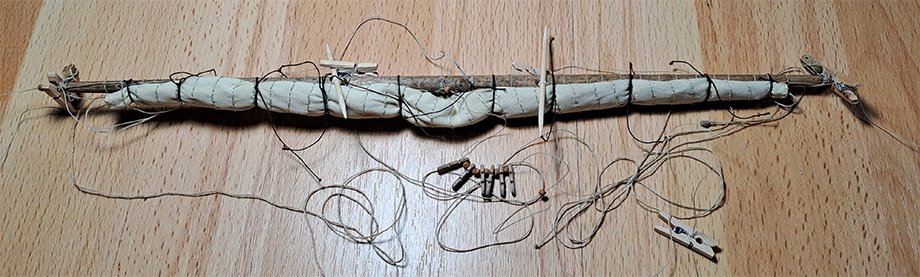
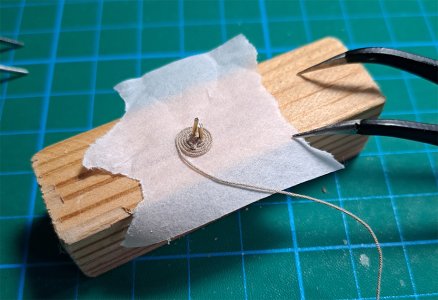
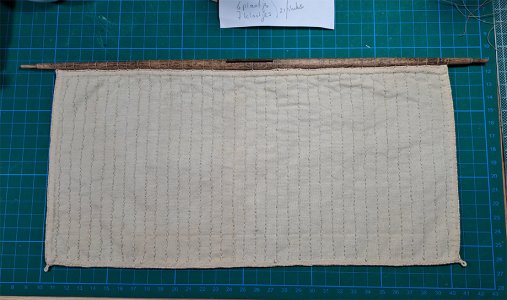
Also started a little test to make a rope roll. Without it wanting to spring away again right away ;) . 2 small nails in the middle as a starting point. With a piece of painter's tape upside down, it stays in place and sticks. Where a drop of white D2 wood glue then has to hold everything together.
20260830_003.jpg

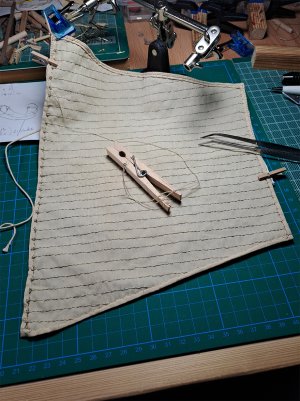
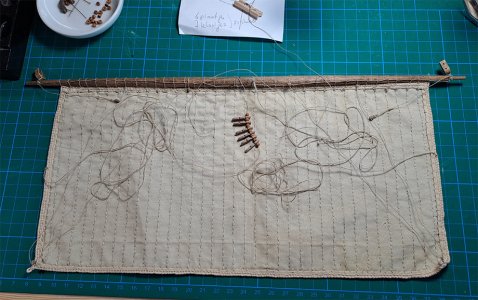
Next, it is the mainsail's turn. The leech rope was already attached here. So all the blocks and lines can be put on.

20260830_004.jpg

20260830_005.jpg

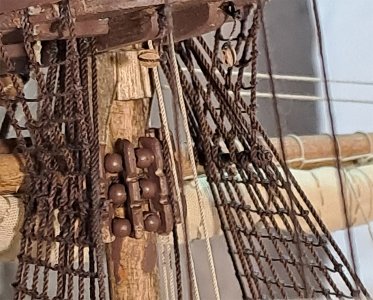
With the start of the truss, with the new balls clearly visible. So we can start "hanging" the whole yard and sails.

20260830_006.jpg

Next week we will install the mainsail. And we see the actual width of the model appear.
Also continued with the leechee rope of the Large topsail.

20260830_007.jpg

Until the next update and have fun building this coming week.
 
Back
Top